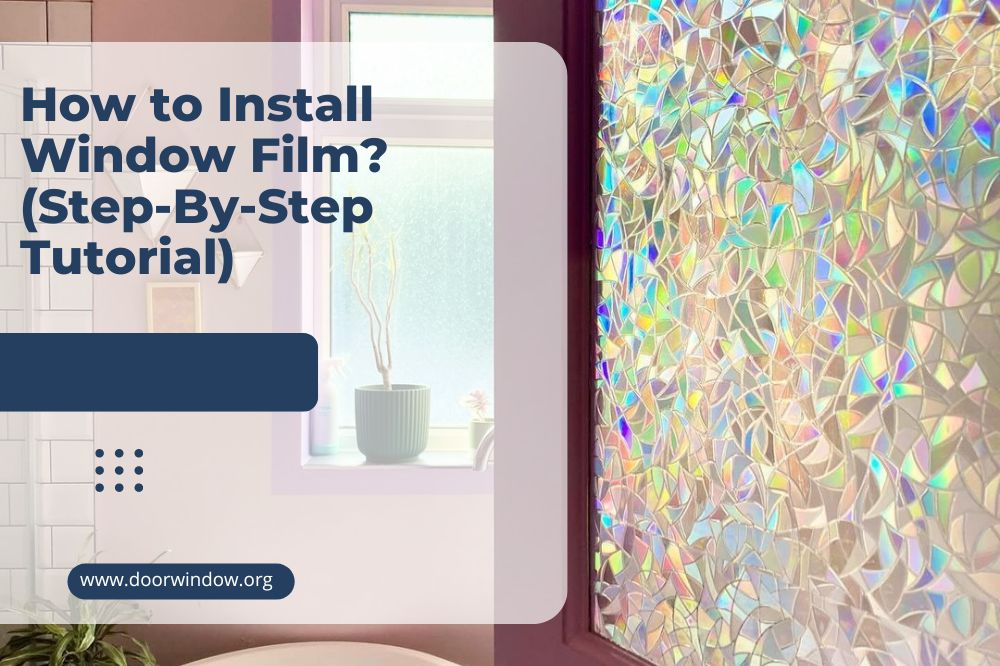
How to Install Window Film? (Step-By-Step Tutorial)
Do you want to increase the privacy of your home? Looking for ways using which you can enhance the level of its security? Hoping to add something to your windows that will improve their aesthetics? Getting worried about the rise in electricity prices?
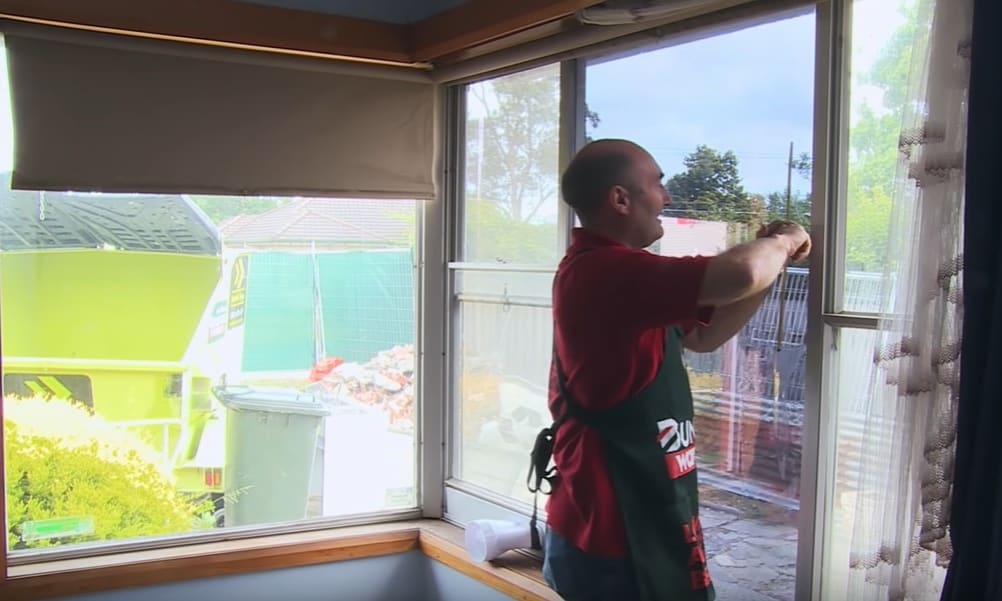
All of these are reasons why learning how to install window film is a smart move. It’s a straightforward and inexpensive way to enhance your home’s privacy, energy efficiency, and overall aesthetics. Here’s how you can do without hiring any professional.
How to Install Window Film
Here’s how you can install window film on your own:
Step 1: Choose the right type of window film
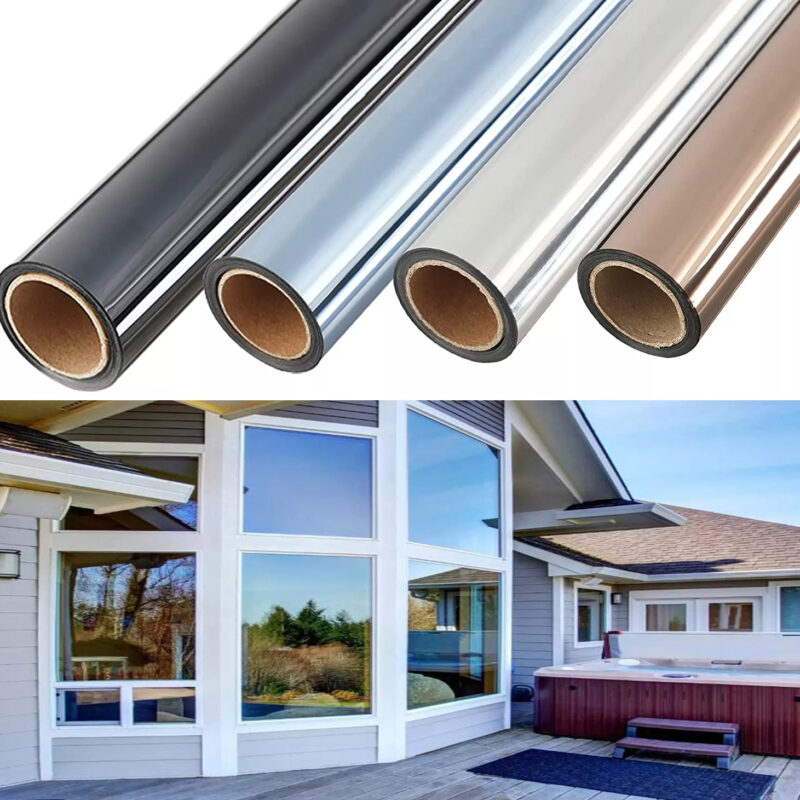
Four types of window films are available on the market. Assess your home and your requirements, and then select the film that best fits those requirements:
- Heat-control window film
These window films help you get a grip on your home’s air conditioning costs by reflecting the sun’s heat. They also keep out UV rays. As a result, your home feels a lot cooler, and you don’t have to run the air conditioner for long periods.
- Glare-control window film
These window films prevent the fading of your furnishings, floors, and computer screens by preventing the ingress of UV rays into your home. You can also get glare control films which can reduce the transmission of solar energy through your windows.
- Privacy-control window film
These window films are available in frosted, mirrored, and black patterns. The frosted films allow light to pass through the windows whereas the mirrored films ensure daytime privacy. Black films provide the best of both worlds by stopping solar light and providing daytime privacy.
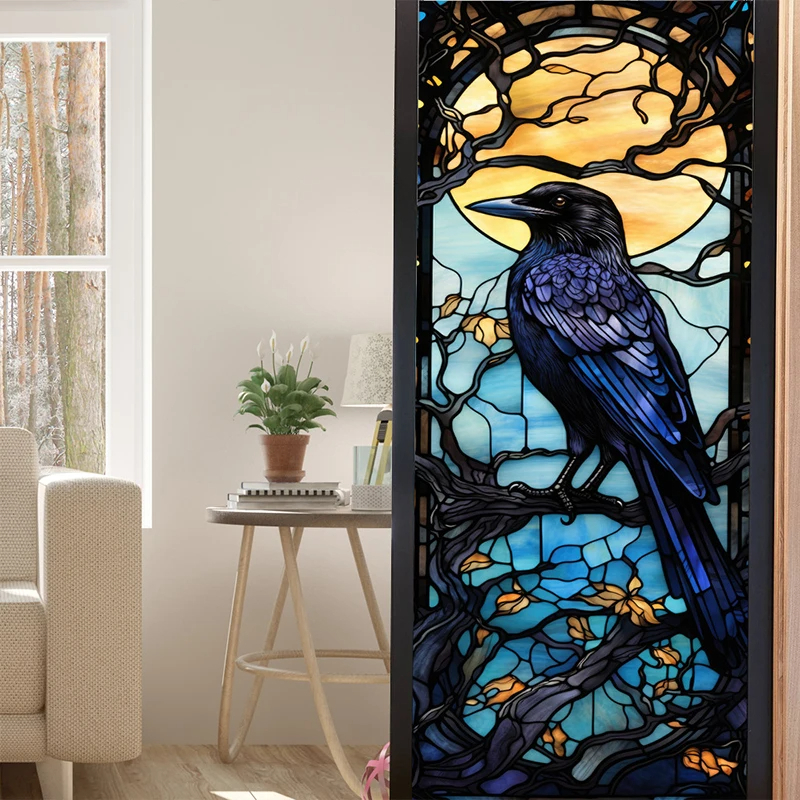
- Decorative window film
The decorative window films do what you want them to do. While some of them will provide daytime privacy, others will block sunlight and UV rays. They are available in a variety of colors and patterns and are the most expensive of all window films
-
Sale!

Universal Hook Up Nailfree Window Blinds
Original price was: $53.99.$40.99Current price is: $40.99.Select options This product has multiple variants. The options may be chosen on the product page -
Sale!
Cellular Honeycomb Fabric Window Blinds
Original price was: $166.99.$124.99Current price is: $124.99.Select options This product has multiple variants. The options may be chosen on the product page -
Sale!
Creative Drape Modern Tulle Window Blinds
Original price was: $12.99.$9.99Current price is: $9.99.Select options This product has multiple variants. The options may be chosen on the product page
Step 2: Clean your window
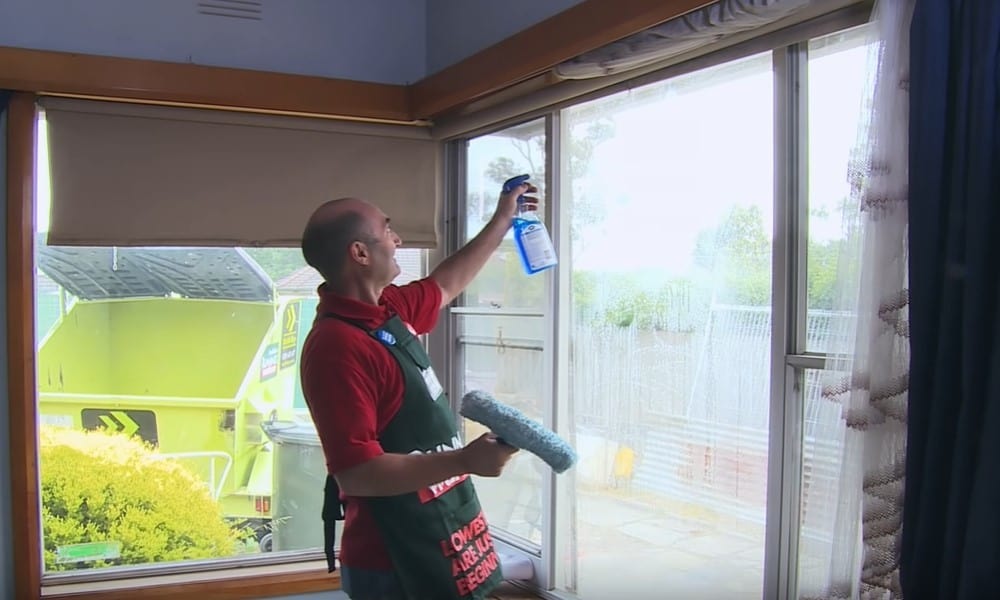
Prepare a mixture containing 1 gallon bottled water and 1 teaspoon baby shampoo. Soak a dry microfiber cloth into the mixture and use it to clean the window thoroughly. Apply enough pressure to remove all the built-up grime or paint from the window.
Never use any other shampoo besides the recommended no-tears baby shampoo. Other shampoos might contain ammonia or vinegar which have the potential to damage the film. Use a low-lint cloth to dry the glass and the frame after you’ve wiped it clean.
Step 3: Unroll the film
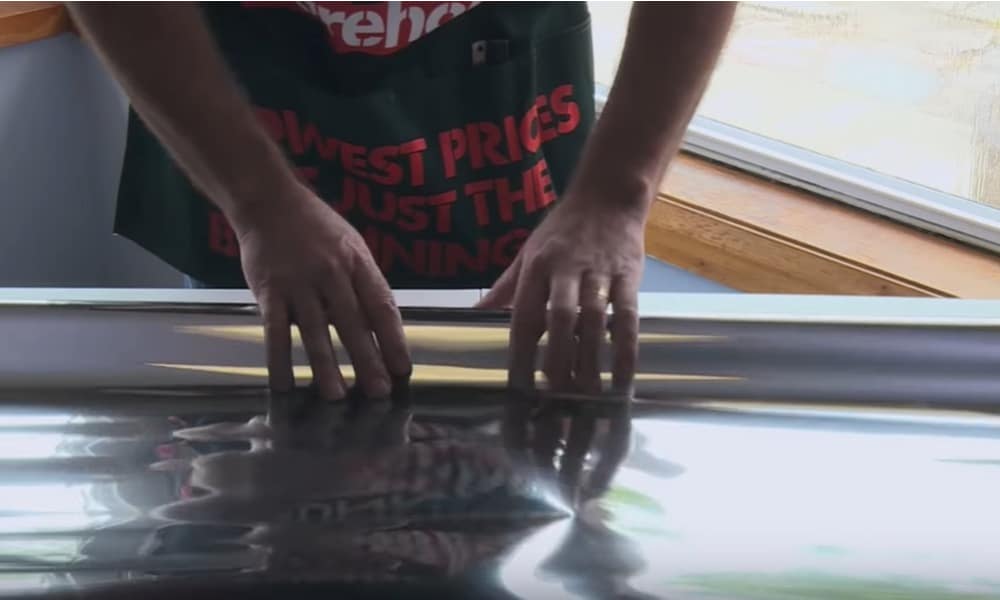
Make sure that the surface on which you’re going to unroll the film is flat and clear. Keep the liner side of the film up as you’re unrolling it. Cut the film in such a way that both its length as well as width are 1 inch bigger than the length and width of the window on which you’re going to install the film.
Step 4: Remove the backing from the film
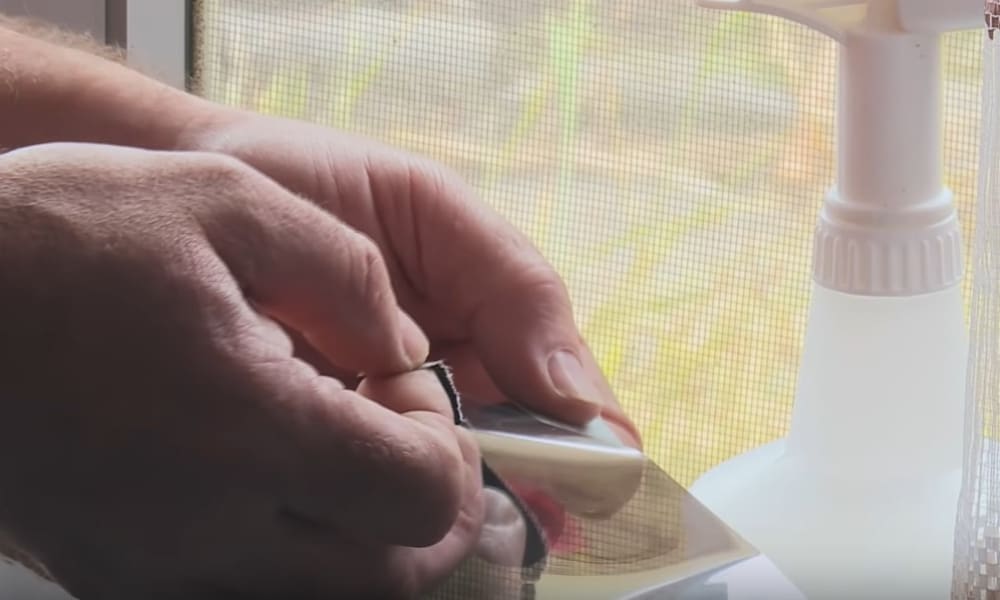
Use two pieces of transparent tape to remove the backing from the film. Keep on spraying the glass-side of the film with the mixture you prepared in the first step. Get a helping hand if possible to avoid the film from getting contaminated as you’re removing its backing.
Tip: Wash your hands and make sure they are moistened as you’re removing the backing from the film. This will prevent the film from having your fingerprints.
-
Sale!
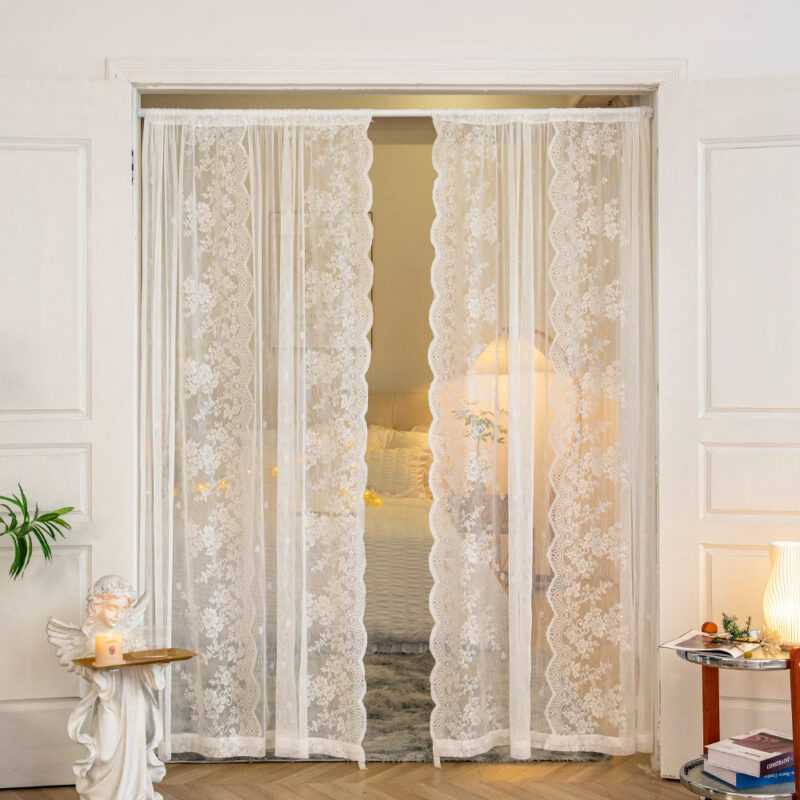
Romantic Lace Sheer Partition Window Curtains
Original price was: $28.99.$21.99Current price is: $21.99.Select options This product has multiple variants. The options may be chosen on the product page -
Sale!
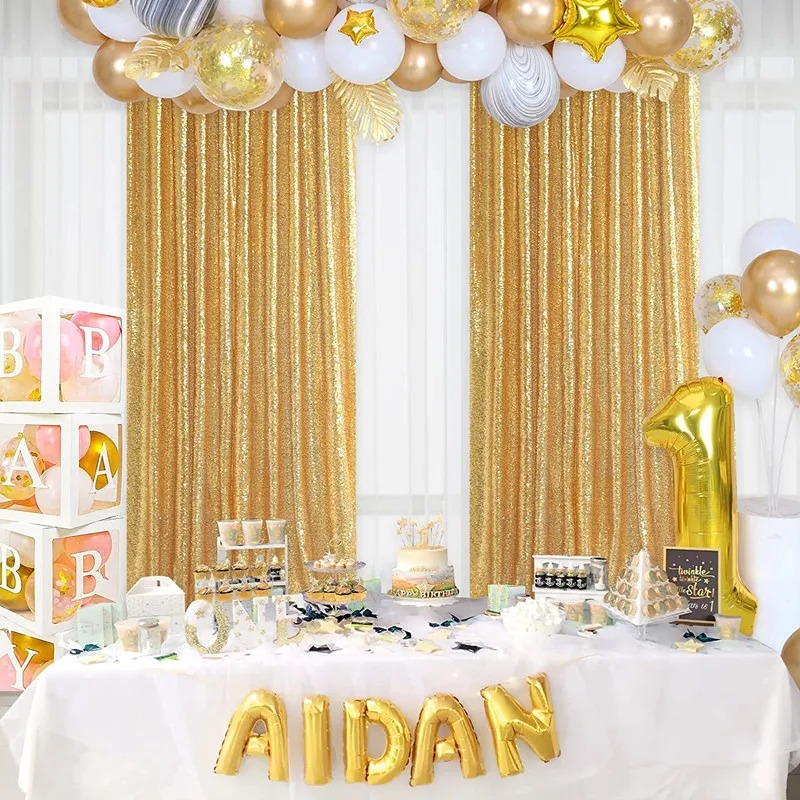
Party Wedding Sequence Backdrop Sequin Window Curtains
Original price was: $30.99.$23.99Current price is: $23.99.Select options This product has multiple variants. The options may be chosen on the product page -
Sale!
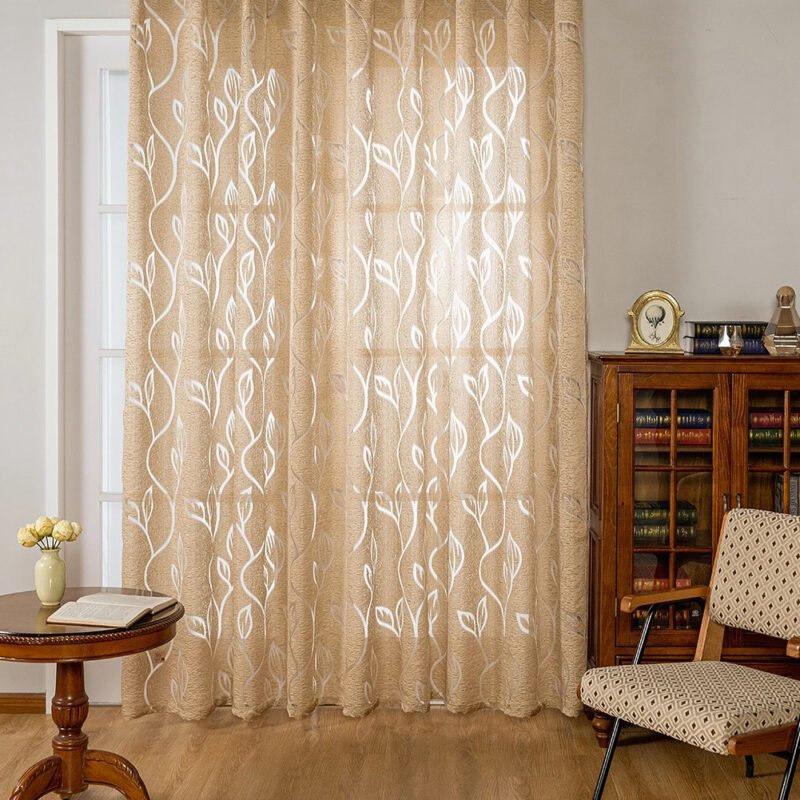
Jacquard Leaf Designer Window Curtains
Original price was: $77.99.$58.99Current price is: $58.99.Select options This product has multiple variants. The options may be chosen on the product page
Step 5: Apply the film on the wet glass
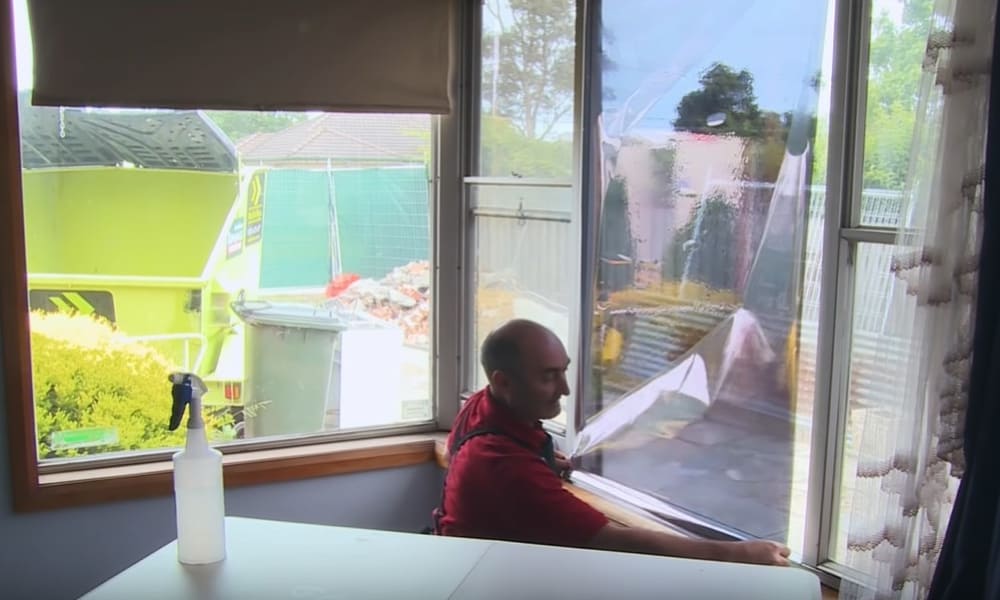
Starting from the top and keeping the surface of the wet film parallel with that of wet glass, apply the wet film on the wet glass. Some films come with a factory-cut edge and require you to line them along the edge of the glass for the film to overlap the glass frame.
Step 6: Remove bubbles from the film
Before removing the bubbles, spray the solution onto the film. Press your hands on the center of the film and slide them towards the edges to get rid of the bubbles. Then remove the bubbles from the center to both sides and finally towards the bottom. Make sure that the film remains wet as you’re removing bubbles.
Step 7: Press into the edges and corners of the film
If your film’s kit came with a plastic card squeegee, use it to press the film into corners and edges. Or else you can just use your palm to do the same. Press them firmly as the edges and corners are the weakest points of the film.
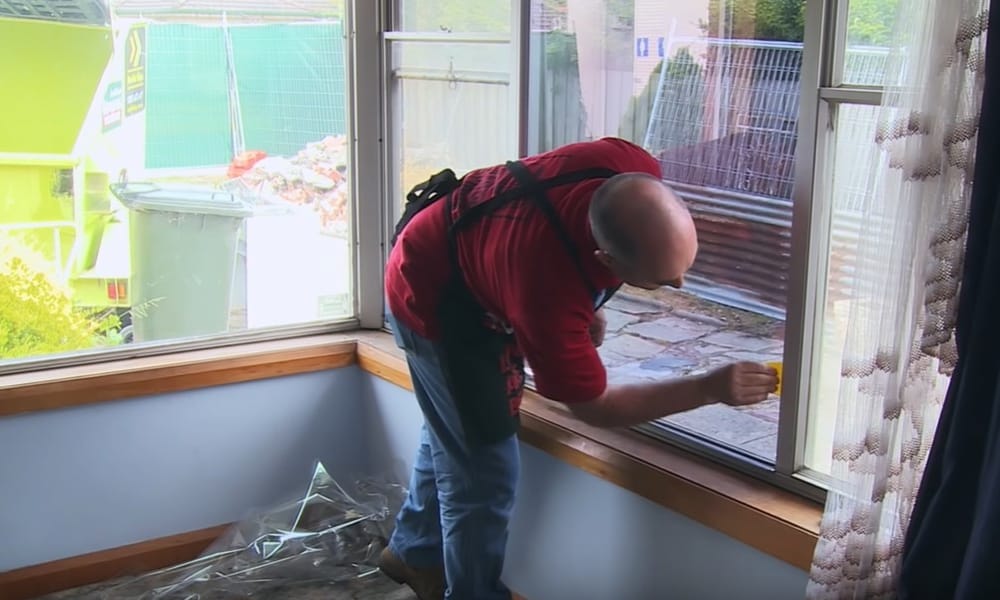
Step 8: Remove the excess film
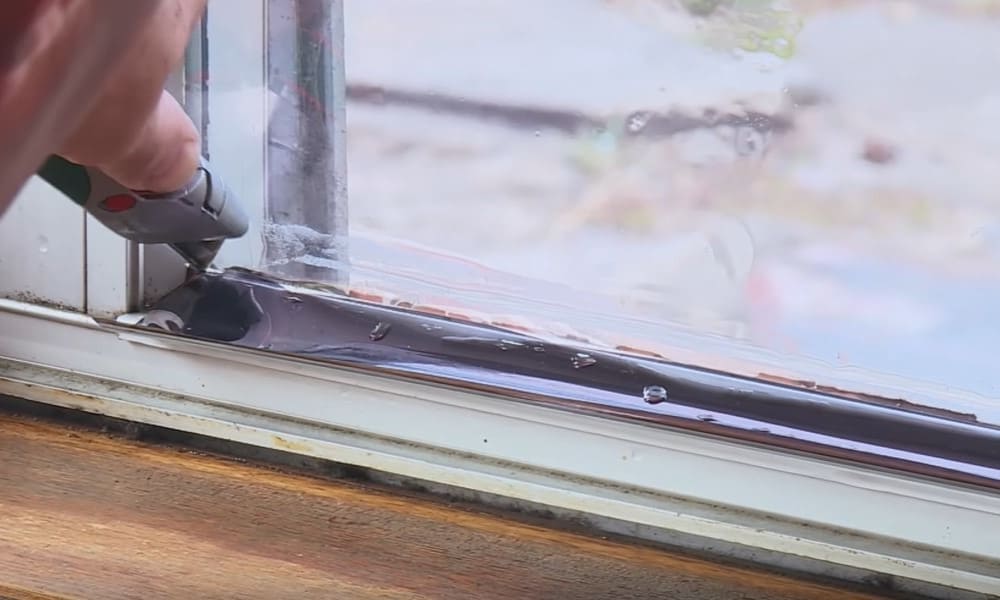
Use a utility knife to remove the excess film off of the edges. As you get near a corner, stop and trim back to get a complete cut. Then repeat this two-step approach to remove the excess film along the remaining edges and corners.
Step 9: Remove excess moisture from beneath the film
Spray the film and squeeze it as you did in the previous steps. Wrap a layer of low-lint cloth around the plastic card from the film’s kit. Press it firmly against the film and slide it sideways to remove excess moisture from beneath the film.
-
Sale!
Stained Halloween Crow Colored Glass PVC Window Film Privacy Stickers
Original price was: $16.99.$12.99Current price is: $12.99.Select options This product has multiple variants. The options may be chosen on the product page -
Sale!
Stained Static Cling Window Film Privacy Appliedsative Bathroom Shower Door
Original price was: $20.99.$15.99Current price is: $15.99.Select options This product has multiple variants. The options may be chosen on the product page -
Sale!
One Way Mirror Anti UV Window Film Privacy for Home Office Living Room
Original price was: $21.99.$16.99Current price is: $16.99.Select options This product has multiple variants. The options may be chosen on the product page

Final Step: Wipe the window clean
Use a dry microfiber cloth to wipe the window clean. Prepare to wait for about 30 minutes for the film to stick to the glass. Though you’d have to wait for four to eight days for it to get fully cured. The waiting time could stretch to a week if you’ve applied one piece of film over the other.
Conclusion
Installing a window film provides many benefits. It improves the privacy of your home, decreases its air conditioning costs and prevents the fading of cabinets, shutters and flooring. You can also count on the film to strengthen the glass and make it difficult for a miscreant to break it.
That’s why installing a window film should be on the top of your to-do list. The method given above will help you from start to finish – right from the selection of the film to its application on the glass. Still, if you are unsure about a step, please feel free to get in touch.