How to Replace a Window? (Step-By-Step Tutorial)
Windows serve different purposes in a house like offering protection from the sun and adding elegance. It also helps to prevent cold air into the room, thus reducing energy bills. However, these windows damage sometimes, and you would need to remove and re-insert a replacement window.
There are guidelines that you need to adhere to when changing old windows for a new one. This guide will show you how to replace old windows yourself, thus saving you a whole lot of money.
Steps on How to Replace Window
Here are the steps to help in replacing existing windows.
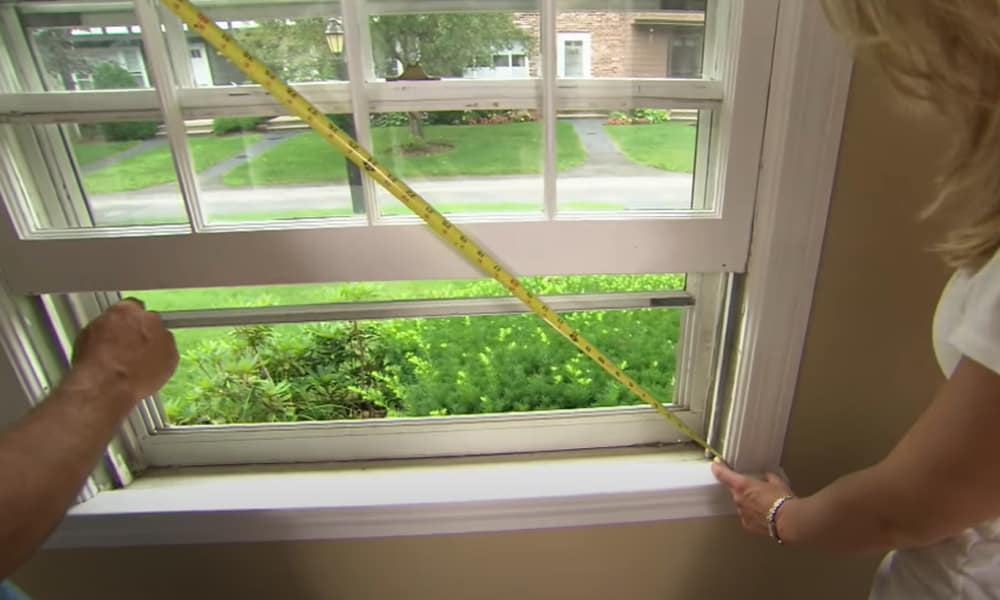
Step 1: Get the Dimension of the Length and Height
You should get the correct measurement of the length and height of the window. To do this, run the tape on the left jamb to the one on the right side. Also, ensure that the dimensions are correct. Then, run the tape from top to bottom, getting the smallest possible size as the most accurate.
To get the dimension for the height, run the tape from the sill of the window to the top jamb. Check the window top; you’ll see another horizontal stop that is a bit down at the side of the jamb. Then, run the tape from sill to frame on the left, right, and middle using the smallest value as the most accurate.
Step 2: Check the Uniformity
You have to check the uniformity of the window by running the tape from the diagonal end to the other. Measure from the top right corner, and then take it straight to the bottom right corner and vice versa. If you notice a disparity that is smaller than a quarter or half-inch between the diagonal dimensions, then adjust a little and install the window. If it is large, call an expert.
Step 3: Buy a Fitting Window
After taking the dimension of the window carefully, the next thing is to buy a window that matches the measurement. You must measure the window and go to the store with accurate dimensions.
Check with the storekeeper or expert about the best window fit for your sizes. Ensure the windows are a bit smaller (like half or three-quarter-inch) than your opening in the house.
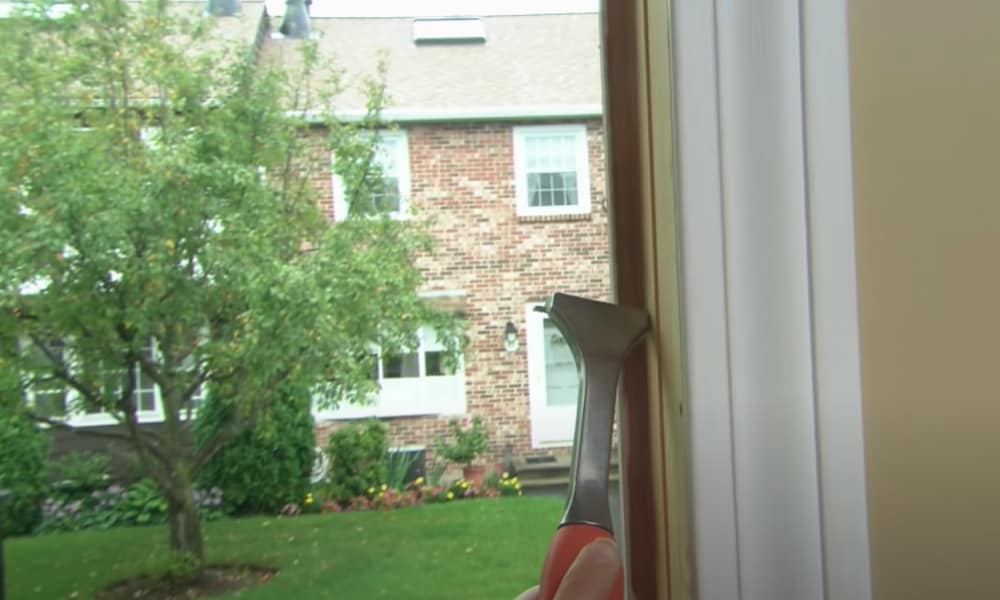
Step 4: Take Out the Old Window
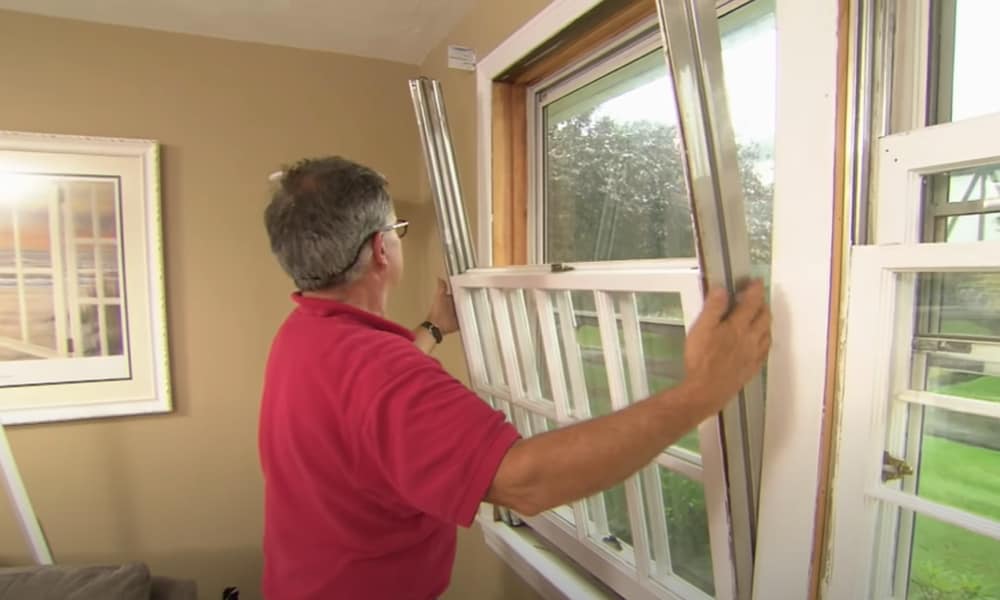
To remove the old window, you should first take out the little stop by the side. Remember that the stops are on both sides of the frame as vertical stripes. So remove them with a pry bar or putty knife carefully off the frame. You should do this with much caution so as not to damage any of the stops.
-
Sale!

Universal Hook Up Nailfree Window Blinds
Original price was: $53.99.$40.99Current price is: $40.99.Select options This product has multiple variants. The options may be chosen on the product page -
Sale!
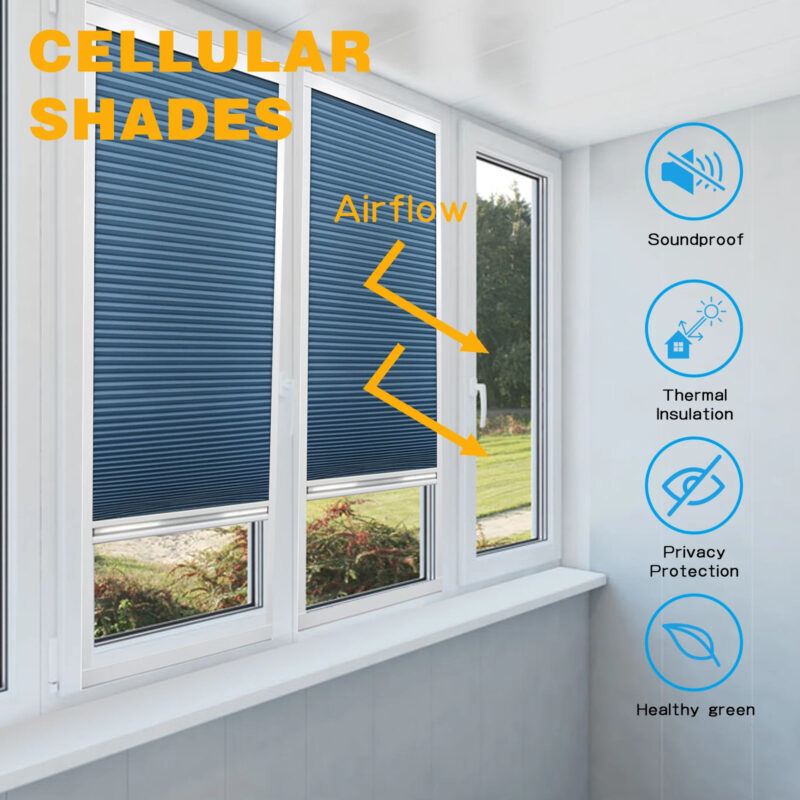
Cellular Honeycomb Fabric Window Blinds
Original price was: $166.99.$124.99Current price is: $124.99.Select options This product has multiple variants. The options may be chosen on the product page -
Sale!
Creative Drape Modern Tulle Window Blinds
Original price was: $12.99.$9.99Current price is: $9.99.Select options This product has multiple variants. The options may be chosen on the product page

If the stop piece cracks or damages, you should replace them by carving out a filler of wood into the cracked piece. Allow it to dry for some minutes, and then sandpaper the pad and surroundings for it to look neat. You can Repaint it to enable uniformity with the rest of the stop bars.
Remove the stops from the inside first to enable the ones below to pop out on their own. Connect the inner sash to a chain, if your window is old, and allow the weight to drop down below.
Push the sash above to the underside of the frame by removing the wood that holds it in place, allowing it to fall free. Cut the chains that bund them to weight if it’s a double-hung window.
Step 5: Tidy Up the Window Frame
When you’re removing the weights from the wells on the sides of the frame, take out the old nails or screws attached. Now, scratch out the existing caulk and paint on the wood, and then fill up all the holes with premium quality wood filler.
Leave the filler for some minutes to dry, depending on the instructions on its manual. Then use 120-grit sandpaper to smooth the surface before applying enough paint to cover up the mess.
Examine the frame for rotted wood by running a screwdriver around it for soft spots and falling wood crumbs. Call in an expert who knows how to replace window frame rotted.
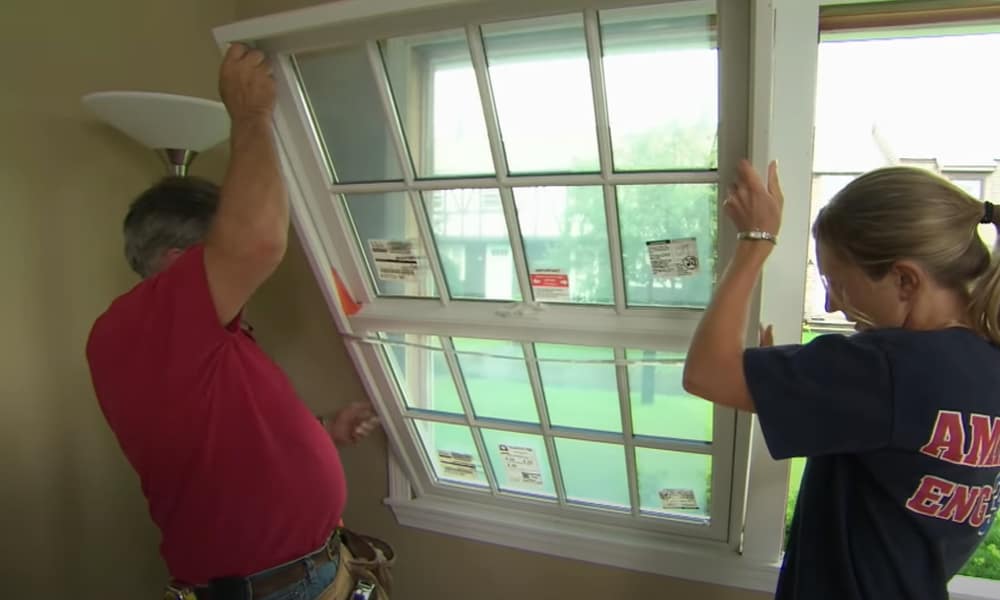
Step 6: Check If the New Window Fits the Frame
You have to be sure that the window you bought fits perfectly into your opening frame. To do this, gently carry the window into the opening to check. It should have a half to quarter inch allowance on all sides. If you have ascertained the fitting, take the window to one corner.
-
Sale!
Romantic Lace Sheer Partition Window Curtains
Original price was: $28.99.$21.99Current price is: $21.99.Select options This product has multiple variants. The options may be chosen on the product page -
Sale!
Party Wedding Sequence Backdrop Sequin Window Curtains
Original price was: $30.99.$23.99Current price is: $23.99.Select options This product has multiple variants. The options may be chosen on the product page -
Sale!
Jacquard Leaf Designer Window Curtains
Original price was: $77.99.$58.99Current price is: $58.99.Select options This product has multiple variants. The options may be chosen on the product page

Remember that you removed just the inside wood stops and not the one on the outside sashes. Use a caulk gun to spray out in 1cm bead of exterior grade waterproof caulk above the frame and on the sides of the stops. Then apply about two beads of the same size along with the molding on top of the interior window sill to achieve a great look.
Step 7: Install the New Window into the Frame
Press the underside of the window into position first, and then push the top into the exterior stops. Ensure that it is in the middle of the frame. Fasten a 5-cm screw into the two sides of the jamb to hold the window in place. This process allows you to examine the functionality of the window against the frame and trim it if need be.
Swing the moving parts of the window to ensure their perfect mobility. Then, switch the window regulator to a lock and an open position to make sure it’s working fine. This process is an essential step on how to install replacement windows.
Step 8: Tighten the Mounting Screws into Each Jamb
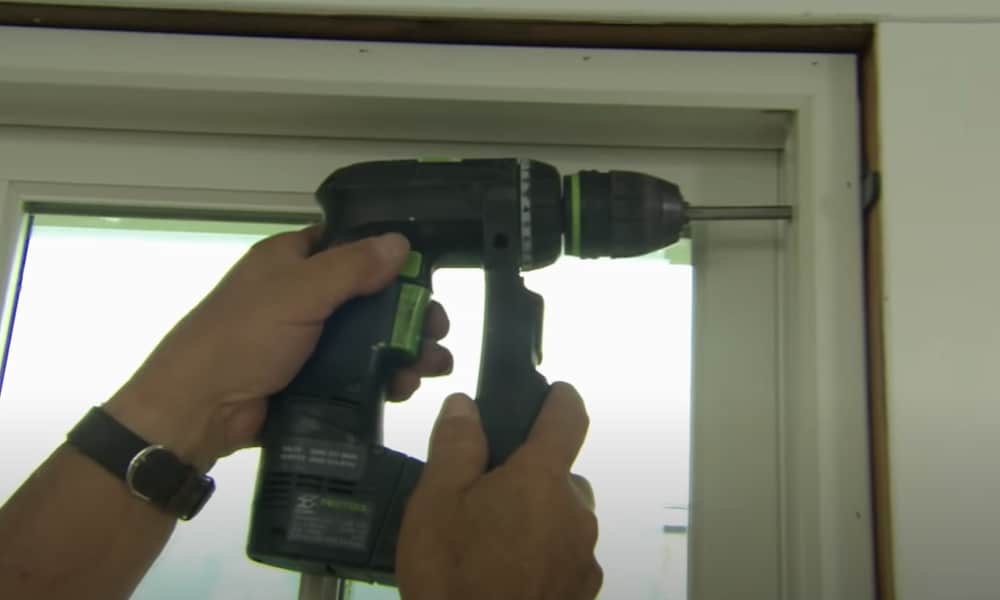
If you don’t have the set if 6-cm galvanized screws for mounting windows, you can use the screws that came with the window installation kit. Check for the already drilled screw holes on the new window.
Afterward, place in a shim in the middle of the window and frame. These shims you set before each hole will prevent the window from caving. Push in the screws into the already drilled holes, ensuring that it’s not too tight.
Step 9: Put Back the Interior Stops and Other Items You Took Out
You should replace any trim or stops you removed when taking out the old, old window. Place the wooden stops in position, and then fasten with three neat nails at the top, middle, and bottom of the stop.
Do this for the stops on all sides of the frame. If your new window design necessitates, you should attach stops to the exterior also.
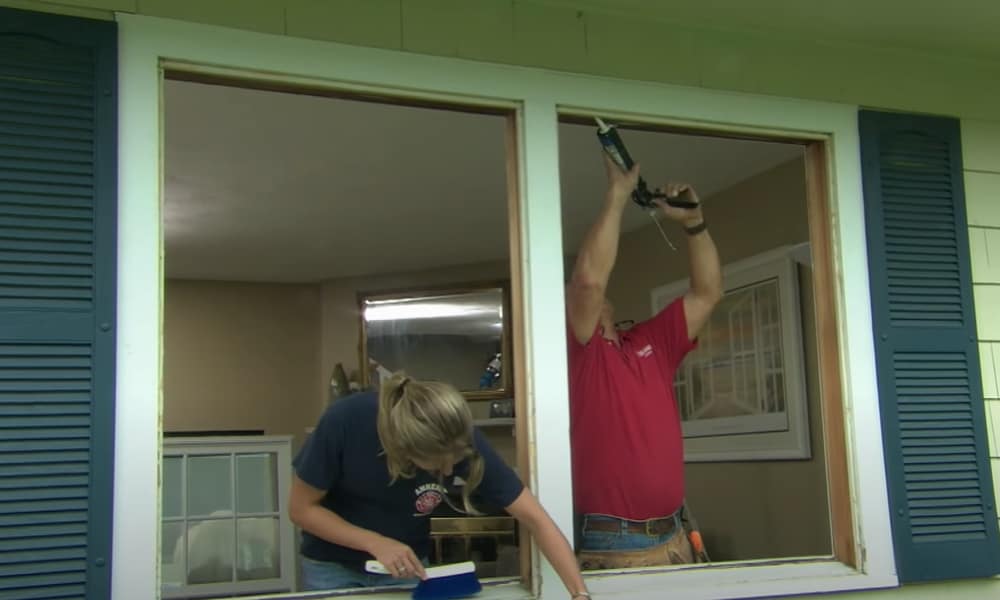
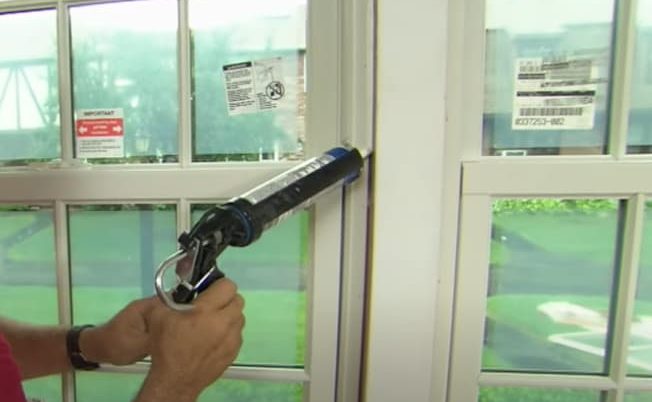
Step 10: Apply Caulk to the Frame Gaps on the Outside
-
Sale!
Stained Halloween Crow Colored Glass PVC Window Film Privacy Stickers
Original price was: $16.99.$12.99Current price is: $12.99.Select options This product has multiple variants. The options may be chosen on the product page -
Sale!
Stained Static Cling Window Film Privacy Appliedsative Bathroom Shower Door
Original price was: $20.99.$15.99Current price is: $15.99.Select options This product has multiple variants. The options may be chosen on the product page -
Sale!
One Way Mirror Anti UV Window Film Privacy for Home Office Living Room
Original price was: $21.99.$16.99Current price is: $16.99.Select options This product has multiple variants. The options may be chosen on the product page

You should apply some beads of exterior-grade caulk on the spaces between the window and frame from the exterior. Apply them consistently with 1cm beads and ensure that the game between the sashes and jambs are free of caulk.
This caulk could cause damage to the jambs and sashes of the new window frame. You can apply caulk on the side between the covering and the exterior of the new window. If you caulk the jambs and sashes of the window, it won’t open freely.
Final Word
It’s essential to replace a window when necessary to avoid permanent damage to the frame and other accessories. The timely replacement of your window enables it to serve its purpose faultlessly without hindrance. To carry out this process on your own, you should consult these important tips on how to replace a window for straightforward steps.
- Ensure you call in an expert if the window has a rotted wood
- Do not apply caulk on the gap between the sash and jamb to allow smooth swinging
- Ensure to replace all you removed, so that the window will sit firmly in the frame.