How to Paint Window Trim? (Step-By-Step Tutorial)
A room with fading wall paints does not always require complete repainting. Sometimes, adding fresh paint to the window trim is another great way to brighten up space. If yours is unpainted, applying some on the trim of your window will add more beauty to your home.
Your decision to give a new freshness to the inner or outer part of your window is a good idea. Luckily, the painting process isn’t quite difficult. With a few guidelines and tools, you will know how to paint window trim of your house.
Essential Tools and Materials
The task of painting a window trim with a preferred color is not quite difficult. Even the materials are cheap and easy to find. With the following items below, you are ready to go through how to paint window trim with ease.
- A good painter’s tape of about one and a half inch. Get Scotch-Blue if you don’t have an option in mind.
- Buy a trimming paintbrush of between 1 ½ to 2 inches. Ensure the bristles of the brush are wedge-shaped for easy access into narrow spaces.
- Get only paints that are suitable for window trims or frame.
- If you wish, you may purchase a wood filler and good sandpaper.
Steps to Painting an Interior Window Trim
Step 1: Clean the Wooden Window Trim Thoroughly
The first thing about how to paint window trim is to make sure the trim is ready to receive new paint. If there are signs of stubborn stains, clean it off before anything else. Add non-soapy detergent to warm water and use an abrasive sponge to scrub the surface of the window trim.
After that, sand the surface from top to bottom to achieve even smoothness. Using a high-grade sander is not necessary since your hands can do an equally excellent job. Once you sand any part of the surface, feel it with your fingers for proper smoothness.
The idea is to make the paint stick well to the trim, so ensure the trim is smooth without scratches. To achieve this, sand the surface again with fine-grain sandpaper. Visit the local hardware store and ask for sandpaper of about 120-180 grits.
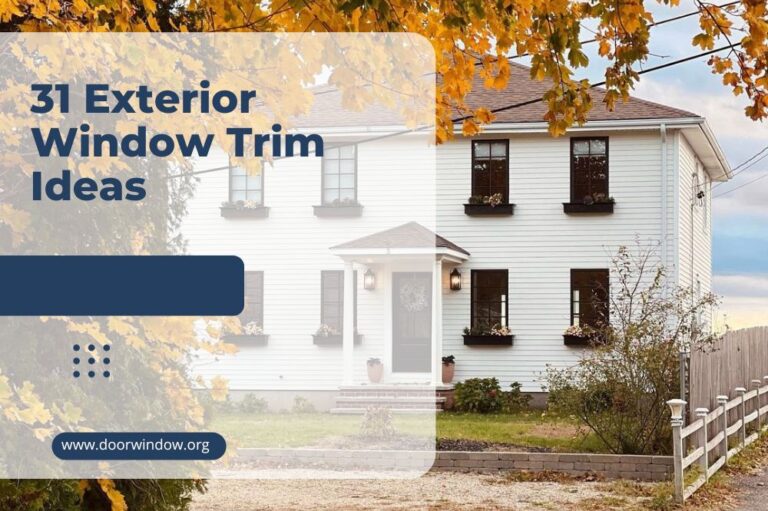
Step 2: Mask Areas that Need no Painting
You can either use the cutting-in method or simply use masking tape. Most homeowners prefer covering the areas they don’t want to paint with masking tape. This item protects the wall surface or any part around the window from any spilling or dripping paint.
-
Sale!

Universal Hook Up Nailfree Window Blinds
Original price was: $53.99.$40.99Current price is: $40.99.Select options This product has multiple variants. The options may be chosen on the product page -
Sale!
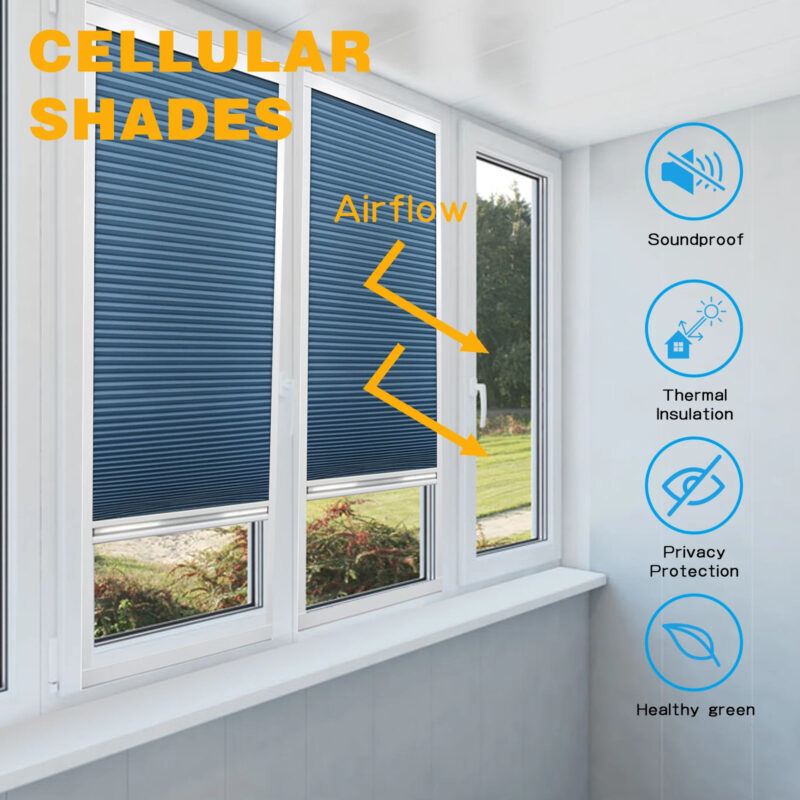
Cellular Honeycomb Fabric Window Blinds
Original price was: $166.99.$124.99Current price is: $124.99.Select options This product has multiple variants. The options may be chosen on the product page -
Sale!
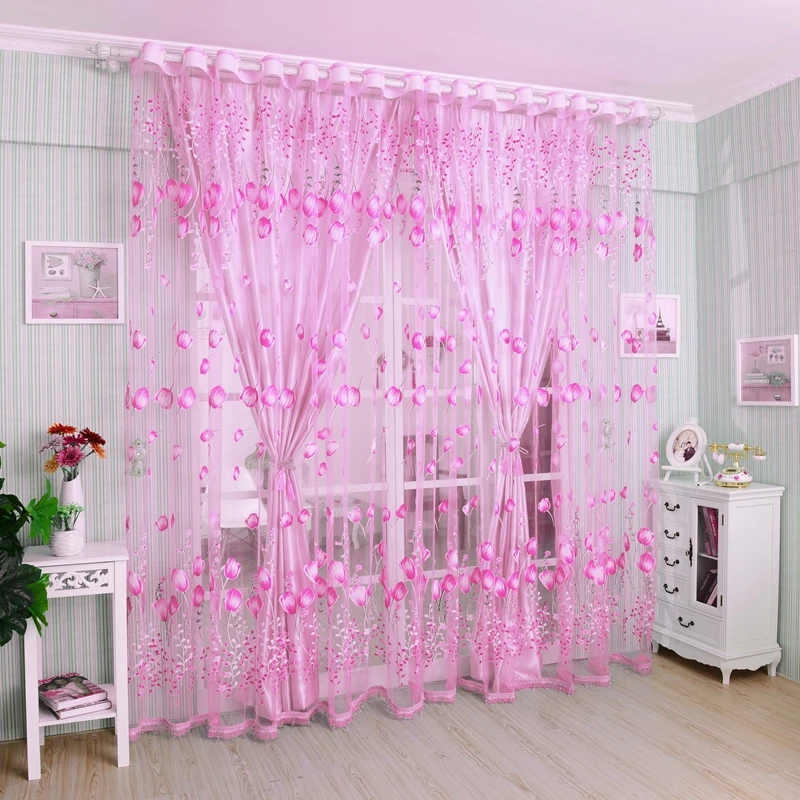
Creative Drape Modern Tulle Window Blinds
Original price was: $12.99.$9.99Current price is: $9.99.Select options This product has multiple variants. The options may be chosen on the product page
Start taping from the area between the window frame and the trim. Calculate how much tape a section needs and tear off about 1/3 from the tape according to your estimate. With scissors, cut the end of the painter’s tape at about 45 degrees and use it on the window frame.
Ensure that the right side of the window frame receives similar taping procedures. Ripping off the tape and applying them on the window frame may leave some gaps. Don’t worry, since there’s no particular method, just use tape to cover all holes.
Step 3: Cover the Walls around the Window Trim
You don’t want paint stains on your walls, so try to mask the wall around your window trim. Apply tape in a way that you will have two inches gaps on both sides of the tape. Stand back and try to imagine how the area will look when the painting is complete.
Step 4: Fill Any Available Holes and Prime the Trim
An essential rule on how to paint window trim is to inspect the wooden trim for possible holes. Apply the filler, and then leave it to dry. Afterward, sand the wood to smoothen the surface area. You can prime the wood and then allow drying, but if the wood isn’t white, apply primer again.
Step 5: Start the Painting Process
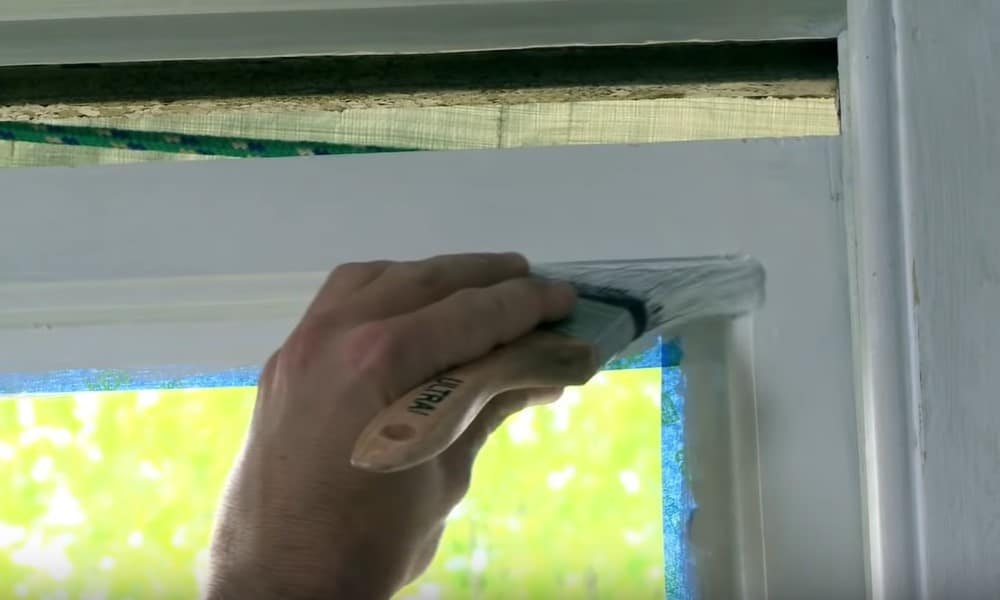
When you are through with the window treatments, it is time to start painting the window trim. You may choose painting window trim black, white, or even any color of your choice. Start by painting the interior and then move to paint the outer part of the window trim.
Since there is enough masking in place, brush the paint over the window trim while painting. Ensure not to go beyond the tape markings or drip too much paint on the tapings. The reason is that if the tape gets stuck because of applying too much paint, it won’t be easy to pull off when dry.
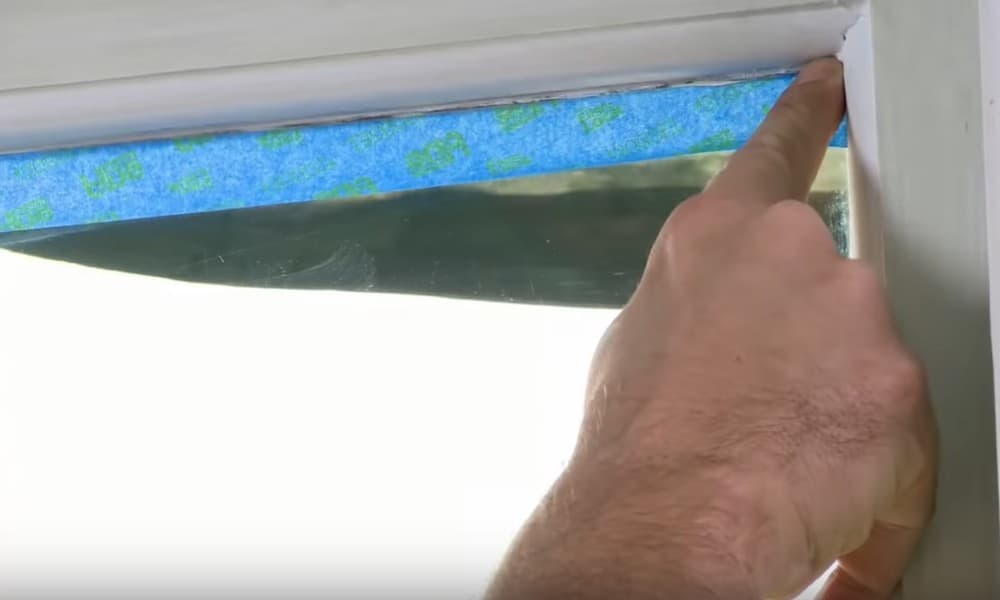
Step 6: Pull Off the Tape from Trim
Allow the paint to dry completely and then carefully remove the tape around the window trim. Never attempt to pull them off when the paint is still wet. If the tape is strong enough you can run one or two layers of paint before you pull it off.
-
Sale!
Romantic Lace Sheer Partition Window Curtains
Original price was: $28.99.$21.99Current price is: $21.99.Select options This product has multiple variants. The options may be chosen on the product page -
Sale!
Party Wedding Sequence Backdrop Sequin Window Curtains
Original price was: $30.99.$23.99Current price is: $23.99.Select options This product has multiple variants. The options may be chosen on the product page -
Sale!
Jacquard Leaf Designer Window Curtains
Original price was: $77.99.$58.99Current price is: $58.99.Select options This product has multiple variants. The options may be chosen on the product page

When you remove the tape from the window trim, check if the lines are cleanly cut. If they are not, then you may need the help of a sharp utility knife. Use it to trim the area until you get a perfect line.
Steps to Painting the Exterior of Window Trim
Step 1: Scrape Old Paints and Sand
Check for loose old paint and caulks and use a scraper to remove them from around the window. If you do a window tint, you can cover the glass with tape so you don’t spoil it after painting. If there are holes, fill them with spackle, wipe of excesses, and then repeat the process on the next window.
When the spackle is dry, apply to sand until the area becomes smooth and fine. A 220-grit sandpaper will be enough for this task. Use the item to sand around the entire window and wipe off the dust with a clean piece of cloth.
Step 2: Apply Caulk and Primer
Get your caulk tube ready by inserting on a caulk gun. If the tube has a sealed tip, break the seal to allow the content to flow out. If the seal is too thick, you may need to use a screwdriver to puncture it.
Apply caulk in the space where you removed the old caulk and use your finger to dampen it gently. Wipe the area until it is smooth and make sure it is dry before applying paint. Clean off the excess caulk from your fingers.
Preparing baseboards for painting is essential, and that is why the window trim will require adequate priming. Priming protects the wooden trim from water, and two coats of external primers will do a perfect job. Wait for a while to allow it to dry before painting.
Step 3: Begin Painting the Window Trim
Now that caulking and priming are over, paint the window trim with a finish coat. When it is dry, add a second layer, and allow it to dry. Make sure you cover the edges of the window with a utility tape to protect from paint.
When the paint is dry, carefully pull off the tape from the edges of the trim. If there is a stain of paint on the glass, scrape it or wash off with glass cleaner if you do a window tint.
-
Sale!
Stained Halloween Crow Colored Glass PVC Window Film Privacy Stickers
Original price was: $16.99.$12.99Current price is: $12.99.Select options This product has multiple variants. The options may be chosen on the product page -
Sale!
Stained Static Cling Window Film Privacy Appliedsative Bathroom Shower Door
Original price was: $20.99.$15.99Current price is: $15.99.Select options This product has multiple variants. The options may be chosen on the product page -
Sale!
One Way Mirror Anti UV Window Film Privacy for Home Office Living Room
Original price was: $21.99.$16.99Current price is: $16.99.Select options This product has multiple variants. The options may be chosen on the product page
Wrap Up
It’s obvious this article has answered the question, “How do I paint my wood trim white?” When you follow the steps here, you will know how to paint window trim with any color. Also, with the right materials and tools, your space will look as good as new.
Imagine how beautiful your room will look with those painted window trims. So don’t forget these simple and steps when you need them:
- Clean the window
- Cover some areas with tape
- Mind the walls around the window trim
- Fill available holes with filler
- Paint the winding trim and wait till it’s dry
Have you witnessed a change in the beauty of your room after painting the window trim? Or do you know how to paint wood trim white without sanding? Use the comment section to share your experience.