How to Build an Insulated Exterior Door? (Step-By-Step Tutorial)
Apart from keeping outdoor weather elements out of your home, insulated exterior doors plug air leaks from your house and prevent unwanted heat exchange. This allows these doors to place a bottom pressure on your monthly energy bills. That’s where the good news stop.
Despite all their benefits, insulated exterior doors suffer from one major shortcoming. They cost too much for an average consumer. Their huge asking price is what that convinced us to come up with using which you can learn how to build an insulated exterior door on your own.
Before you build an insulated exterior door
There are multiple factors you need to keep in mind. For instance:
Number of layers
As you might already know, the higher the number of insulation layers in your door, the better it will insulate your home. There are three options for you to choose from when it comes to the number of insulation layers.
- Single-layer: The insulation layer in these materials is mostly made of the same material of which the door is made. They provide little to no insulation and are recommended for areas that have a temperate climate.
- Double layer: In addition to having the outer layer that makes up the door, these doors have an inner layer, usually made of polystyrene, that provides the added insulation. We recommend them for people living in mild-to-moderate weather conditions.
- Triple-layer: Triple-layer doors have two layers (of either polystyrene or polyurethane) between the two outer sheets of home door material. It goes without saying that they minimize the heat transfer to and from your home.
Material of construction
One of the following four materials are primarily used for the construction of garage doors. Each has its own pros and cons which demand your attention. Choosing the wrong material might impact how well (or poorly) the door will insulate your indoors.
- Steel: Due to its robust build and impact-resistance construction, steel is low-maintenance and durable. It is available in multiple designs and can quickly wrap around foam or vinyl insulation layers to provide you with double or triple layer doors.
- Aluminum: Are you looking to give your main entrance an updated look? Then you won’t go wrong with aluminum doors. However, since aluminum is less thick than steel, it provides relatively weak insulated doors.
- Glass: Salespersons at your local hardware store would be at pains to tell you that no exterior door is entirely made of glass. They aren’t wrong. Glass door manufacturers combine glass with a metal frame to increase these models’ insulating properties.
- Wood: Their traditional looks, strong appeal and availability in conservative as well as modern colors make wooden doors the preferred choice of the majority. The insulation that these doors provide isn’t any bad either.
What you’ll need for Building an Insulated Exterior Door
Here’s a list of all the tools and equipment you’ll need:
- Two ¼’’ sheets of plywood
- Four 1’’-by-4’’ wood planks
- Sixty 1’’ wood screws
- One 1’’ sheet of rigid insulation foam
- Wood glue
- Clamps, measuring tape, miter saw
- Drill with a drill bit
- Goggles, gloves and dust mask
- Circular saw
- Pencil
Step-by-Step Guide on how to build an insulated exterior door
Go through this video and follow the below-mentioned steps to build an insulated exterior door:
Step 1: Cut the planks
To build a standard size (4’-by-6’) insulated exterior door, use a miter saw to cut your 1’’-by-4’’ plans into two 68-inch planks, one 40-inch plank, and two 48-inch planks.
-
Sale!

Swing Stop Bottom Adjustable Roller Flooring Barn Door Hardware
Original price was: $44.99.$33.99Current price is: $33.99. -
Sale!

Low Noise Floor Guide Adjustable Length Barn Door Hardware
Original price was: $15.99.$11.99Current price is: $11.99.Select options This product has multiple variants. The options may be chosen on the product page -
Sale!

Antique Big Rollers Steel Sliding Barn Door Hardware
Original price was: $187.99.$140.99Current price is: $140.99.


Step 2: Cut the door panels
Use a pencil to mark a 72’’-by-48’’ rectangle on both sheets of plywood. These are going to be your door panels. Use a circular saw to cut the marked area out of the sheets of plywood.
Step 3: Add horizontal edges of insulation frame
Spread wood glue on the faces of both 48-inch planks you cut in the first step. Then, lay both the wood panels on the planks – one on each plank – and clamp them into place along the horizontal edges of the planks.
Once you have clamped the planks, mark them at 8-inch intervals. Remove the clamps after you have drilled wood screws into these marks.
Step 4: Add vertical edges of insulation frame
Spread wood glue on the faces of both 68-inch plans you cut in the first step. Then, lay both the wood panels – one on each plank – and clamp them into place along the vertical edges of the plank. The rest of the procedure for this step is the same as that of the previous step.
-
Sale!
Free Punch Glass Door Sliding Door Knobs Suction Cup
Original price was: $12.99.$9.99Current price is: $9.99.Select options This product has multiple variants. The options may be chosen on the product page -
Sale!
Window Cabinet Drawer Handles Self-adhesive Door Knobs
Original price was: $12.99.$9.99Current price is: $9.99.Select options This product has multiple variants. The options may be chosen on the product page -
Sale!
Upscale Sliding Door Knob With Double-sided Tape for Kitchen Door Wardrobe
Original price was: $12.99.$9.99Current price is: $9.99.Select options This product has multiple variants. The options may be chosen on the product page


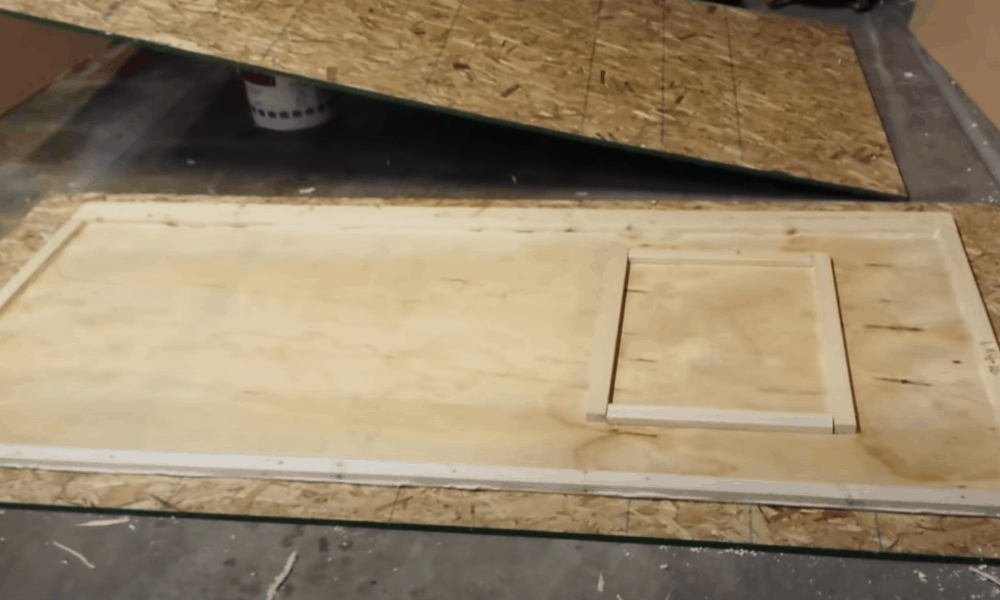
Step 5: Add the middle plank
The 40-inch plank will serve as the support point for the entire door. Add this plank by inserting it into the door’s vertical midpoint and gluing it into place.
Make sure that the edges of the 40-inch plank have fitted within the 68-inch vertical planks’ interior frame. Then, screw the former 40’’ plank into place.
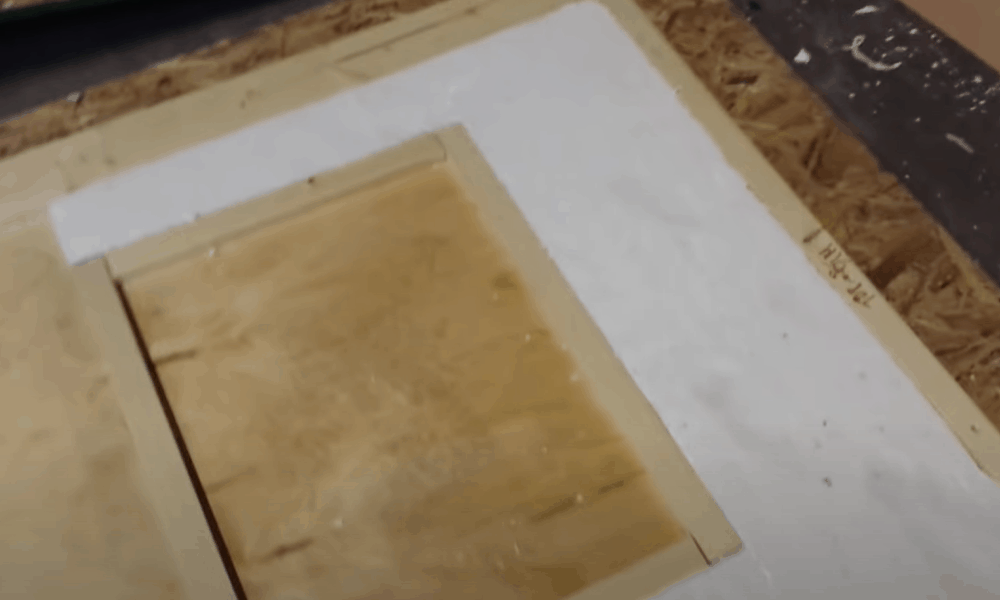
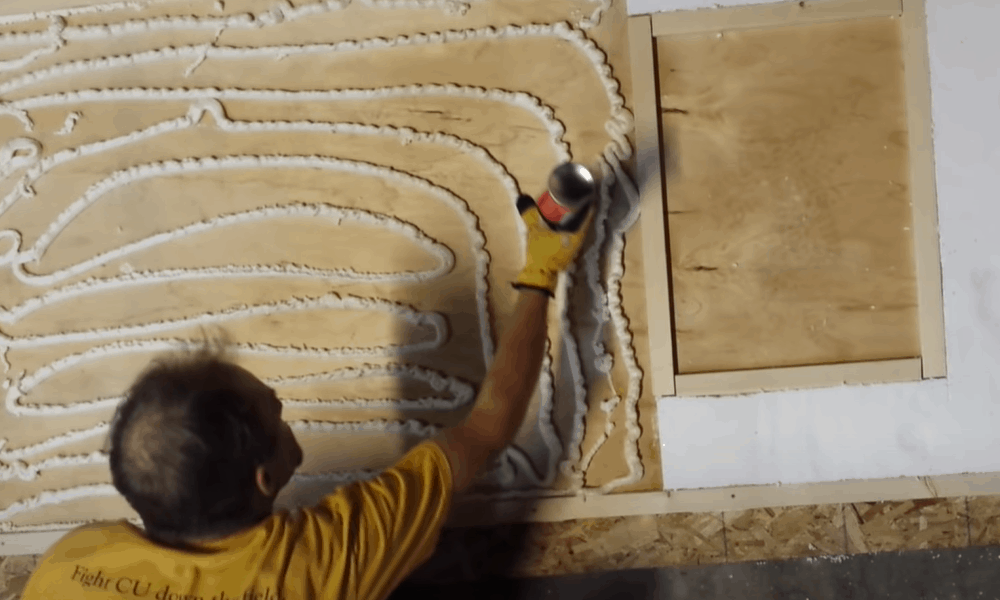
Step 6: Add the insulation
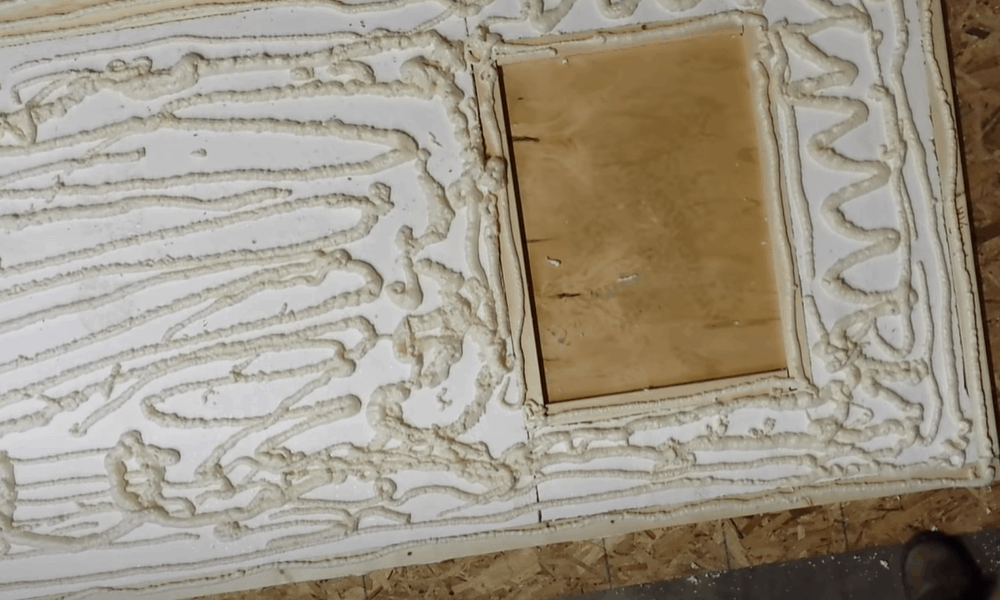
On the completion of the previous steps, you’ll have two 40-inches-by-32-inches frames. Both of them will be hollow. Fill them by inserting into these frames the rigid insulation foam after cutting it to fit the sizes of the frames.
To make sure that the frame’s interior edges will support the insulation, spread glue on them. Then, press the foam section into them. Keep on applying the pressure until the foam sections stand snug alongside the frames without any support.
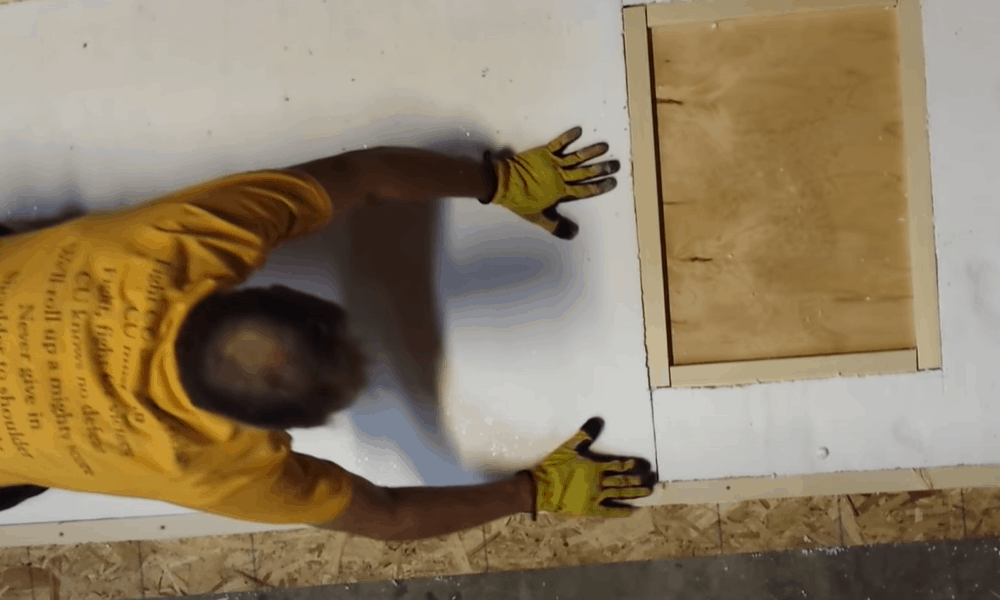
Final Step: Finish the door
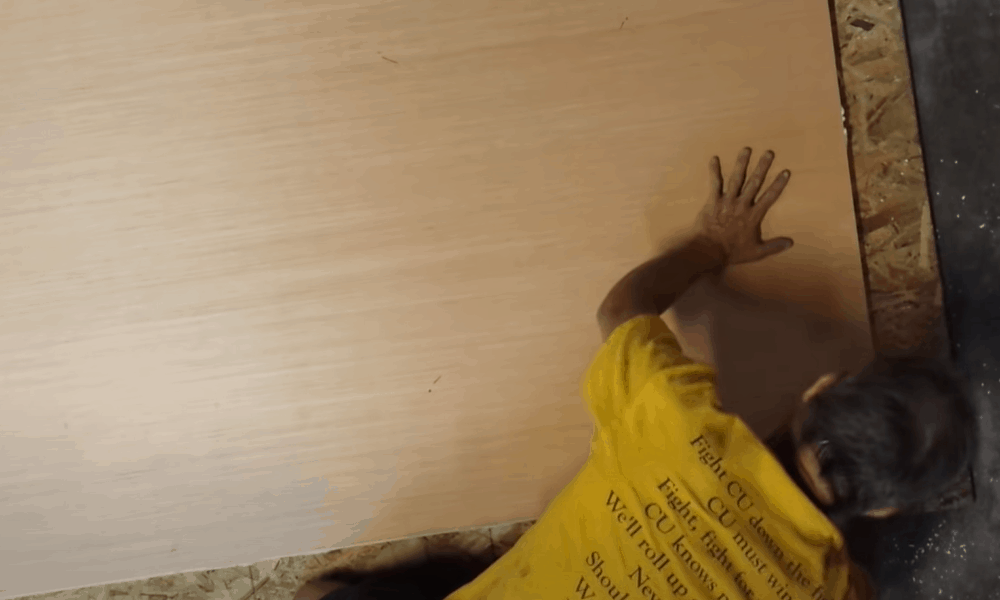
You have already built an exterior insulated door. The only thing that remains to be done is for you to take the remaining sheet of plywood, lay it flush on the door’s frame, and clamp it into place.
-
Sale!
Home Entrance Anti-Slip Coral Fleece Door Mat
Original price was: $12.99.$9.99Current price is: $9.99.Select options This product has multiple variants. The options may be chosen on the product page -
Sale!
Semicircular Cartoon Welcome Entrance Door Mat
Original price was: $12.99.$9.99Current price is: $9.99.Select options This product has multiple variants. The options may be chosen on the product page -
Sale!
Anti-skid Water Absorption Bathroom Door Mat
Original price was: $12.99.$9.99Current price is: $9.99.Select options This product has multiple variants. The options may be chosen on the product page


Follow this up by marking holes at 8-inch intervals along the central interior plan and the perimeter. Drill screws into these holes. Then, add hinges and a doorknob to the finished door to make it functional.
Conclusion
Summarizing everything we have said thus far, insulated exterior doors are great for keeping noise out, heat in, and external weather elements away from your doorstep.
Building them isn’t easy, as you might have guessed by now, but it isn’t impossible either. A little effort from your side, as well as the determination to follow the steps outlined above, will let you build your very own exterior insulated door.