How to Glaze a Window? (Step-By-Step Tutorial)

Age and weather can affect the condition of a regular framed window. Also, the glazing putty that bonds the glass could become weak or crack, thereby leading to leaks or rotten window frames. With this in mind, you can avoid these problems by reglazing the glass.
Apart from replacing broken or old pane, knowing how to glaze a window will keep your home safe and cut energy costs. To carry out this DIY window glazing project, you need to have some simple tools and safety equipment handy.
In this article, we have provided easy steps on how to glaze a window with two methods – window glazing putty vs caulk.
How to Glaze a Window with Putty
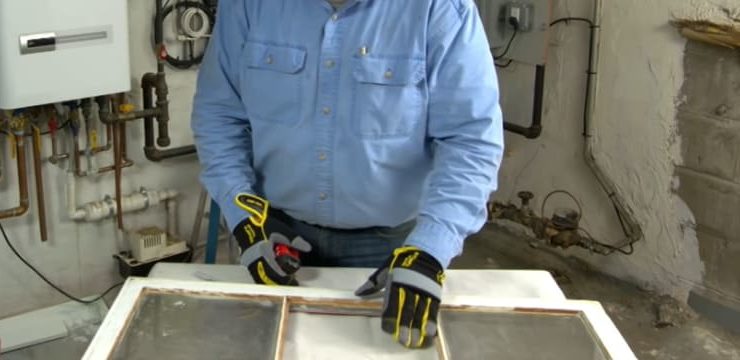
Step 1: Inspect the Window
Before carrying out the task of how to glaze a window, examine every inch of the exterior. If you notice a few tiny cracks, there’s no need to fix it. But if there is no glazing present or you have it have deeper cracks, consider reglazing the window.
Step 2: Take Out the Sash
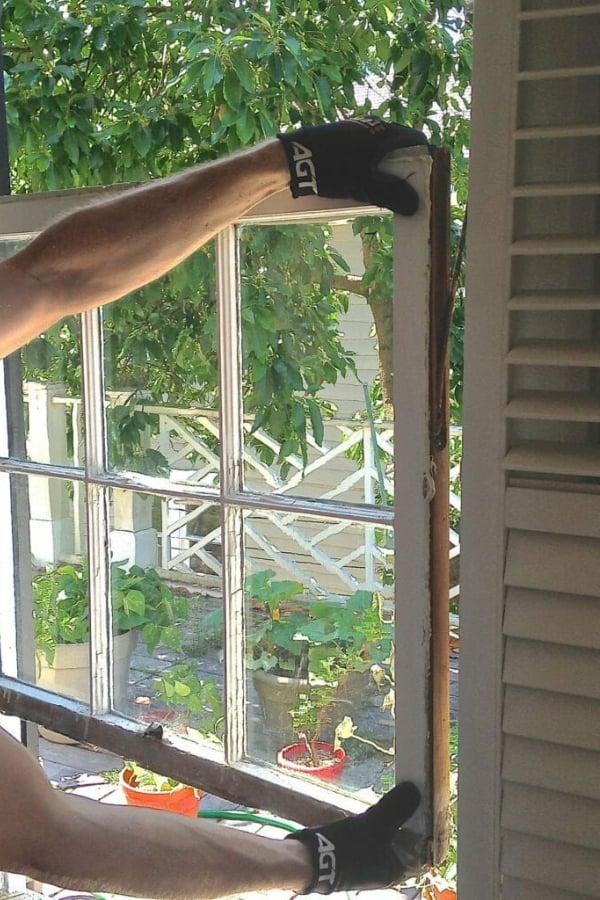
Start by removing the sash – this is the part of your window that shuts and opens. To perform this task, head to the outer part of the window interior and extract the long, slim pieces of wood.
Usually, screws hold down the stops of a window. However, painted stops will have screws covered in paint. If you want to remove screws from coated stops, use a blade to gently cut the paint line.
Since old windows use lead paint, they can be toxic to your health. With this in mind, ensure you follow safety rules that guide this activity.
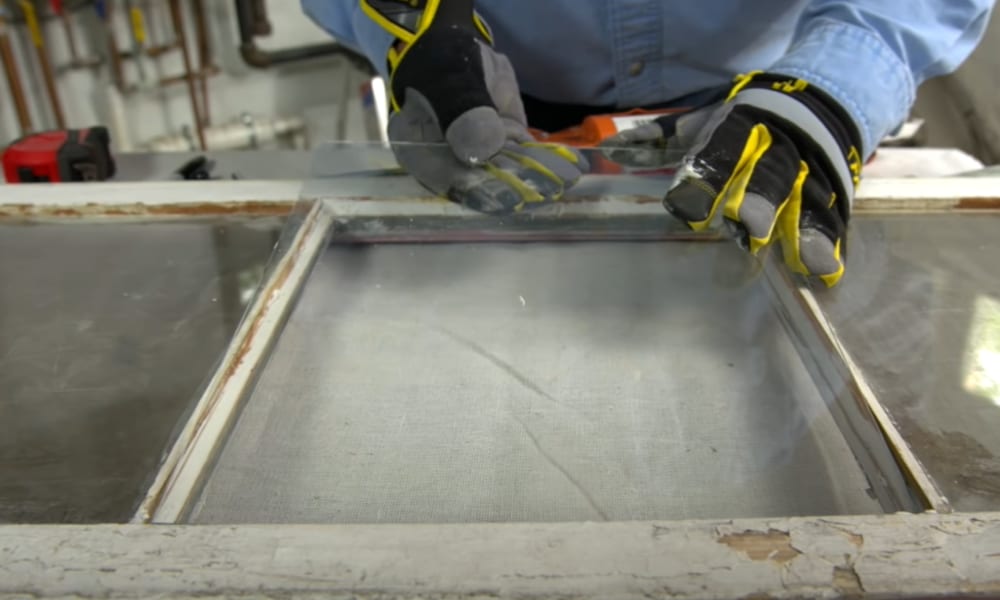
Step 3: Take out the Damaged Glazing
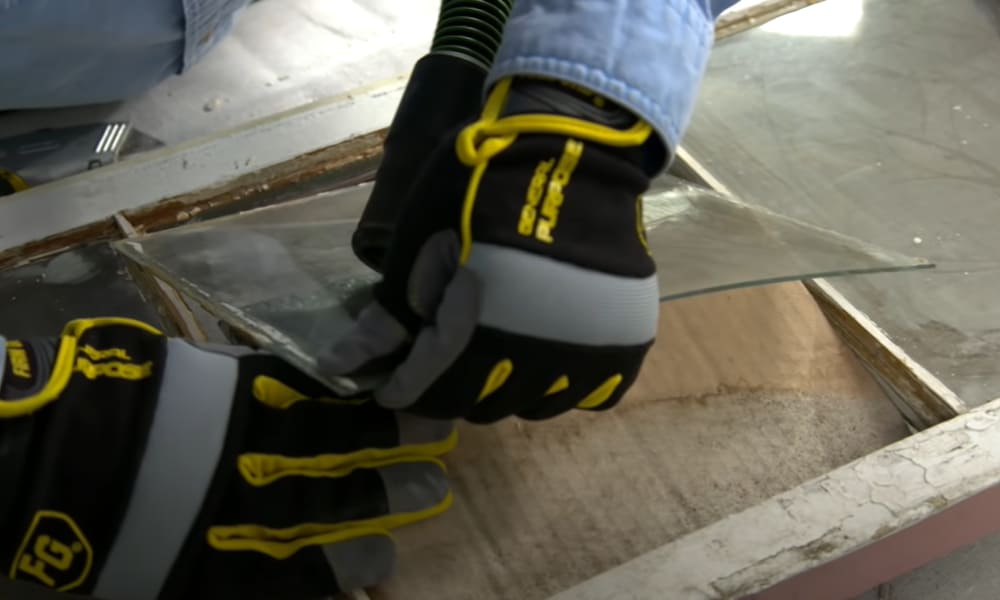
At this point, prepare to discard the old glazing. First, find a scraper or razor knife and break the glazing into small pieces. When finished, you should notice a few bits on the glass or wood.
Gently pry out the glazing as sudden movements can deface the wood frame or window itself. It will help if you use a heat gun because this tool can weaken the glazing. After some time, the material will fall off on its own.
But the excess heat from these tools can affect the paint that surrounds the frame. For this reason, you might have to scrape and repaint the whole window.
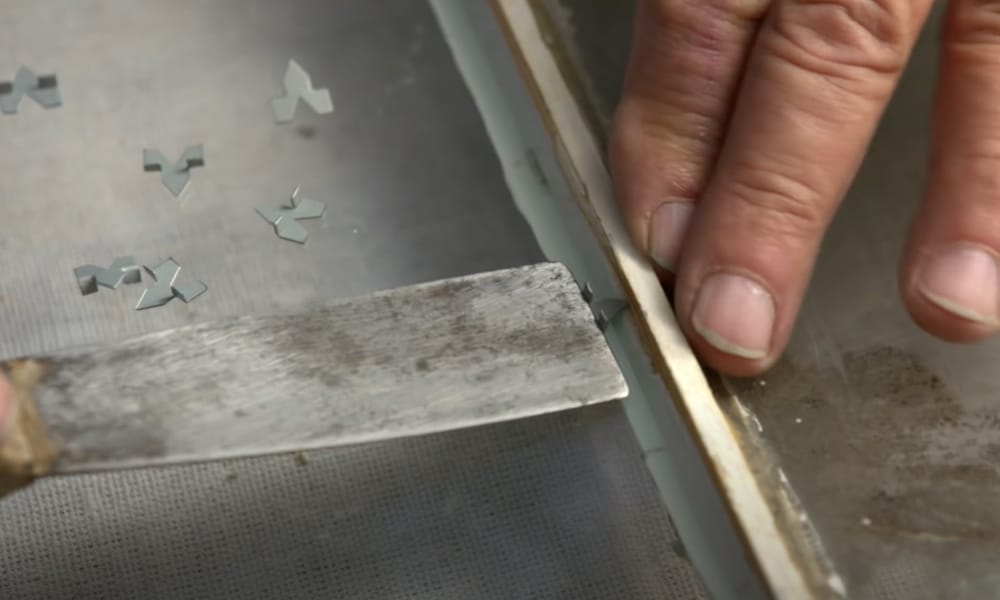
You can use any method you like. But look out for the tiny metal clips that secure the window pane. You can find these items inside the glazing. To take them out, expose them, and remove them with a set of pliers.
-
Sale!

Universal Hook Up Nailfree Window Blinds
Original price was: $53.99.$40.99Current price is: $40.99.Select options This product has multiple variants. The options may be chosen on the product page -
Sale!
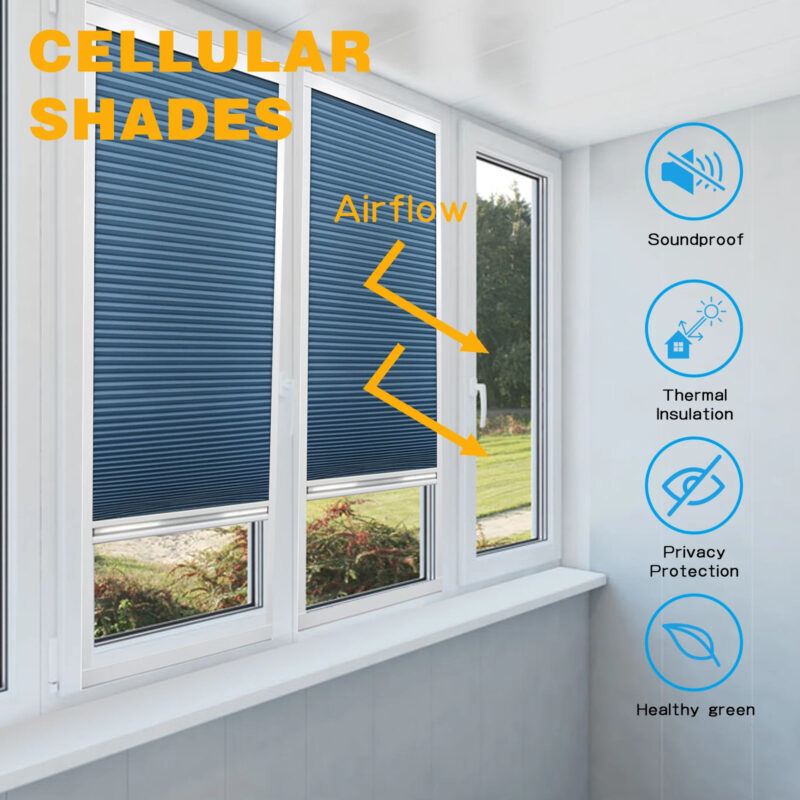
Cellular Honeycomb Fabric Window Blinds
Original price was: $166.99.$124.99Current price is: $124.99.Select options This product has multiple variants. The options may be chosen on the product page -
Sale!
Creative Drape Modern Tulle Window Blinds
Original price was: $12.99.$9.99Current price is: $9.99.Select options This product has multiple variants. The options may be chosen on the product page

Step 4: Inspect the Wood Frame
After getting rid of the glazing, check the wood for any damage. If you find any cracks, you can patch them with two-part epoxy. Then, shape and sand the material until it smoothens out with the wood.
Now you might start preparing the uncovered layer of wood for painting. Since there’s no general rule, you can carry out this task or skip it. However, experts prefer leaving the freshly uncovered wood in their original state. They believe that if the wood has a perfect condition that is a sign that the glazing oil protects it.
Step 5: Install the Glass
If you want to replace a broken piece of glass, now is the best time. Measure the distance between both sides of the wood opening. To get the right fit, deduct to a one-eight inch. By taking this step, the area can carry the glass and the metal clips on the glazing.
You can cut request the hardware store expert to cut out the piece of glass base on your measurement. Then, add a little glazing compound on the frame. Place the glass against it and hold it with a new set of glazier’s points. Round up by pushing the clips into the frame with a putty knife.
Step 6: Apply the Window Putty
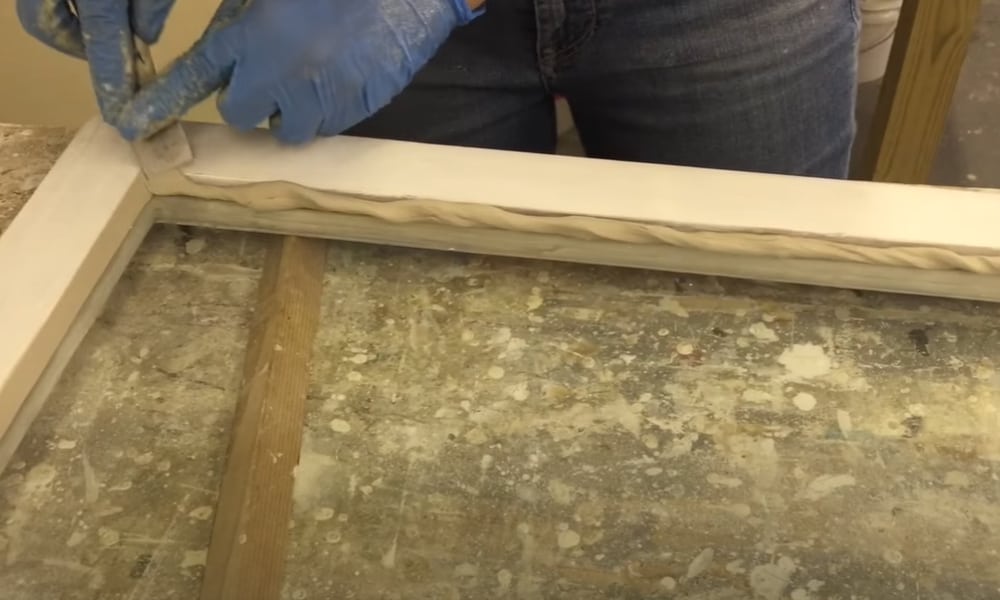
Now you have reached the final of process on how to glaze a window. Ensure to get the best window glazing putty that you can find. At an affordable price, you can get this item from any hardware store.
For the best results, use at room temperature. Then, take a golf ball size of the putty in your hand and work it out for a few minutes. When it becomes pliable, roll it out, and apply the material to the corner of the windowpane. Avoid forcing the rolled-up putty.
Get a putty knife and use it to push the glazing into the frame and glass. Remember to use the blade to smoothen the glazing and get rid of any excesses around the window. The aim is to make the interior edge of the glazing line with the wood mullion on the opposite side of the glass.
Place the knife on the glazing and move it lengthwise as this will create an even surface. For a professional finish, aim for a single pass on each side. If you want to get rid of the extra glazing, scrape it up with the edge of the blade and move the sticky material to the middle of the windowpane.
-
Sale!
Romantic Lace Sheer Partition Window Curtains
Original price was: $28.99.$21.99Current price is: $21.99.Select options This product has multiple variants. The options may be chosen on the product page -
Sale!
Party Wedding Sequence Backdrop Sequin Window Curtains
Original price was: $30.99.$23.99Current price is: $23.99.Select options This product has multiple variants. The options may be chosen on the product page -
Sale!
Jacquard Leaf Designer Window Curtains
Original price was: $77.99.$58.99Current price is: $58.99.Select options This product has multiple variants. The options may be chosen on the product page

Step 7: Cover the Glazing in Paint
Window glazing putty takes a long time to cure. For this purpose, you will have to wait for a week, especially if you want to add some paint.
During this period, you can place the window in its original position. If you have any stains on the glazing, do not clean it off. Instead, wait for it to dry, then you can get rid of the dirt.
Once it cures well, coat it with an oil-based primer from a reputable brand. But when applying this paint, ensure to lap it at least one-sixteenth inch onto the glass. If you neglect this guide, the glazing will hold up well for a long time.
How to Glaze a Window with Silicone Caulk
Step 1: Get Rid of the Existing Putty and Window Pane
Grab a utility knife and head to the area that lies between the glass and the frame which encloses the window pane. Then, slide in the tip of the blade into this space and slice up any existing putty or caulk.
Pull out the stops that hold the glass to the window frame. At this point, you should take the flattened tip of a screwdriver and slide between the stop and frame. When the tool gets into position, pull the screwdriver handle upwards.
Immediately the stops come off, keep them in a safe place. Then, gently separate the glass from the frame. You can get rid of excess putty by moving the knife on both faces of the glass.
Step 2: Add the Silicone Caulk
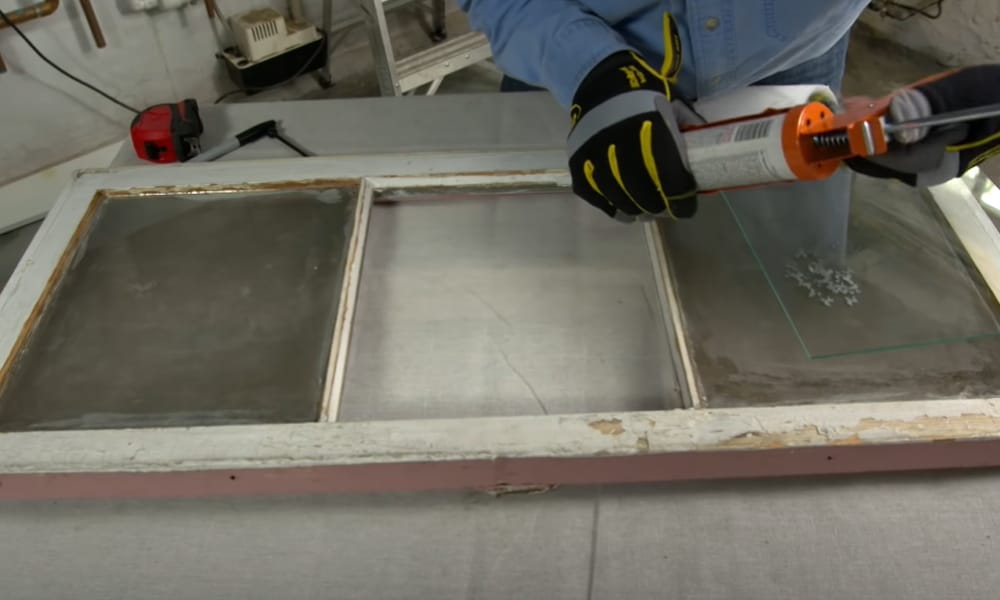
Fix a tube of silicone caulk to a caulk gun. Squeeze out a bead of this compound and apply it on the surface of the frame that will touch the glass. Next, measure 5 to 6 inches from all corners of the window frame and place a setting block. Ensure that the block enters the caulk completely.
Step 3: Put the Glass Back into Position
Attach the glass to the silicone caulk. Then, place one wood stop on the window. Hold down the stop by carefully driving two nails with a hammer.
Repeat this process on all stops on the window. Now, moisten your finger and run it over the silicone caulk. You will have to do this to smoothen out the caulk with the window.
Step 4: Allow the Caulk to Cure
Unlike metal window glazing putty, caulk dries quickly. To allow it to cure completely, you should wait for at least 24 hours. When the caulk becomes thick, you should move the knife across the glass to remove the excess compound.
-
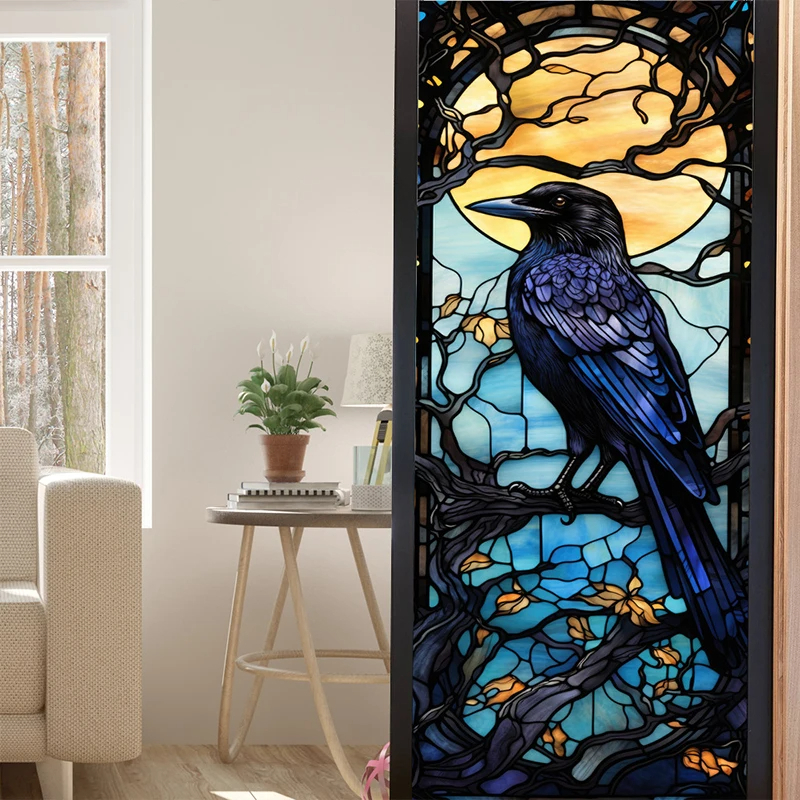
Sale!
Stained Halloween Crow Colored Glass PVC Window Film Privacy Stickers
Original price was: $16.99.$12.99Current price is: $12.99.Select options This product has multiple variants. The options may be chosen on the product page -
Sale!
Stained Static Cling Window Film Privacy Appliedsative Bathroom Shower Door
Original price was: $20.99.$15.99Current price is: $15.99.Select options This product has multiple variants. The options may be chosen on the product page -
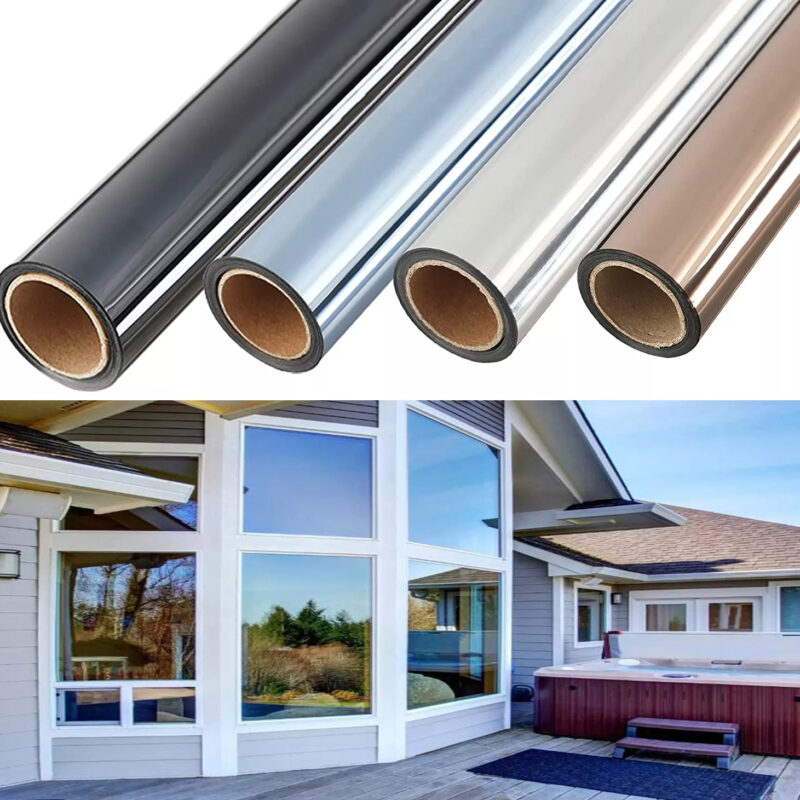
Sale!
One Way Mirror Anti UV Window Film Privacy for Home Office Living Room
Original price was: $21.99.$16.99Current price is: $16.99.Select options This product has multiple variants. The options may be chosen on the product page

Conclusion
With everything mentioned above, you don’t need to ask what is a window frame glazing. If you want framed windows to perform better and last longer, you should know how to glaze a window. Since vehicles don’t need this, you won’t have to worry about window regulators.
If you want to use metal window glazing putty or any similar product for this project, check out the damage on the frame and replace the glass with the steps in this article.
Apart from putty, other window glazing putty alternatives like silicone caulk will also work great. So if you prefer glazing windows with caulk, ensure to remove the windowpane, and then apply new caulk.
If you plan to do a black window glazing or any other types, you can decide to use the putty or silicone caulk.