3 Easy Ways to Remove Door Lock

Multiple reasons explain why you may want to learn how to remove door lock. You might be suspecting that someone other than your family members has the key to the lock. This realization might put doubts in your mind about the safety of your home, and there’s no reason why it shouldn’t.
Provided that isn’t the case and you merely want to remove the lock to have it rekeyed by a professional, even then you can remove it on your own. There’s no need for you to pay big bucks to a lockmaster to do the job. All you need is a simple set of tools and proper instructions.
Before you remove the door lock
You must know its type. Knowing the category to which the lock belongs will determine which of the following methods you can use. Unless you spent over the top on its purchase, either a knob or a cylinder lock is guarding your door. Both are available at fairly reasonable prices.
However, if you remember paying extra for the locks back when you were building your home, chances are that you are going to deal with a mortise lock. They are also common but seems to have fallen out of fashion of late.
Removing a Door Lock
Depending on the type of door lock you may have, you can use one of the following three methods:
Method One: Removing a Doorknob lock
Here’s how you can remove a doorknob lock:
What you’ll need?
- Philips head screwdriver
- Paper clip or wire
- Flathead screwdriver
Step-by-Step Guide (for door knob lock with screws)
Step 1: Remove screws from the lock
You might be able to see two screws underneath the doorknob, securing the lock to the door. Unscrew them with a Philips head screwdriver.
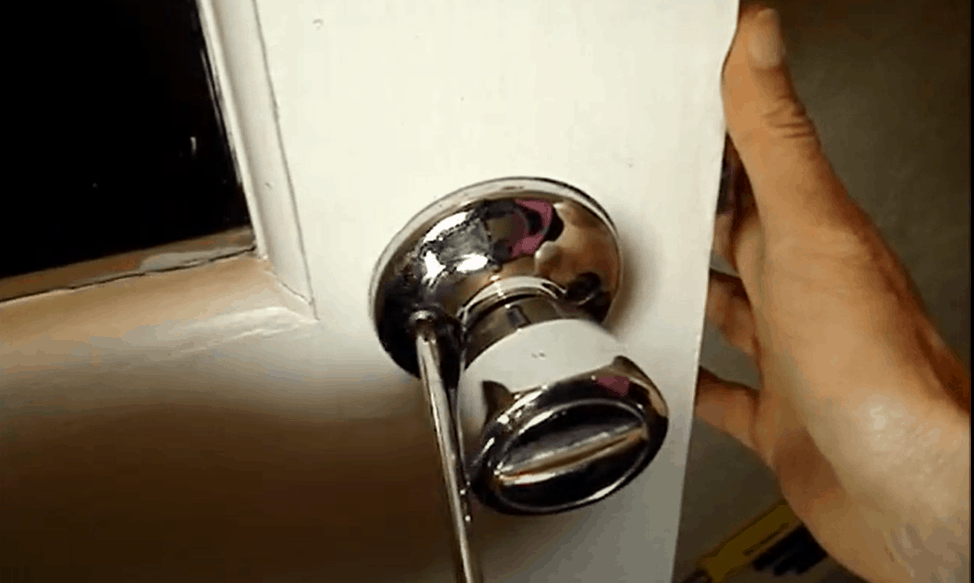
Step 2: Remove the doorknobs
Once you have loosened the screws, pull the doorknobs away from the door. Remove both interior and exterior doorknobs.
Step 3: Unscrew the faceplate and remove the latch
The faceplate will have two screws attaching it to the door. Unscrew them both with the Philips head screwdriver. Afterward, grab the latch with your dominant hand and pull the entire assembly out.
-
Sale!

Swing Stop Bottom Adjustable Roller Flooring Barn Door Hardware
Original price was: $44.99.$33.99Current price is: $33.99. -
Sale!

Low Noise Floor Guide Adjustable Length Barn Door Hardware
Original price was: $15.99.$11.99Current price is: $11.99.Select options This product has multiple variants. The options may be chosen on the product page -
Sale!

Antique Big Rollers Steel Sliding Barn Door Hardware
Original price was: $187.99.$140.99Current price is: $140.99.


Step-by-Step Guide (for door knob lock without screws)
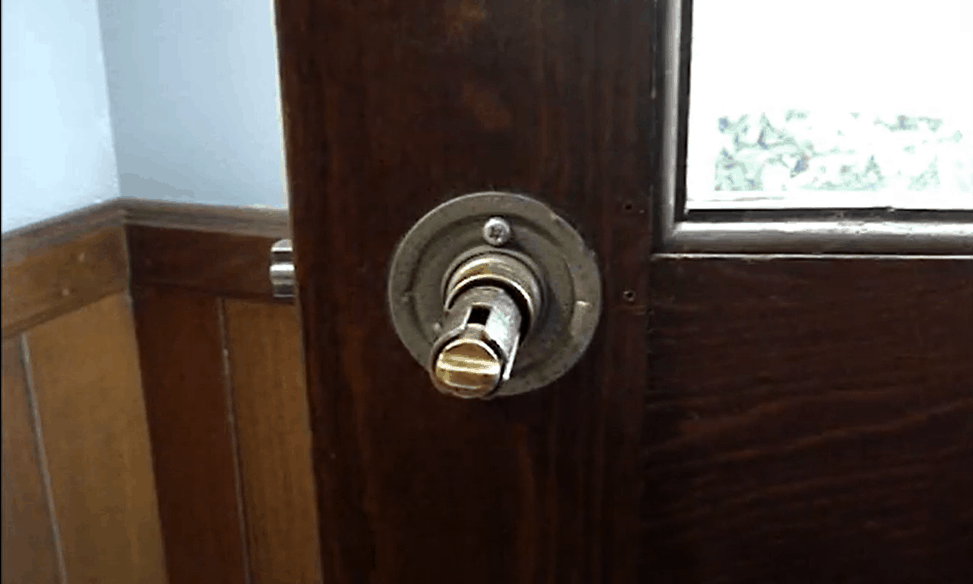
Step 1: Locate the slo
Also known as the latch, the slot is inside the lock, on the shank. It’s a small rectangular shaped hole that plays a significant part in locking/unlocking the door. Look on the other side of the knob if you cannot locate the slot on one side.
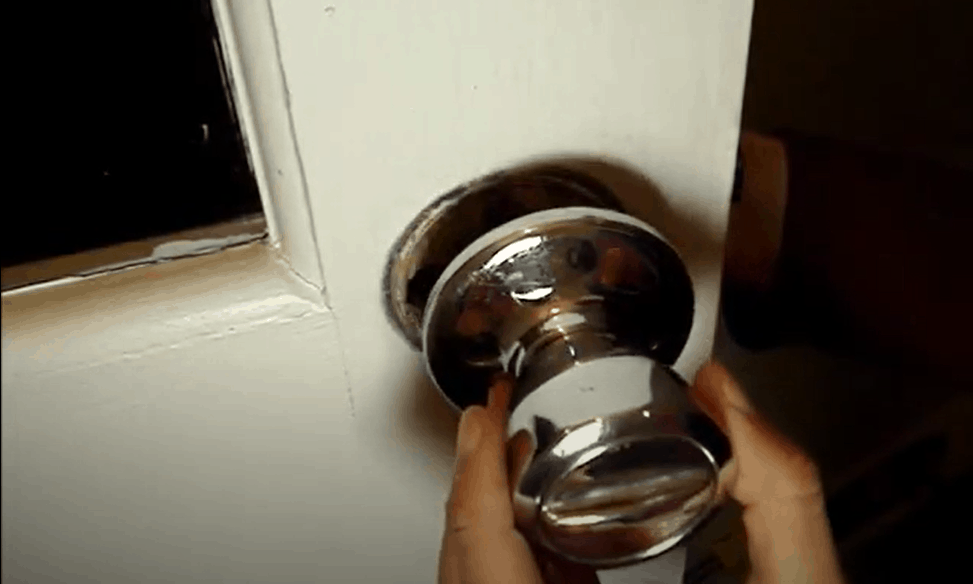
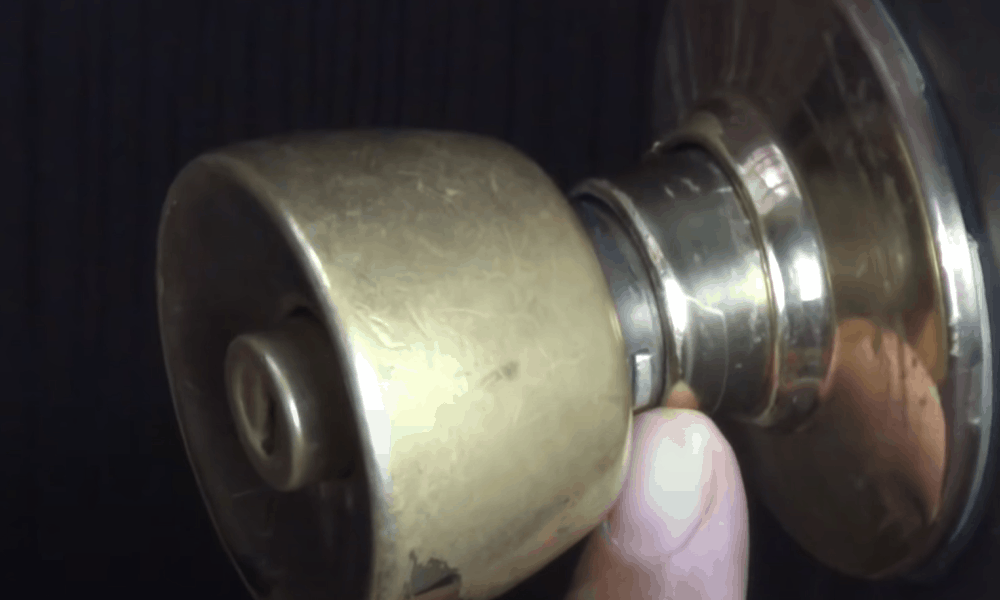
Step 2: Remove the knob
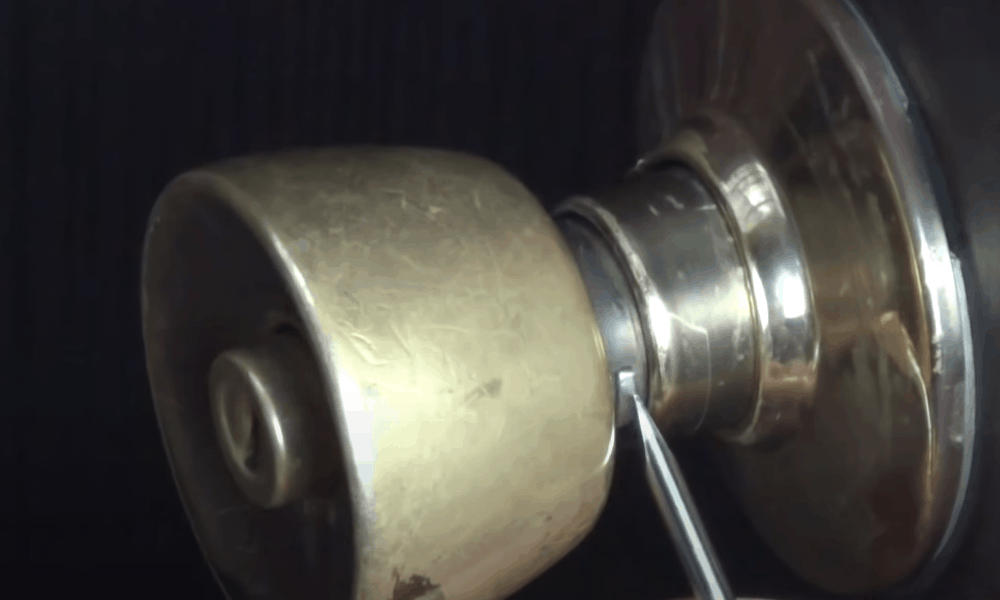
Use a paper clip to press the release button that is inside the slot. It tends to run very small, so you have to look carefully to find it. Once you depress the button with a paper clip or wire, the interior knob will release from the door.
Step 3: Remove interior and exterior rose plate
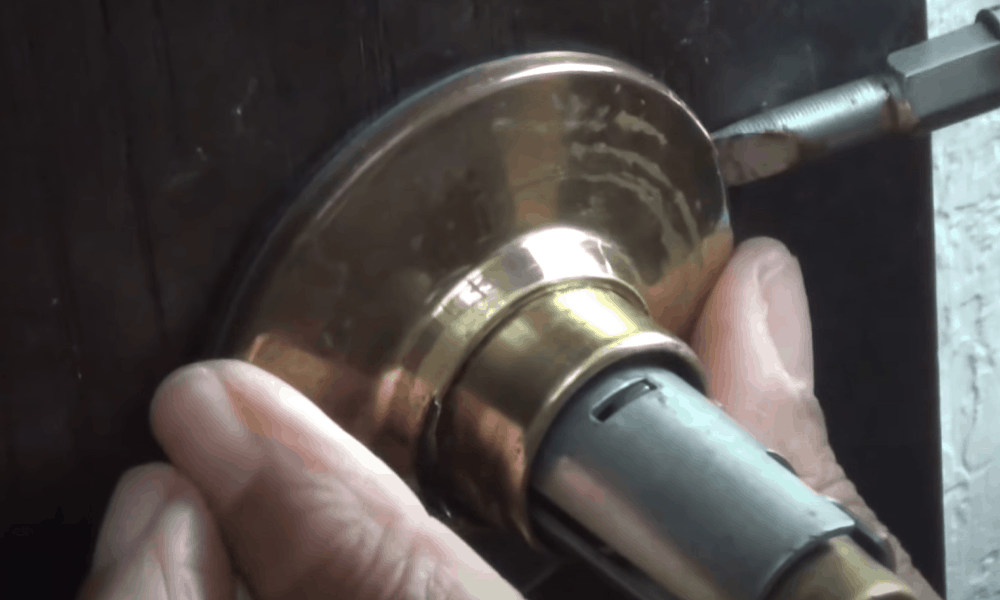
Use a flat head screwdriver to pry the exterior rose plate away from the door. Outer rose plates usually have a small slot for this purpose. After removing it, you’ll be able to see the screws holding the inner rose plate in place. Unscrew them.
Step 4: Remove faceplate and the doorknob
After removing both the rose plates, you can easily remove the faceplate by unscrewing it with a flat head screwdriver. Then, grab the doorknob and pull it away.
Method Two: Removing a Cylinder knob lock
Here’s how you can remove a cylinder knob lock:
What you’ll need?
- Philips head screwdriver
- Flathead screwdriver
- Allen wrench
- Flashlight
Step-by-step guide
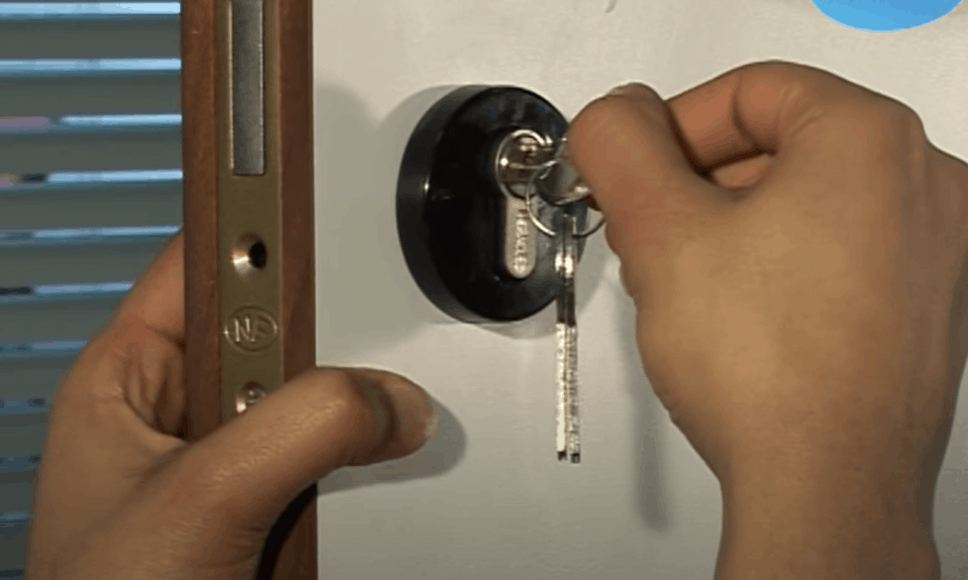
Step 1: Remove the screws

While standing on the inner side of the door, use the Philips head screwdriver to remove the screws attaching the lock to the door.
-
Sale!
Free Punch Glass Door Sliding Door Knobs Suction Cup
Original price was: $12.99.$9.99Current price is: $9.99.Select options This product has multiple variants. The options may be chosen on the product page -
Sale!
Window Cabinet Drawer Handles Self-adhesive Door Knobs
Original price was: $12.99.$9.99Current price is: $9.99.Select options This product has multiple variants. The options may be chosen on the product page -
Sale!
Upscale Sliding Door Knob With Double-sided Tape for Kitchen Door Wardrobe
Original price was: $12.99.$9.99Current price is: $9.99.Select options This product has multiple variants. The options may be chosen on the product page


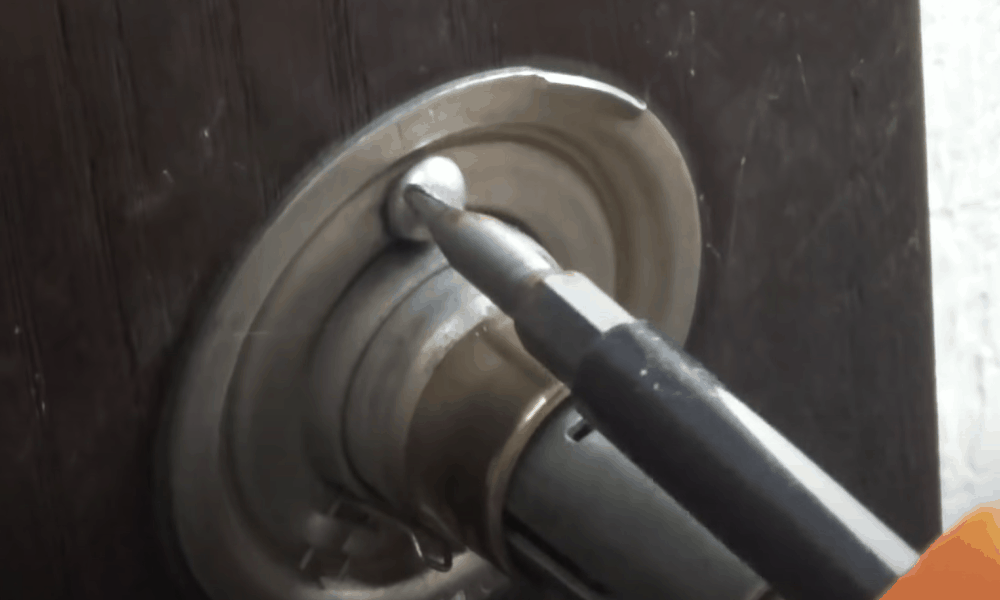
Step 2: Remove the spindle
Using the flat head screwdriver, turn the spindle of the lock in a counterclockwise direction. You can do that by inserting the screwdriver into the lock.
Keep on turning the spindle until it stops. At that moment, you’ll be able to see the square tab holding the door and the spindle together. Once again turn to the flat head screwdriver and use it to push on the tab. This will make the spindle pop out of its casing.
Step 3: Remove the cylinder
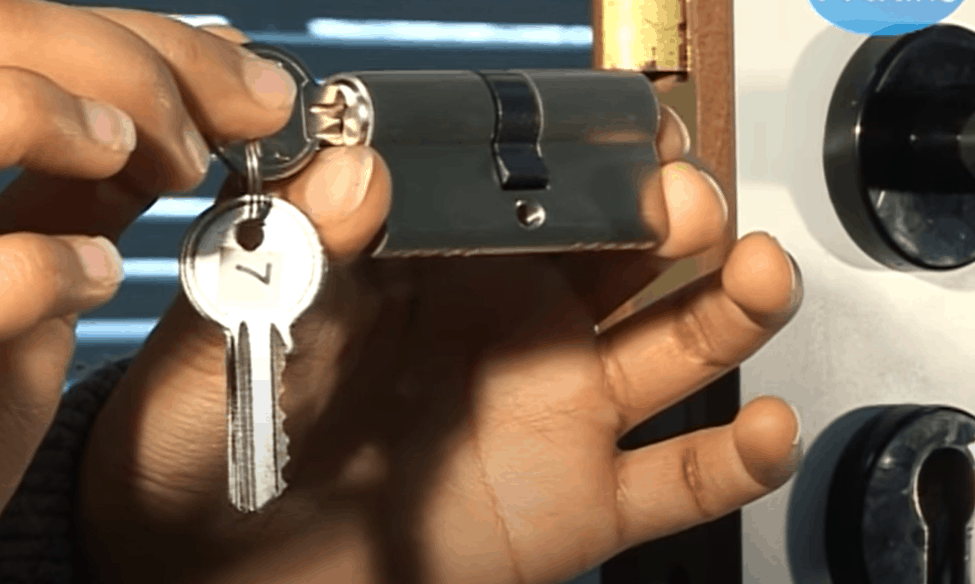
With the spindle no longer protecting it, you’ll be able to inspect the lock’s housing. Aim a flashlight inside the housing and search for a small tab. Once you have found it, press it with the flat head screwdriver. This will release the cylinder.
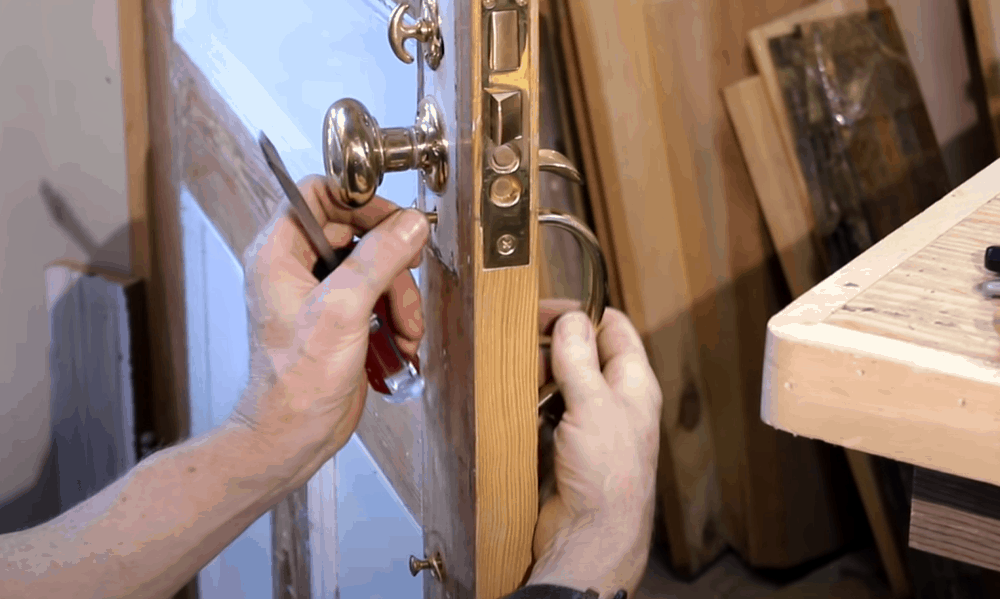
Method Three: Removing a mortise lock
Here’s how you can remove a mortise lock:
What you’ll need?
- Philips head screwdriver
- Flathead screwdriver
- Wood glue
Step-by-step guide
Step 1: Locate and remove the set screw
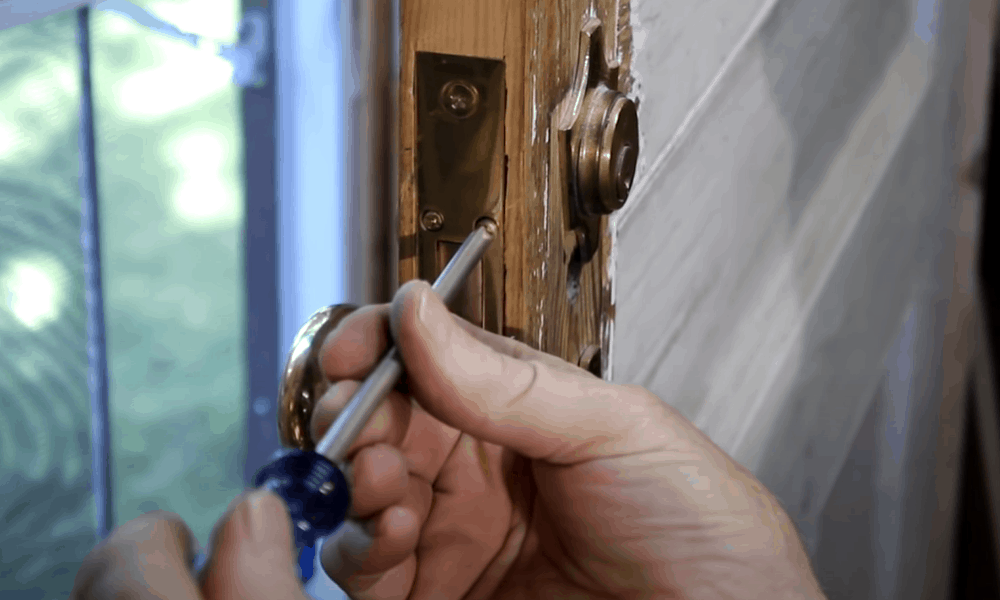
While facing the inner side of the door, remove the screw on the shank of the inside knob, the one which you use to lock/unlock the door.
Step 2: Unscrew the handle
The inner and outer handles will be screwed into each other via a spindle. You’ll, therefore, have to unscrew them to pull them apart. Trying to pull them away won’t get you the desired results.
Step 3: Remove the rose plates and faceplate
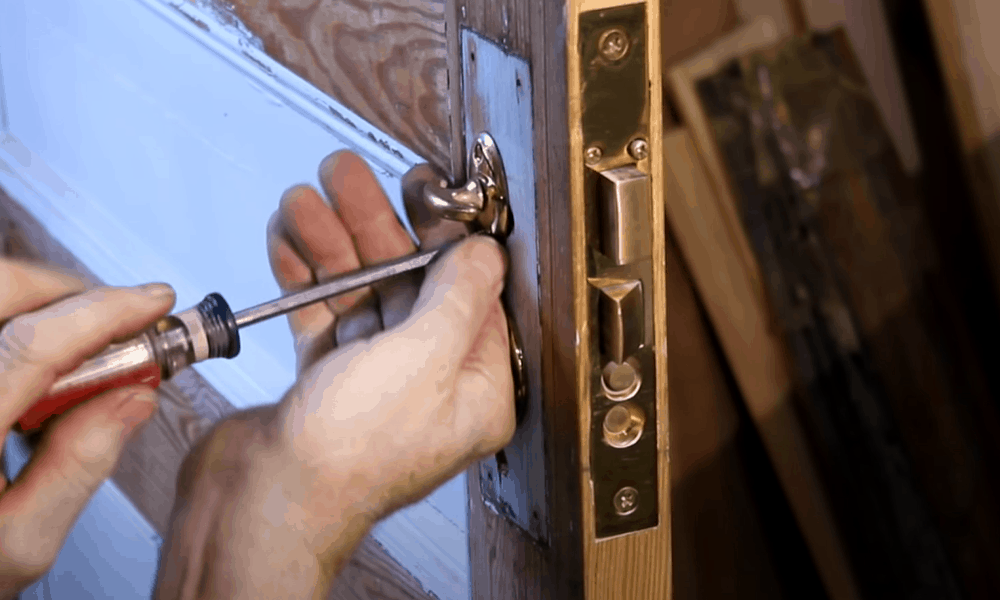
To remove the rose plates, use a Philips head screwdriver to loosen the screws on the external rose plate. This will loosen their assembly and make it easy for you to pull them apart.
-
Sale!
Home Entrance Anti-Slip Coral Fleece Door Mat
Original price was: $12.99.$9.99Current price is: $9.99.Select options This product has multiple variants. The options may be chosen on the product page -
Sale!
Semicircular Cartoon Welcome Entrance Door Mat
Original price was: $12.99.$9.99Current price is: $9.99.Select options This product has multiple variants. The options may be chosen on the product page -
Sale!
Anti-skid Water Absorption Bathroom Door Mat
Original price was: $12.99.$9.99Current price is: $9.99.Select options This product has multiple variants. The options may be chosen on the product page


Afterward, you’ll see two screws (one on the bottom, one on top) of the mortise lock’s faceplate. Unscrew them as well and remove the faceplate.
Step 4: Remove the mortise lock

Use both your hands to grab the mortise lock and pull it away by applying full force. You’ll now have a glaring hole in your door, which you can fill with wood glue and a piece of wood.
Conclusion
Removing the existing door locks might be essential when you move into a new place, experience a burglary or welcome a new roommate. It’s easy than most people make it to be and the entire process can be completed in a matter of minutes. Just follow the instructions given above and you’ll be good.