3 Easy Ways to Mortise a Door

A mortise is a hollow gap made on an object like a door or lock to fit in hardware. When created on a door, it enables the hinge to fit snugly. Moreover, to install the locks, you need to mortise a part of the door frame.
At some point, you might need to mortise a door before it can close well. Mortising a door gives clean lock installation of hinges and locks. You can save a little by buying the required door mortise kit and learning how to mortise a door jamb.
We have explained the procedures for how to mortise a door.
How to Mortise a Door with Chisel
With a power tool, you can cut a latch mortise on a door. All you need is the chisel, knife, and hammer. However, you can also use a mortising jig or router for the hinge. The router cuts through the door, guided by a jig fastened to it. This method is best if you have many mortises to cut.
Step 1: Ensure Your Hinge is Flush on the Door
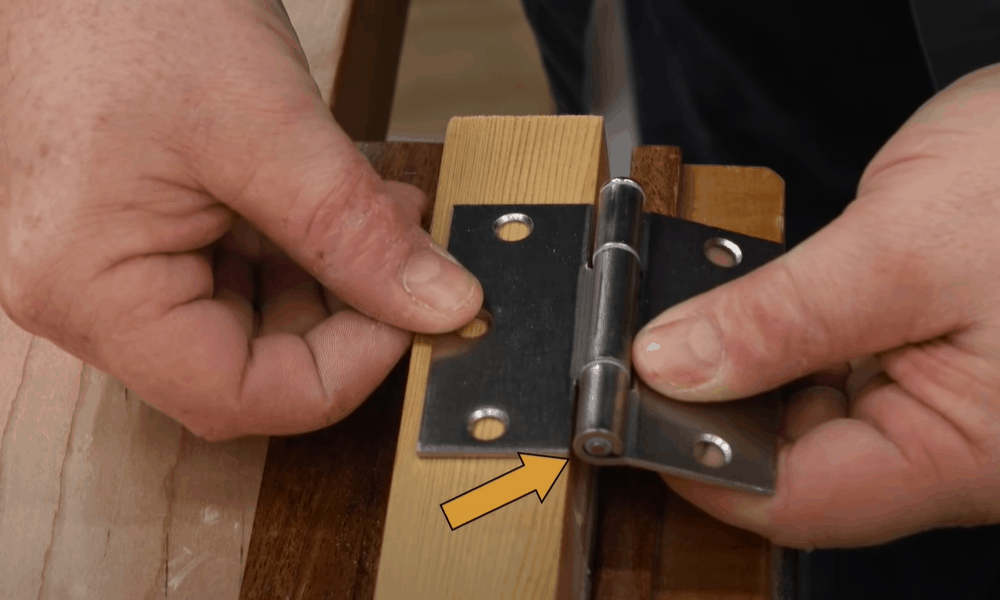
Ensure to place the hinges on the right spot. The best point for top hinges is 18cm beneath the top door, and 28cm above the bottom. The center hinge should be directly in the middle of the top and bottom hinge.
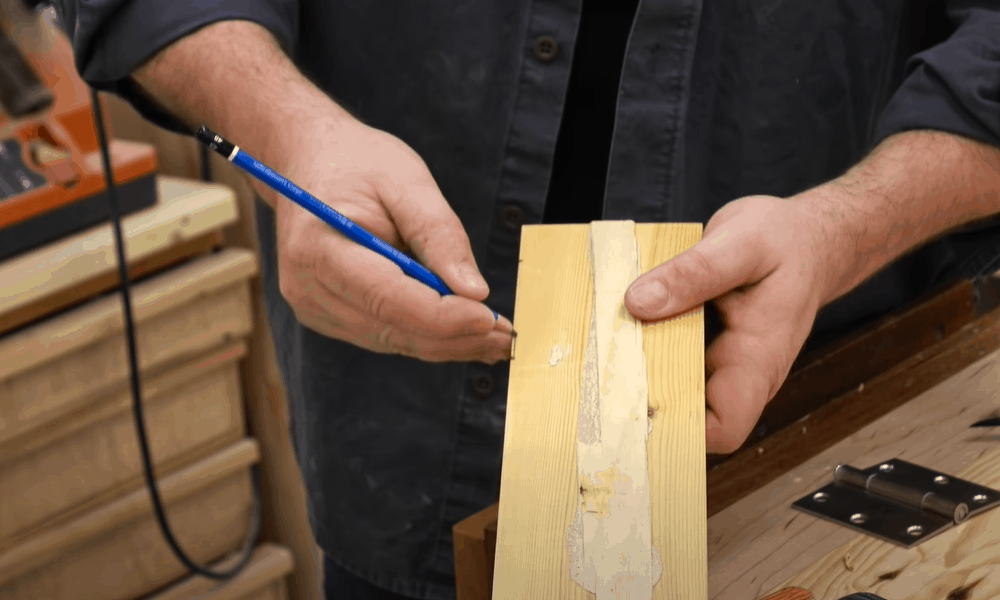
Step 2: Make a Mark Around the Hinge
After placing the hinge in its right position, use a pencil to outline it. Make sure you hold it steady before marking out because the lines will be your guide. Try to draw the lines repeatedly and straight so that you can see them with ease. Then, keep the hinge aside.
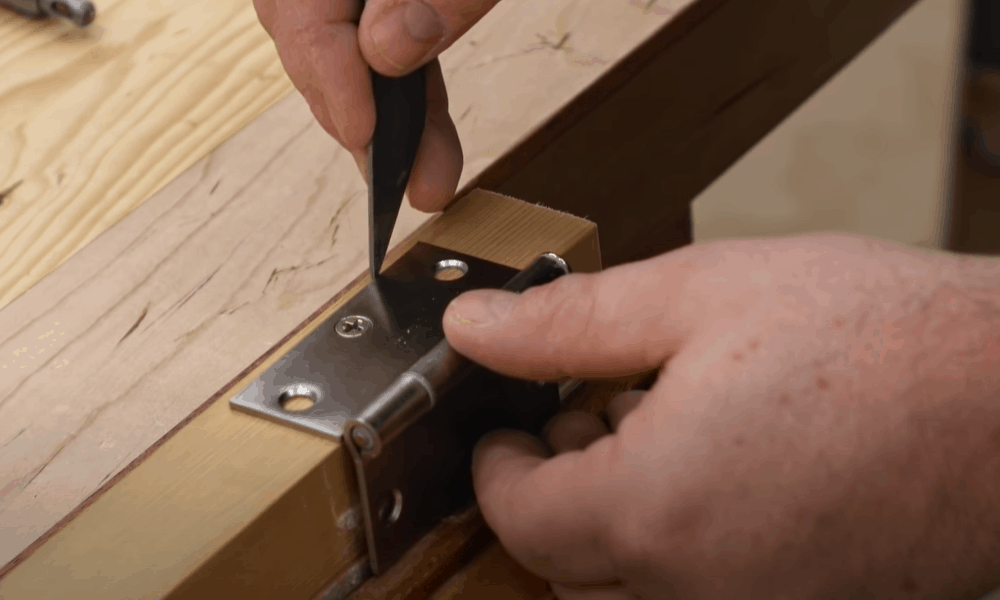
When you finish with the markings, use a knife to make an engravement on the lines. Ensure to make it to not less than 0.64cm. Gently pull the blade across the outline and create tiny seams for later use.
Step 3: Mark Out the Mortise Depth
Position one part of the hinge on the door’s backside. Then, outline with a pencil around the spot that is adjacent to the first marking. Now, score the lines with a utility knife, showing how deep you want the mortise.
Step 4: Chisel out the Mortise Line
-
Sale!

Fire Retardant Sunscreen Window Blinds
Original price was: $45.99.$34.99Current price is: $34.99.Select options This product has multiple variants. The options may be chosen on the product page -
Sale!
Light Filtering Zebra Window Blinds
Original price was: $37.99.$28.99Current price is: $28.99.Select options This product has multiple variants. The options may be chosen on the product page -
Sale!
Portable Blackout Stick On Window Blinds
Original price was: $21.99.$15.99Current price is: $15.99.

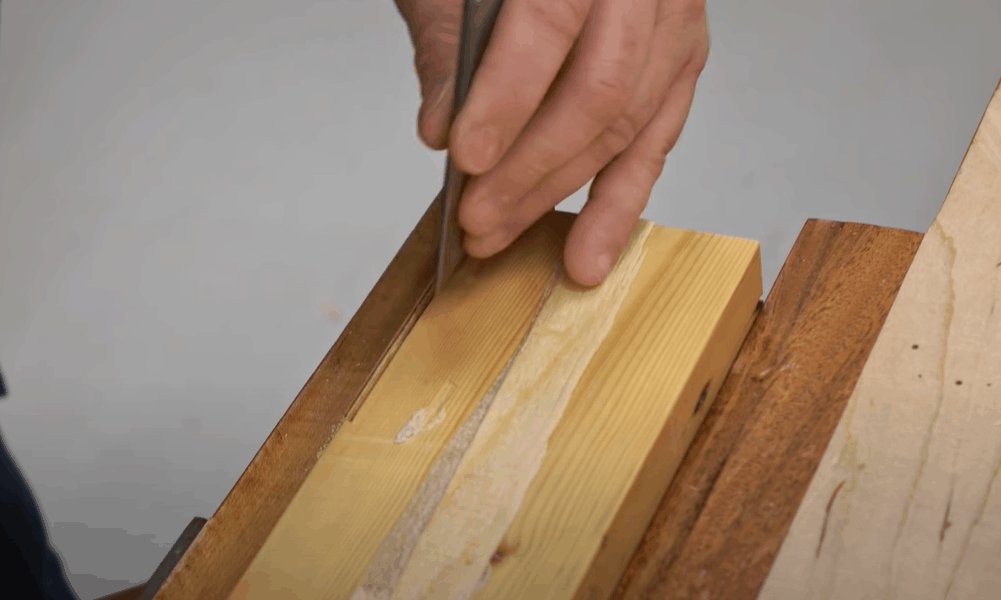
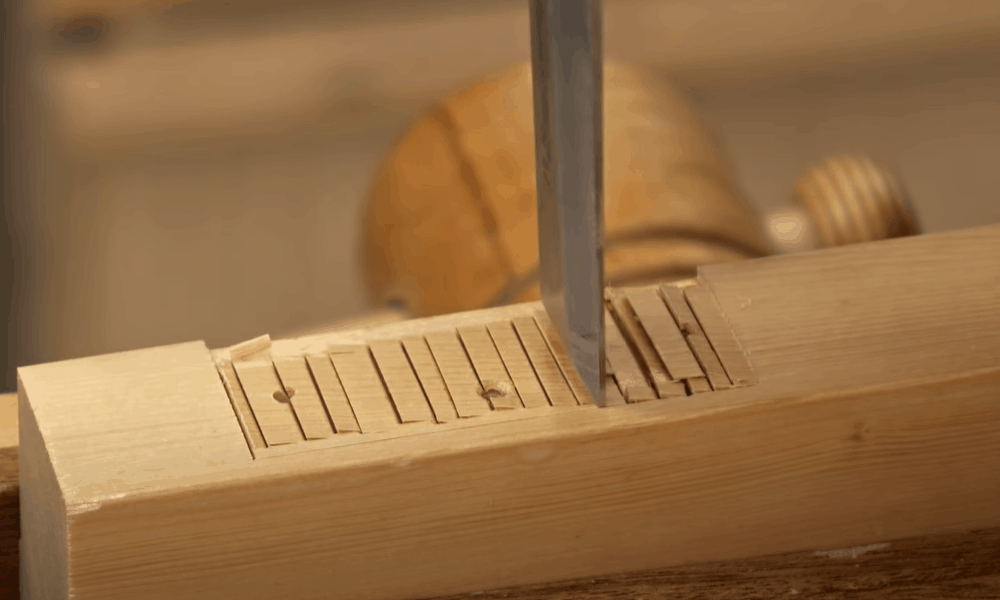
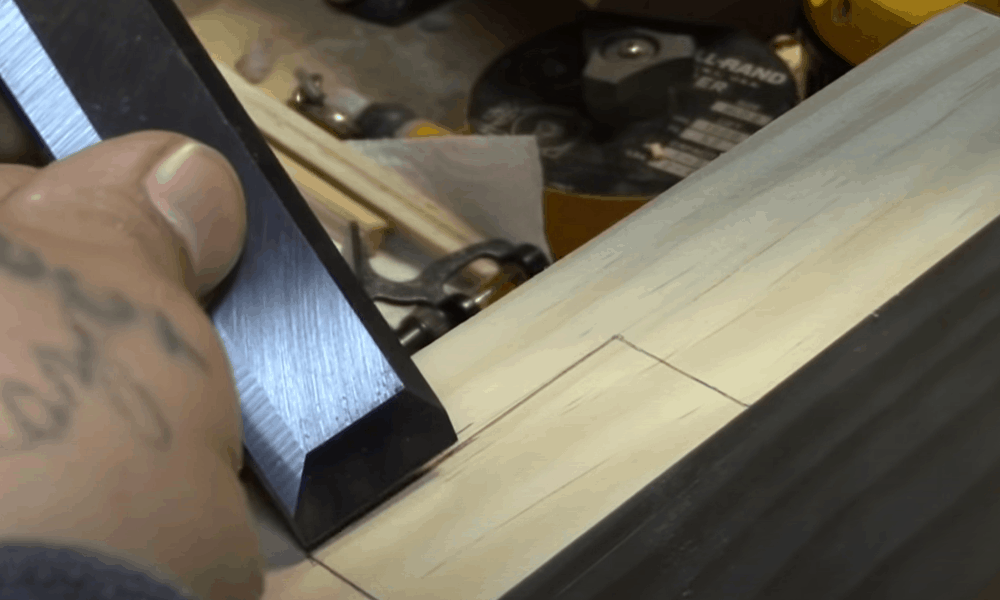
Place your chisel ⅛-inch away from your mortising outline and maintain a vertical positioning. Then, start chipping away gently by tapping with a hammer to score a groove. The seam should be ⅛-inch or the thickness of the hinge wing.
Shift the tool around the outline until you cut along the total length of the mortise. Carry out this procedure again to make lines of ⅛-inch apart till you cover its entire width.
Step 5: Chisel Out the Waste
Place the flat side of the chisel at a low angle to the door, and parallel to its length. Tap hammer on its head to take out the debris in the lines of the mortise. You have to be careful so you don’t cut more in-depth than the required thickness.
Also, you much choose to do this without the tapping if you can maintain a deep pressure on the lines. Your expertise in using a chisel would be essential for this step.
Step 6: Clean Up after Chiseling
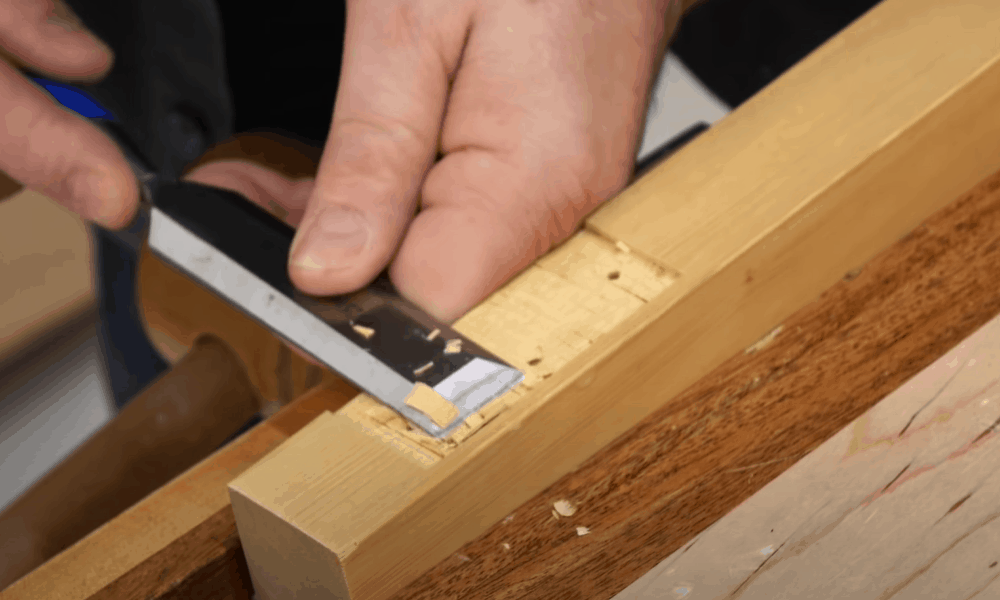
You have to clean up the mortise after chiseling. Keep the hammer aside now and use only the chisel to take out waste bits. Use hand pressure on its flat side to push out debris as well as flatten the mortise bottom. Once again, gently do this so you don’t enlarge the mortise hinge lines or depth.
Check if the latch is flush by placing it in the mortise. If it doesn’t fit well, try removing some more dirt from the seams using the method above.
How to Mortise a Door Latch
When installing door hardware, you need to create a mortise for the door latch using a rotary tool. The steps below show how to mortise a door lock with many holes. The manufacturer’s guide of the latch also has essential information that can be of help when installing a door bolt.
Step 1: Take Out the Door Latch

Skid the latch into its hole, and then use a pencil to mark the outline on the door edge. Then, keep the lock aside.
-
Sale!
Line Heart Decor Tassel Window Curtains
Original price was: $12.99.$9.99Current price is: $9.99.Select options This product has multiple variants. The options may be chosen on the product page -
Sale!
European Simple Partition Screen Window Curtains
Original price was: $15.99.$11.99Current price is: $11.99.Select options This product has multiple variants. The options may be chosen on the product page -
Sale!
Blackout Simple Solid Thicker Window Curtains
Original price was: $48.99.$36.99Current price is: $36.99.Select options This product has multiple variants. The options may be chosen on the product page


Step 2: Cut the Faceplate

Assemble a rotating device with a 355-plunge router attachment and 650-router bit. Ensure that you set its cutting depth to match the faceplate’s thickness. Examine the depth of cut on a chunk of wood. Make sure that the cutting depth allows a flush alignment with the door’s edge.
Step 3: Make the Mortise
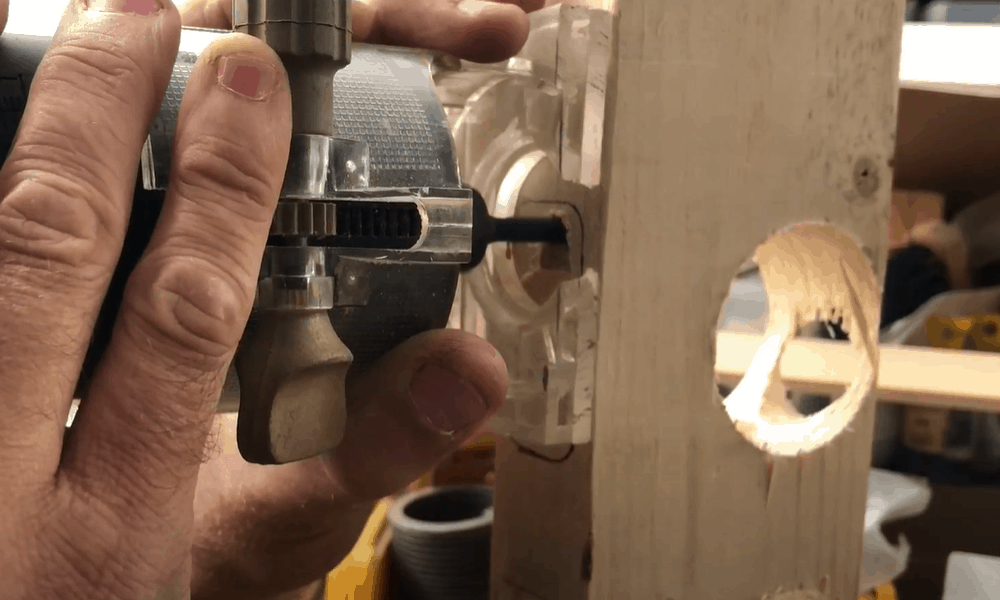
Create a mortise on the door edge with a router attachment. Run the device on the outline to make a mortise for the faceplate. Then fix the door latch and faceplate into position. Moreover, if the plate has a square shape, use a hammer and bevel chisel to sharpen the edges. That’s how to mortise a door lock.
How to Mortise a Door Hinge Using Router and Jig
Using mortising jig and routers on door hinges can save you a lot of money on labor. Even though they might be pricey, it makes the work faster.
Besides, do you have to mortise door hinges to install? If your answer is yes, then getting these door hinge mortise tools is a good idea. The steps below will help in the process.
Step 1: Setting the Tools (Jig)
The tools come in a basic rectangular frame that slides over the verge of the door and holds fast with a clamp. However, to set up the jig, you must adjust it to the correct hinge size and thickness. Also, you should insert the shape of the jig required (square or rounded corners).
Place the jig at the right spot and fasten it to the edge of the door. You finish the corners with a chisel as directed by the user manual.
Step 2: Set Up the Router Bit
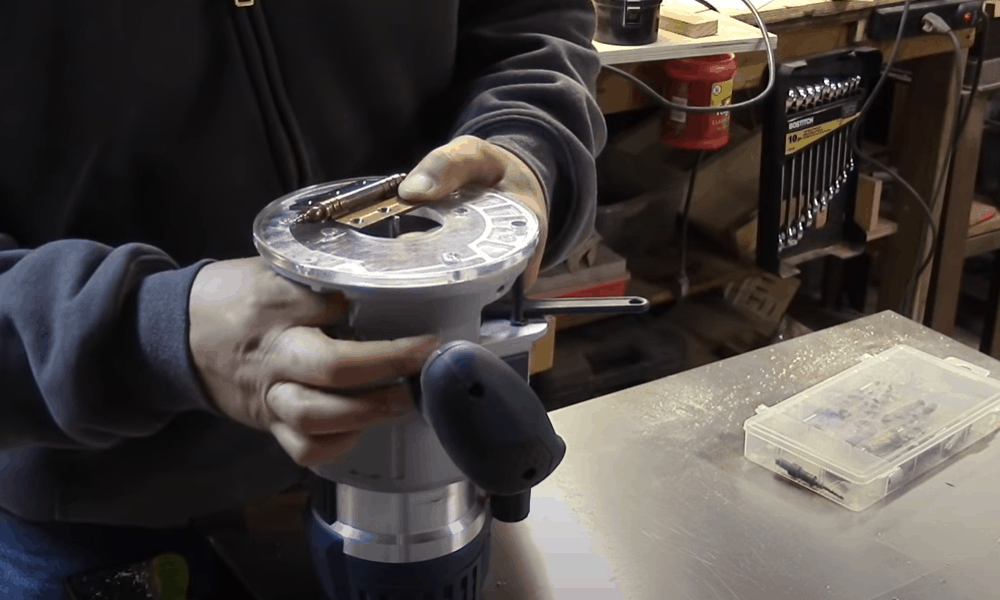
You use the jigs together with router bits for a neater work. The piloting router includes a guide bearing that’s mortising or flush cutting. Besides, if you want to set your bit, which comes with most jigs, set it according to the hinge leaf’s thickness.
Step 3: Chisel the Corners and Rout the Mortise
-
Sale!
Self-adhesive Mesh Window Film Privacy for Home Office Decorat
Original price was: $5.99.$4.99Current price is: $4.99.Select options This product has multiple variants. The options may be chosen on the product page -
Sale!
Removable Electrostatic Retro Flower Window Film Privacy For Home
Original price was: $9.99.$7.99Current price is: $7.99.Select options This product has multiple variants. The options may be chosen on the product page -
Sale!
Pure Matte UV Blocking Window Film Privacy for Home
Original price was: $37.99.$28.99Current price is: $28.99.

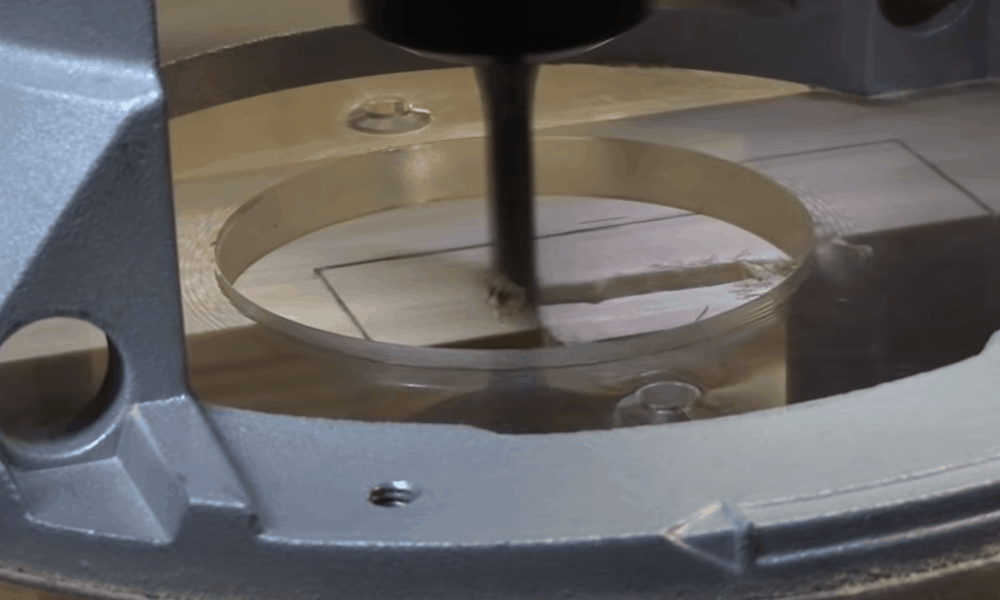
Set up the device by placing the router on the jig, also ensure it does not touch the door. Switch on the device and rout the mortise along the marked perimeter going in a clockwise motion. Take out the debris from the mortise by repeated front-back/left-right movements.
Make sure the bottom is flat and smooth, also square off the hinge corners with a chisel and hammer. Place the beveled side of the blade vertically and tap gently with a hammer to cut. Do this on all sides to get a clean cut and then remove the waste with your chisel.
Conclusion
When installing a door handle or lock, you need to create a mortise to achieve a neat fitting. If you know how to mortise a door, installing the hinge would be an easy job for you. Also, knowing how to use the door hinge mortise tools like jigs and router bits will saves you money on wood-cutting jobs.
With the steps above, you can avoid calling a professional and save money on hired labor. However, you should ensure to read the manufacturer’s manual well so that you don’t make costly mistakes.