How to Flash a Window? (Step-By-Step Tutorial)

A building with cracks is prone to water damage that could lead to pests and insects entering into the building in the long run. Having a window with poor flashing will make matters worst as it will increase problems to the water seeping into the interior part easily.
Window flashing plays a significant role in a building as it can prevent rain that blows from any direction into the building. Also, it comes as additional support to window siding.
However, many people do not know how to flash a window. If you fall into this category, this article will offer you great tips to perform this project with ease and prevent water damage.
What is Window Flashing
Also known as weatherproofing, window flashing comes as thin material that you can bend easily. It protects joints from moisture damage and you can do this on windows, vent pipes, doors, and chimneys. There are issues that might occur that warrants a replacement window flashing, especially if you want to swap your old window for a new one.
Flashing is made of materials such as acrylic, rubber, steel, and aluminum. But to enjoy the benefits of any of the flashing, you will have to install them properly.
Typically, you can hide an installed window flashing, especially after installing. The installation process is very vital compared to the flashing method.
Flashing enhances the waterproof features of a window. For this purpose, you should get an experienced hand for the job.
Important Window Flashing Terms You Should Know
You can find this aluminum attachment at the upper part of the window unit. Here, it prevents water from gathering at the very top and reduces the chances of water damage.
- Flashing: This term is an adhesive that can withstand exposure to water. They block any leaks on the window by coating the sheathing and flanges.
- Head Jamb: The term is the upper part of an uneven opening. If you want to install a new window unit, the top first go into this space.
- Jambs: This is the upright part of the window.
- Rough Opening – This is a space left for a window, especially during the framing of a building. You can describe this gap as an open square on the wall. It also boasts of features that secure the unit properly.
- Sill: This is the lower corner of the window rough opening. When you install a window unit, this area acts as the base.
- Window Unit: This term sums up the window unit and its various parts like the frame, sash, and glass. You can also see this item as the complete window unit.
- WRB – These initials mean the Weather Resistive Barrier that comes as a wrapping material for homes. It consists of a thin material that can withstand any weather conditions. Besides, this house wrap provides extra protection for your building.
How to Flash a Window in Your Home
In this section, we will show you how to flash a window with a rectangular shape. You can also use this method for aluminum window flashing, provided the aperture has the same shape.
Step 1: Make a Cut on the Weather Resistive Barrier
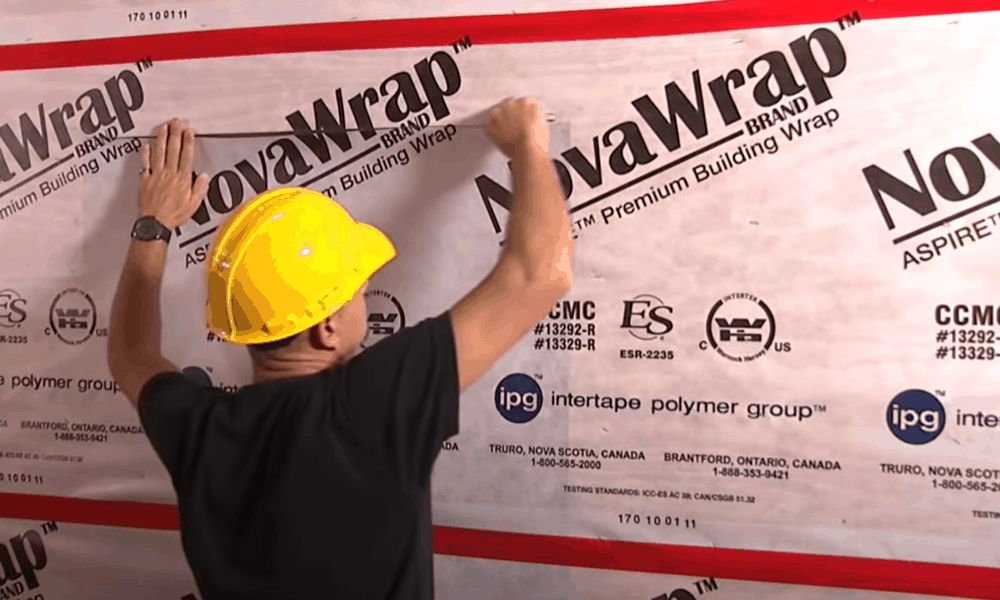
This material should cover the rough opening of the window. When you want to start the project, you will have to cut out the barrier.
Start by creating a vertical cut in the material, particularly at the window opening. Now, produce horizontal cuts at the top and bottom, and then drag the flaps from the gap. Afterward, use a little window flashing tape to hold down the flaps.
-
Sale!

Universal Hook Up Nailfree Window Blinds
Original price was: $53.99.$40.99Current price is: $40.99.Select options This product has multiple variants. The options may be chosen on the product page -
Sale!
Cellular Honeycomb Fabric Window Blinds
Original price was: $166.99.$124.99Current price is: $124.99.Select options This product has multiple variants. The options may be chosen on the product page -
Sale!
Creative Drape Modern Tulle Window Blinds
Original price was: $12.99.$9.99Current price is: $9.99.Select options This product has multiple variants. The options may be chosen on the product page
While holding the blade, make 45-degree cuts from the top edge of the rough opening. Then fold or tape the flap at the upper part of the gap, you will have a setup that has this look.
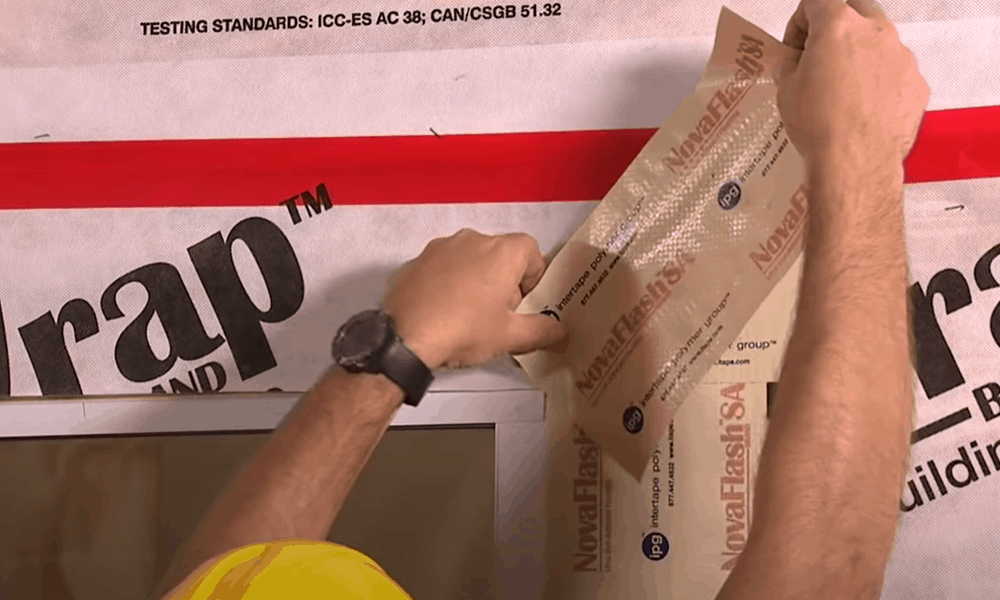
Step 2: Fix the Sill Pan Flashing
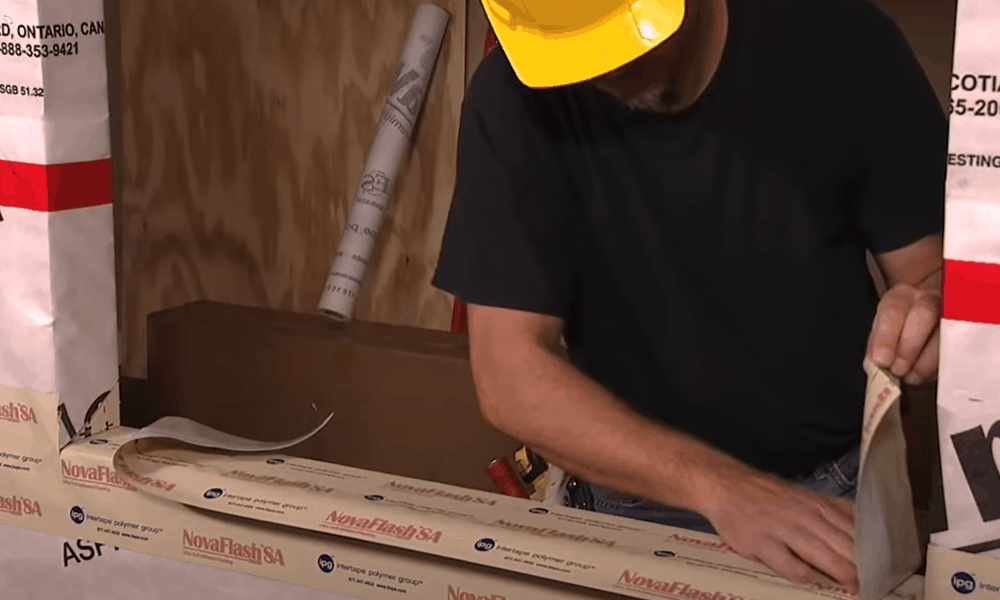
When installing sill pan flashing, or the flashing at the bottom of the window, you have a few options of material to use.
You can work with the one that has a sticky surface or the variant that prevents water from permeating into your home. For other options, you can opt for self-sealing adhesive flashing and sill wedge combo.
However, go with the sill pan flash suggested by professionals. If you prefer the peel and stick weatherproofing, make sure the flashing reaches the entire sill and covers a minimal length of six inches on the window jamb.
After completing the sill pan flashing, roll the side WRB panels around the inner section of the rough opening and hold it down.
Step 3: Add Some Sealant
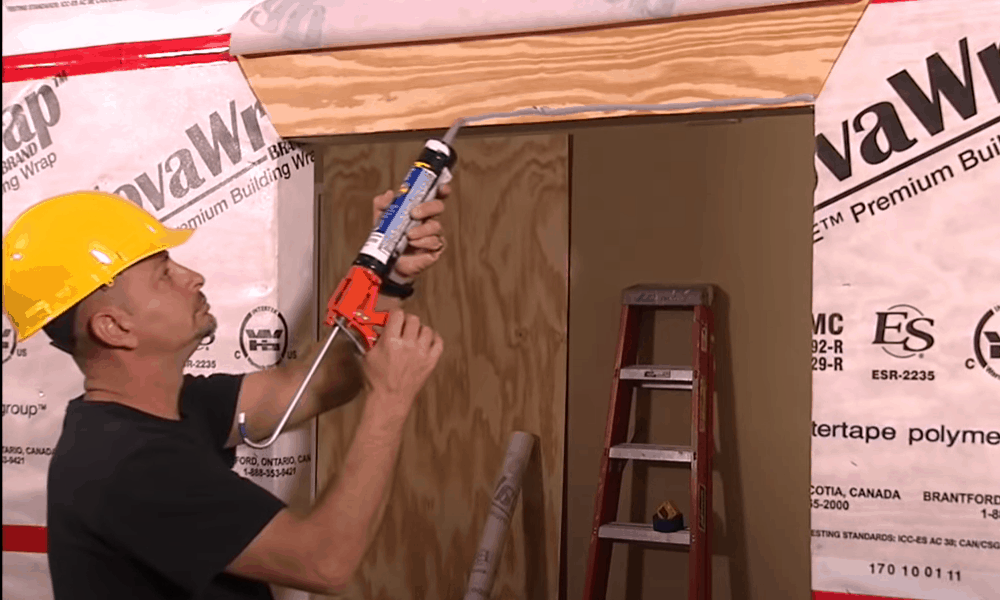
After securing the barrier and fixing the waterproofing, prepare for the window unit by adding a little sealant.
When applying this substance, avoid the lower part or sill of the window opening. To prevent stagnant water in the window unit, leave the bottom open.
At the top and edge of the gap, place more sealant. Begin from three-quarters of an inch from the edge on both sides. When you reach three-quarters of the end, stop adding the substance.
Thanks to this step, you can safely take out any standing water from the unit. But if you cover every gap on the window, standing water becomes sources of wood rot and mold.
-
Sale!
Romantic Lace Sheer Partition Window Curtains
Original price was: $28.99.$21.99Current price is: $21.99.Select options This product has multiple variants. The options may be chosen on the product page -
Sale!
Party Wedding Sequence Backdrop Sequin Window Curtains
Original price was: $30.99.$23.99Current price is: $23.99.Select options This product has multiple variants. The options may be chosen on the product page -
Sale!
Jacquard Leaf Designer Window Curtains
Original price was: $77.99.$58.99Current price is: $58.99.Select options This product has multiple variants. The options may be chosen on the product page


Step 4: Fix the Window Unit
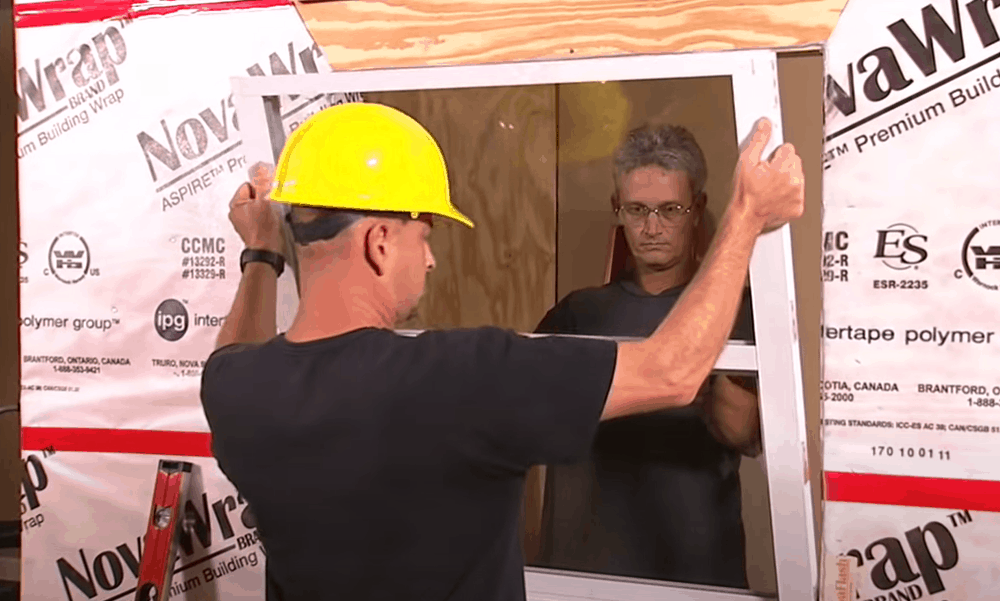
Now you can bring in the window unit for installation. You can use the manual that comes with the product or takes advice from a trusted Window flashing YouTube video.
Ensure to position the window correctly before adding a window flashing. You can use a square or a plumb to check this out.
Now, insulate all sides of the window. The best window insulation kit to use includes fiberglass insulation or spray foam. Ensure to follow the manufacturer guide when carrying this out.
Place some adhesive weatherproofing to vertical sides of the window. This flashing should exceed the sill and 4 to 5 inches from the upper part of the aperture.
Step 5: Fix the Drip Cap
Most window units have drip caps that protect the head jamb from water damage. If your window unit features one, follow the manufacturer’s instructions to set it up.
These components connect to the sheathing that stays above the window. They also extend out of the unit, thereby preventing water from permeating. So if your window does not have this item, get one from local hardware or make one from aluminum and adhesive flashing.
For retail drip caps, follow the guide provided by the company. But if you go with a homemade option, place it above the unit itself.
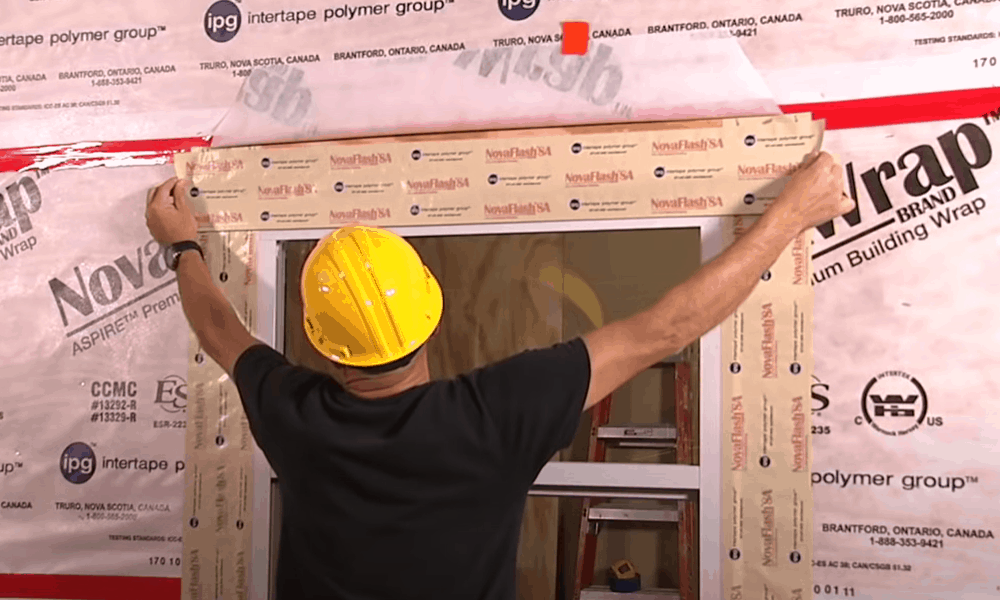
Step 6: Attach the Head Jamb Flashing
The final stage on how to flash a window involves fixing the flashing for the jamb head. You can place the weatherproofing at a horizontally towards the top of the window. The material should extend out of window jamb at a minimum of 6 inches.
-
Sale!
Stained Halloween Crow Colored Glass PVC Window Film Privacy Stickers
Original price was: $16.99.$12.99Current price is: $12.99.Select options This product has multiple variants. The options may be chosen on the product page -
Sale!
Stained Static Cling Window Film Privacy Appliedsative Bathroom Shower Door
Original price was: $20.99.$15.99Current price is: $15.99.Select options This product has multiple variants. The options may be chosen on the product page -
Sale!
One Way Mirror Anti UV Window Film Privacy for Home Office Living Room
Original price was: $21.99.$16.99Current price is: $16.99.Select options This product has multiple variants. The options may be chosen on the product page

Afterward, fold the upper flap of the barrier, and then round up by securing it with tape.
Wrap Up
Water sipping through the window into your home can cause many problems to the structure of the building. But you can avoid such if your window has a good flashing. If the window is lacking in this aspect, you can carry out a DIY window flashing.
Flashing a window with a vinyl siding or aluminum sliding window offers more support to prevent water damage. However, you have to install the flashing correctly to enjoy this benefit.
This article on how to flash a window will help make things easy for you. Ensure to get a good drip cap, especially if your unit does not come with one. Luckily, you can find this component in any window hardware store.