6 Simple Steps to Build a Sauna Door

A DIY sauna door must meet specific criteria so that your sauna space retains heat while simultaneously allowing for adequate air ventilation- a somewhat tricky combination.
This article will provide a step-by-step guide for constructing a door that will withstand the fluctuating heat and humidity levels inside your sauna space.
Sauna Life
Much like the front door of your home, the door leading into your sauna should be welcoming and comforting, but remember that its design must be functional.
Saunas have a reputation for being a reasonably luxurious feature. Over the years, sauna heating technology has adapted to fit various residential and commercial applications.
For personal home use, you even have the option of purchasing a sauna blanket if you cannot commit to a larger enclosure at the moment.
Saunas are present in many environments, including resorts, gyms, day spas, and wellness clinics. But, interestingly enough, the demand for having a sauna within the home space is on the rise.
In Finland, more than half of the population reports having a personal sauna. Over many years, typical heating methods have changed, but wood-burning units and electrical heaters are preferred.
The sauna culture in Finland is a significant part of family life, so much that a feeling of disconnect may erupt if too much time has passed between trips to the sauna.
A Passage into Deep Relaxation
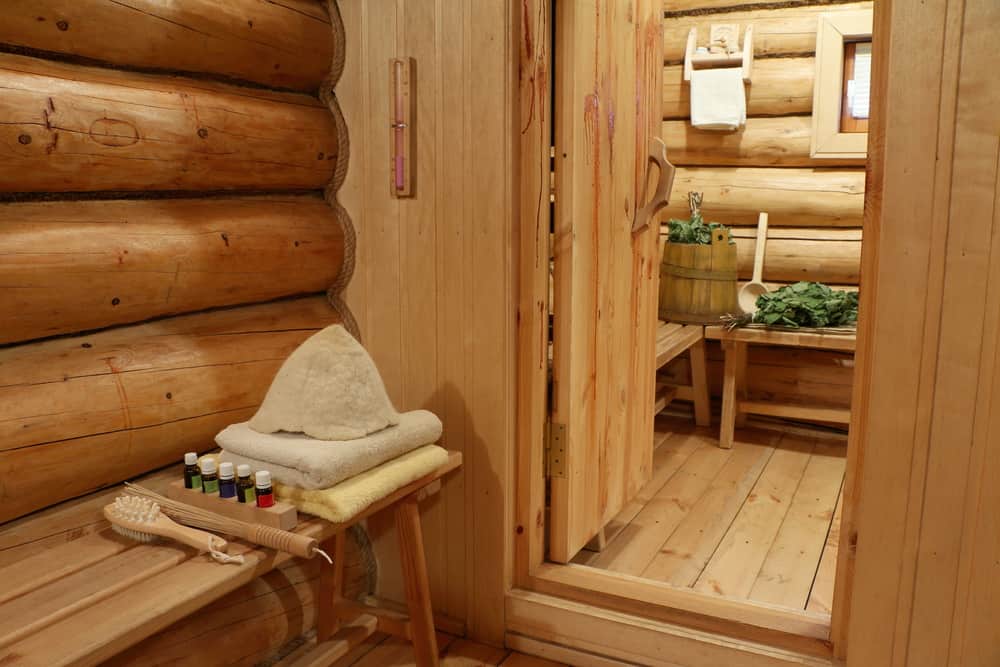
Stepping across the threshold into your sauna space should reflect the protagonist’s experience in The Chronicles of Narnia film series. The design of your sauna door is not a mythical creation, yet it does need to meet specific guidelines.
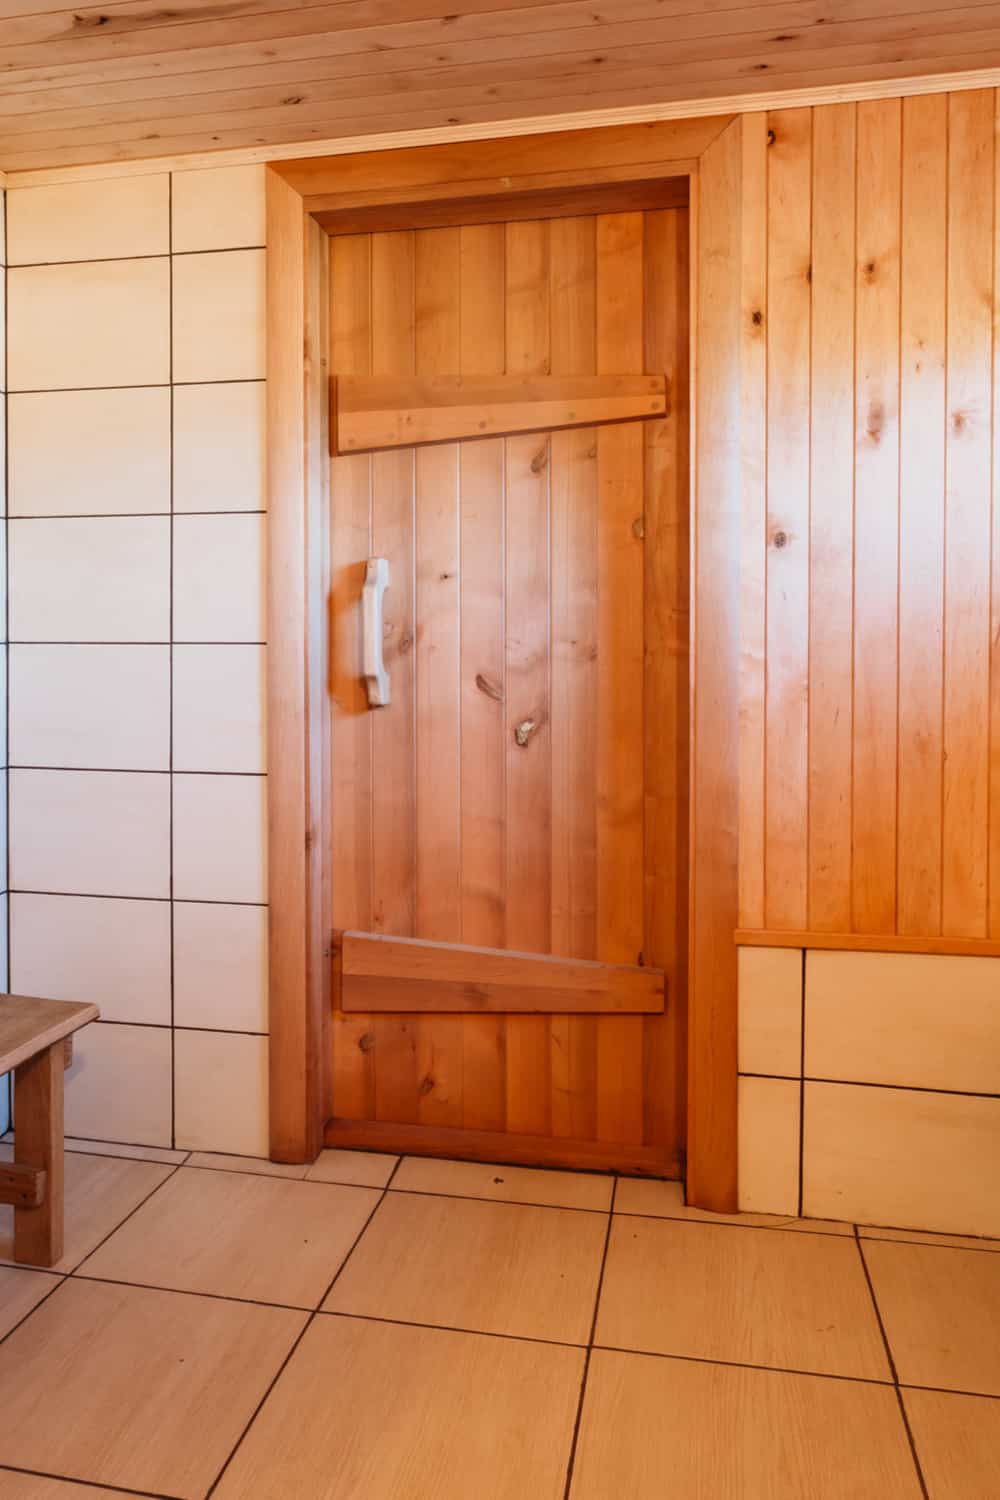
You have already decided against a pre-fabricated door since you would like to add a personalized touch to your DIY sauna build. Although the design options are endless, you should know what materials are best suited for sauna doors.
Typically, wood, glass, or a combination of these two materials are the best option for constructing a sauna door. In addition, you need to build it so that the heat and humidity to which it is exposed will not cause the material to warp.
Despite these basic requirements, a sauna door is not extremely difficult to build. You will need the right tools, and if this is your first build, you will benefit from the guided list of instructions that I will provide for you in this article.
Safety Features
First of all, a sauna door should push open from the inside of the space. In the case of an emergency, this will allow you or other occupants to exit the room quickly.
It is equally important not to install any locking hardware onto the sauna door exterior, creating an immediate safety hazard. While you should not install bolts, locks, or latches onto your sauna door, you may place a small wooden bar that slides or rotates into place on the inside to help keep the door shut.
-
Sale!

Swing Stop Bottom Adjustable Roller Flooring Barn Door Hardware
Original price was: $44.99.$33.99Current price is: $33.99. -
Sale!

Low Noise Floor Guide Adjustable Length Barn Door Hardware
Original price was: $15.99.$11.99Current price is: $11.99.Select options This product has multiple variants. The options may be chosen on the product page -
Sale!

Antique Big Rollers Steel Sliding Barn Door Hardware
Original price was: $187.99.$140.99Current price is: $140.99.


Remember that since wood has a low heat capacity, you should choose this material for any exposed hardware (I’m thinking door handles) on your sauna door. If you use metal instead, then you will be creating a burn hazard.
Required Tools
- Safety goggles
- Gloves
- Hammer
- Tape Measure
- Square
- Level
- Saw
- Router Saw
- Wood glue
- Associated hardware (nails, screws, hinges, magnetic lock, etc.)
- Screwdriver, or impact gun
Special Considerations
The standard size for a sauna door is twenty-four inches wide and eighty inches tall. In comparison, front doors on most American houses are thirty-six inches wide- its narrower width is vital for your saunas heat retention efficiency.
It makes no functional difference whether your sauna door opens out to the left or right. Usually, your door opening direction depends on preference and convenience based on the setting and location of your sauna.
Cedarbrook Sauna offers a spring-loaded bomber hinge to ensure closure of the sauna door after a bather enters or exits. You may even want to consider a self-closing two-way function such as the Colcom Biloba hinge.
How to Build a Sauna Door (Step-by-Step)
STEP 1: Rough Opening
Measure out the rough opening for your sauna door. It needs to be twenty-six inches wide by eighty-two inches tall. Don’t forget to begin with a rough start so that you have some extra space to work with when setting the door frame and door into place.
Typically, the process for hanging a door is pretty straightforward:
- Set the door within the rough opening.
- Make sure it’s level.
- Use shims if necessary.
- Finally, nail it in place.
I advise that you put some shims in place before setting the door frame in place. Use the hinge locations for a point of reference when putting the shims in place. Your rough opening will typically provide about one-half inch of shimming on either side.
STEP 2: Material Selection
By this point, I am assuming that you have chosen either a wooden door or a wooden door with a glass window combination. A frameless all-glass door offers a luxurious appeal; however, glass requires professional artistry.
For this reason, I advise that you select a pre-fabricated all-glass option from a sauna industry leader such as Finlandia Sauna or Finnleo. These companies offer a variety of standard sauna door sizes, and their packages are complete with door handles, latching systems, and associated hardware.
Typically, in selecting the best wood option for building a sauna door, you must look for wood that will not overheat and is resistant to both heat and moisture.
Larch and coniferous trees are suitable options for sauna doors, as are birch, linden, aspen, or alder. Often, companies will use cedar “because of its natural resistance to moisture & temperature changes.”
-
Sale!
Free Punch Glass Door Sliding Door Knobs Suction Cup
Original price was: $12.99.$9.99Current price is: $9.99.Select options This product has multiple variants. The options may be chosen on the product page -
Sale!
Window Cabinet Drawer Handles Self-adhesive Door Knobs
Original price was: $12.99.$9.99Current price is: $9.99.Select options This product has multiple variants. The options may be chosen on the product page -
Sale!
Upscale Sliding Door Knob With Double-sided Tape for Kitchen Door Wardrobe
Original price was: $12.99.$9.99Current price is: $9.99.Select options This product has multiple variants. The options may be chosen on the product page


Step 3: Measure and Cut
It is now time to begin constructing the door for your sauna space. Again, we will assume that you have agreed on a standard-size sauna door. You still have time to decide whether you prefer a solid door or a wooden door with a glass window.
To get things underway, take the measurements from your rough opening (twenty-six inches wide by eighty-two inches tall) and use those to acquire the proper amount of building materials.
If you choose a solid door for your sauna, you will have a slightly less amount of work to do than what is involved with installing a door with a window.
First, use your saw to cut a piece of plywood that fits your sauna door’s dimensions. Remember you should measure approximately two inches smaller than the rough opening you created, so your door needs to measure twenty-four inches wide by eighty inches tall.
NOTE: You will want to leave a gap between two and three centimeters between the bottom of your door and the floor for ventilation purposes. This form of inlet vent is most effective for heaters placed close to the door. However, if your heater is not close to the door, you may need to consider different venting options.
Next, cut the wood cladding to fit the plywood door. Don’t forget to make necessary adjustments to accommodate a window if you so choose to have one.
Then, use a router saw to create tongue and groove ends on your cedar or other wood preference. Tongue and groove fitment is a solid construction method that helps prevent warping.
Step 4: Insulation
The interior facing side of your sauna door should be insulated. You have the option of utilizing a heavyweight foil or fiberglass to accomplish this heat-saving requirement.
Cut out the insulation and glue it to the plywood, ensuring that you leave an opening for a window if you choose to install one. If you do decide to add a window, ensure that it meets the required specifications. The window that you select should be at least eight-millimeter tempered glass.
Although having a window is totally up to you, it is aesthetically pleasing and advantageous for safety reasons, as an onlooker may be on standby to monitor the bathers inside.
Step 5: Install the Window and Cladding
If you have decided to proceed with a window, now would be the time to install it. Before laying out the cladding, you may even want to run some insulation tape strips over the windows installation trim edges.
Now, glue the tongue and groove cedar planks together and securely fasten them to the plywood center of your sauna door. Repeat this to both sides of your door.
-
Sale!
Home Entrance Anti-Slip Coral Fleece Door Mat
Original price was: $12.99.$9.99Current price is: $9.99.Select options This product has multiple variants. The options may be chosen on the product page -
Sale!
Semicircular Cartoon Welcome Entrance Door Mat
Original price was: $12.99.$9.99Current price is: $9.99.Select options This product has multiple variants. The options may be chosen on the product page -
Sale!
Anti-skid Water Absorption Bathroom Door Mat
Original price was: $12.99.$9.99Current price is: $9.99.Select options This product has multiple variants. The options may be chosen on the product page


Step 6: Install Hardware and Hang the Door
You are now ready to install the hardware on your sauna door. Be careful to take proper measurements and pre-drill installation holes in the door frame for more precise installation.
TIP: If you choose to install a specialized hinge, please refer to the manufacturer’s installation recommendations.
Once you have hung your custom DIY-built sauna door, you can choose a comfortable placement to attach the wooden door handle.
Conclusion
By following this step-by-step guide, you can proceed with building an aesthetically pleasing and energy-efficient sauna door. Keep in mind the various safety precautions and recommended materials that I mentioned throughout the article.
Please feel free to mention any questions you may have regarding how to build a sauna door in the comment section below.