How to Replace a Window Sill? (Step-By-Step Tutorial)

A window sill runs from the inside to the outer part of a sliding window or other types. The inner part is a wood material and is sometimes called a stool. Nowadays, watertight materials with a higher rot resistance now replace the initial wooden sill types.
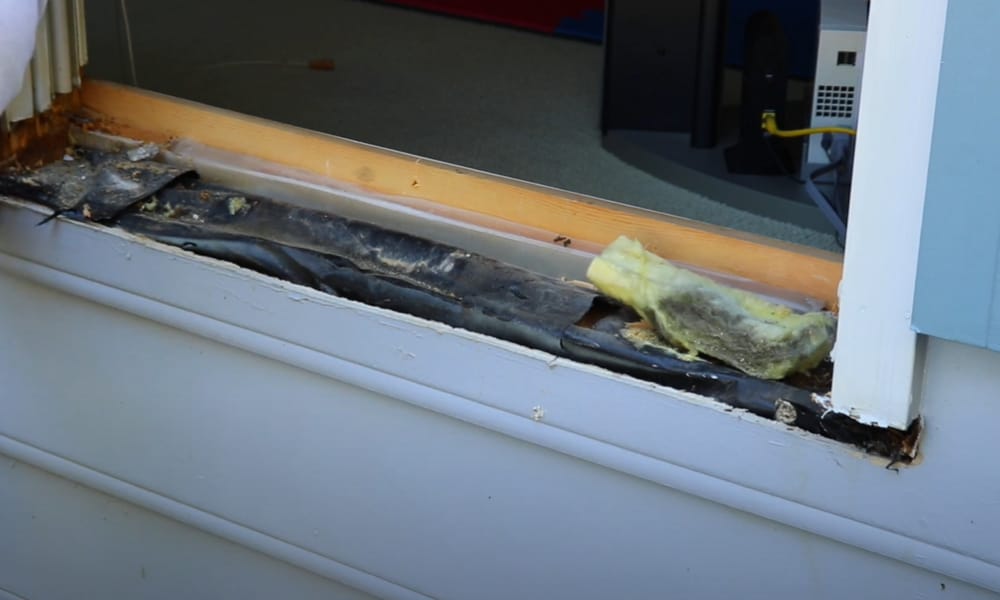
Rot or natural disintegration can affect window sills, causing them to lose their appeal. If your window leaks or can’t prevent water, this is might be due to a damaged sill.
If that’s the case, you need to figure out how to replace a window sill. Luckily, it takes a few hours to get it done, even if it’s your first time.
In this article, we provide great steps on how to replace a window sill.
What is Window Sill?
The window sill is the horizon that forms the down part of a window frame. It serves as protection to the window and provides additional support to the structure.
Apart from providing stability and support, the windowsill keeps water from entering and damaging walls, furniture, and floors. Without a windowsill in place, the window will be exposed to the forces of nature.
Materials and Tools Need for Replacing the Interior Window Sill
Before you start repairing interior window sill damage, you need the right tools and materials. As long as you want to do it yourself, you need adequate preparation. Therefore, take your time to get all or most of the following:
- Handsaw
- Hammer
- Hacksaw
- Measuring tape
- Pry bar
- Drill
- Pliers
- Reciprocating saw
- Shims
- Primer
- Paint
- Matching lumber
- Galvanized nails or screw
Procedures on How to Replace a Window Sill
The following is a step by step guide on how to replace a window sill without calling in a professional.
Step 1: Take out the Sill
Break of the caulk or sealant surrounding the window sill by using a utility knife and a hammer. Pull it off from the window frame by carefully applying the pry bar or chisel to the frame. Once it is out, place it safely in one place to serve as a sample for the new window sill.
Carefully use the pry to remove trim material or side casing around the window frame. Set it aside, but keep it close for reuse on the new window sill.
If you have sloped sill, also try to remove the wooden support that keeps it up. Homes built in recent times may have beveled wood sectors that come out. Remove any other piece or decorative features that trap the sill in place.
Step 2: Scrub off Debris and Caulking
Take the rag and the utility knife with you and scrub off the debris found on the window frame. Use available solvent and sandpaper to clean off any leftover sill or caulk thoroughly. If some screws or nails remain, remove them or pull out the wood at any sign of rot.
But if the rot is not widespread and is limited to a spot in the frame, apply the epoxy mixture. The wood filler is a plastic substance that helps to fill up holes and hardens as soon as it settles in. When they fill in existing gaps, they bond with the material and seal it up properly.
Step 3: Take the Measurement of the Sill
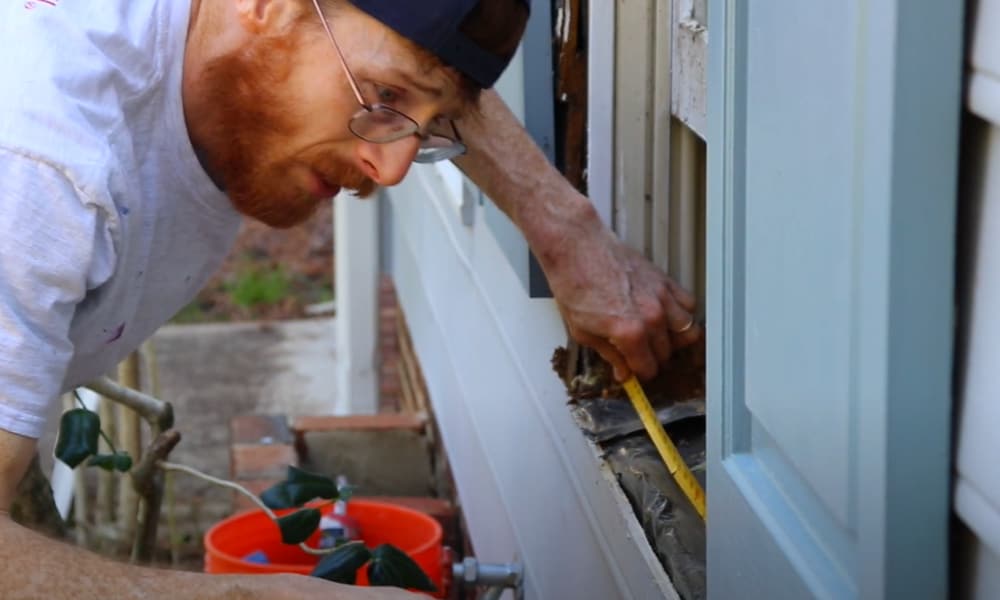
Measure the size of the window sill to know if you will need a 2-by-4 wooden board or something larger. Remember to make the board larger than the space it occupied. Mark the outline using a carpenter’s pencil by placing the old sill on the new board.
In a situation where it is damaged and out of shape, measure the space of the sill instead. It is always advisable to get the extra board should in case one isn’t enough for the work.
Step 4: Cut the New Sill
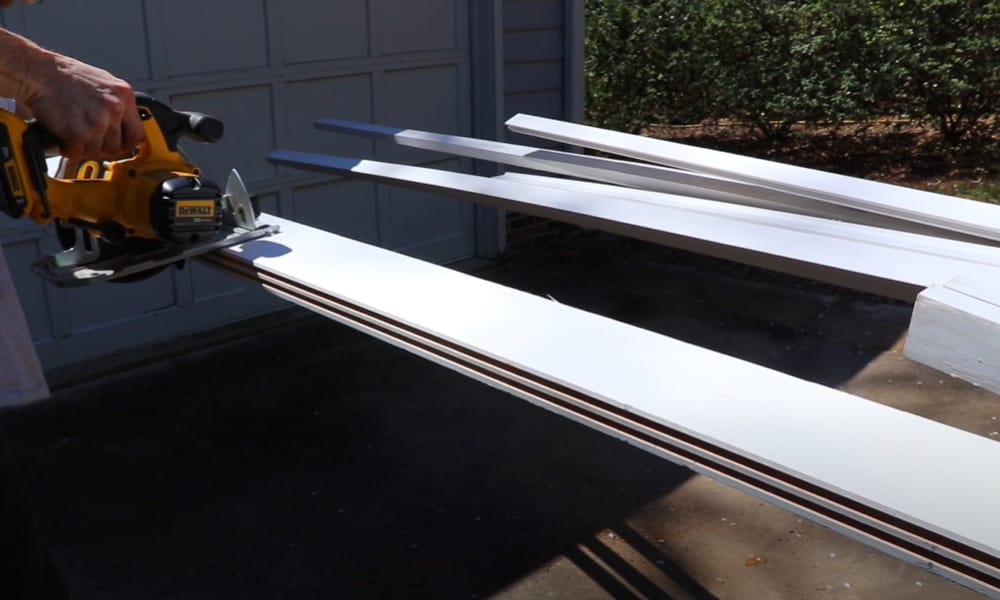
Get out your jigsaw and cut to the shape of your new window sill. It is better to cut wide and shave or time later than cut something smaller. Cutting larger than the old size will ensure that space fills up to prevent water leakage.
If you had a slopped window sill, create a similar slope for your new sill. That’s if the old one is useful as it serves as a template for carving the slope according to size. On the other hand, you can use the angle of the original side casing to get the proper angle for the sill.
Step 5: Fix the Sill in Place
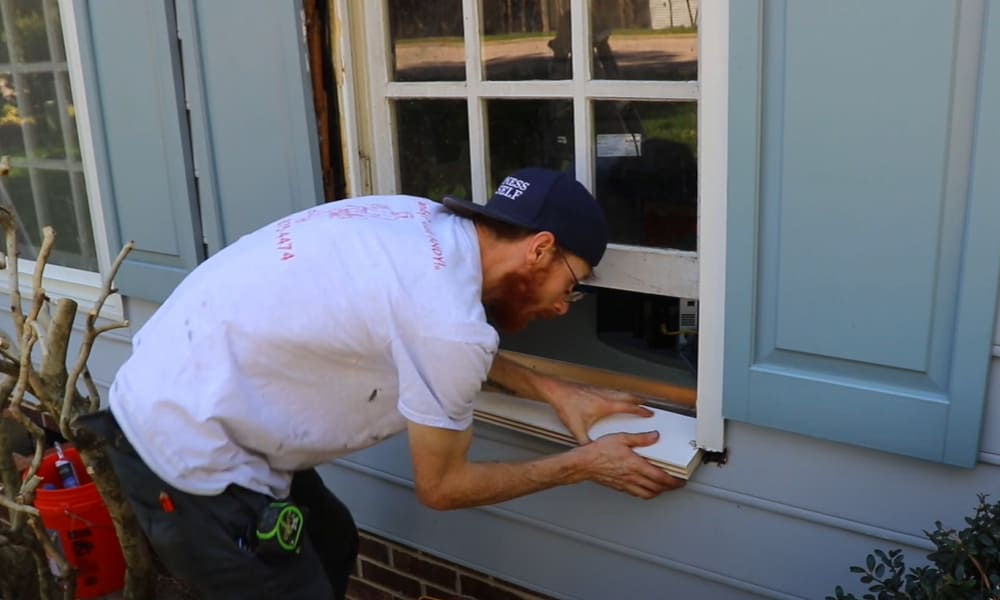
Take a look at the new one and determine if you need to make further adjustments before fixing it in place. Get your drill and carefully boreholes to avoid causing cracks on the new window sill.
Place the screws on the outer part, making sure they are in the exact place as the old sill. Set the new screws 6 inches apart from each other to secure the sill firm. Add caulk to the head of the screws to hide from view when the installation is finally over.
Step 6: Add a Layer of Caulk
Apply caulk all around the edges of the window sill using a caulk gun. Outdoor caulk designed to prevent water is the best to use. Wait for about 24 hours for the caulk to settle in before fixing the trim.
Why Wooden Sills Need Replacing
Both the old and new building makes use of wooden window sills. Installing wood sills takes a lot of beating, dries up during summer, and rots in winter due to wetness. It can get infected and make the window look untidy.
When the lumber becomes old and weak, it affects the frame, and this can break the sash windows. If you understand how to replace a window sill, it will save you money and protect your window from rot. Also, you won’t worry so much about the rotten window sill replacement cost.
High-quality timber serves well when you want to replace your outside window sill. A new window sill makes a building look attractive and can last for years. That is why we ensure you get top-quality products and services even for interior wooden window sill replacement.
You can add colorful paint on request, and call a trained technician for the task. They can detect any issues with your wooden sills and suggest the best solutions before it begins to crumble or leak. You may never know when yours on your widow is decaying from inside, but experts can tell when it is weak.
Final Word
Wooden window sills can become infested or rot due to weather conditions. But an article like this on how to replace a window sill will help you fix it in minutes. Remember to get the right tools and materials and the six steps for exterior window sill replacement:
- Remove the old sill from the frame
- Clean the area thoroughly
- Measure and cut a new sill
- Install and apply caulk
These simple and easy steps will guide you until the job is complete. But if you have any questions, use the comment section below. We also welcome sharing of related experience or whatever issues you have concerning your window sill.


