Window Leaks in the Rain (A Step-by-Step Guide For Fixing Window Leaks)

Do you dread the sound of rain because it means dealing with window leaks in your home? As a matter of fact, window leaks can be a frustrating and expensive problem, and you’re not alone in experiencing them. However, it is often very overwhelming and may appear nearly impossible to fix. But don’t let it dampen your day any longer! Whether you’re dealing with improperly installed windows, damaged seals, clogged drains, or a warped frame, we’ve got you covered. So, read on to find more.
Things You’ll Need
Before we get to the bottom of the problem and start walking you through the stepwise process of fixing the leaking windows, let’s talk about the tools you’ll need to get the job done. Below are some of the things you need to have, before getting started:
- Get a box cutter (or a utility knife), as well as, a putty knife
- You’ll need a caulk gun
- You’ll definitely need some sealant (or you may use caulk)
In addition to the above basic tools, you’ll be in need of some basic cleaning supplies, e.g., water, scrub, vinegar,r or cleaning soap. For people with skin issues or sensitive skin types, it is highly advisable to use rubber gloves while working. As soon as you get every item on the list ready, you can jump-start the work.
Our Simple Guide for Fixing Window Leaks
It doesn’t matter how badly your windows may be leaking in the rainy season, all you need to do is to understand the process of treating and fixing them. It may take a bit of time and some practice at first, but you’ll be happy with the results if you follow our simple guide.
Step 1: Identify the cause of your window leaks
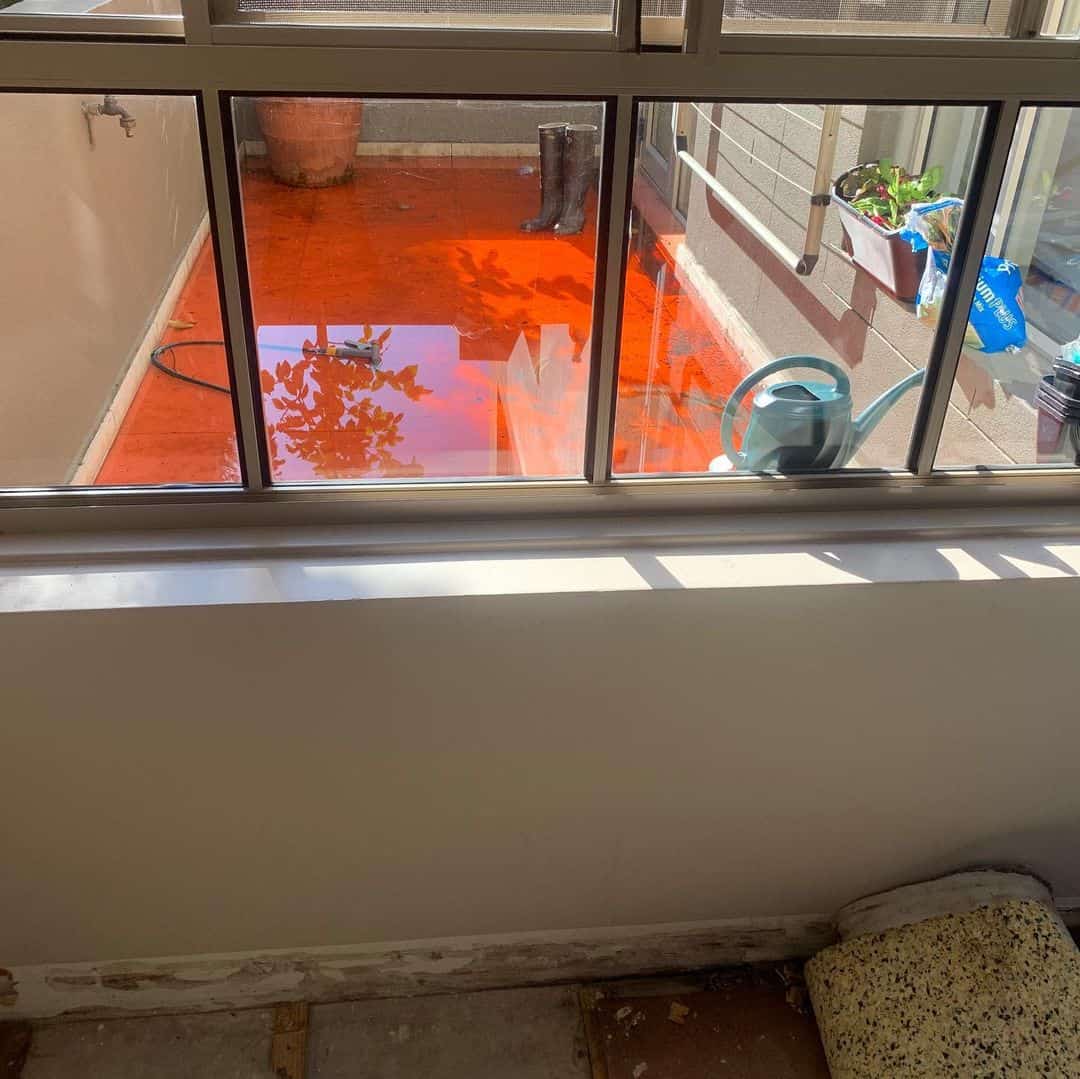
Before you can jump to fixing the issue with your windows, you must identify why the problem is happening. If you’re experiencing window leaks, the first step is to inspect the seals, drains, and frames of your windows.
You will need to thoroughly inspect that area for any wear or tear because it may lead to possible leaks. Make sure that you’re taking the overall state of the windows into consideration as well. Lastly, factor in the climate of your region as well, because any repair efforts must match the area’s climatic condition.
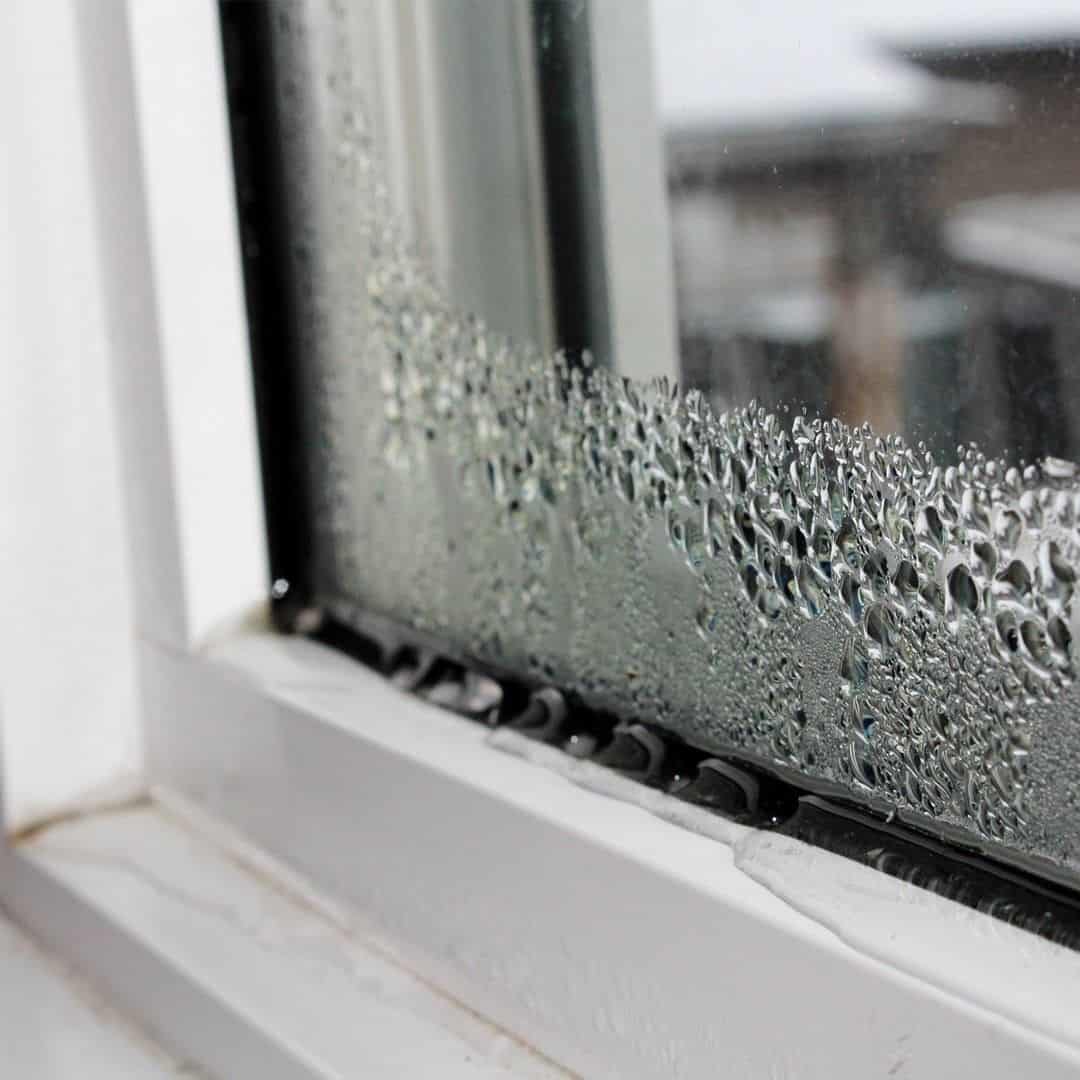
To identify the cause of your window leaks, look for visible signs of damage or wear on the seals, frame, or other components of your windows. Don’t forget to check the drains for any debris that may be clogging the water flow away from your windows.
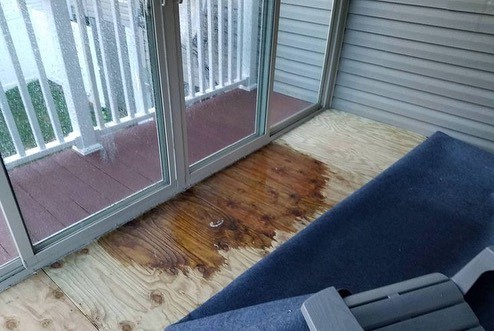
Inspect the area around your windows for any water stains, peeling paint, or other signs of water damage. Consider the age and condition of your windows. Older or poorly maintained windows may be more prone to leaks.
To explore the cause of leaks more, you may even try to recreate the conditions that led to the leak. For example, if you only notice leaks when it rains, try to simulate a rainstorm by spraying water on your windows and observing the results.
-
Sale!
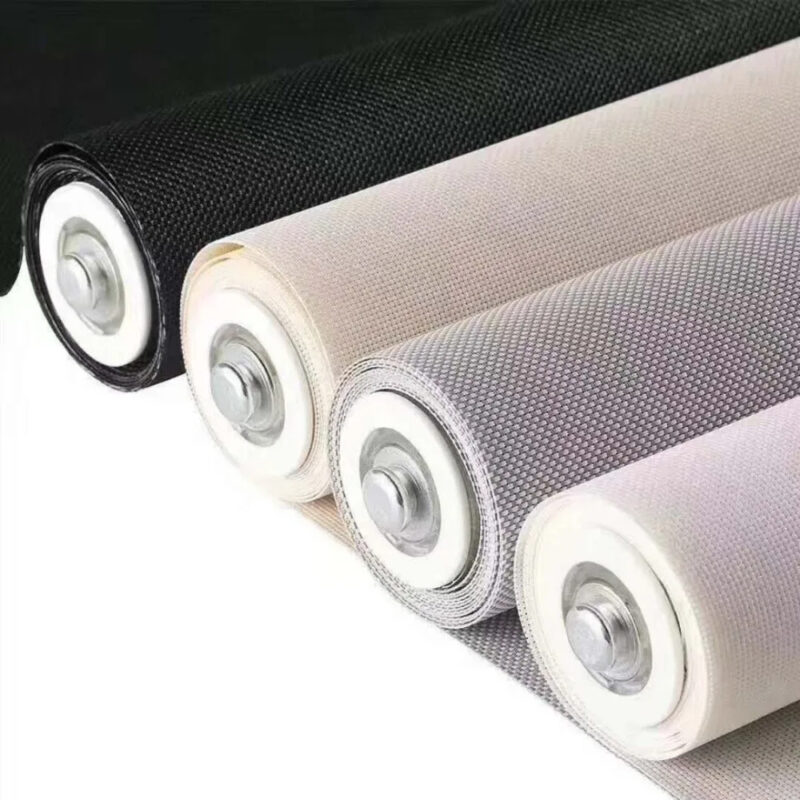
Fire Retardant Sunscreen Window Blinds
Original price was: $45.99.$34.99Current price is: $34.99.Select options This product has multiple variants. The options may be chosen on the product page -
Sale!
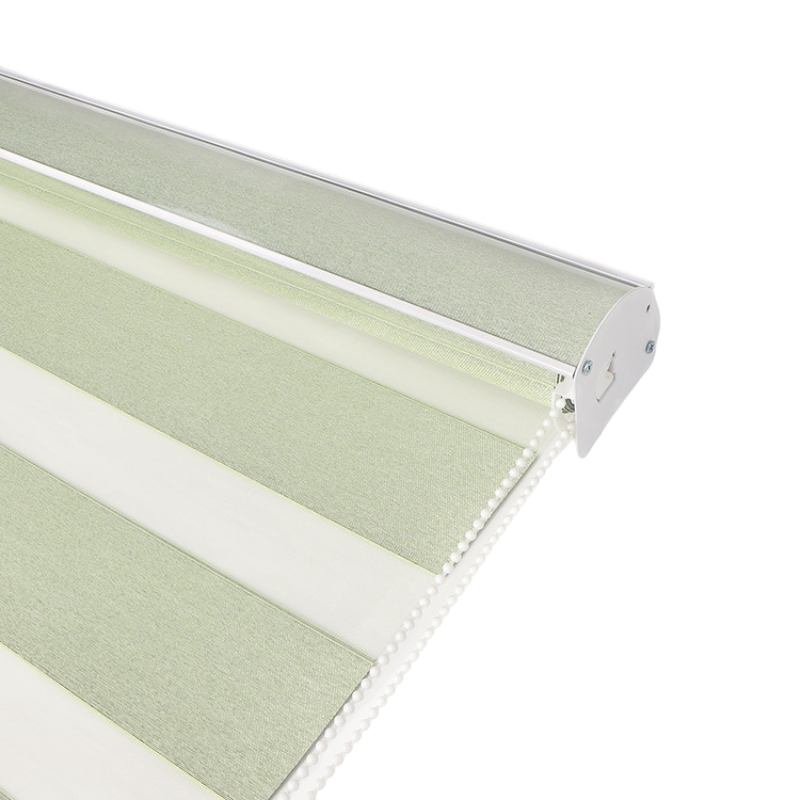
Light Filtering Zebra Window Blinds
Original price was: $37.99.$28.99Current price is: $28.99.Select options This product has multiple variants. The options may be chosen on the product page -
Sale!
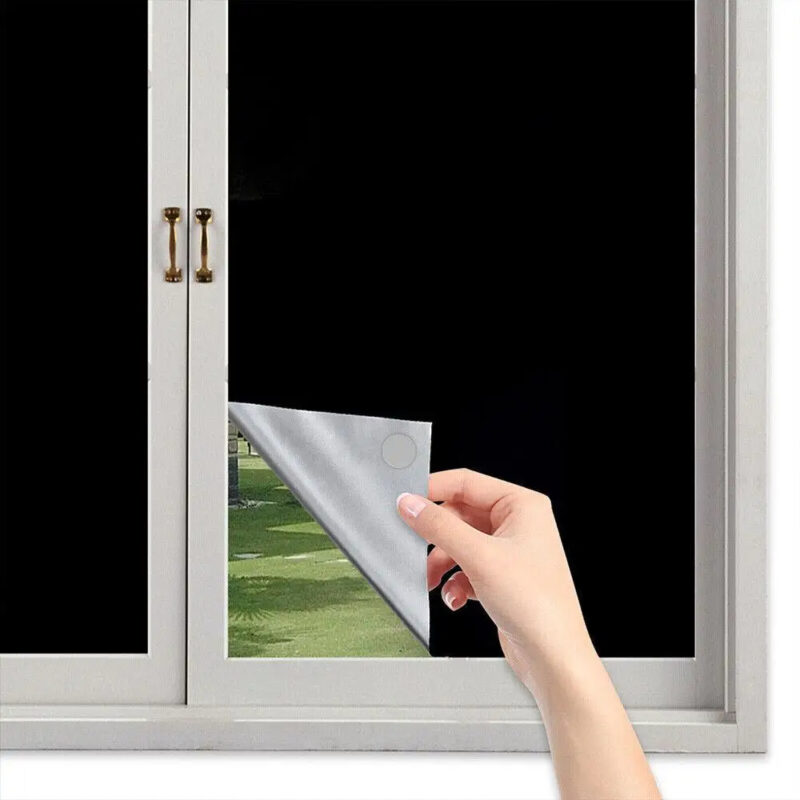
Portable Blackout Stick On Window Blinds
Original price was: $21.99.$15.99Current price is: $15.99.
If you’re not sure what’s causing your window leaks, consider hiring a professional to diagnose the problem. Some common causes of window leaks include improper installation, damaged seals, clogged drains, a warped frame, and water damage or rot. By identifying the cause of your window leaks, you can take the appropriate steps to fix the problem and prevent future leaks.
Step 2: Clear the area surrounding the leak
Make sure that you have appropriately wiped clean the area surrounding the window leak, before starting the reparative process. This will enable you to get a better look at the problem and will help with identifying the best course of action. To clear the area around the leak, you may use a soft, dry cloth to wipe away any dirt, dust, or other debris that may be present.
If the area is particularly dirty or if there are any stains present, you will have to use a mild soap or cleaner to remove the dirt. After you have properly cleaned the area around the leak, you will use a dry cloth to wipe away any excess cleaner or moisture. By clearing the area around the leak, you can ensure that the repair process is as easy and efficient as possible.
Step 3: Apply a new bead of sealant
If the cause of your window leaks is a damaged seal, the next step is to apply a new bead of sealant around the edge of the window. For this purpose, you may use a caulk gun to apply a steady, continuous bead of sealant.
We should be sure to smooth the sealant down with a putty knife to ensure a smooth, even finish. It’s important to apply enough sealant to fully fill any gaps or cracks, but we should be careful not to use too much sealant, as this can cause problems later on.
Pro tip:
When applying sealant, it’s important to choose the right type of sealant for our needs. There are quite a few varieties of sealants that are easily available in the marketplace but be careful while selecting any of them because they are to be used for different purposes.
For example, some sealants are better for use in wet environments, while others are more resistant to extreme temperatures. Be sure to choose a sealant that is suitable for our needs and the conditions around our window, this substantially improves the overall effectiveness and life of the repair.
-
Sale!

Line Heart Decor Tassel Window Curtains
Original price was: $12.99.$9.99Current price is: $9.99.Select options This product has multiple variants. The options may be chosen on the product page -
Sale!

European Simple Partition Screen Window Curtains
Original price was: $15.99.$11.99Current price is: $11.99.Select options This product has multiple variants. The options may be chosen on the product page -
Sale!

Blackout Simple Solid Thicker Window Curtains
Original price was: $48.99.$36.99Current price is: $36.99.Select options This product has multiple variants. The options may be chosen on the product page
Step 4: Get rid of the extra sealant
After you finished applying the new sealant around the windows, it’s essential to clean up any excess that may be present. For removing the excess sealant, you may use the box cutter or utility knife. Make sure that you are holding the knife at a slight angle to avoid damaging the window or the sealant.
Once you successfully remove the excess sealant, you can then use a putty knife to smooth down the sealant and create a smooth, even finish. Finally, you need to have a dry and clean piece of wipe cloth to clean the remaining debris. It’s important to dispose of the excess sealant and the cloth properly, as the sealant can be difficult to remove once it has dried.
Pro tip:
When cleaning up excess sealant, you may find it helpful to use a sealant remover or other solvent to soften the sealant and make it easier to remove. You must abide by the directions of use displayed by the solvent manufacturer and ideally use it in a well-ventilated area for safety and health reasons. You should also avoid getting the solvent on the window frame or other surfaces, as it can damage these surfaces. By using a sealant remover, you can make the cleanup process faster and more efficient.
Step 5: Check for leaks
Once you are absolutely done with the repairs and have also applied the appropriate sealant, it’s important to once again run a thorough check for any remaining leaks. This is to ensure that your reparative efforts were indeed successful.
To do this, you can wait for the next rainstorm and observe our window for any signs of a leak, or you may simply do the rain simulation exercise once again and use a hose to spray water over the windows and observe if there are any remaining leaks that you missed.
If the repair is successful and you don’t see any leaks, only then you can consider the job complete. It’s a good idea to check for leaks regularly, especially after performing repairs, to ensure that the windows are functioning properly and to catch any problems early on.
Extended Tips
Whether you are dealing with old or outdated windows that need some extra care or brand-new ones that need occasional maintenance, these tips will help you keep them in top condition. You have to understand that regular maintenance is quite crucial to preventing any window leaks. Below are a few more tips that will help you maintain the windows in the long run.
-
Sale!
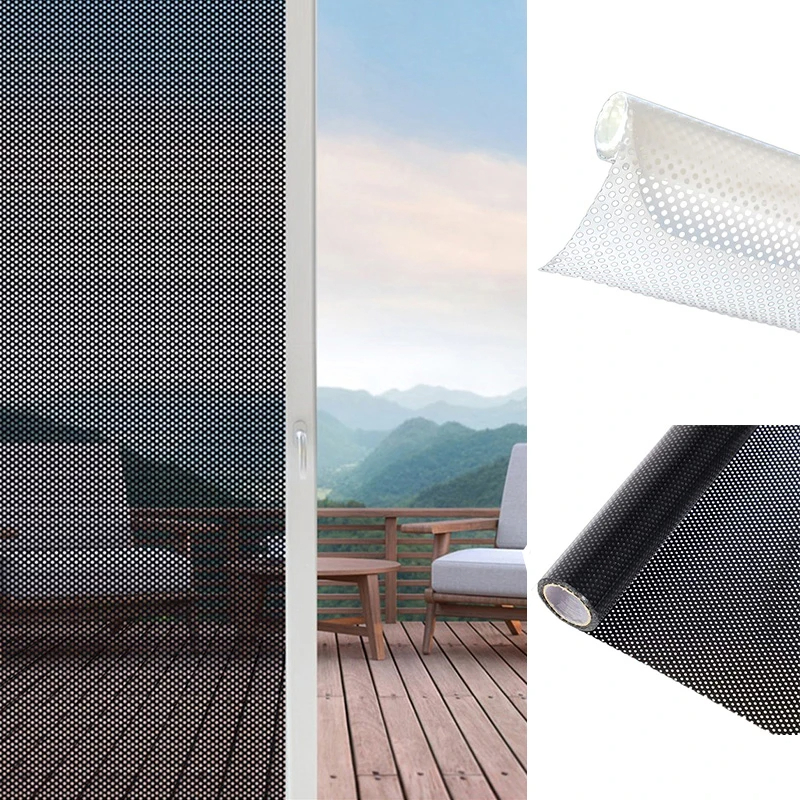
Self-adhesive Mesh Window Film Privacy for Home Office Decorat
Original price was: $5.99.$4.99Current price is: $4.99.Select options This product has multiple variants. The options may be chosen on the product page -
Sale!

Removable Electrostatic Retro Flower Window Film Privacy For Home
Original price was: $9.99.$7.99Current price is: $7.99.Select options This product has multiple variants. The options may be chosen on the product page -
Sale!

Pure Matte UV Blocking Window Film Privacy for Home
Original price was: $37.99.$28.99Current price is: $28.99.
- You may consider installing weatherstripping or other protective measures to help prevent leaks. This may include door sweeps, door thresholds, or window film.
- It’s essential to make sure that the windows are properly installed because an improper installation is a common cause of window leaks.
- Make sure that you have stored the windows safely when you haven’t installed them. If you have removable windows, such as storm windows or screens, you should be sure to store them in a dry, protected location.
- Another important point is when you have outdated windows, you need to consider going for the new ones because they come with several energy-efficient perks these days. Moreover, new windows will have the least nuisances regarding leaks or any damages either.
By following these tips, you can help prevent window leaks and keep the windows functioning properly for years to come.
Conclusion
In conclusion, there is no need to panic, if your windows are leaking when it rains, there are steps you can take to swiftly fix the problem and prevent future leaks. By inspecting the windows, identifying the cause of the leak, and following a step-by-step guide, you can conveniently repair the windows. You can also follow our extended tips to maintain the windows and prevent future leaks, such as cleaning the seals, applying sealant, and installing weatherstripping.
If you do not feel comfortable performing the repairs yourself, there is always an option to consider hiring a professional for help. In the comments section below, let us know what has worked for your window leaks.