4 Easy Ways to Weatherproof a Door

Weather conditions can affect any part of the home, and the exterior door is one of the fixtures that can allow this problem. The effects of weather in homes can cost the owner lots of money to fix. but weatherproofing the door can prevent extreme temperature and high humidity into your interior space.
Some seasons of the year, such as summer and winter, are periods for bugs and adverse weather conditions. Hence, you need to know how to weatherproof a door to prevent the cold and warm air from permeating into your home.
The methods in this article will help you keep the door well weatherproofed, saving you more money on electricity bills and home repairs.
Tools and Materials Needed
- Utility knife
- Hammer
- Pry bar
- Long nail
- Spray-foam insulation
- Exterior-grade door and window caulk
- Hacksaw
- Measuring tape
- Power drill
- Phillips-head screwdriver
- Nail puller or flathead screwdriver
- Finishing nails 1 and a half inches
- Pencil or marker
- Nail-on weather-stripping
How to Weatherproof a Door
1. Install Door Weather Stripping
Step 1: Find the Right Weather Stripping for Doors
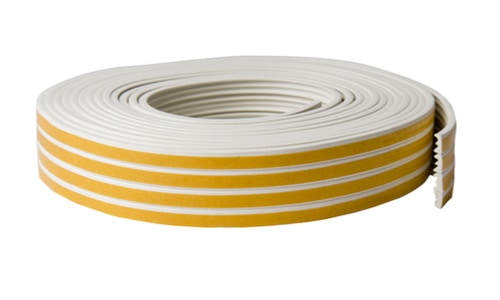
You can conveniently find weather stripping for doors at any good home improvement store. Many types of door weather stripping are available in stores, but you can place an order from a catalog. Ask the store owner to show you the related catalog and make your order through the local hardware center.
It may be challenging to get the exact exterior door weather stripping for your door, but it is still possible. Go to the manufacturer or the store where you bought the original door and find a request for the same brand. You may find a label on the original door that will provide details of the manufacturer or store owner, and you start from there.
Another way to know where to look for is by typing “door repairs” online and going through all the information that pops up. You will find what you need online or get direction on where to find it. But if you are looking for replacement kits, you will find them in home improvement stores.
Step 2: Measure and Cut the Door Weather Stripping
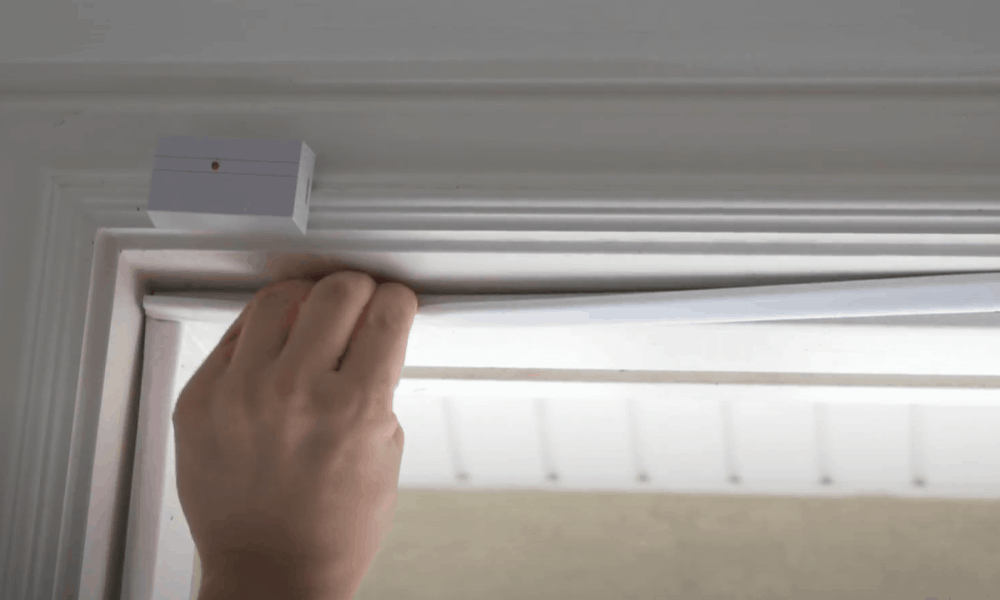
Before you start, first shut the door, and stretch a measuring tape along its top and sides. Use a pencil or marker to make a sharp line on the length of the door stripping. With scissors, cut the foam attached to the stripping and use a hacksaw to cut the wooden flange.
Take out the 1½ inches nail and drive it through the wooden flange and fix the weather stripping or exterior door insulation in place. This should make the whole length of the foam seal on the door. Next, fix the weather stripping in position but don’t hit the nail in yet.
-
Sale!

Swing Stop Bottom Adjustable Roller Flooring Barn Door Hardware
Original price was: $44.99.$33.99Current price is: $33.99. -
Sale!

Low Noise Floor Guide Adjustable Length Barn Door Hardware
Original price was: $15.99.$11.99Current price is: $11.99.Select options This product has multiple variants. The options may be chosen on the product page -
Sale!

Antique Big Rollers Steel Sliding Barn Door Hardware
Original price was: $187.99.$140.99Current price is: $140.99.


Run a tape on the sides of the frame and cut one side of the weather stripping to make it perfect for the top part. You can create the sample using an old one to guide you in the process. Use scissors to cut the needed foam and with a coping saw, cut the profile.
With sandpaper, sand the part you cut until it is smooth. Ensure to fit it in well, and then measure and cut the bottom part. Then put the weather stripping in position and make sure the whole length fits and seals well.
Check to make sure the door opens and closes conveniently before you drive in the nails you put earlier. The door weather stripping should also fit comfortably on the door in its full length. If you want to adjust the stripping a little, pull out the nails and put them in a new position.
2. Add a Door Sweep in Place
Step 1: Examine the Space between the Bottom Edge of the Door and Floor
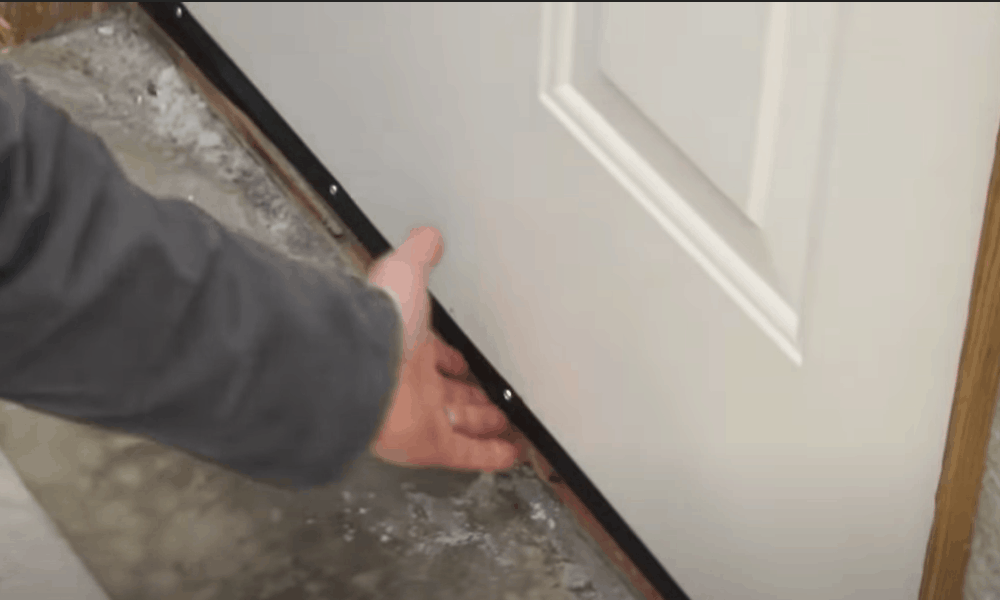
If the house’s door is well-insulated already, you only need to get a thin door sweep. To buy the correct sweep, you need to find the measurements of the gaps between the door bottom and floor using a measuring tape. If the initial sweep is good and functioning, no need for door sweep replacement.
However, if the sweep is not working properly, you may need to replace it as soon as possible. Use a pry bar to prop free the sweep and then remove it.
Step 2: Fix Bristle Sweeps on Door
Most doors have bristle sweeps at their bottom parts, and some come with wheels perfect for uneven floors. Use a screwdriver to screw the bristle sweeps in place at the bottom of the door. In some instances, you may need to remove the door from its hinges before fixing the brittle sweeps.
-
Sale!
Free Punch Glass Door Sliding Door Knobs Suction Cup
Original price was: $12.99.$9.99Current price is: $9.99.Select options This product has multiple variants. The options may be chosen on the product page -
Sale!
Window Cabinet Drawer Handles Self-adhesive Door Knobs
Original price was: $12.99.$9.99Current price is: $9.99.Select options This product has multiple variants. The options may be chosen on the product page -
Sale!
Upscale Sliding Door Knob With Double-sided Tape for Kitchen Door Wardrobe
Original price was: $12.99.$9.99Current price is: $9.99.Select options This product has multiple variants. The options may be chosen on the product page


Step 3: Attach and Integral Sweep to Gaps

Attaching integral sweeps will increase the door’s height a little, which usually creates a large gap at the bottom. Adjust the height or take away the wood located at the bottom part of the door. Use a screwdriver to screw the integral sweep in place close to the edge at the door’s bottom.
Sometimes you have to cut off some of the door bottom parts to create a space for the sweeps to enter. Ensure you find a way to seal it to prevent it from rotting away unevenly.
Other Effective Ways to Weatherproof a Door
There are other ways on how to weatherproof a door apart from the ones mentioned. These methods work great as well, and easy to carry out.
3. Apply Foam Insulation
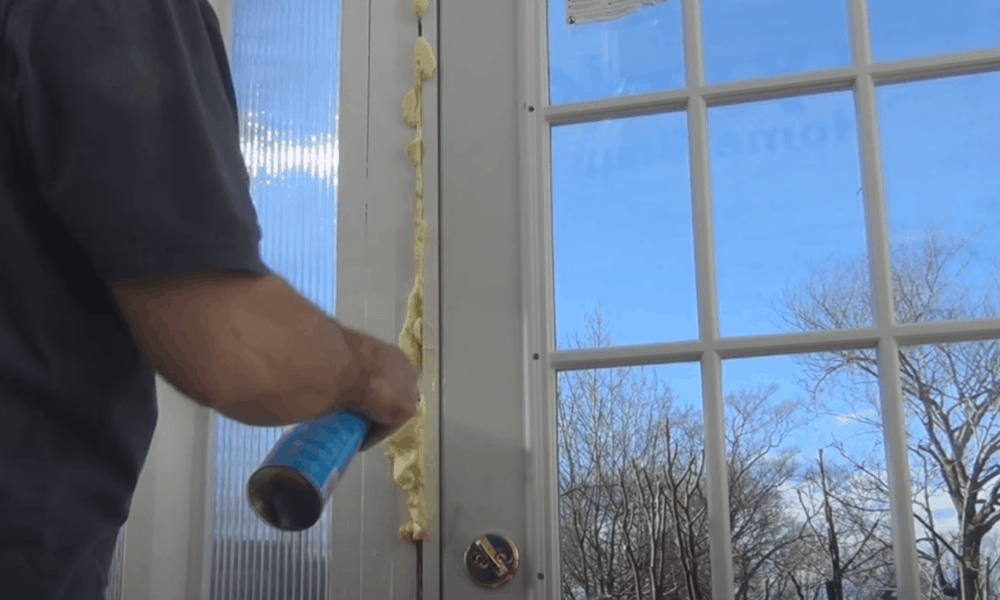
With the aid of a pry bar, prop the right and inner trim holding the door. Twist the straw that comes with the spray into the nozzle of the can. Shake the spray can vigorously to mix the content well before use. Insert the straw in the space you pried off and press the trigger of the spray.
Make sure to apply the spray along with the opening from one point to another and do the same to the top and bottom parts. The foam once sprayed expands and solidifies within the wall when it dries. Wait for a while after the first phase before applying another coat, and then trim off the excess.
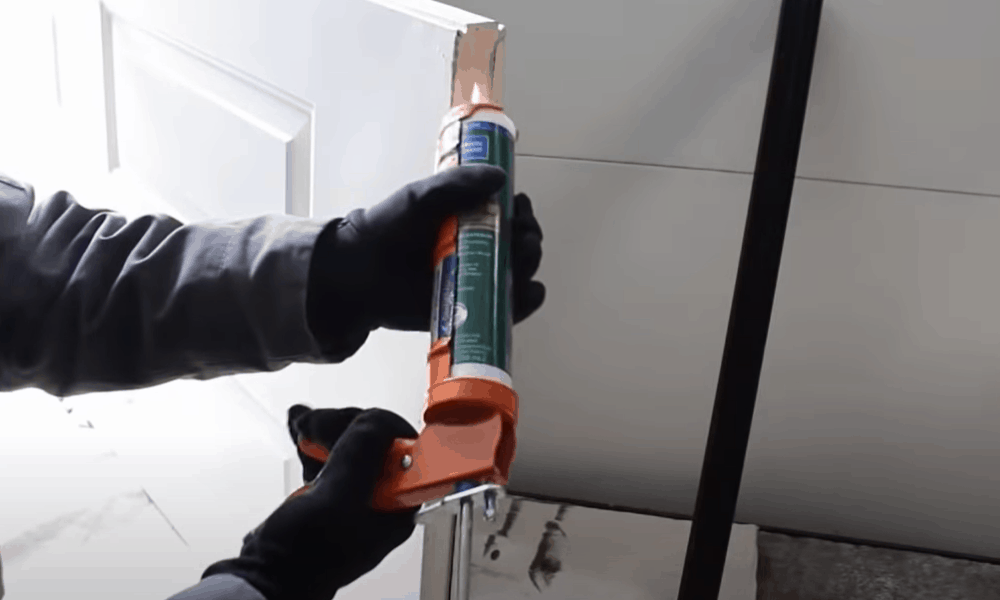
4. Caulk the Door
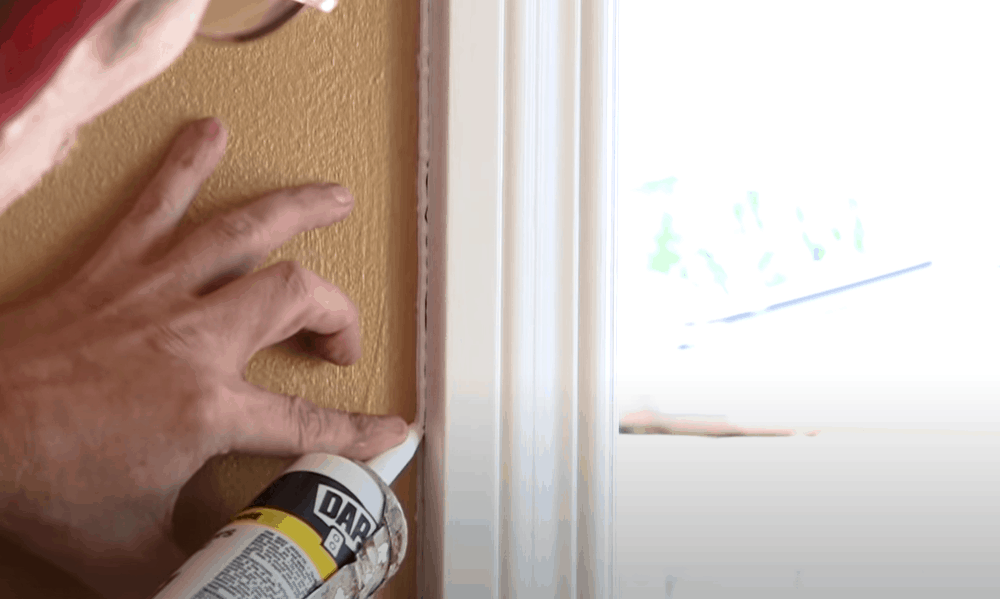
To apply caulk to a door, first get an exterior-grade window and door caulk and cut its nozzle. Pierce the inside seal with a long nail or any sharp object. Attach the caulk tube to a caulk gun and press the trigger until you are sure caulk enters the nozzle.
-
Sale!
Home Entrance Anti-Slip Coral Fleece Door Mat
Original price was: $12.99.$9.99Current price is: $9.99.Select options This product has multiple variants. The options may be chosen on the product page -
Sale!
Semicircular Cartoon Welcome Entrance Door Mat
Original price was: $12.99.$9.99Current price is: $9.99.Select options This product has multiple variants. The options may be chosen on the product page -
Sale!
Anti-skid Water Absorption Bathroom Door Mat
Original price was: $12.99.$9.99Current price is: $9.99.Select options This product has multiple variants. The options may be chosen on the product page


Put the nozzle at the top edge of any side of the outer door trim. Press the trigger on the caulk gun and allow the caulk to flow out. Move your hand slowly to the trim’s edge, and then repeat the same thing to the other side. This step is also how to caulk a door frame, but ensure to seal all the long edges of the trim molding.
Wrap Up
Adverse weather conditions can damage your beautifully looking door when exposed during summer or winter. You will need external weatherproof doors or attach strips, weatherstripping, foam or caulking on the sides, bottom, and upper part of the door.
With the right tools, you can weatherproof your door yourself. Most doors are easy to handle so long you apply great care and follow the process. This is how to weatherproof a door and have rest of mind through every season of the year.