How to Install a Storm Door? (Step-By-Step Tutorial)
There are several reasons why you might consider adding a storm door to your home. They can offer protection to your existing door, they can provide an extra level of security, they can allow more light into your home or they can be used to increase air flow and ventilation.
Whatever the reason you decide to add a storm door, since it isn’t such a difficult job to do, you can save yourself the cost of hiring a pro to fit it by taking care of the work yourself. For anyone with basic DIY skills, it shouldn’t be too hard, so here’s how to install a storm door.
If you are looking for a preview of some of the stuff we’re going to be talking about – as well as plenty of extra hints and tips – you can check out this comprehensive video tutorial before reading on.
What you’ll need for installing a storm door
Here’s a list of the items you’ll need to complete this project.
- Utility knife
- Heat gun
- Drill
- Hacksaw
- Level
- Screwdriver
- Measuring tape
- Duct tape
- Pencil
Step-by-step guide on How to Install a Storm Door
Here are the steps you need to follow to install a storm door.
Step 1. Measure for the door
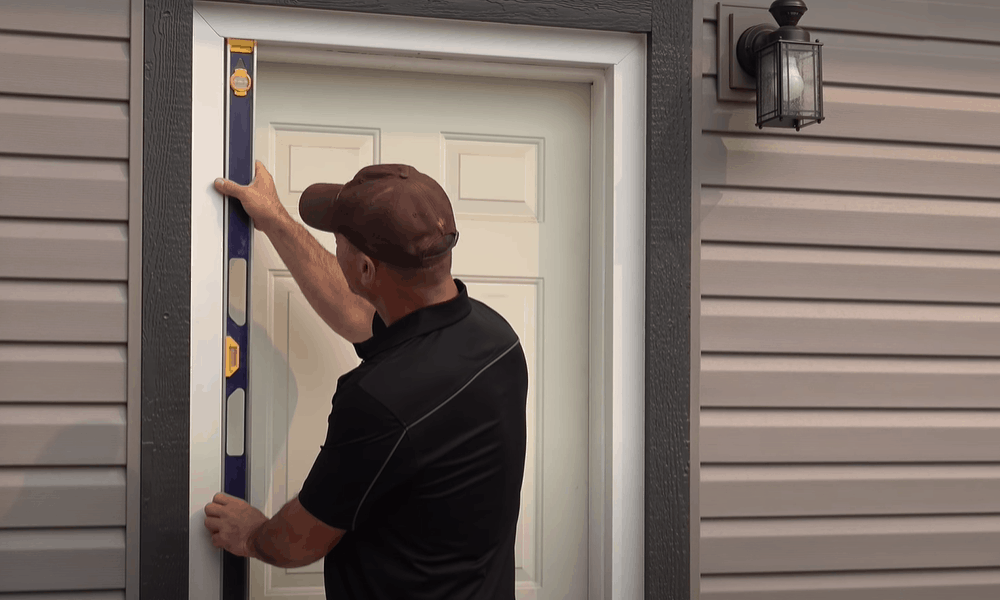
Because not all doors or storm doors are the same size, before you can buy a new storm door, you need to measure the dimensions of your door opening.
For the width, you should measure from the inside of the trim on either side. The height measurement is the distance from the floor to the underside of the header.
- Pro tip: Not all doors are perfectly regular, so you should measure the height at both sides of the door and the width at the top and the bottom of the door. If you find that the measurements are not the same, you should use the smaller of the two.
Step 2. Buy the door and check the contents
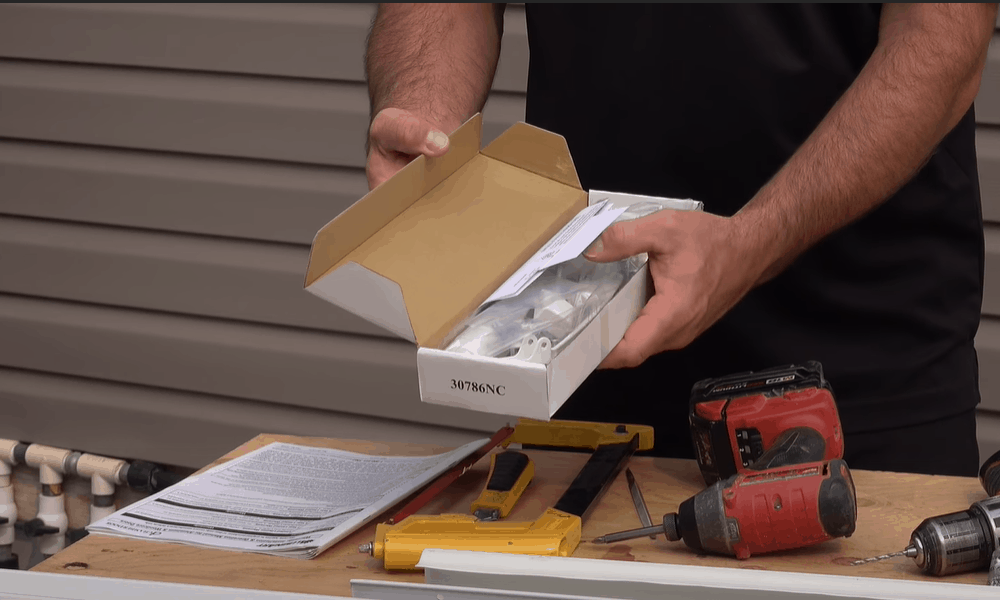
Once you have chosen your new storm door and bought it, you should unpackage it and check the contents.
There should be a list of all the included parts in the instruction manual, so use this to ensure you have all the pieces before you start. It will be no good if you discover pieces are missing after you’ve begun the work.
- Pro tip: Use the cardboard box it comes in to work on and to lay the door on it while you prepare everything. This will help you avoid damaging it.
Step 3. Choose the hinge side
Most storm doors are reversible, meaning you can fit them to open in either direction. However, before you fit it, you need to decide which way you want it to swing.
In most cases, this will be the same way as your regular door, but there are a few reasons why you might decide to install it in the opposite direction. For example, something might block it from opening in the same direction as your existing door.
- Pro tip: If you live in a windy area, this is something else to consider when choosing which way to install a storm door.
It might be a smart choice to fit the hinges on the side facing the direction of the prevailing wind. This will prevent the door from blowing in the wind and potentially being damaged.
-
Sale!

Swing Stop Bottom Adjustable Roller Flooring Barn Door Hardware
Original price was: $44.99.$33.99Current price is: $33.99. -
Sale!

Low Noise Floor Guide Adjustable Length Barn Door Hardware
Original price was: $15.99.$11.99Current price is: $11.99.Select options This product has multiple variants. The options may be chosen on the product page -
Sale!

Antique Big Rollers Steel Sliding Barn Door Hardware
Original price was: $187.99.$140.99Current price is: $140.99.


- Pro tip: Mark the hinge side with duct tape to make it easier to recognize as you work.
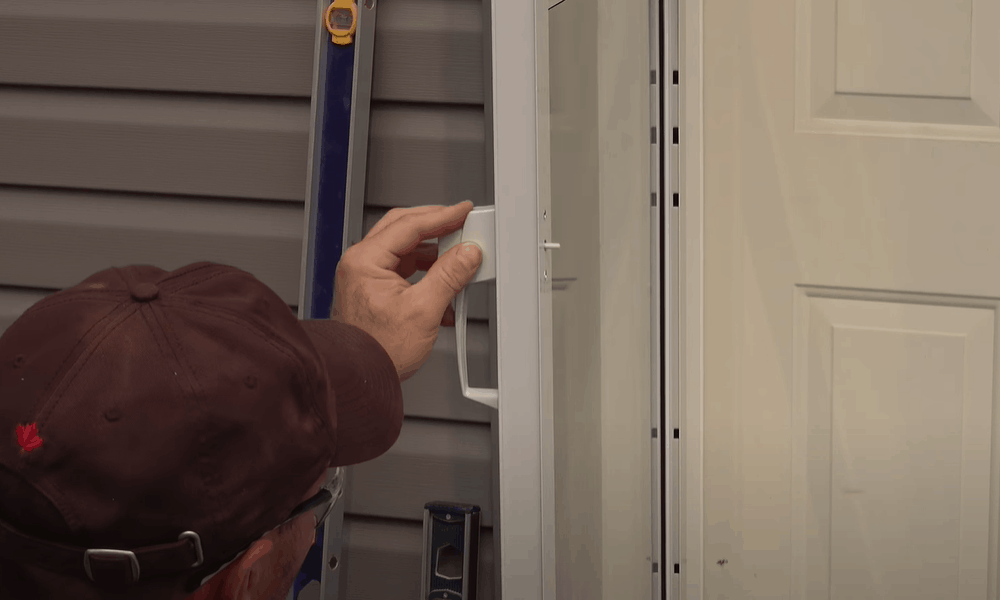
Step 4. Fit the drip cap
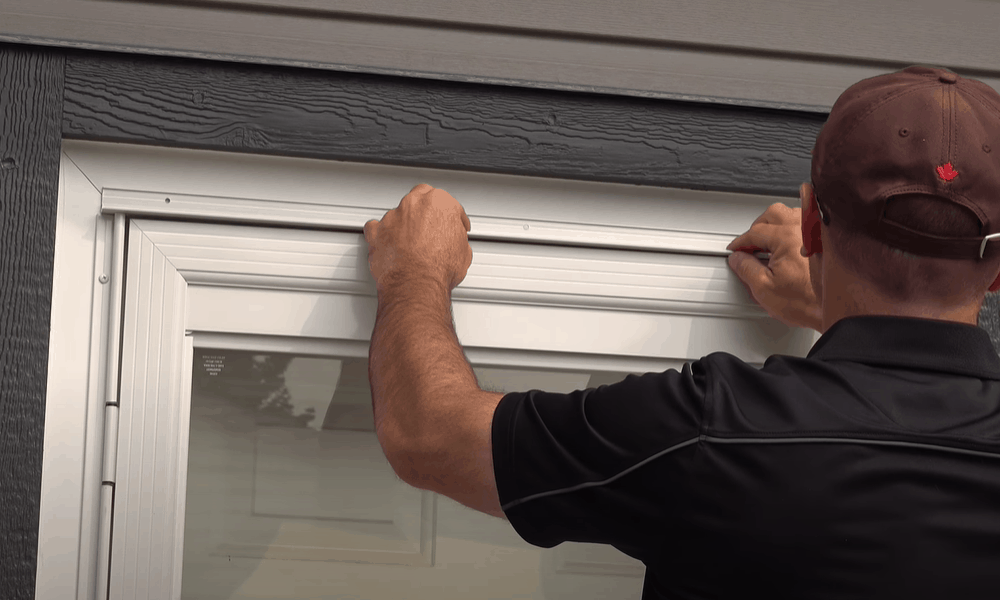
At the top of a storm door is a part called the drip cap, and its purpose is to prevent water from leaking through the top of the door when it rains.
Hold it in place and mark the positions for the screws with a pencil. Drill the holes and then screw the drip cap in place.
- Pro tip: Make sure you read the instructions carefully because some drip caps are designed to be installed after the rest of the door. If this is the case with your model, you can skip this step for now.
Step 5. Attach z-bar to hinge side of door frame
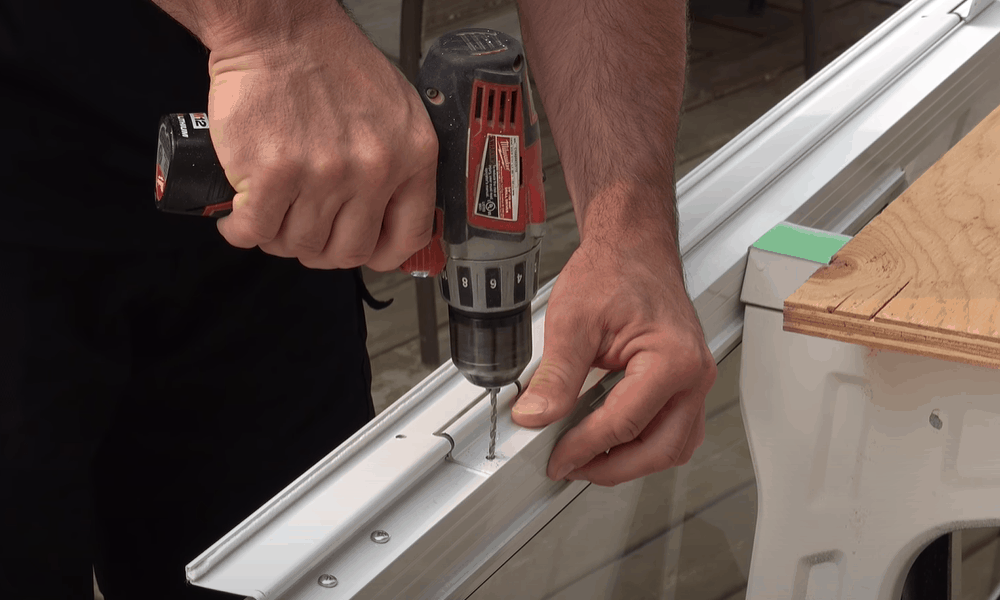
To attach the z-bar, you need to lay the door on its side with the hinge side facing up. Line the z-bar up along the side of the door, leaving 1/8” extra length above the door and then screw the hinges of the z-bar into the storm door frame.
Next, you need to remove the extra length of z-bar that sticks out beyond the bottom of the door frame.
To work out the length, you need to measure the distance from the floor to the bottom of the drip cap. This will tell you how much you need to remove, which you can then do with the saw.
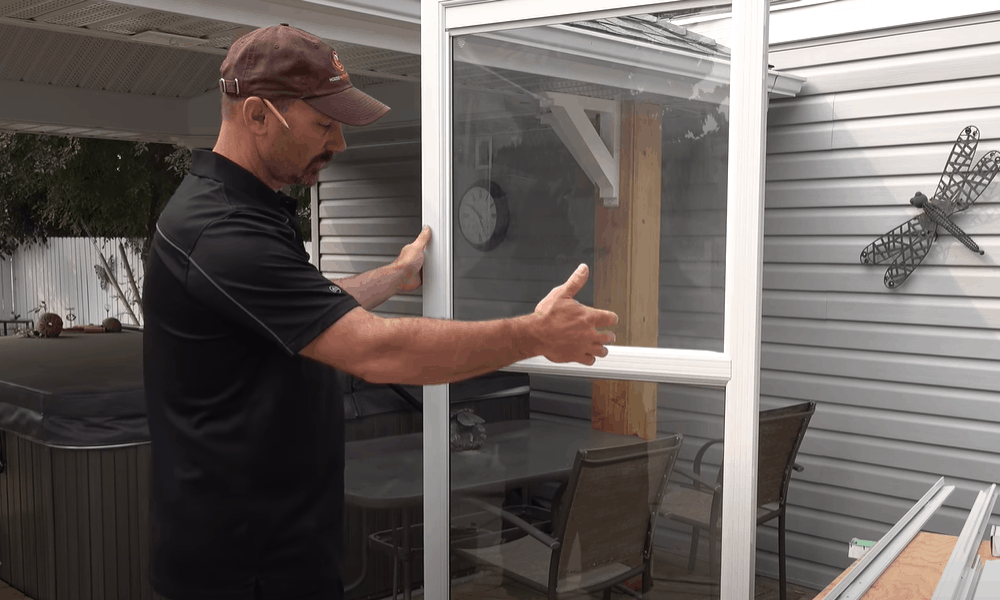
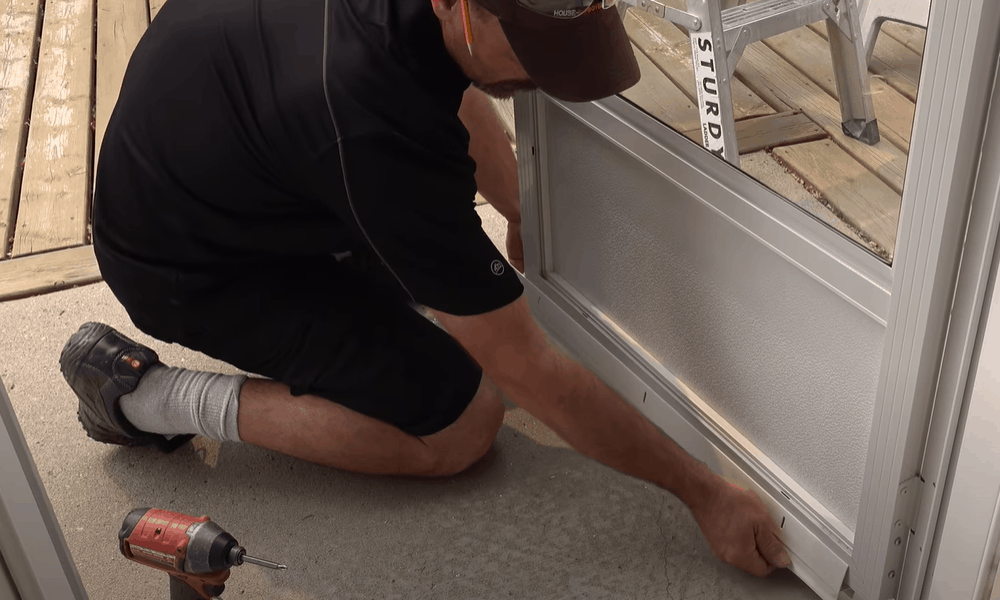
Step 6. Fit the storm door into the opening
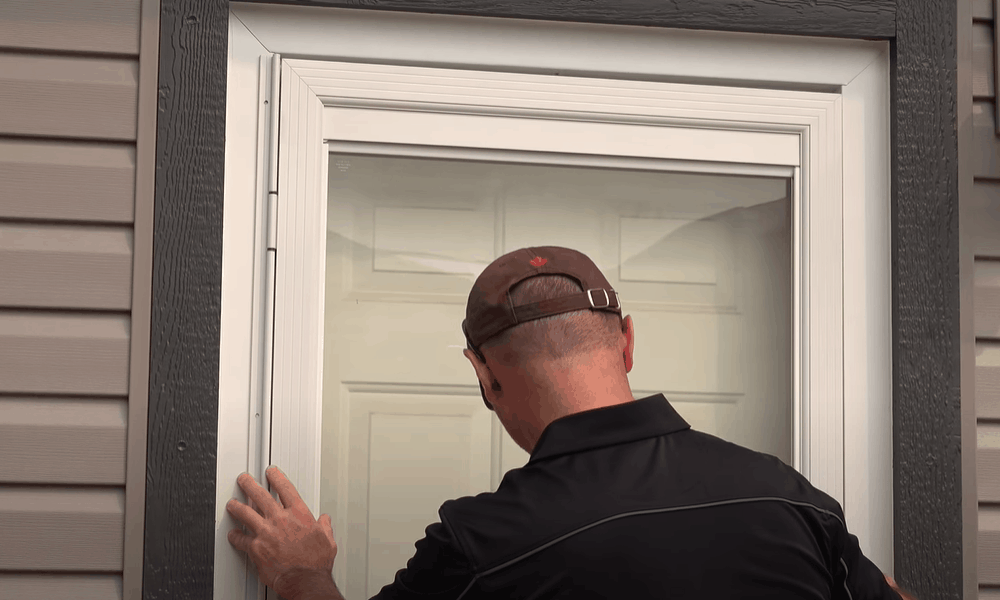
Pick up the storm door and place it in the door opening. The top of the hinge-side z-bar should be flush with the drip cap.
Next, screw in the top hinge and test the door to make sure it opens and shuts correctly. If everything lines up, you can now attach the remaining hinges with screws.
- Pro tip: Since storm doors are not all the same, check the instructions for details about how to carry this step out with the model you are installing.
Step 7. Attach the z-bar on the latch side
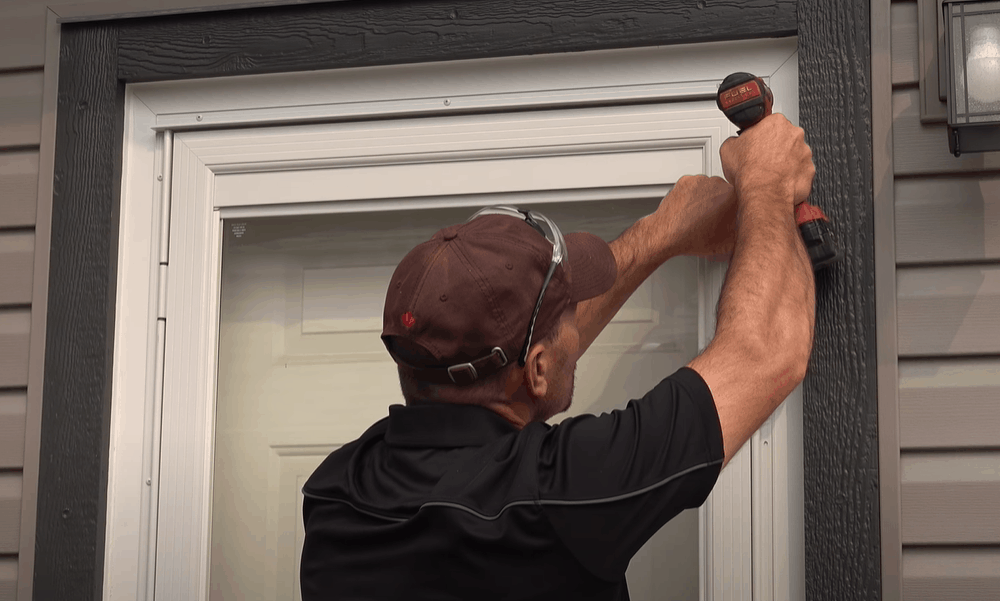
The next step is to fix the z-bar onto the latch side of the storm door.
You need to match up the z-bar with the latch and the lock so that they function smoothly.
Measure the distance from the floor to the underside of the drip cap and then saw the bottom off the z-bar to give you the correct length.
-
Sale!
Free Punch Glass Door Sliding Door Knobs Suction Cup
Original price was: $12.99.$9.99Current price is: $9.99.Select options This product has multiple variants. The options may be chosen on the product page -
Sale!
Window Cabinet Drawer Handles Self-adhesive Door Knobs
Original price was: $12.99.$9.99Current price is: $9.99.Select options This product has multiple variants. The options may be chosen on the product page -
Sale!
Upscale Sliding Door Knob With Double-sided Tape for Kitchen Door Wardrobe
Original price was: $12.99.$9.99Current price is: $9.99.Select options This product has multiple variants. The options may be chosen on the product page


Next, hold the z-bar against the door opening on the latch side. The top of the bar should be pushed against the underside of the drip cap.
Then, with the door closed, check everything is correctly in place. If everything lines up correctly, drill a hole at the top of the z-bar and attach it with a screw. After this, you can also fix it at the bottom with another screw.
Step 8. Attach the handle set
Once the storm door is in place and you are satisfied that it opens and closes correctly, you can now fit the handle set.
How you do this will depend on the model you have, so the best advice is to refer to the instruction manual that came with it.
- Pro tip: The thing you need to avoid here is having the handle of the storm door touch the door of the inside door when you close it. If this happens, you might have to adjust it or change the handle to prevent it – otherwise it might not close properly.
Step 9. Finish any other steps included in your instruction manual
By now, you have finished the basic job. All that is left for you to do is to check the instruction manual to see if there is anything else that you need to do – and the job is complete!
Extra pro tips
Here are some extra hints and tips that will help you make a success of the project.
- Use the heat gun and utility knife to remove caulking
If you need to remove an old storm door before fitting the new one, you should only need to unscrew it and take it off.
However, if you find that it has been installed with caulking, you can simply use the utility knife to cut it and scrape it away.
If you find it is particularly stubborn, you can use a heat gun to help soften it up a bit.
- Use silicone to help with waterproofing
If you find that water is getting in between the storm door and your inner door, you can solve the problem by applying a layer of silicone.
Loosen the hinges to give you access to the gap and apply silicone behind the door on the frame. After you screw it back in place, this will prevent water from getting through in future.
- Measure twice, cut once
Since you will have to cut some of the pieces during this installation, you should always remember the old woodworker’s adage – measure twice, cut once.
By measuring twice and being sure that you have got the right measurements before you start cutting, you can avoid making mistakes and potentially cutting off too much.
-
Sale!
Home Entrance Anti-Slip Coral Fleece Door Mat
Original price was: $12.99.$9.99Current price is: $9.99.Select options This product has multiple variants. The options may be chosen on the product page -
Sale!
Semicircular Cartoon Welcome Entrance Door Mat
Original price was: $12.99.$9.99Current price is: $9.99.Select options This product has multiple variants. The options may be chosen on the product page -
Sale!
Anti-skid Water Absorption Bathroom Door Mat
Original price was: $12.99.$9.99Current price is: $9.99.Select options This product has multiple variants. The options may be chosen on the product page


- Be prepared for your door frame to be uneven
We might not usually notice, but doors are often not completely regular, so when you install a storm door, you might find it doesn’t line up perfectly.
Sometimes, if the difference is not too great, this problem isn’t a big deal and it will take care of itself during the installation process.
However, if the problem is more significant, you might need to slip a shim in behind the z-bar to “correct” the shape slightly.
A relatively easy job that most people can do themselves
As you can see, fitting a storm door is a relatively easy job that most people will be able to manage themselves without the need to pay a professional to do the work for them. The best advice is to read the instructions carefully first so you know what to do with your model.
However, once you have read the instructions, most storm doors are quite similar, so by following the steps in our guide – as well as working through your instruction manual, you should be able to fit your storm door successfully in a short amount of time.