How to Stain a Fiberglass Door? (Step-By-Step Tutorial)
Apart from weather-sealing your front entrance, fiberglass doors provided excellent protection and security from the outdoor elements. They are also incredibly durable and are stylish enough to remain in fashion for years to come. That isn’t where the good news end.
Due to their extreme energy efficiency, these doors repay their initial asking price several times over in the form of reduced energy bills. All they demand in return for everything that they provide is for you to stain these doors whenever they start showing signs of wear and tear.
That’s why in this article we’re going to show you how to stain a fiberglass door:
Before you stain your fiberglass door
Here’s what you need to do:
Remove and strip the door
Remove the door of its hinges and strip it of all its hardware. That includes all of its locks, knobs, and other equipment. Here’s how you can do it:
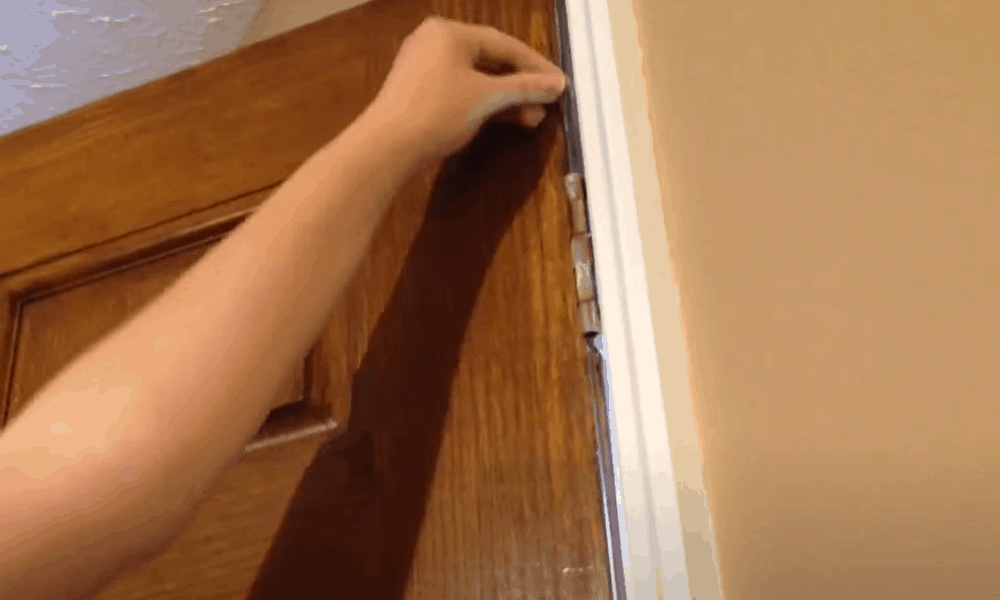
- Step 1: Detach the door from its hinges


Open the door so that you can see – and access – its hinges. Tap the hinge pin at the bottom and keep on tapping until it comes out. Set it aside.
Lift the door in such a way that it clears the remaining hinges. Lower it to the floor and carry the door to your workstation.
- Step 2: Remove all hardware from the door
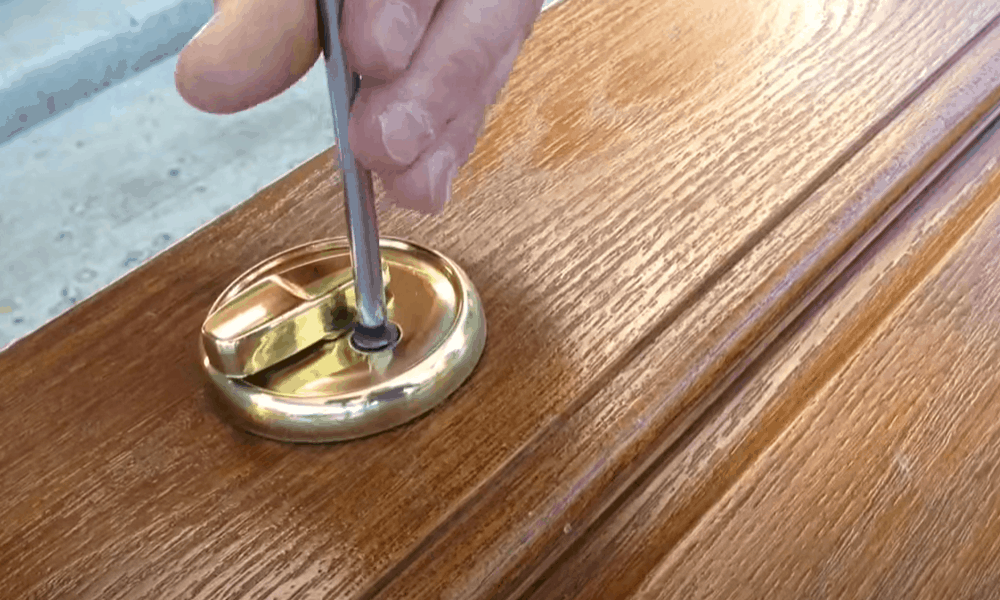
Once you’re in your workstation, place the door on an elevated surface. That surface could be a couple of sawhorses or a worktable.
Afterward, use a combination of screwdriver and hammer to remove the handle, hinge plates, locks, latches, and any other hardware you feel may get in the way of staining.
- Step 3: Clean the door with mineral spirit

The idea is to clean those areas that are showing signs of discoloration or massive build-up. Soak a dry cloth with mineral spirit and start scrubbing the door.
-
Sale!

Swing Stop Bottom Adjustable Roller Flooring Barn Door Hardware
Original price was: $44.99.$33.99Current price is: $33.99. -
Sale!

Low Noise Floor Guide Adjustable Length Barn Door Hardware
Original price was: $15.99.$11.99Current price is: $11.99.Select options This product has multiple variants. The options may be chosen on the product page -
Sale!

Antique Big Rollers Steel Sliding Barn Door Hardware
Original price was: $187.99.$140.99Current price is: $140.99.


Make sure to give the door a thorough wipedown. There shouldn’t be any lingering dust, dirt, or grime once you’re done cleaning it.
- Step 4: Remove the existing finish from the door (optional)

You will have to remove the existing finish only if you are refinishing a door that you or anyone else has stained previously.
All you have to do is to lubricate the entire door – from top to bottom – with a chemical solvent. Let the solvent do its work for about 10 minutes and then wipe it off with a disposable rag.
Select the stain
Following are the various types of stains that you can use:
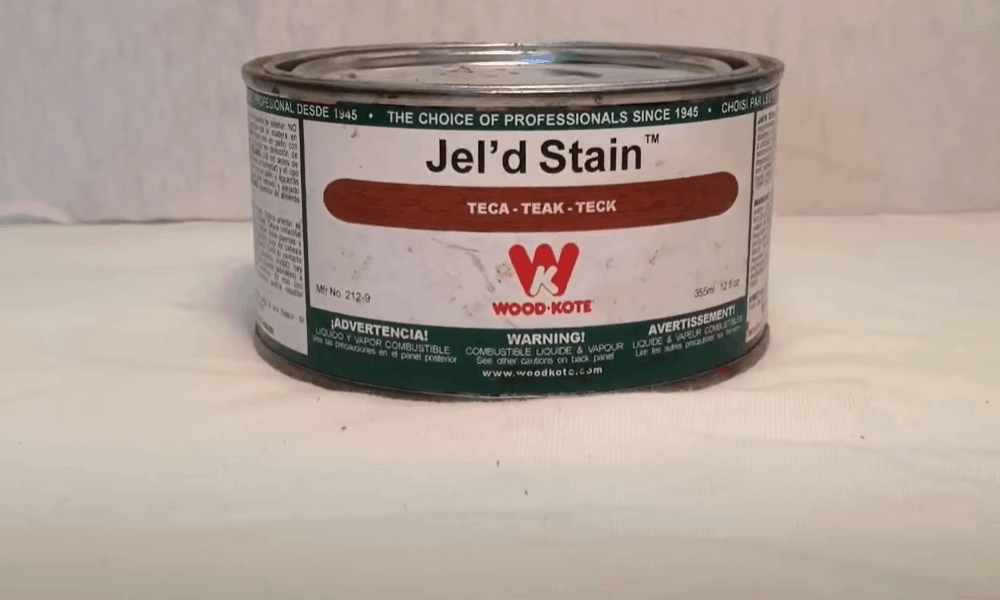
- Gel-based stains: Gel stains work best with fiberglass doors because they require less preparation and are thicker in texture. They adhere well even if the surface on which you’re going to apply them isn’t completely sanded down.
- Water-based stains: Water-based stains are the quickest to dry and raise the grain of the wood to enhance its appearance. On the flip side, their penetrating ability isn’t as great as gel-based stains, which is why their application results in softer colors.
- Oil-based stains: Oil-based stains have a linseed oil binder that increases their drying time, thereby giving you plenty of room to remove the excess before they dry. However, these stains contain harmful chemicals which they release during the application.
What you’ll need for staining fiberglass doors
Here’s a list of all the tools and equipment you’ll need to apply the stain:
- Gel stain
- 2-inch foam brush
- Clean rag
- Soft-bristled brush
- Polyurethane or water-based solvent
- Safety gloves and face mask
Step-by-Step Guide on How to Stain a Fiberglass Door
Follow these steps to stain a fiberglass door:
Step 1: Apply the stain on the interior panels
-
Sale!
Free Punch Glass Door Sliding Door Knobs Suction Cup
Original price was: $12.99.$9.99Current price is: $9.99.Select options This product has multiple variants. The options may be chosen on the product page -
Sale!
Window Cabinet Drawer Handles Self-adhesive Door Knobs
Original price was: $12.99.$9.99Current price is: $9.99.Select options This product has multiple variants. The options may be chosen on the product page -
Sale!
Upscale Sliding Door Knob With Double-sided Tape for Kitchen Door Wardrobe
Original price was: $12.99.$9.99Current price is: $9.99.Select options This product has multiple variants. The options may be chosen on the product page


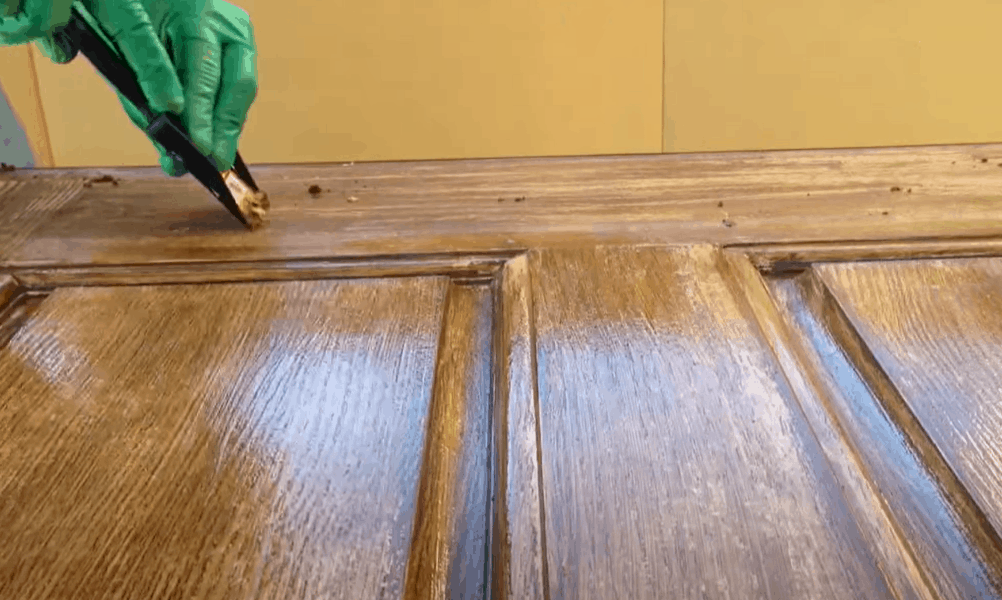
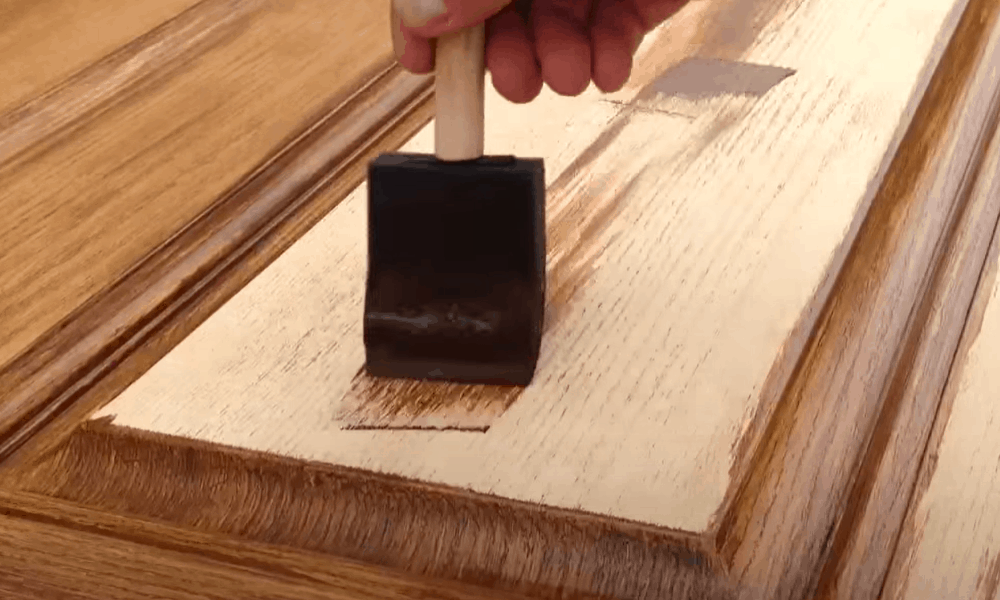
Dip the 2-inch foam brush in the stain can and apply the stain over the raised areas at the center of the door. You should imitate the grain pattern. Make sure that you’re wearing gloves as well. Apart from protecting your hands, they will prevent the oil on your skin from depositing on the door.
Once you’re done applying the stain, remove the excess using a dry cloth. Doing this will let you notice that the remaining stain has started to go light. Continue the process of applying the stain and brushing off the excess until you get your desired shade.
Pro Tip: Gel stains give off fumes so don’t forget wearing a mask.
Step 2: Apply the stain on the exterior panels
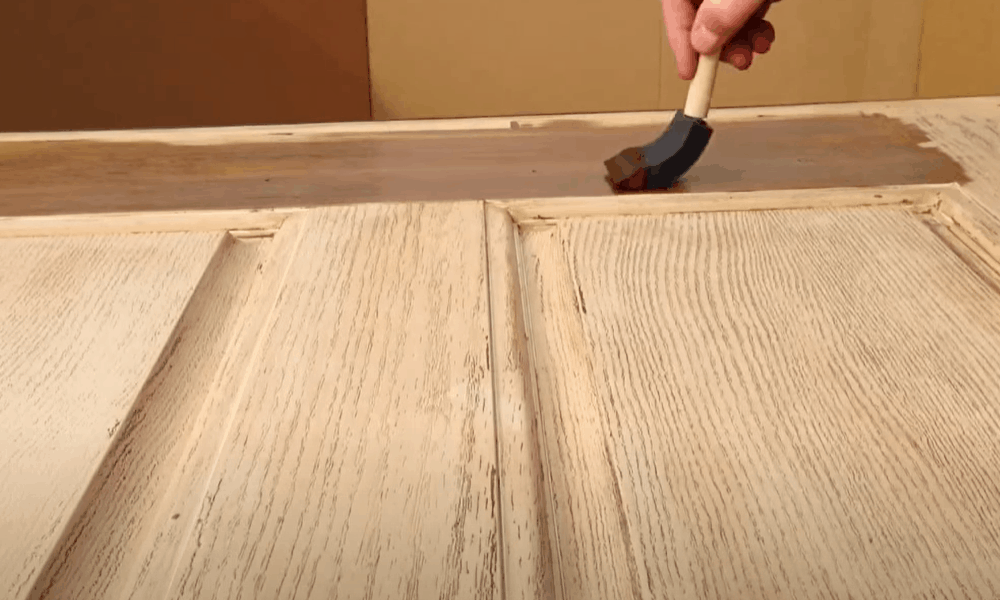
After applying the stain onto the interior panels, move on to the exterior areas, including the flat section at the sides, top and bottom. Try to save the outermost areas of the door (the ones that attach to the jamb when closed). Give the stain between 12 – 24 hours to dry.
Pro Tip: To apply the stain over lap lines or contrasting streaks that are between the inner and outer sections of the door, use a soft-bristled brush when the stain is still wet.
Step 3: Apply the final coat
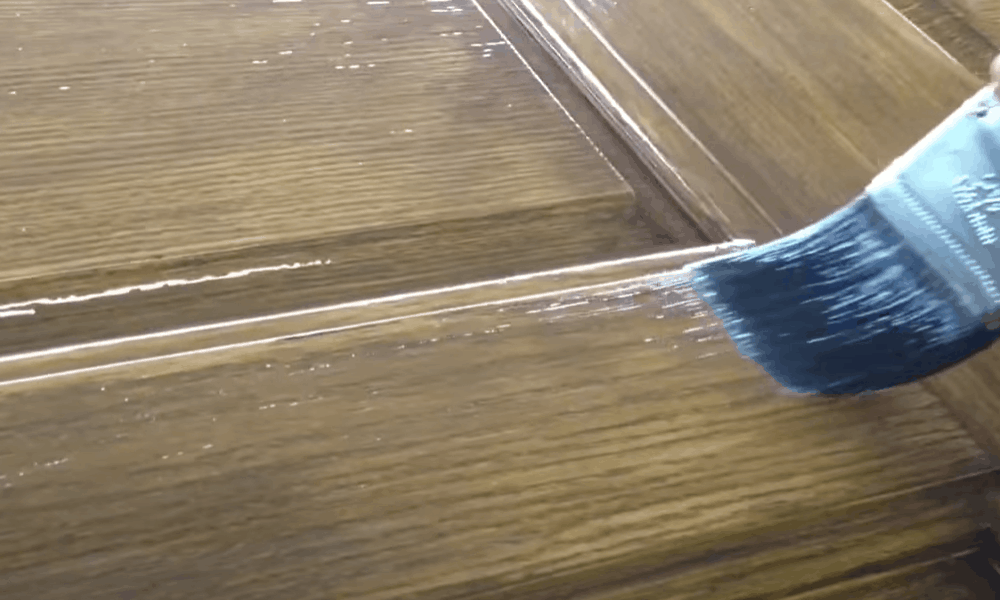
Once you have made sure that the door is completely dry, dip a clean brush into a canister of water-based or polyurethane sealant. Use it to cover the door in much the same way as you applied the stain in the previous two steps. Take the same safety precautions as well.
Apart from sealing in the stain, the fresh coat will preserve the vibrant color of the previous coating and make a shield that will protect it from dirt, dust, and damage.
Step 4: Re-attach the door’s hardware
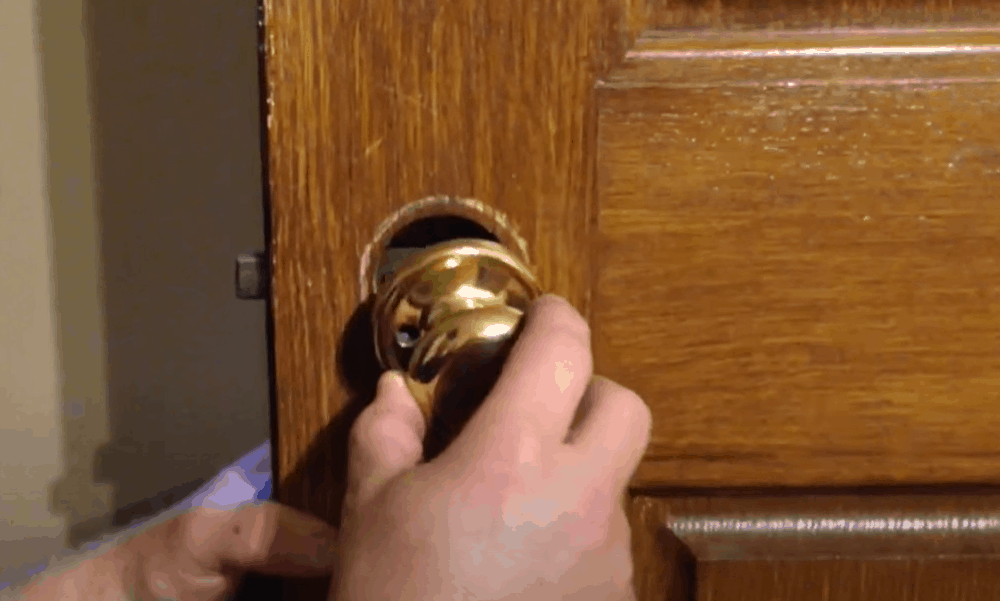
After giving the final coat 8 to 24 hours of drying time, re-attach the door’s hardware. Start with attaching the knobs, locks and hinges and attach the hinge at the very last. Take your time in this step as you need every screw to be nice and tight for the door to orient correctly.
-
Sale!
Home Entrance Anti-Slip Coral Fleece Door Mat
Original price was: $12.99.$9.99Current price is: $9.99.Select options This product has multiple variants. The options may be chosen on the product page -
Sale!
Semicircular Cartoon Welcome Entrance Door Mat
Original price was: $12.99.$9.99Current price is: $9.99.Select options This product has multiple variants. The options may be chosen on the product page -
Sale!
Anti-skid Water Absorption Bathroom Door Mat
Original price was: $12.99.$9.99Current price is: $9.99.Select options This product has multiple variants. The options may be chosen on the product page


Final Step: Install the door back up
Start by connecting the hinge valves on the wall with those on the door. Screw them tight and then insert the hinge pins. You might want to open/close the door a few times to make sure it is tracking as intended.
Conclusion
Staining a fiberglass door is one of the easiest ways to enhance the appeal of your entryway. There’s no need for you to hire a painter to do the job. The instructions mentioned above make it clear that anyone with a little free time on their hands can start and finish the process on their own.