How to Install Sliding Glass Door? (Step-By-Step Tutorial)
Are you looking to spruce up your home with a new patio glass door? Not only is it a beautiful addition, but a glass door can also boost curb appeal and even add to the value of your home.
That being said, the installation costs can be a bit prohibitive but you can save money by doing it on your own. With basic skills, the right tools, and simple instructions, you can install a sliding glass door in a day. Read on—we’ll show you how.
Tools for sliding glass door installation
These are the tools and materials you will need to get the job done:
- Putty knife
- Nail drill
- Carpenter’s level
Materials
- Silicone caulk
- Flashing tape
- Drip cap
- Sill pan
- Sliding glass door
Step-By-Step Guide on How to replace sliding glass door
It is best to install a sliding glass where a large door was previously. Setting up the door in an existing rough opening can drastically cut down the project time and installation costs.
Most sliding doors you will find in the market today are pre-hung, meaning that the door itself including the sliding and stationary panels come attached to a frame. All you have to do is place the pre-hung door in the rough opening and secure it in place.
Ready to give it a try? Follow these simple steps to install your new sliding glass door.
Step 1. Measure the rough opening
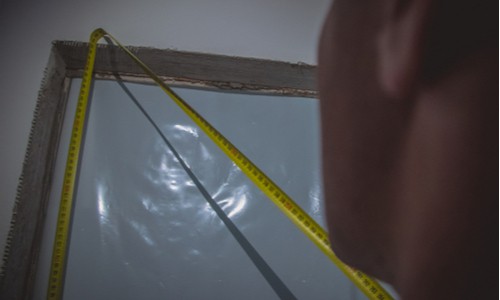
Before shopping for a new patio door, you first need to determine the measurements of the existing opening. This will help you buy the right size door.
- Using a putty knife, carefully pry out the interior trim around the doorframe to access the studs. If the trim is in good shape, set the pieces aside to reuse later.
- Using a tape measure, determine the width of the door opening. Start measuring from the left stud to the right side one. It is best to measure horizontally at the top, middle, and bottom of the opening for accuracy. Note these measurements and use the smallest one as the width to buy a perfectly fitting door.
- Next, measure the height. Start from the top of the opening down to the floor. Note these measurements and use the smallest one when buying your new door.
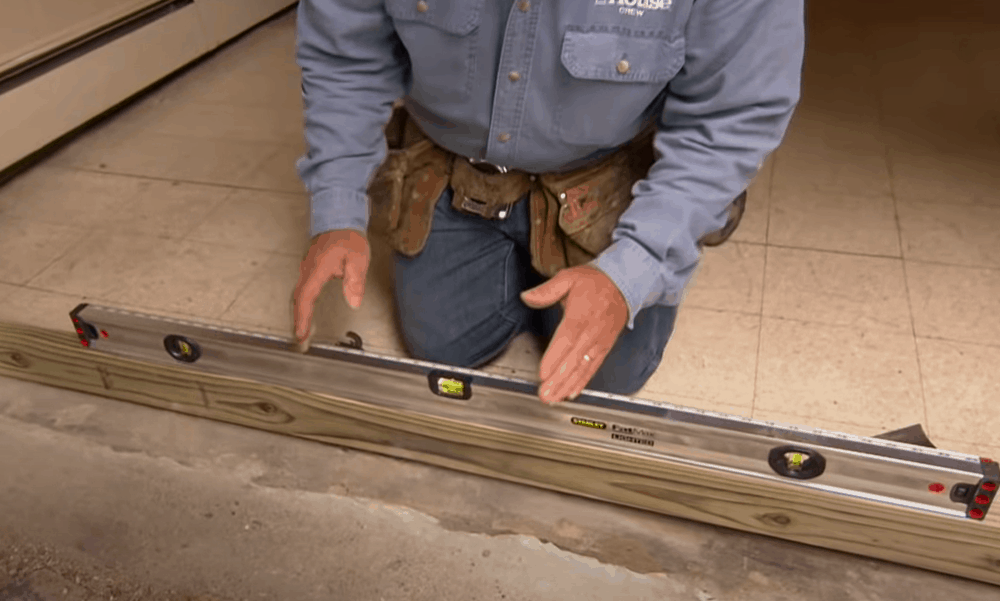
Step 2. Check that the door opening is plumb and level
Before installing the new door, be sure that the opening is square for the door to fit snugly.
- Use a carpenter’s level to check that door is plumb and level. To check for plumb, place the level along each side of the door opening. If the sides are plumb, the bubble on the carpenter’s level should be centered.
- To check that the door is level, place the carpenter’s level horizontally on the header and bottom of the door opening. If the opening is level, the bubble on the carpenter’s level should be centered. If any of the edges are not level, you will need to install shims to square the door frame
Pro Tip: Be sure to test fit the door in the rough opening before doing the final installation.
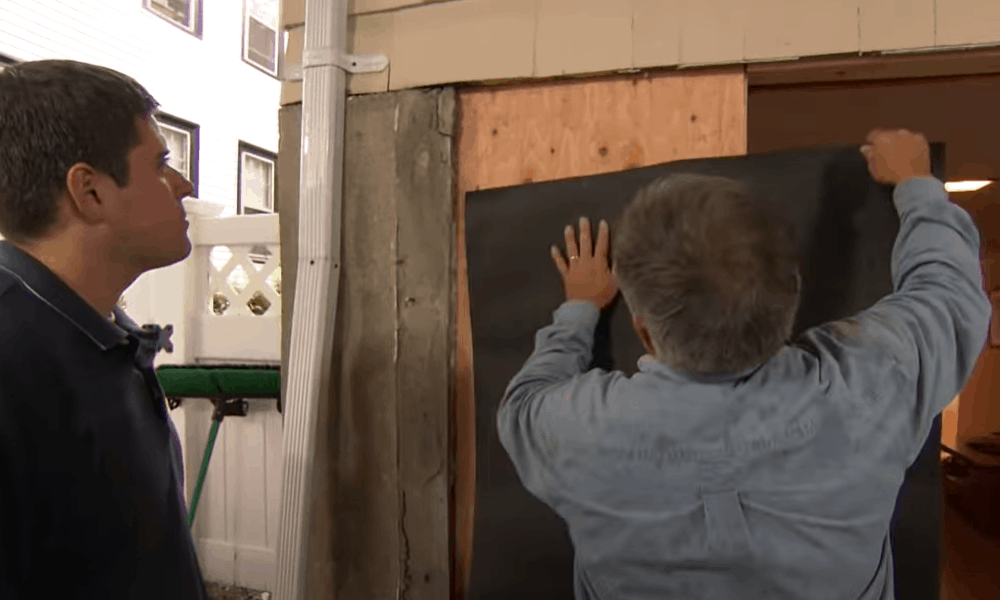
Step 3. Weatherproof the door opening using flashing
-
Sale!

Swing Stop Bottom Adjustable Roller Flooring Barn Door Hardware
Original price was: $44.99.$33.99Current price is: $33.99. -
Sale!

Low Noise Floor Guide Adjustable Length Barn Door Hardware
Original price was: $15.99.$11.99Current price is: $11.99.Select options This product has multiple variants. The options may be chosen on the product page -
Sale!

Antique Big Rollers Steel Sliding Barn Door Hardware
Original price was: $187.99.$140.99Current price is: $140.99.


It is important to install weatherproofing material to protect the sliding door from water damage. You can use different types of material including flashing tape, drip caps, and sill pans to prevent water from sipping through the edges of the door.
- If you opt for flashing tape, apply one layer along the length of the bottom sill of the door opening.
- Allow some of the tape to hang over so you can tack it between the sill and house wrap for maximum protection against water damage. Apply the flashing on both sides of the door and on the header too.
Step 4. Weatherproof the door opening using a drip cap and sill pan
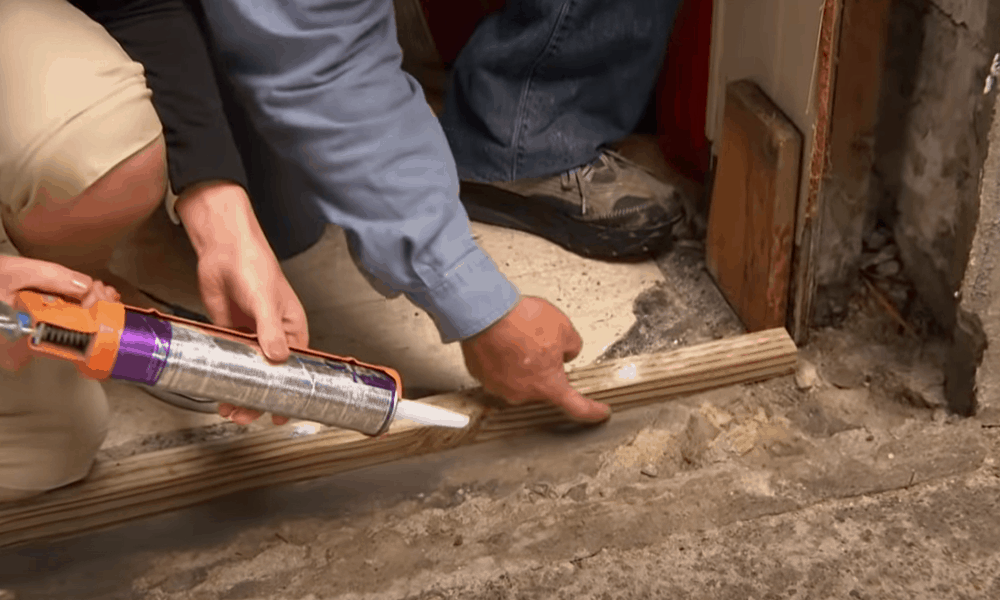
If you are on a budget, flashing tape is a good enough option. But, for superior weatherproofing, consider installing a drip cap on the header of the rough opening and a sill pan at the bottom.
- Cut a drip cap the size of the door opening width. Apply a long bead of silicone-based caulk to the drip cap then stick the cap on the rough opening header.
- To weatherproof the bottom of the door opening, apply a long bead of silicone-based caulk, and install a sill pan. Press slightly to secure the pan in place.
Step 5. Set the new door frame into the opening
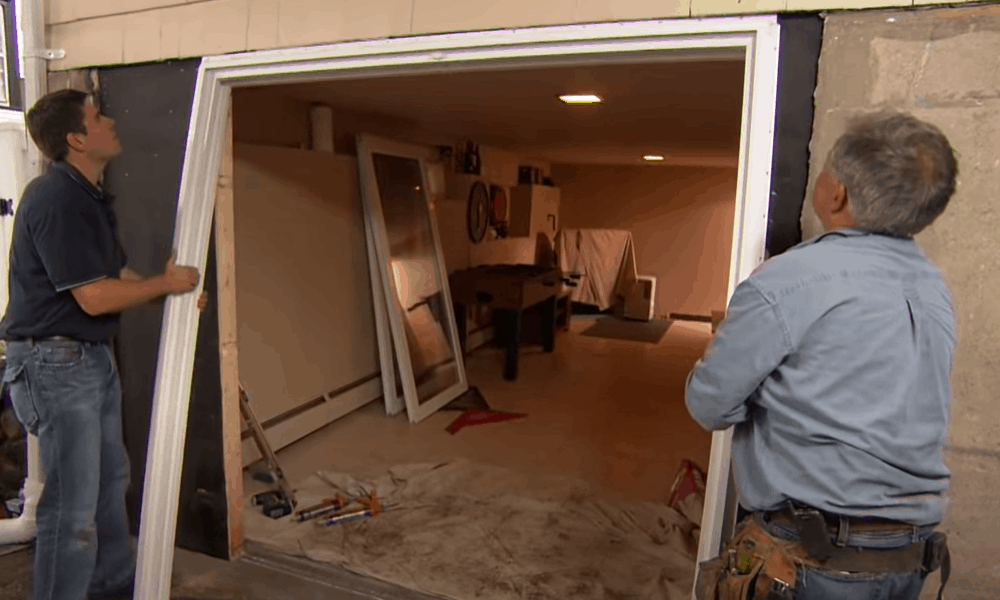
With the opening weatherproofed, it is now time to install the door. Get a helper for this next step.
- While standing outside, angle the pre-hung door with the top tilted toward you. This will allow you to insert the bottom of the door first. Push the door in to fit it into the opening. The new doorframe should be flush with the outside siding.
- Step inside the house and check for gaps around the doorframe. Insert shims as necessary to keep the door plumb and level.
Step 6. Secure the door in place
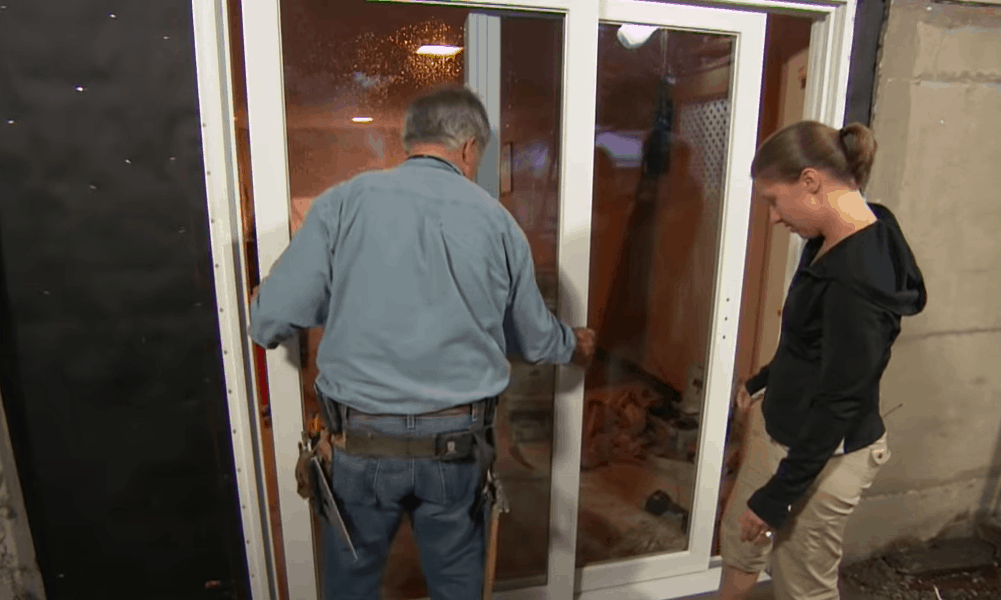
- If the new doorframe is flush with the outside siding, drive the appropriate finishing nails into the shims and doorframe through to the rough opening on one side. Repeat this process to secure the frame on the other side.
- Using a utility knife, trim the protruding shims to make them flush with the doorframe.
- With the sides secured, move on to the threshold. Insert screws in the respective screw holes and fasten them to secure the threshold.
Step 7. Reinstall the trim and fill up any gaps
- Your sliding door is now set in place. Check for spaces between the new frame and wall. If so, fill these in using foam insulation and allow it to dry.
- Next, put back the trim to cover the exposed studs and to give the door a finished look. Apply some caulk around the interior edges of the door where the trim meets the wall.
There you go! With your sliding glass door is all set. You can now enjoy easy access to your patio or backyard and take in the beautiful sights of the great outdoors.
Extended Tips for installing sliding glass door
Below are additional tips to help make this project a success.
-
Sale!
Free Punch Glass Door Sliding Door Knobs Suction Cup
Original price was: $12.99.$9.99Current price is: $9.99.Select options This product has multiple variants. The options may be chosen on the product page -
Sale!
Window Cabinet Drawer Handles Self-adhesive Door Knobs
Original price was: $12.99.$9.99Current price is: $9.99.Select options This product has multiple variants. The options may be chosen on the product page -
Sale!
Upscale Sliding Door Knob With Double-sided Tape for Kitchen Door Wardrobe
Original price was: $12.99.$9.99Current price is: $9.99.Select options This product has multiple variants. The options may be chosen on the product page


Use the right method to apply caulk
Sealing and weatherproofing the doorframe is a particularly important step. You want to be very careful to apply caulk correctly to keep water from sipping through any openings around the door.
For best results, we recommend using silicone caulk. The type of dispensing tool also matters. For a clean application, your best bet is to use a smooth-action caulk gun.
Set the caulk-gun at a 45-degree angle when applying the caulk. Squeeze the gun hard as you steadily drag the tip in a straight line to ensure that the caulk sets into the joint.
Buy the right sliding door for your needs
Sliding glass doors work more or less the same but they come in different styles. An important consideration when shopping for one is the material, with the most common ones being fiberglass, vinyl, wood, and steel.
Fiberglass and aluminum pre-hung doors are popular due to their durability and energy efficiency but if you are on a budget, vinyl is a good alternative too. Wooden sliding doors, on the other hand, are no longer as common as they come with their own set of challenges including being extra prone to water damage and warping.
Be sure to insulate any openings around the door
Many DIYers forget to check or simply overlook gaps left around the door after installation. Small as they may seem, these spaces have big implications for your home’s energy efficiency and the costs can add up fast.
In fact, your home stands to lose 30 to 40 percent heat on account of small gaps around the door frame. To ensure maximum energy efficiency, fill in these gaps with appropriate insulation such as fiberglass sheets or foam insulation.
Even after installation, periodically inspect your doors’ weather stripping material and replace it as soon as it is worn out to reduce energy loss.
To install a door where no opening exists, consult a professional
Installing a sliding door where an opening exists is easier and we recommended it. That being said, it is still possible to put up a door where there is no opening.
As you can guess, this is a pretty intensive project as it involves demolishing a load-bearing wall. If you modify the wall, you also have to consider issues of wiring and plumbing, which are best left to a professional.
Enjoy fantastic views of your outdoors with a new sliding glass door
Installing a sliding glass door is one of those home improvement projects that offer instant gratification and value for money.
-
Sale!
Home Entrance Anti-Slip Coral Fleece Door Mat
Original price was: $12.99.$9.99Current price is: $9.99.Select options This product has multiple variants. The options may be chosen on the product page -
Sale!
Semicircular Cartoon Welcome Entrance Door Mat
Original price was: $12.99.$9.99Current price is: $9.99.Select options This product has multiple variants. The options may be chosen on the product page -
Sale!
Anti-skid Water Absorption Bathroom Door Mat
Original price was: $12.99.$9.99Current price is: $9.99.Select options This product has multiple variants. The options may be chosen on the product page


To cut the work involved by half, your best bet is to buy a pre-hung sliding door that you can just fit into an existing opening and secure in place.
With our simple instructions, you can install a glass door on your own and save hundreds of dollars on hiring a pro.
Do you have any questions or comments on installing a sliding glass door? Please leave them below—we’d be happy to hear from you!