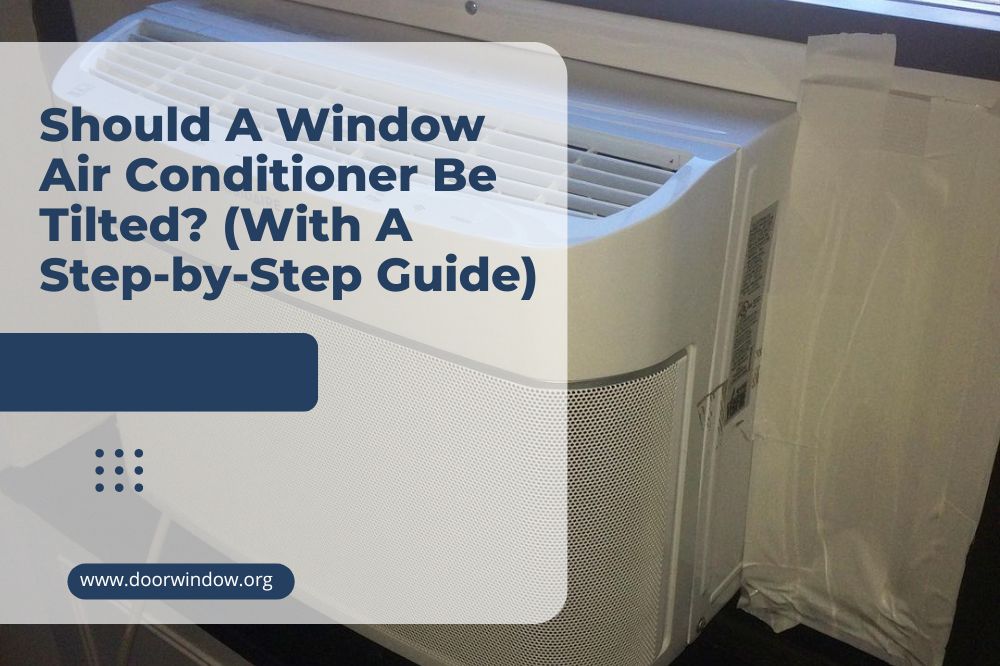
Should A Window Air Conditioner Be Tilted? (With A Step-by-Step Guide)
Getting a new air conditioner? Buying this rather functional appliance is such a great investment, especially during the hot summers. And of course, it’s important that you are knowledgeable of the installation process to maximize its lifespan as well as shield your savings from unnecessary expenses.
One of the most common questions to date points out the positioning of the air conditioning unit. So, should a window air conditioner be tilted? Learn more about the placement of this equipment inside your home sweet home.
Should a window air conditioner be tilted?
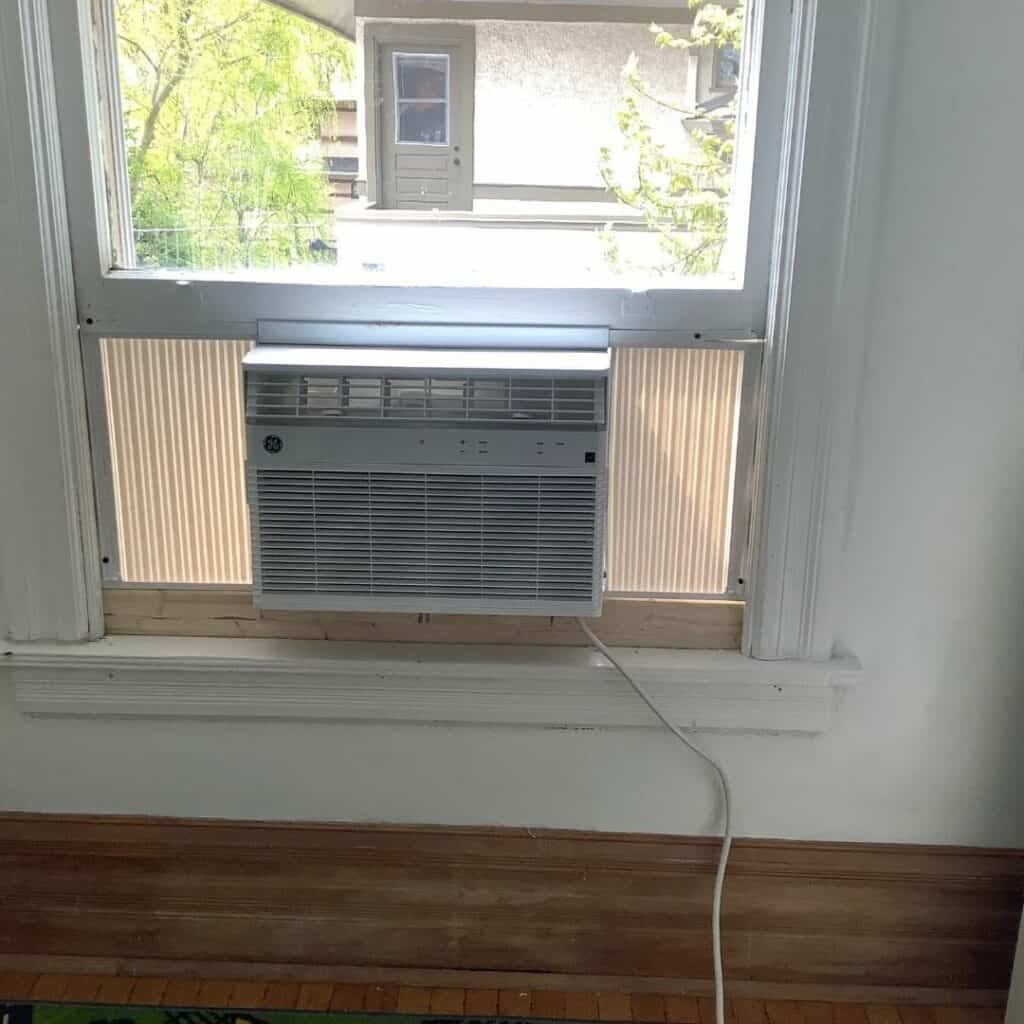
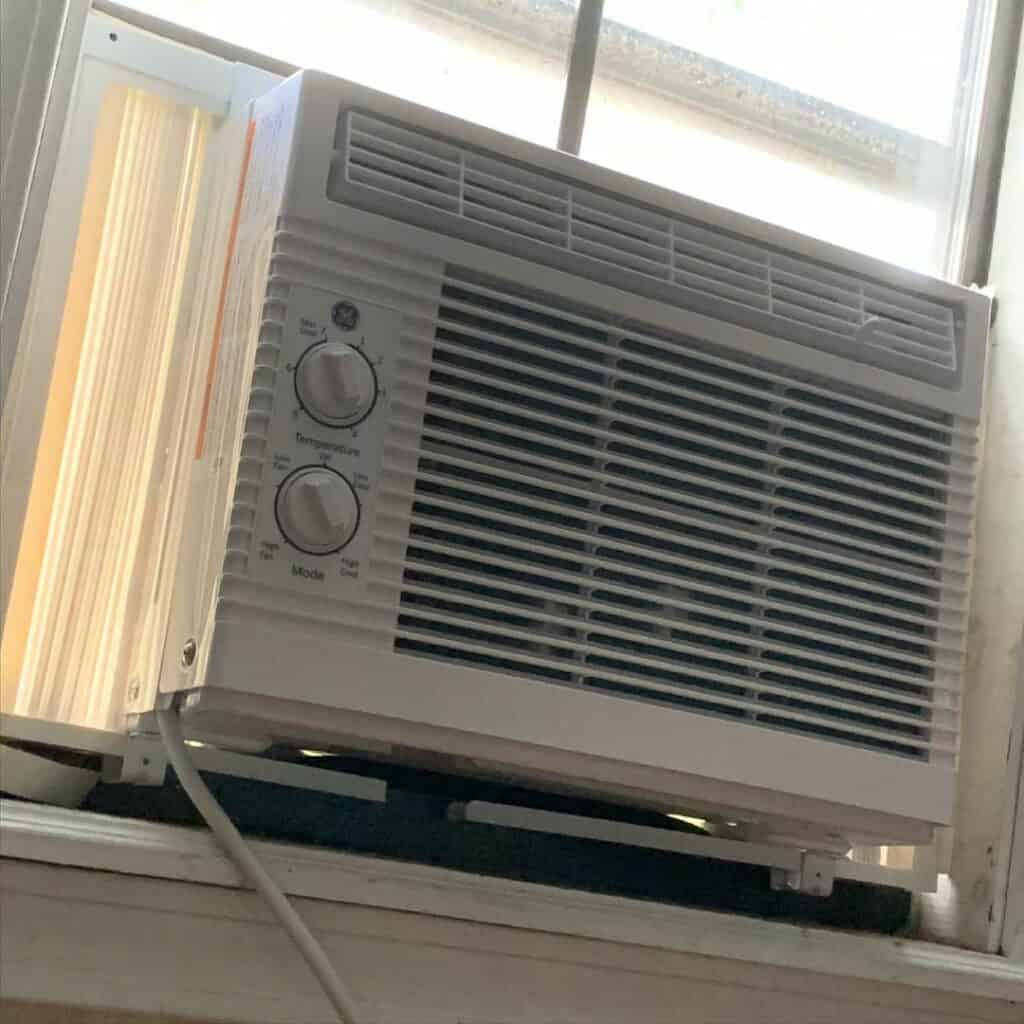
Often than not, people believe that window air conditioners should be slightly sloped down for easier drainage of the condensate. However, according to experts, the proper placement of an AC unit should be leveled off.
Appliances like air conditioners are designed for all their parts to work properly. One of the major tasks of a window air conditioner is to make sure that the condensate is collected below the fan and then slides into the slinger ring.
The slinger ring is a key component of the fan assembly. Made of sheet metal, this is somehow considered the gutter of the system, collecting the condensate and slinging it against the condenser coils. Because these parts are intended to work this way, there’s no need to slant the air conditioner.
Newer AC units are manufactured in a way that the drainage system works efficiently with a leveled position. However, there could be possible circumstances that the normal leveling placement is not advisable. Continue below as we further discussed the instances when tilting the unit is recommended.
When to tilt the air conditioner?
Although the general rule states the air conditioners should be level, there are times when pitching down the unit slightly is suggested. Here are the situations wherein you should keep an eye on the position of the unit before installation.
1. It is specified in the manual to tilt the unit.
Each AC unit has its own set of guidelines that you need to follow carefully to maximize its performance as well as longevity. Accordingly, there are some air conditioners that are specifically designed to be slanted to capitalize on their functionality.
Therefore, even if the model is new and there’s a main rule of leveling off a unit, you should still stick to the manufacturer’s installation manual. This is a crucial step that should not be disregarded or else problems would arise in the long run.
And if you are unsure about how the window air conditioner installation works, don’t hesitate to contact an HVAC professional. It’s highly recommended that you leave tricky procedures to the experts to avoid damage to the unit.
This may be an additional expense, but it’s the best option if you want a seamless installation process. Moreover, HVAC professionals can give your relevant insights to keep your unit in tip-top condition for many years.
2. The AC is a very old model.
Another possible reason why tilting the window AC unit is suggested is because of the year model. Older units often have outdated drainage system that affects the overall HVAC system and process. To better understand the drainage progression of an AC unit, let’s discuss how the condensate drain works.
-
Sale!

Universal Hook Up Nailfree Window Blinds
Original price was: $53.99.$40.99Current price is: $40.99.Select options This product has multiple variants. The options may be chosen on the product page -
Sale!
Cellular Honeycomb Fabric Window Blinds
Original price was: $166.99.$124.99Current price is: $124.99.Select options This product has multiple variants. The options may be chosen on the product page -
Sale!
Creative Drape Modern Tulle Window Blinds
Original price was: $12.99.$9.99Current price is: $9.99.Select options This product has multiple variants. The options may be chosen on the product page

When the AC acquires moisture from inside the room, the heat transfer process happens. As a result, condensation occurs, forming along the units’ evaporator coils. From then, the condensate drip pan collects the dripping water from the coils.
While a drip pan is somehow a minor component that is stationed outside, you shouldn’t underestimate its function. Without a drip, the entire drainage process is affected. Thus, you should check the pan every now and then to remove any obstructions.
Typically, the pan isn’t that big or too deep. The reasoning behind this stems from the fact there is another tool assigned to remove the excess water, which is the condensate pump. This tool collects and disperses any liquid produced during the condensation process.
3. There are drainage issues.
Drainage problems can be very inconvenient, which may lead to major issues in the long run. There are several reasons why water pooling occurs, and it’s pivotal that you’d be able to identify the cause as soon as possible.
A major cause of drainage complications is a clogged drain pipe. This happens when there is an accumulation of dust, debris, and dirt. Therefore, you should clean the air conditioning unit regularly.
A frozen evaporator coil is another possible reason that results in drainage leakage. When the evaporator coils froze, it could be due to a refrigerant leak, which is very dangerous. Refrigerant leak triggers inefficiency to produce cool air as well as risky health problems like respiratory trouble and poisoning.
Misalignment of the drain pan could also lead to leakage. Ideally, the drain outlet should be placed on the lower section of the pan for the water to seamless flow. One of the remedies for a drainage problem, especially if it’s about incorrect installation is to position the unit on a slight angle.
So, if tilting the unit is the answer to the problem, then you should take your time to understand the process. Why? It’s because improper installation can lead to instability, which affects the performance of your unit as a whole.
How to efficiently tilt a window ac unit?
To better guide you, we’ve gathered the key procedures on how to tilt the AC unit on your own. Here are the most important steps that you need to follow thoroughly for a successful AC installation.
Step1. Identify the reason why the air conditioner should be tilted.
Before anything else, you should be able to determine why the unit should be placed in a slanted position. This is a vital step because it gives you an idea of how much tilt is needed for the unit to work efficiently.
Step2. Make sure you gather the relevant tools and equipment.
Setting up the unit on your own is a challenging yet fulfilling feat. Therefore, if you have decided on a DIY installation, you should have the resources to kick off the process. Some of the most significant materials include a screwdriver, support bracket, casement, and screws, among others.
Step3. Decide what material to use appropriately to tilt the unit.
Once you’ve ascertained how much should the tilt angle be, then it’s time to decide the material to be used to elevate the indoor section. There are plenty of options at hand, though the most common ones are wood and sturdy plastic. Cardboard could also be a good choice.
Moreover, you need to make sure that the material used complements well with the window sill to avoid accidents. There are several options to purchase these resources, from physical hardware stores or even online.

Step4. Compute the correct tilt angle.
Calculating the tilt angle largely depends on the first step. It’s also highly recommended that you distinguish the width of the unit to have an idea of the appropriate angle. If we take the drainage issue as the reason for the tilt, then experts advise that you just slant it between 2 to 3 degrees.
Following this tilt angle, the back side of the unit is more or less ½ inch lower compared to the front section. Another popular angle is the 1.6-degree angle, which is considered a precise estimation by most professionals. Clearly, tilting the unit requires a certain knowledge of trigonometry.
Step5. Start the installation process.
Now, for the next step, you have to carefully place the unit and position it according to the appropriate slanting position. In doing so, you’ll either need a support bracket or an l-bracket to hold the unit in place. To lock the bracket in an upright position, you need to screw them tightly.
Step6. Test the unit for any problems.
The process does not end once the installation is complete. You need to run the unit and see if there are problems. Testing the unit after setting up is crucial to uncover possible hitches.
Some of the typical issues that may arise are unusual sounds and soft vibrations. Meanwhile, if the reason for slanting the unit is because of the drainage, then you need to check if the tilting process improves the drainage performance.
If there are hinges during the trial phase, then the installation is not stable. So, take your time to revisit the alignment and make adjustments accordingly.
Step7. Contact a professional for assistance.
You’ve done all the steps above, but unfortunately, tilting the air conditioner still did not solve the problems. In this case, you need to reach out to an HVAC professional. Contacting an expert is highly recommended to uncover any underlying issue that may affect your unit in the long run.
Hiring a professional is definitely the best choice to ensure the maximum performance of your unit. More so, you’d be more at ease knowing that a specialist is handling your HVAC issue.
Conclusion
Hot and humid summers are truly difficult to deal with, hence many depend on an air conditioner for proper ventilation and added comfort. And if the unit works efficiently when it’s tilted, then don’t hesitate to choose this option!