How to Fix a Screen Door? (Step-By-Step Tutorial)
Have you been procrastinating about fixing that gaping hole on your screen door? Besides seized rollers, a ripped screen is the most common repair that sliding patio doors usually need. The good news is once you have the right supplies, you can complete this easy fix in an afternoon or less. Below, we show you how to repair a screen door in a few simple steps.
Tools for fixing screen door
To fix a broken screen door, you will need the following supplies:
- Philips-head screwdriver
- Putty knife
- Spline tool
- Sawhorses
- Utility knife or pair of scissors
Materials
- Spline
- Replacement screen
Step-by-Step Guide on how to fix a screen door
Follow these steps to fix a screen door that has a gaping hole or a worn-out screen:
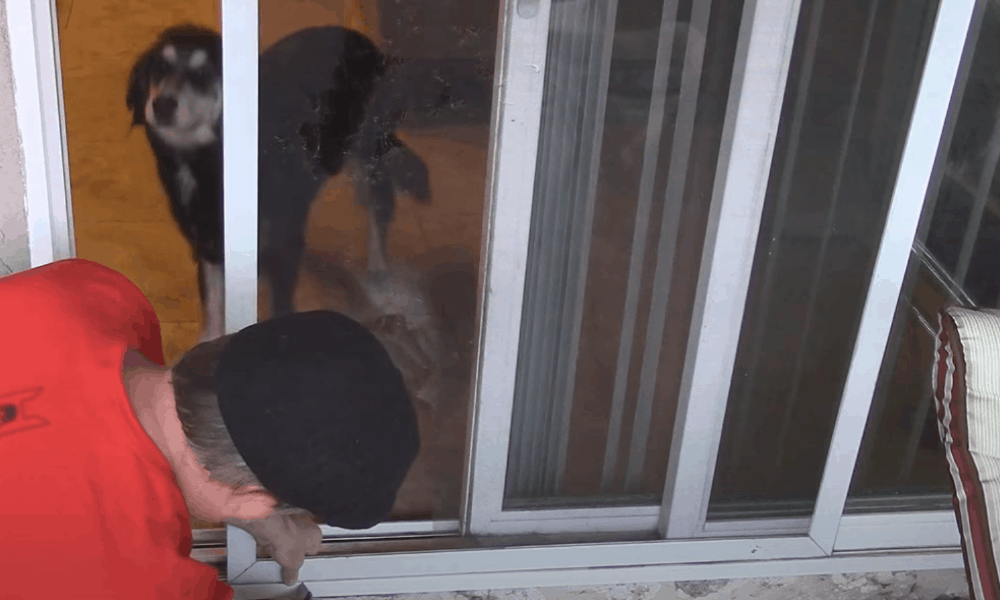
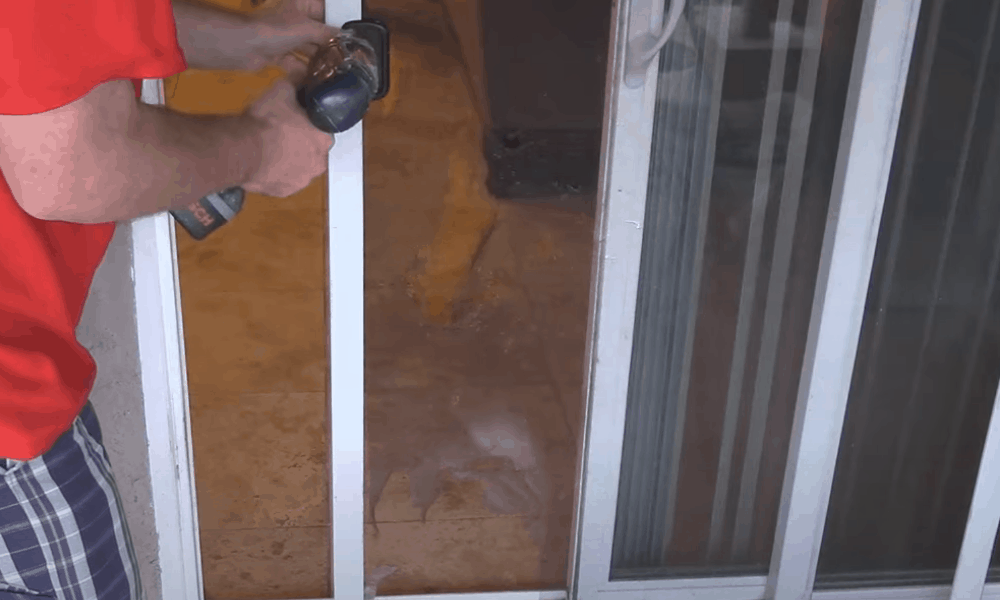
Step 1. Unfasten the screws on the sliding screen door
To repair the worn-out screen, you first have to remove the door. This might sound like a daunting task but as you will see, it is actually a relatively easy one (check the extended tips on removing a hinged door screen)
- These doors usually have screws at the top and bottom corners that hold the roller wheels in place. To remove the door, locate these screws and use a Philips-head screwdriver to unfasten them.
- Have someone hold the door for you as you undo the screws. Removing the screws can cause the door to suddenly come loose, causing damage or injury.
- Be sure to fully unfasten the bottom and lower screws as necessary, which makes lifting the door from its tracks easy.
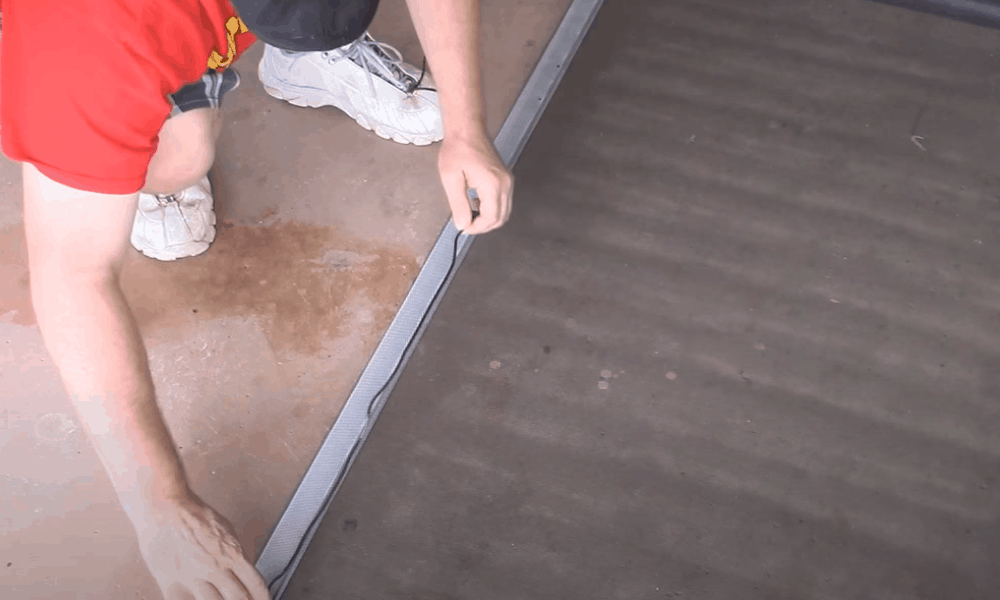
Step 2. Lift the door out of its track
- Removing the screws lifts the door, giving you ample access to the rollers underneath. Slide a screwdriver or putty knife under the wheels and gently lift them out of the tracks.
- Lift the door to release the bottom part from the tracks. As you do this, angle the door towards you.
- Once the bottom part is freed from the track, the door should easily come out of the top track. Be sure to remove any stopper on the door frame.
Step 3. Remove the handle
- Lay the door flat on a workbench or sawhorses with the handle side facing up.
- Use a screwdriver to remove the screws on the handle. Taking the handle out makes installing the new screen easier.
- Put the screws and handle in a safe location where you can easily find them.
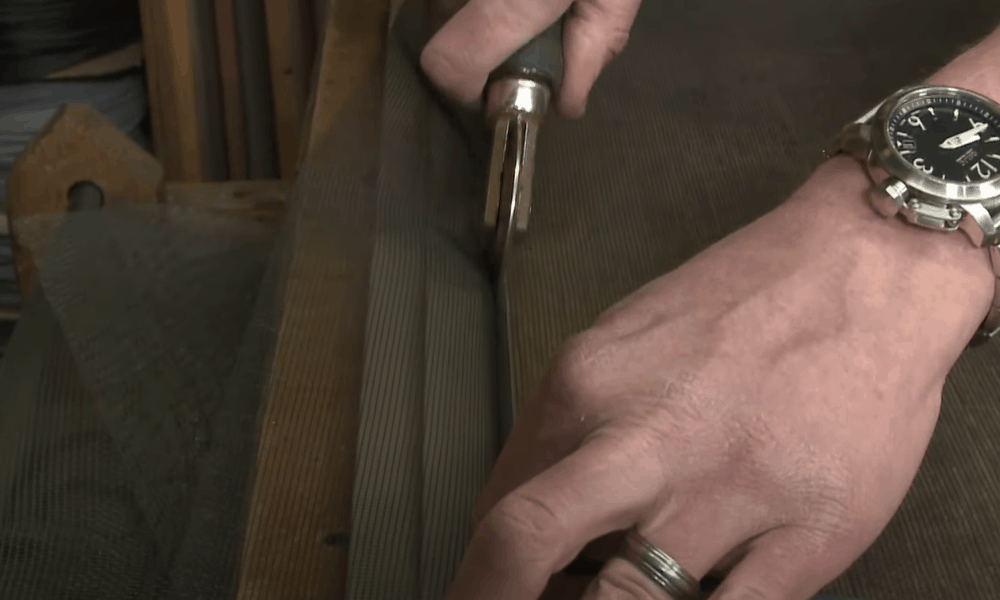
Step 4. Take out the old spline
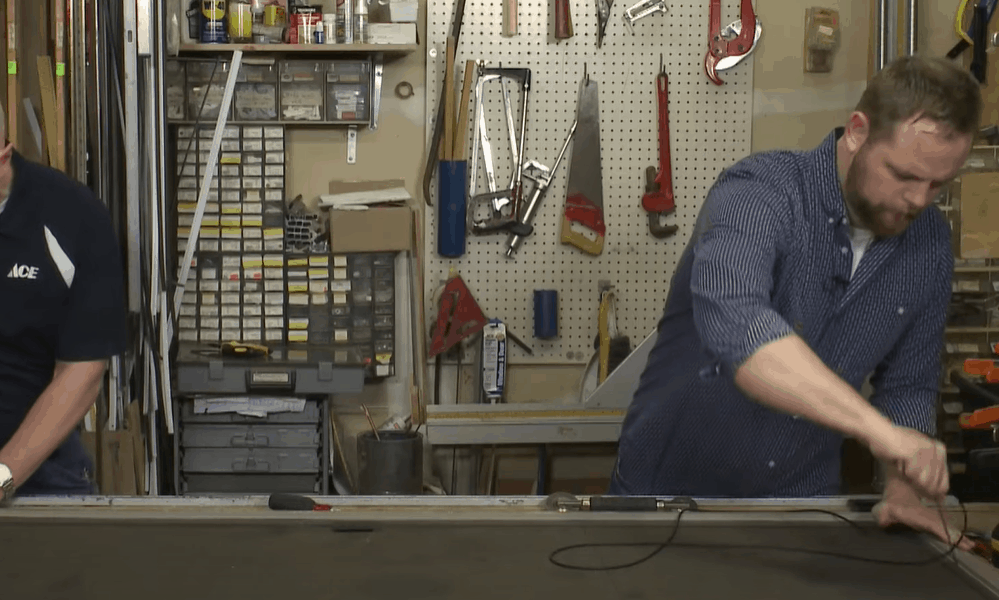
- The spline is the rubber cable that holds the screen in place. Removing it allows you to easily roll out the old screen from its frame.
- Dig a sharp-pointed tool such as a screwdriver into one of the corners of the spline grooves and pull the cable out from the door’s perimeter. The old spline will probably be worn out so you can discard it and install a new one.
- With the spline out, you should be able to pull out the damaged screen. Toss it away.
Pro tip: Use this opportunity to scrape out and vacuum any dirt or debris hiding in the spline groove. With the grooves free of dirt, reinstalling the new screen and spline becomes so much easier.
Step 5. Prepare the replacement spline
-
Sale!

Fire Retardant Sunscreen Window Blinds
Original price was: $45.99.$34.99Current price is: $34.99.Select options This product has multiple variants. The options may be chosen on the product page -
Sale!
Light Filtering Zebra Window Blinds
Original price was: $37.99.$28.99Current price is: $28.99.Select options This product has multiple variants. The options may be chosen on the product page -
Sale!
Portable Blackout Stick On Window Blinds
Original price was: $21.99.$15.99Current price is: $15.99.
- Measure the perimeter of the door around the screen area. Take note of the length and width.
- Using these measurements, cut the spline cord into four pieces one for each side of the door. Allow a few inches allowance when cutting the spline to make it easier to tuck it into the groove and around the corners.
Step 6. Roll out the new screen
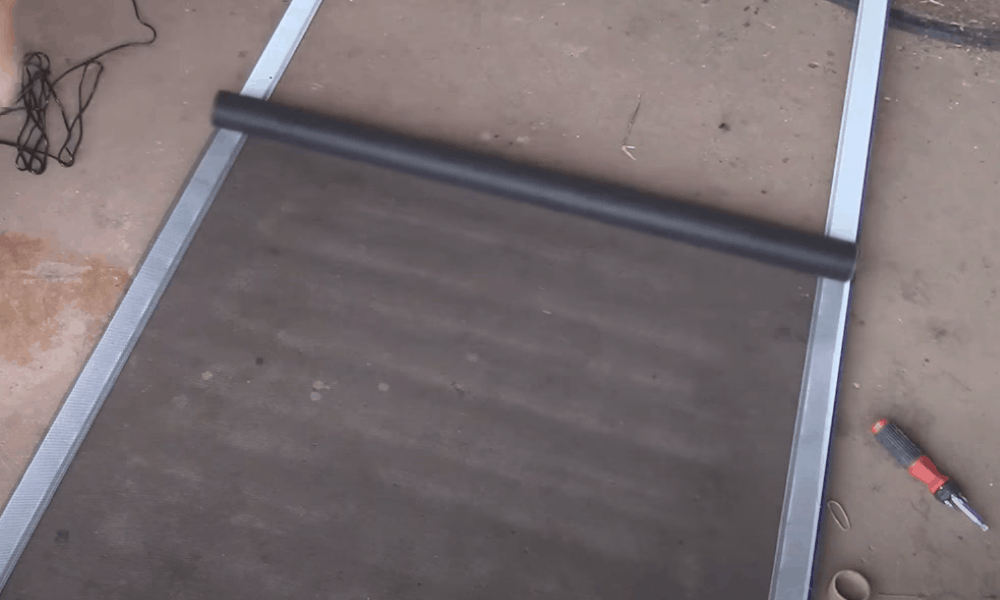
- Spread the new screen across the perimeter of the door. Allow it to hang over the edges for easier tucking.
- Ensure that the screen is perfectly aligned with the frame.
- If you want to repair a screen on a wooden door, you’ll need to use a different technique.
Step 7. Fit the screen into the door lips
- Using the convex side of the spline tool, tuck the screen into the door’s grooves or lips. Do this gently to avoid tearing the screening.
- For easier installation, start by tucking the screening along the right side of the door. Then proceed to the left side, top, and button. This will give the screen a nice taut look.
Pro tip: Even though the rollers on the spline tool look similar, there’s an important difference. One of the rollers has a convex edge suitable for fitting the screen into the door lips and the other has a concave edge for tucking in the spline.
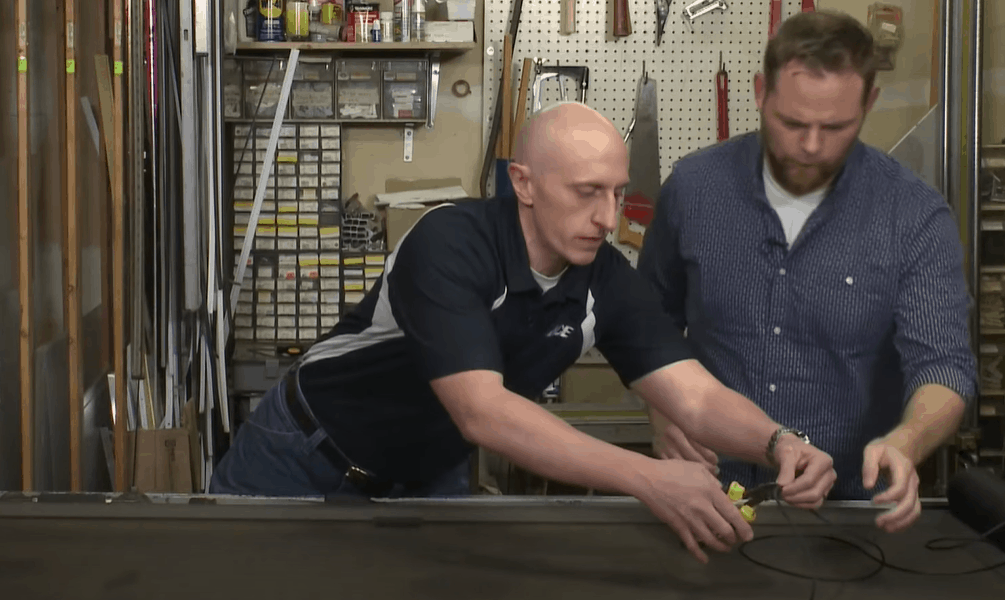
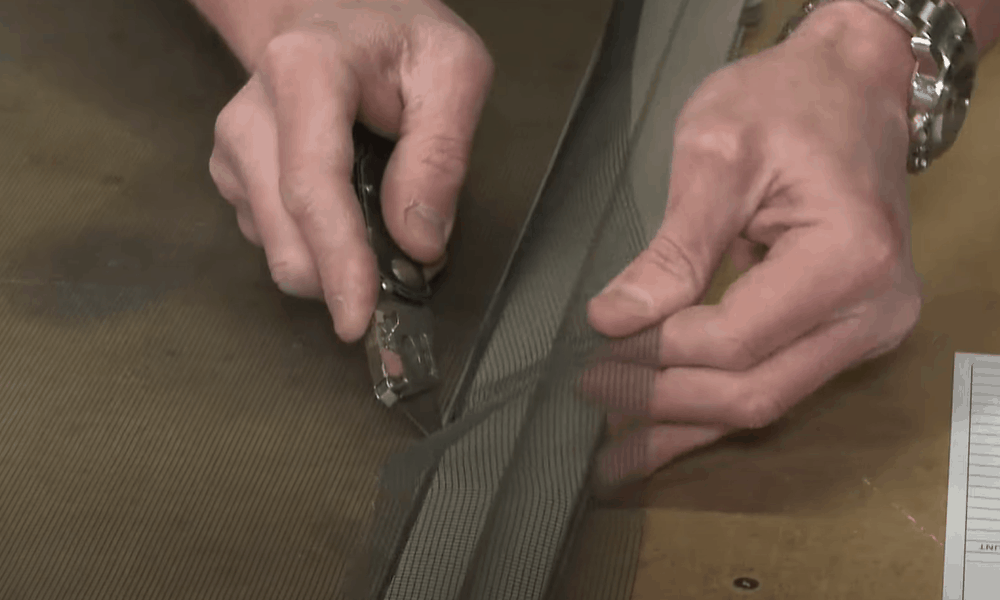
Step 8. Install the new spline
- With the screen tautly fitted into the door lips, the next step is to hold it in place with the new spline.
- Pick one of the longer cords you had cut earlier and align it with the length of the door frame.
- Using the concave wheel of the spline tool, push the cord into the door lips. Begin at one corner of the door frame and work your way up. Repeat this process for the remaining three sides of the door.
- Be sure to shove the spline deep into the groove especially around the four corners of the door frame to completely hold the screen in place.
Step 9. Trim the overhanging screen
- After installing the spline, make sure that the screen is still taut. Gently stretch it to get rid of any waves or wrinkles that may have formed.
- Next, use a utility knife or pair of scissors to cut the extra screen so that it is flush with the edges of the door lips. Take care not to puncture the new screen.
Step 10. Reinstall the door

- Lift the door from the sawhorses and transfer it to the sliding door frame for reinstallation.
- Start with the bottom part and mount the wheels back onto the tracks. Push the door inward to fit it into the upper track.
- Have a helper hold the door as you put back the screws at the bottom and top corners.
- Tighten the screws enough to lower the rollers into the track and to secure it in place. Turn the screws clockwise or anti-clockwise as needed to adjust the height of the door.
- Reinstall the handle as well as the head stopper.
That’s all there is to fix a screen door! You can now sit back, enjoy the breeze, and keep the bugs out.
Extended Tips
Here are extra recommendations to make this project successful:
-
Sale!
Line Heart Decor Tassel Window Curtains
Original price was: $12.99.$9.99Current price is: $9.99.Select options This product has multiple variants. The options may be chosen on the product page -
Sale!
European Simple Partition Screen Window Curtains
Original price was: $15.99.$11.99Current price is: $11.99.Select options This product has multiple variants. The options may be chosen on the product page -
Sale!
Blackout Simple Solid Thicker Window Curtains
Original price was: $48.99.$36.99Current price is: $36.99.Select options This product has multiple variants. The options may be chosen on the product page


- Buy the right size replacement materials
Buy enough replacement screen to overhang the edges of the door. Ideally, the overhang should be at least one inch all around, to make it easy to shove the screen into the door lips and achieve a taut look.
Keep in mind that spline cords vary in diameter. Be sure to buy a replacement spline that’s the same size as the old one.
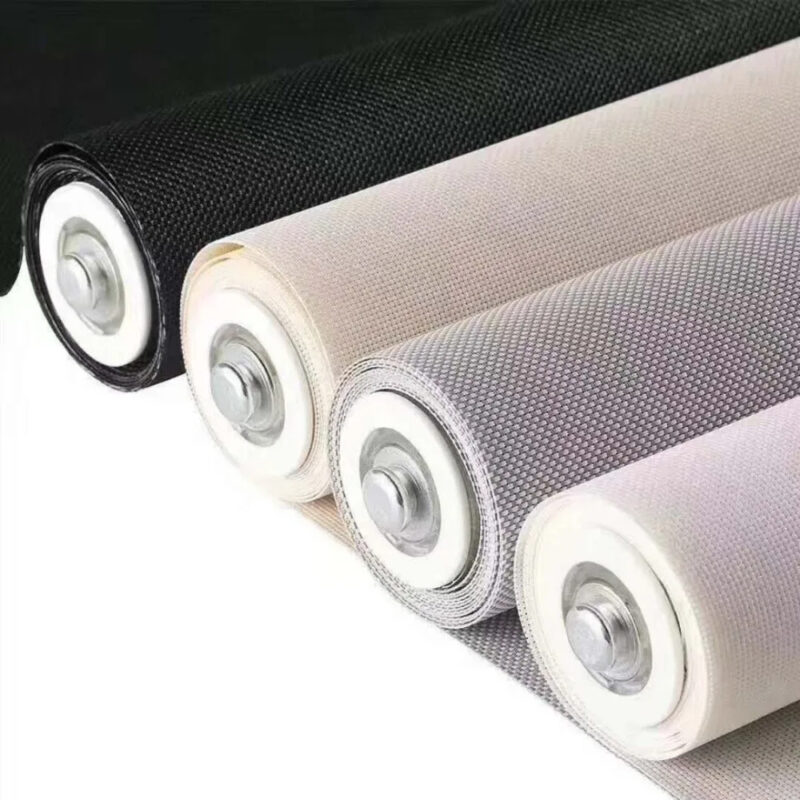
- Select the right screening material
Hardware stores have a wide selection of screenings at different price ranges. Select a screen that suits your lifestyle. For example, if you have kids or pets or you live in a particularly windy area, a thicker screen might be a bit pricier but will serve you for longer.
Fiberglass might be a great choice if you are looking for something inexpensive but durable. Compared to aluminum, it is more flexible and doesn’t crease, making it easier to shove into tight door lips and to secure with a spline.
- Regularly clean the door tracks
Seized rollers are a common problem with screens and sliding doors in general. Accumulated debris along the tracks and in the rollers can make it difficult to operate the door. To avoid these problems, be sure to regularly vacuum the tracks and lubricate the wheels.
- Replace damaged wheels
With the door out of its tracks, take this opportunity to inspect the roller wheels and replace them if necessary. Use your fingers to check that the wheels are spinning properly. If they are worn out, find suitable replacement wheels at your local hardware store.
- Be careful when removing a hinged door
Screen doors are commonly the sliding types but older homes might have hinged styles. If you have the latter type, be extra careful when detaching it from the main door frame. Be sure to disconnect safety chains and closers first.
-
Sale!
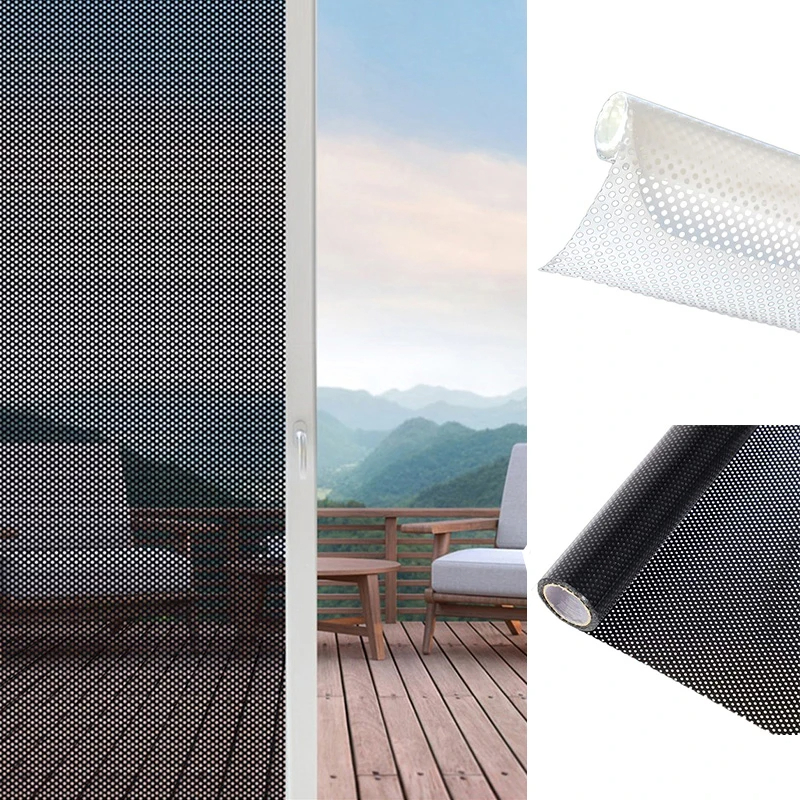
Self-adhesive Mesh Window Film Privacy for Home Office Decorat
Original price was: $5.99.$4.99Current price is: $4.99.Select options This product has multiple variants. The options may be chosen on the product page -
Sale!
Removable Electrostatic Retro Flower Window Film Privacy For Home
Original price was: $9.99.$7.99Current price is: $7.99.Select options This product has multiple variants. The options may be chosen on the product page -
Sale!
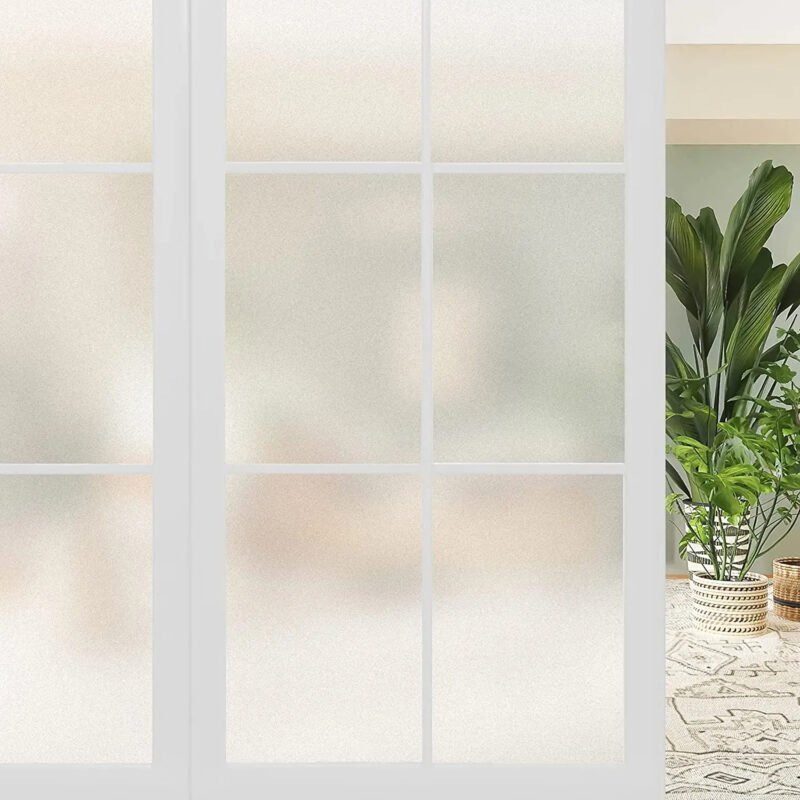
Pure Matte UV Blocking Window Film Privacy for Home
Original price was: $37.99.$28.99Current price is: $28.99.

Usually, the door will be held in place by three hinges each with two screws. Use a Philips-head screwdriver to unfasten the screws to release the screen from the main door frame. Have someone hold the door as you unhinge it.
An easy fix for the newbie DIYer
Given their light weight, screen doors are prone to all sorts of damage from seized rollers, worn out splines, and gaping holes. Fortunately, you don’t have to wait to call in a professional for this easy fix. Simply gather the right tools, get a helper, and follow the simple instructions above to repair common screen door problems.
Do you have any questions or comments about repairing your screen door? Please leave them below—we’d love to hear from you!