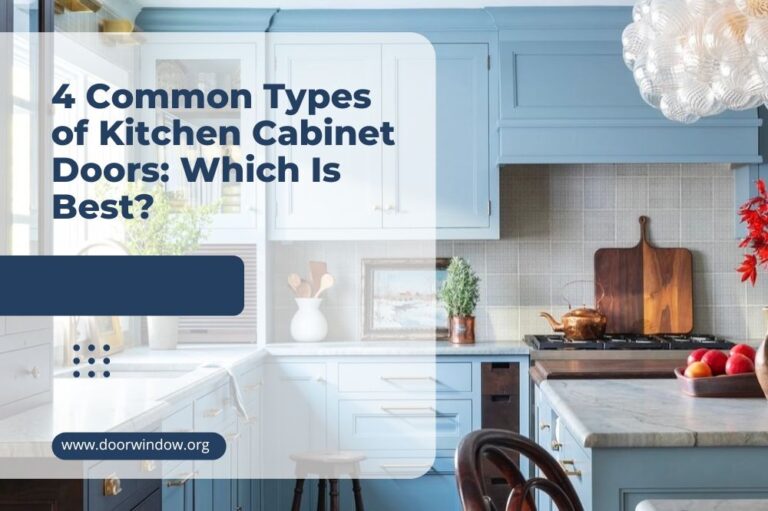
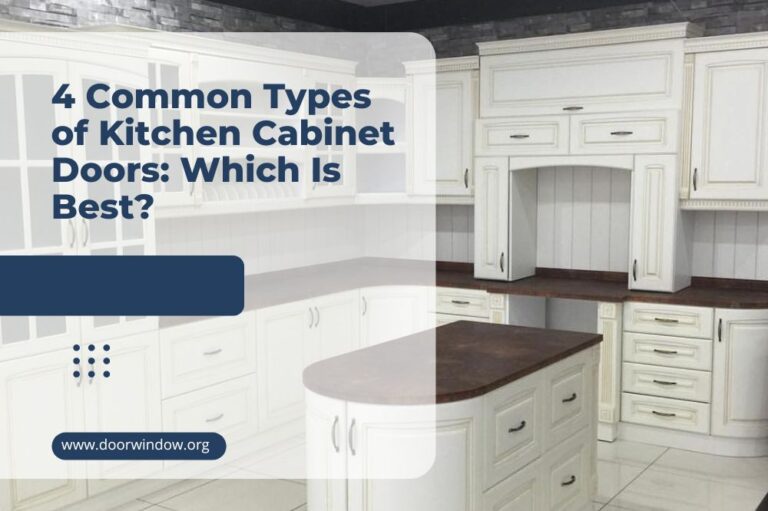
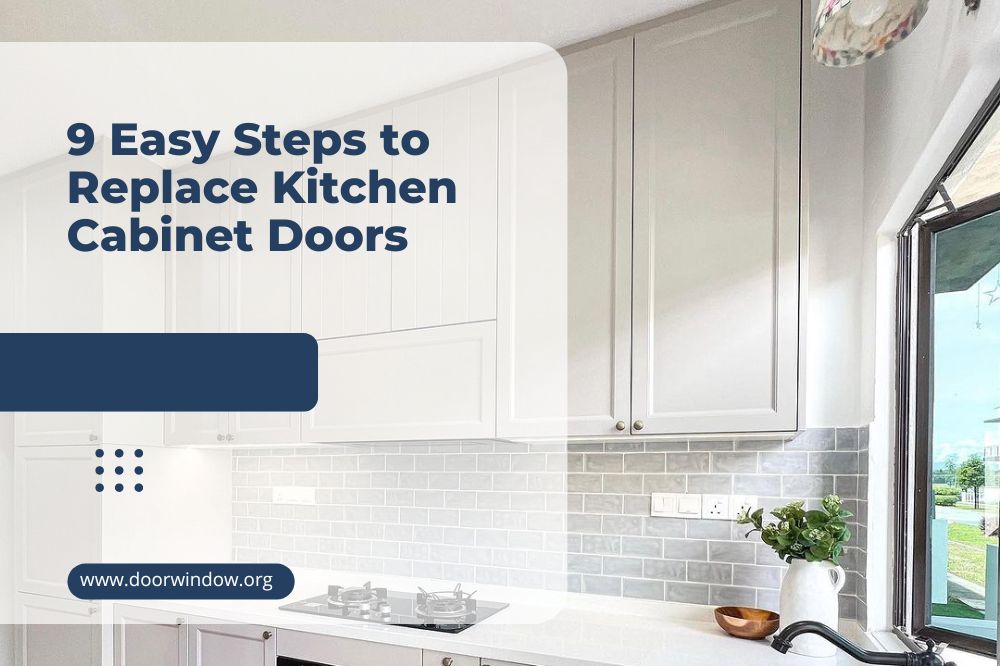
9 Easy Steps to Replace Kitchen Cabinet Doors
So you are thinking about giving your kitchen cabinets a lift by replacing the current doors with more modish ones? And why not! Cabinet doors are a major point of interest in kitchens, and adding a fresh new style to yours can make a substantial difference in your kitchen’s appearance, making everything seem new.
And here is the best part; you don’t need to hire a skilled cabinetmaker to install your doors for you. With this guide, you can learn how to replace kitchen cabinet doors and do the job yourself.
Tools Needed for Replacing Kitchen Cabinet Doors
Here are the simple tools you will need to remove your old cabinet doors and install new ones:
- Screwdriver: Use this to unscrew the door hinges from the cabinet.
- Drill and 2mm drill bit: These will help you drill pilot holes into the new cabinet doors.
- Gloves: Wear a quality pair of leather work gloves.
- Measuring tape: Use this to measure your cabinet door sizes.
- Plastic container: This is where you will put any loose screws.
- Notebook: You will need this to write down your measurements.
- Masking tape: Use this to label your doors.
- Pencil: Use a pencil or marker pen to mark over the masking tape.
- A piece of cloth: Get a lint-free microfiber rag.
- Water: Have clean, cold water in a basin.
9 Easy Steps to Replace Kitchen Cabinet Doors
Steps 1 to 5 show you how to prepare for the installation and how to accurately measure your kitchen cabinets so that the new doors can fit properly. If you already have your new kitchen cabinets, skip to Step 6.
Step 1: Mark Your Cabinet Doors
Start by labeling the doors of each cabinet with masking tape. Simply stick a small piece of tape on each door and mark it with a pencil to know which door belongs to which cabinet. Once done, take a picture with your phone or draw a rough layout of your kitchen to show the marked doors.
Step 2: Measure the Doors
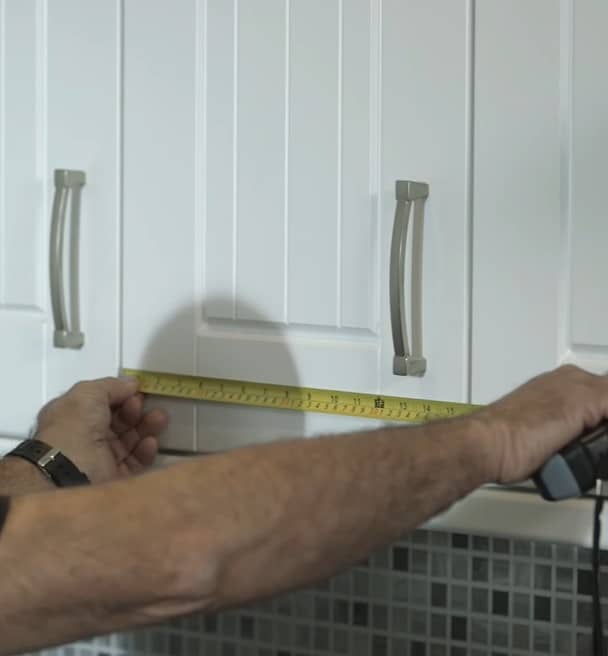
Because you are not installing new cabinets, you will want your new doors to be the same size as the old ones. So, grab your measuring tape and measure both the width and height of each door.
Depending on their style, your current doors may have an overlay; make sure to account for this too. An overlay is simply the part of the door that makes it slightly larger than the opening of the cabinet.
Most of the time, an overlay will be about half an inch on all sides. So, when ordering your new doors, make sure to add an extra one inch to the width measurements and another one inch to the height.
Key points to keep in mind:
-
Sale!

Swing Stop Bottom Adjustable Roller Flooring Barn Door Hardware
Original price was: $44.99.$33.99Current price is: $33.99. -
Sale!

Low Noise Floor Guide Adjustable Length Barn Door Hardware
Original price was: $15.99.$11.99Current price is: $11.99.Select options This product has multiple variants. The options may be chosen on the product page -
Sale!

Antique Big Rollers Steel Sliding Barn Door Hardware
Original price was: $187.99.$140.99Current price is: $140.99.


- What you measure as the height of the door will actually be its length. Make sure to label this correctly, as your door length will determine its wood grain
- Most kitchen cabinets are custom-made, so it is crucial that you take measurements of each and every door. Even if two doors appear to be exactly the same size, don’t assume that they have the same measurements.
- All measurements should include the edging, so ensure that you are measuring up to the outer edges.
- Note down the measurements of all your cabinet doors, rounding everything off to the nearest inches.
Step 3: Identify and Measure the Position of the Hinges
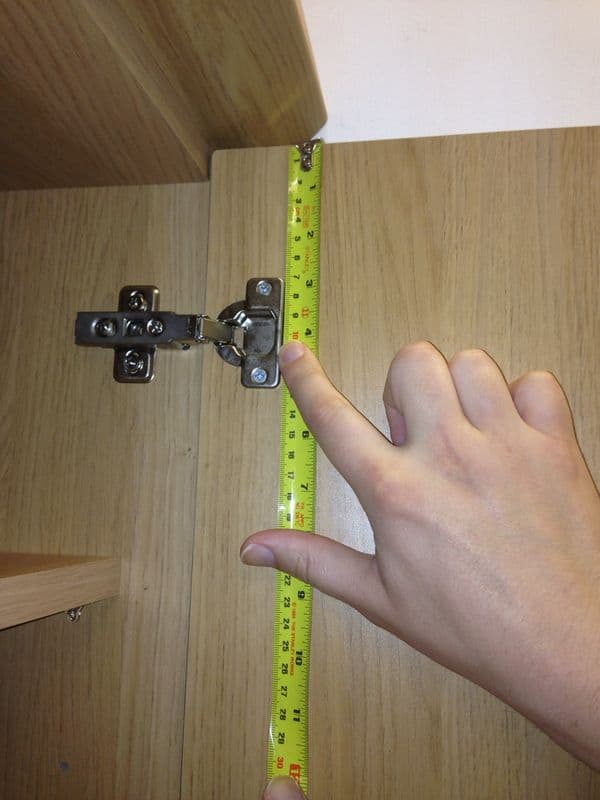
This is important, as you want the hinge pockets in your new doors to be located at exactly the same position as the old doors.
To start, open the cabinet doors to reveal the hinges. Start taking your measurements from the top hinge, measuring from the topmost edge of the door to the center of the hinge. Then proceed to the bottom hinge and measure again from the top edge of the door to the center of the hinge.
Write these measurements down and make sure to state whether the hinges are located on the right or left side of the door.
Step 4: Order Your New Doors
Take your measurements to your local kitchen cabinet dealer so you can have your doors custom-made for you. While some stores may allow you to choose you new cabinet doors and submit your measurements online, making an actual visit to the store gives you an opportunity to touch and feel the material that will make your product.
You will also get in-person advice on which doorknobs or handle styles will best match your new doors. Your dealer will tell you when the new cabinet doors will be ready for collection or delivery.
Step 5: Label the New Doors
Once you have your new cabinet doors, you can now get ready to start your installation. Use your masking tape to mark the doors, labeling each door to match the original list.
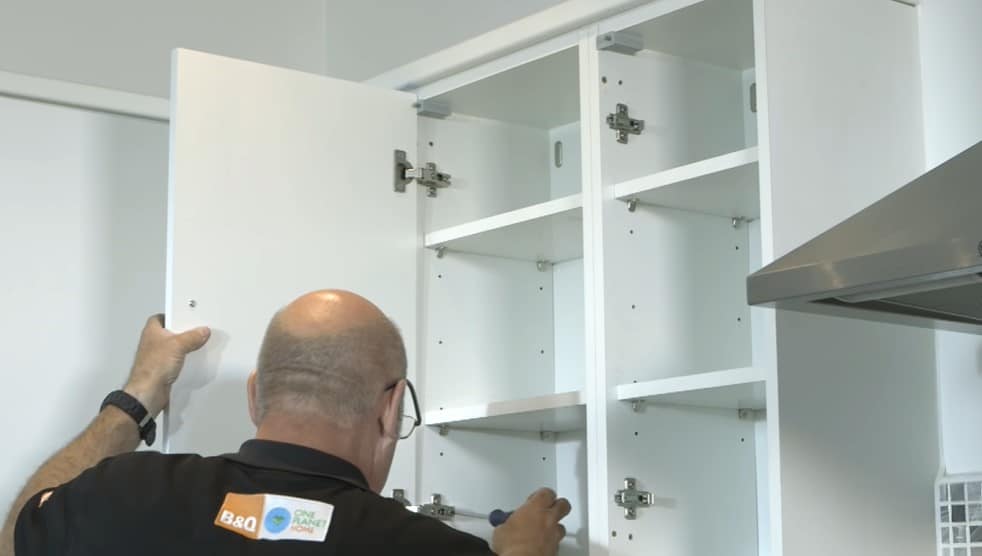
Step 6: Remove the Old Cabinet Doors
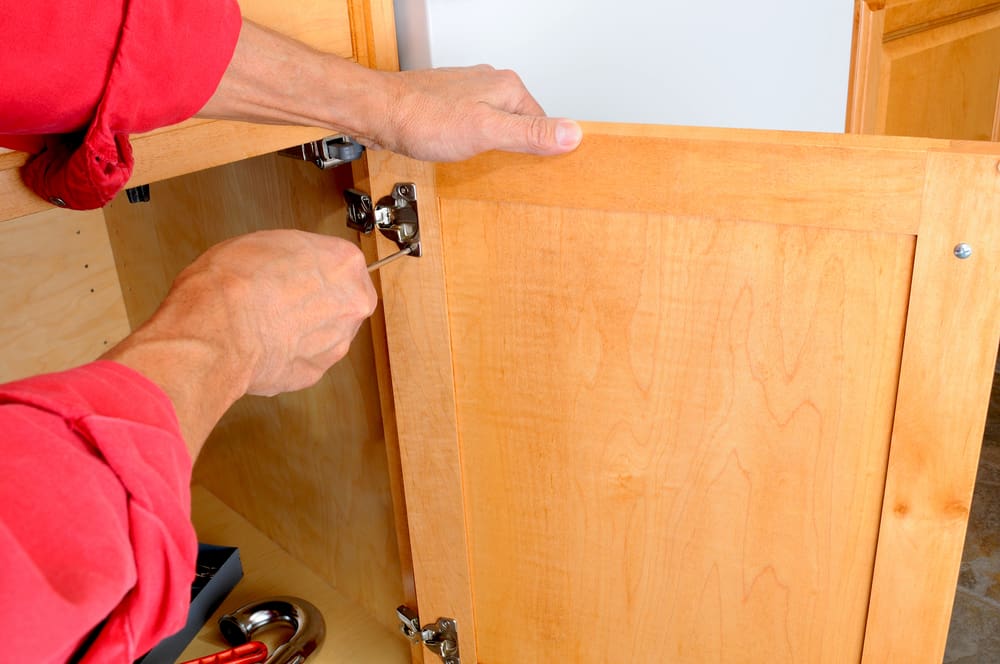
While removing all the doors at once, then installing the new ones may seem much easier than removing and installing one door at a time, we recommend the latter because it helps you correctly match the door you removed to the one you are installing.
Open the cabinet door you want to start with and carefully unscrew the hinges from the door. Gather all loose screws in a container or plastic bag.
-
Sale!
Window Cabinet Drawer Handles Self-adhesive Door Knobs
Original price was: $12.99.$9.99Current price is: $9.99.Select options This product has multiple variants. The options may be chosen on the product page -
Sale!
Upscale Sliding Door Knob With Double-sided Tape for Kitchen Door Wardrobe
Original price was: $12.99.$9.99Current price is: $9.99.Select options This product has multiple variants. The options may be chosen on the product page -
Sale!
Round Stainless Steel Door Knobs for Drawer Cabinet Kitchen Cupboard
Original price was: $12.99.$9.99Current price is: $9.99.Select options This product has multiple variants. The options may be chosen on the product page


Step 7: Install the New Doors
Grab your new door and carefully line it up into the hinges. You want to make sure the top hinge sits on the top hole and the bottom hinge sits on the bottom hole.
Now, slightly drill through the hinge holes to make holes on the door where the screws will be driven into. Make sure you are not drilling too deep or you will pierce the door.
Once done, use a screwdriver to set and drive in screws into the holes to hold the door in place. You don’t want to use a drill to do this, as drills tend to be too aggressive and may push the screw all the way through to the opposite side. Repeat the process to set the remaining doors into position.
Pro Tip: When lining your doors with the hinges, start by setting the hinge at a 45-degree angle, then line up the door and insert the heel of the hinge into the hole on the door.
Step 8: Install Your Handles
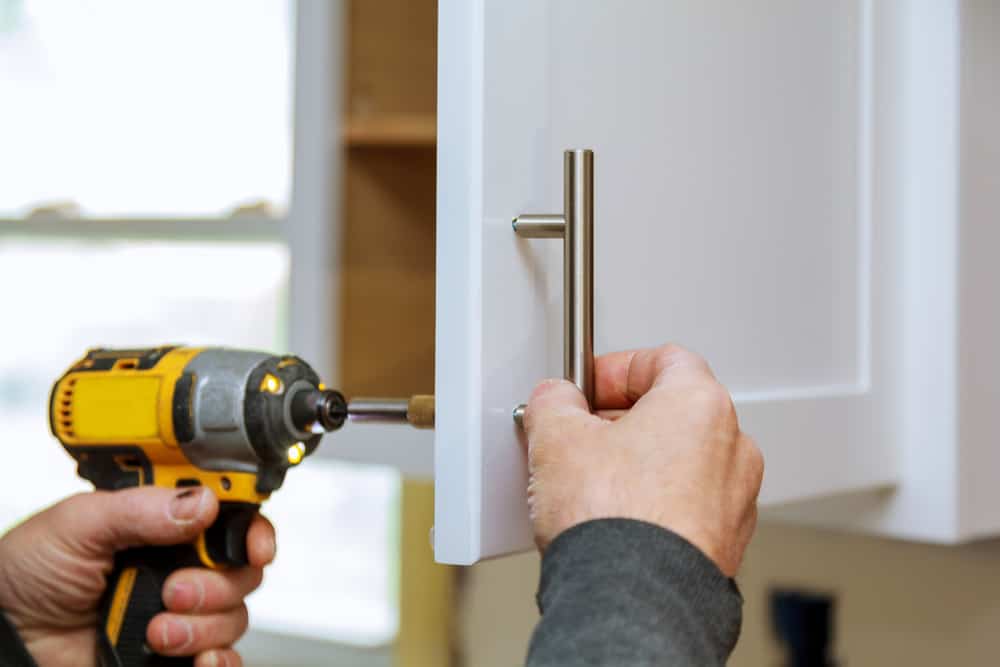
Chances are you will want your new handles to be in the exact same position as the old ones. So check the position of your old handles and use a tape measure to determine where the new handles will be situated on your new doors. Mark each position with a pencil then drill your handles in place.
Step 9: Adjust the Doors
For your doors to sit properly on their specific cabinets, they will need to be aligned perfectly. Simply adjust the screws to move a door slightly up or down or left or right depending on how far it sits from its cabinet’s face. Here is a video that shows you how to adjust and align your cabinet doors correctly to obtain a neater, more polished look.
Additional Tips for Replacing Kitchen Cabinet Doors
- Find out what else you need to change
Adding new cabinet doors may not give you the outcome you are looking for if the rest of the cabinet looks a little bit out of place. In other words, you need to make sure every part of the unit matches the new panels and looks just as good. For instance, you may need to replace drawer fronts to go with the new design.
- Ensure the cabinet units are in good condition
If some cabinets are broken or completely worn out, or if the material used for the cabinetry is totally different from that of your new doors, it would make more sense to do a full replacement.
- Clean your cabinet doors after installation
After you have installed your cabinet doors, use a damp microfiber cloth to wipe the surfaces and around the hinges and handles to get rid of any dust accumulated from the drilling you did earlier. Once done, dry the doors with a piece of cloth or leave them open for some time so they can completely dry.
-
Sale!
Semicircular Cartoon Welcome Entrance Door Mat
Original price was: $12.99.$9.99Current price is: $9.99.Select options This product has multiple variants. The options may be chosen on the product page -
Sale!
Anti-skid Water Absorption Bathroom Door Mat
Original price was: $12.99.$9.99Current price is: $9.99.Select options This product has multiple variants. The options may be chosen on the product page -
Sale!
Classic Friends Welcome Rubber Carpet Door Mat
Original price was: $12.99.$9.99Current price is: $9.99.Select options This product has multiple variants. The options may be chosen on the product page


- Get high-quality hinges and handles
Moving parts like hinges, handles, and knobs usually wear down over time, so it is important that you invest in something durable. Also, make sure to tighten the screws anchoring these parts regularly to prevent them from getting loose.
The Takeaway
Replacing kitchen cabinet doors is a quick and cost-effective way to enhance the look of your cabinets and the overall appearance of your kitchen. And as you can see, it is an easy DIY project that can be done by anyone.
The hardest part is perhaps measuring for the new doors, but if you follow the tips we have shared here, you will not have any trouble at all obtaining accurate measurements. Once you have your new doors, replacing the old ones should be a cakewalk.