How To Waterproof A Window In A Shower: A Step By Step Guide
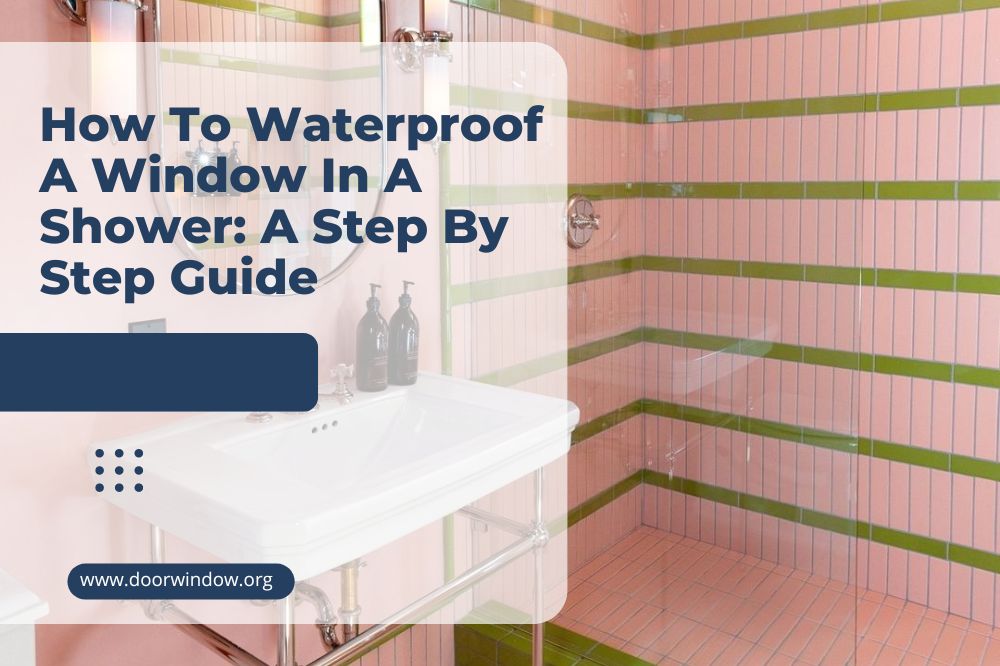
Have you ever had to deal with a leaking shower window? Water damage to a bathroom window can be a major hassle to fix. Small windows are a great addition to showers, where they provide natural light, fresh air, and ventilation while still keeping privacy. That’s why it’s important to waterproof it and to do a good job. But where do you start?
In this article, we’ll walk you through the steps on how to waterproof a window in the shower and keep it in good condition for years to come.
How to waterproof window in shower
Step 1: Prepare the shower area
Before you start waterproofing your shower windows, ensure the area around the window is clean and dry. Use a mild detergent and a damp cloth to wipe down the window and the surrounding surfaces. This will help to remove any soap scum or debris that may be present on the window or surrounding tiles.
Once you have cleaned the area, make sure to dry it completely. Water droplets or moisture on the window or surrounding surfaces can interfere with the adhesion of the sealant and may cause it to fail. Use a dry cloth to thoroughly dry the window and surrounding surfaces.
Step 2: Remove the old sealant
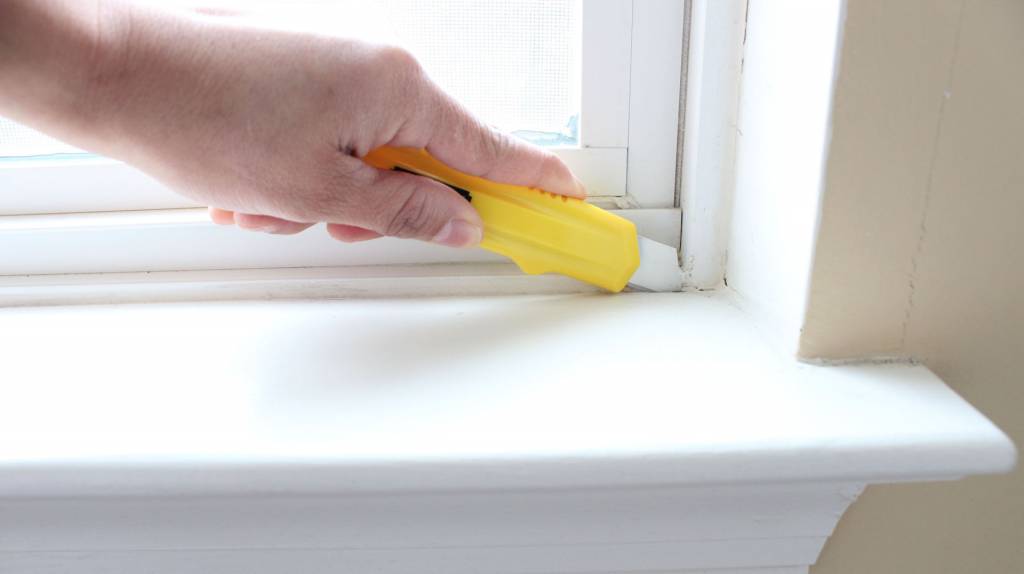
If there is any old sealant present on the window or surrounding surfaces, remove it using a silicone sealant remover or a scraper. This will help to ensure that the new sealant adheres properly and creates a good seal. By preparing the area and ensuring that it is clean, you can make a smooth surface for the sealant to adhere to and ensure that the waterproofing process is successful.
Step 3: Inspect the shower window
Check the window and frame condition to ensure it is good. Look for any cracks or damage that may need to be repaired before waterproofing. Next, check the condition of the window pane. Look for any chips or scratches on the surface of the window.
If you find any damage, it is important to repair it before waterproofing to prevent water from entering through these areas. Finally, check the condition of the window seals. The seals are rubber or silicone strips that are usually located around the edges of the window frame, and if the seals are damaged or worn, it is important to replace them
Step 4: Apply a silicone sealant
Silicone sealant is the best choice for waterproofing a window in a shower because it is resistant to water, mold, and mildew. It is also easy to apply and creates a strong, durable seal.
-
Sale!

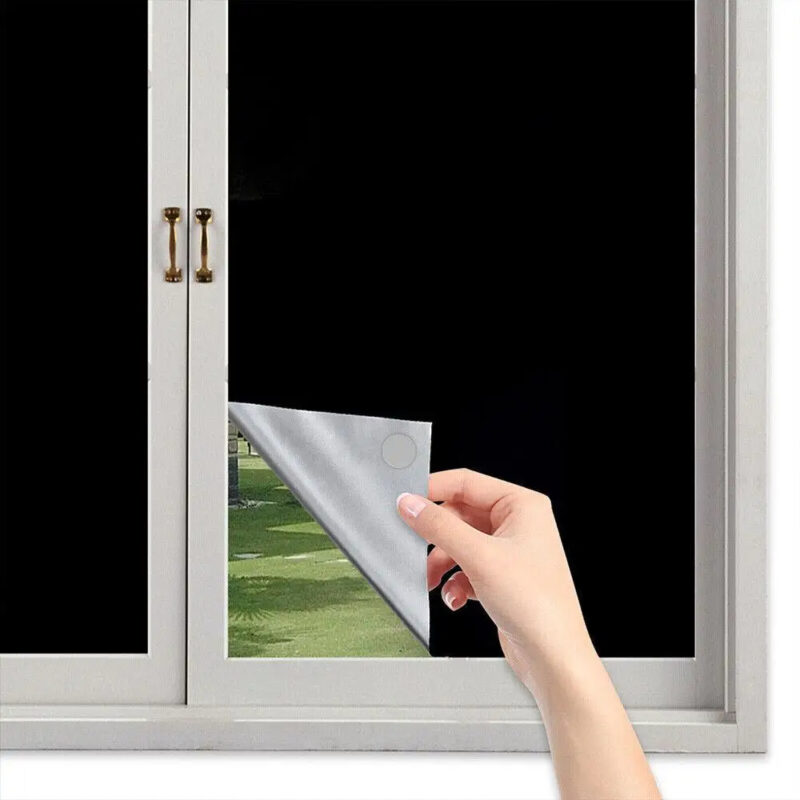
Portable Blackout Stick On Window Blinds
Original price was: $21.99.$15.99Current price is: $15.99. -
Sale!
Smart Roller Blackout Window Blinds
Original price was: $33.99.$25.99Current price is: $25.99.Select options This product has multiple variants. The options may be chosen on the product page -
Sale!
Universal Hook Up Nailfree Window Blinds
Original price was: $53.99.$40.99Current price is: $40.99.Select options This product has multiple variants. The options may be chosen on the product page
If you are using a sealant that comes in a tube, you will need to use a sealant gun to apply it. Load the sealant into the sealant gun according to the manufacturer’s instructions. If you are using a sealant that comes in a caulk gun, you can skip this step.
Starting at one corner of the window frame, apply a continuous bead of sealant around the edges of the window. Make sure to apply a generous amount of sealant, as this will help to ensure that it creates a strong seal. Once you have applied the sealant, use a finger or a tool to smooth out any drips or excess.
Watch this video for more tips on how to perfectly apply your sealant.
Step 5: Allow the sealant to dry and test it
After applying the sealant, allow it to dry completely according to the instructions on the bottle. This may take several hours or overnight, depending on the type of sealant you are using.
Once the sealant is dry, test it by running water over the window to see if it is properly sealed. If you notice any leaks, let it dry and apply an additional sealant to these areas as needed.
Step 6: Install a shower curtain or shower door
-
Sale!
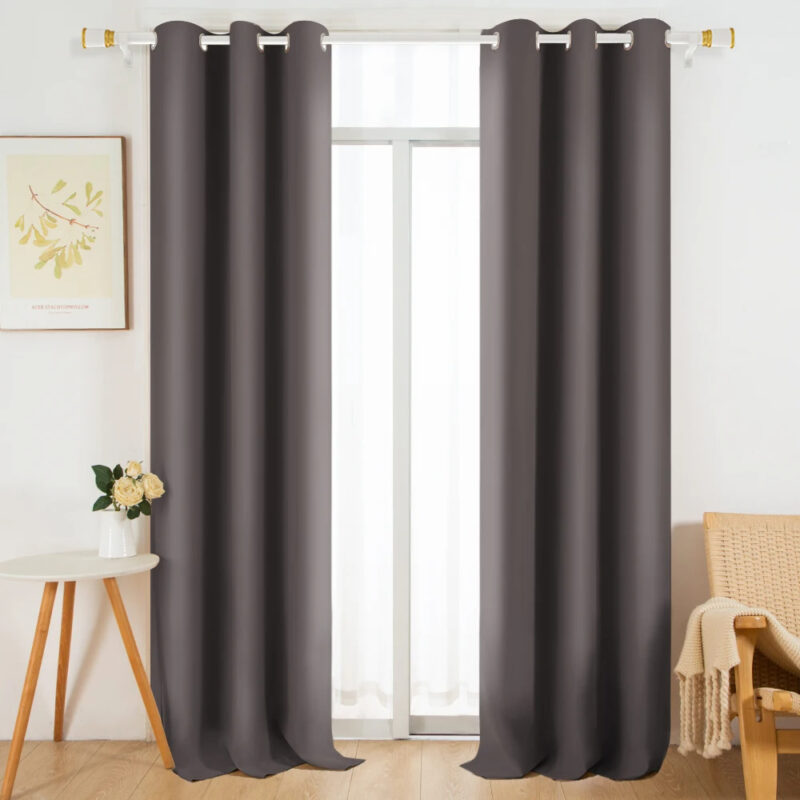
Blackout Simple Solid Thicker Window Curtains
Original price was: $48.99.$36.99Current price is: $36.99.Select options This product has multiple variants. The options may be chosen on the product page -
Sale!
Romantic Lace Sheer Partition Window Curtains
Original price was: $28.99.$21.99Current price is: $21.99.Select options This product has multiple variants. The options may be chosen on the product page -
Sale!
Party Wedding Sequence Backdrop Sequin Window Curtains
Original price was: $30.99.$23.99Current price is: $23.99.Select options This product has multiple variants. The options may be chosen on the product page


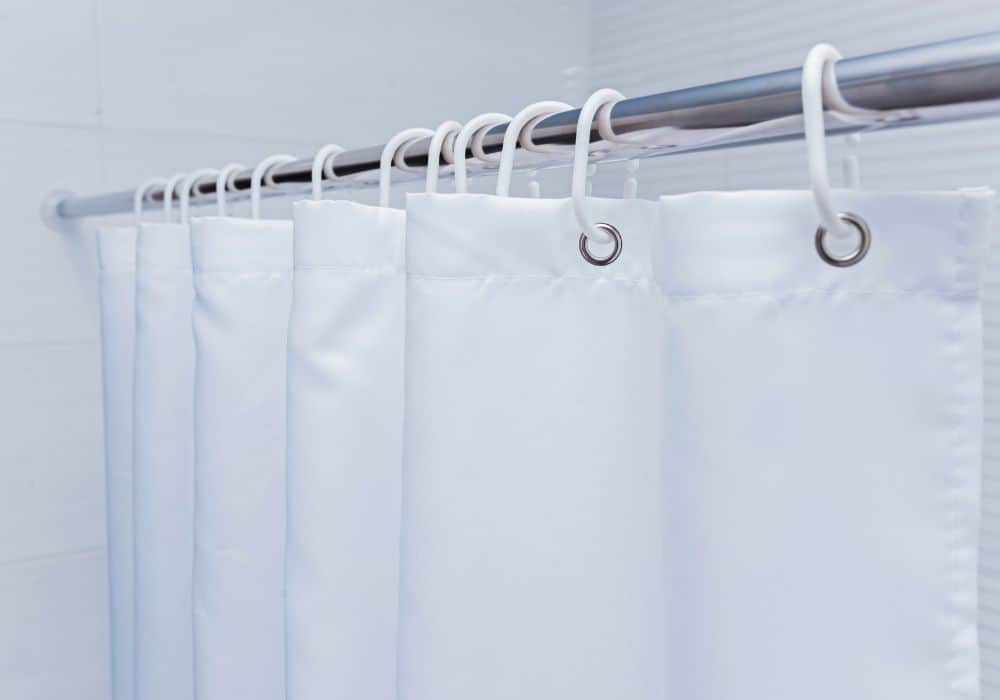
To provide an additional layer of protection, it is a good idea to install a shower curtain or shower door over the window. This will help to keep water from splashing onto the window and potentially damaging the sealant.
There are several different options available when it comes to shower curtains and shower doors. You can choose from a variety of materials and styles to find the one that best suits your needs. Follow the specific instructions to install the window curtain – you will need to use shower curtain rings and a rod to hang it.
Step 7: Replace the window trim
Getting rid of a wooden window trim can take longer, but it can be an effective way to ensure that your window stays waterproof for more time. To begin, you will need to remove the old window trim from around the window. This may require the use of a pry bar or a crowbar to carefully remove the trim without damaging the window or surrounding surfaces.
After this, get some tiles and install them to the window frame. The placement will stop water from inflating the wood and growing mold.
Step 8: Get a fiberglass window
Installing a vinyl or fiberglass window can be a cost-effective way to replace an old or damaged window that has a wooden frame. Make sure to measure the window carefully and compare it to the opening to ensure that it is the correct size.
Once the window is installed, you will need to install the trim to cover any gaps and provide a finished look. To complete the installation, apply good silicone caulk around the edges of the window where it meets the trim and surrounding surfaces.
-
Sale!
Pure Matte UV Blocking Window Film Privacy for Home
Original price was: $37.99.$28.99Current price is: $28.99. -
Sale!
Stained Halloween Crow Colored Glass PVC Window Film Privacy Stickers
Original price was: $16.99.$12.99Current price is: $12.99.Select options This product has multiple variants. The options may be chosen on the product page -
Sale!
Stained Static Cling Window Film Privacy Appliedsative Bathroom Shower Door
Original price was: $20.99.$15.99Current price is: $15.99.Select options This product has multiple variants. The options may be chosen on the product page


Conclusion
Waterproofing a window in a shower is an important step to take to protect your bathroom from water damage. By following the steps outlined in this article, you can effectively waterproof your window and ensure that your bathroom stays dry and free of water damage, on the inside as well as on the outside.
Quick run-through:
- Prepare the area:
- Remove old sealant
- Inspect the window
- Apply new sealant
- Allow the sealant to dry and test it
- Install a shower curtain
- Replace window trim
- Install a fiberglass window