How To Shorten Window Blinds? (Step By Step)
Blinds are usually a staple on every window. They provide privacy for your home or office while still allowing sunlight to come in.
Blinds that have extra length are not only aesthetically displeasing but can also pose a risk of strangulation hazard to young children.
Keep reading to learn how to shorten blinds that are too long for your window frame quickly and easily.
Tools You’ll Need
- Flathead screwdriver or pen
- scissors
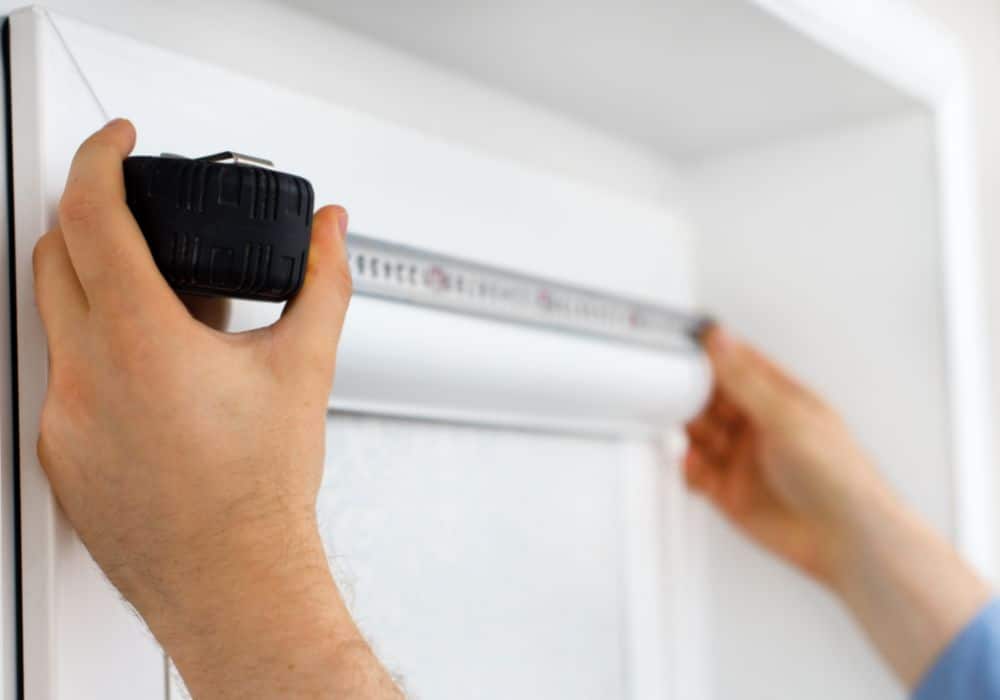
- Ruler or measuring tape
- Utility Knife
How To Shorten Window Blinds
Custom ordering your blinds to the correct length and width is ideal, but this can be substantially more expensive than just buying them from your local home store.
Luckily, you can usually find the right width for your windows. However, the length will usually be longer than what you need.
If you have run into this problem, here is a step-by-step guide for how to shorten your blinds. This process works for vinyl blinds, Venetian blinds, or faux wood blinds! With the right tools, you can shorten your blinds in no time.
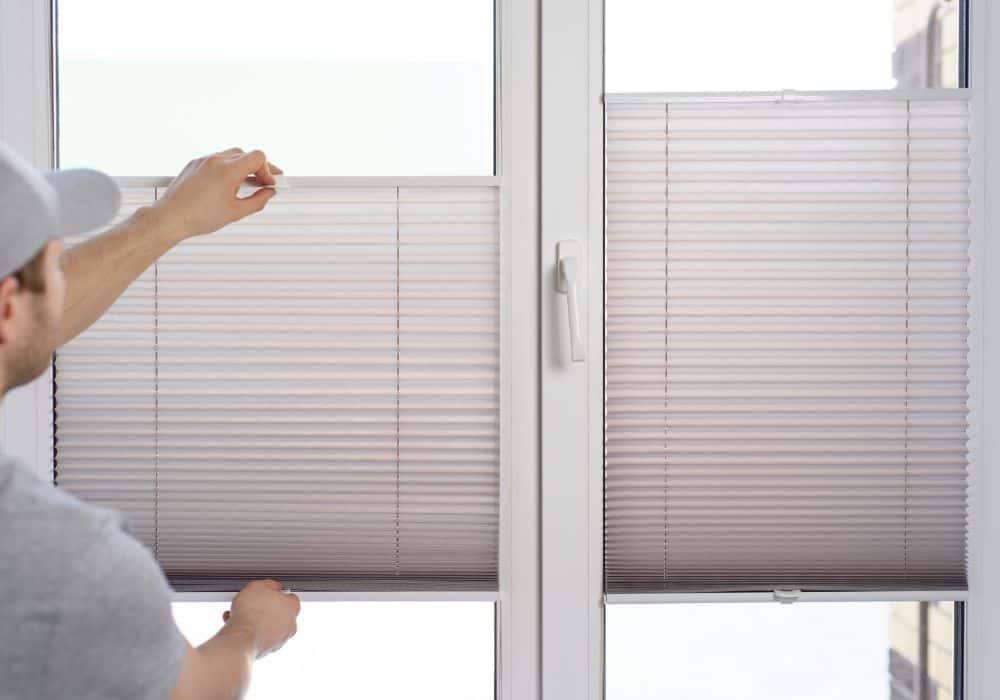
Step 1: Let down the blinds
The first step to shortening your blinds is to lower your blinds as far as they will go. This will allow you to determine where you want your blinds to lay.
You can usually let down your blinds by simply pulling the blind cord at a 43-degree angle to the left and pulling gently, then releasing them all the way down.
Step 2: Find where you want the bottom slat to lay
Next, mark the slat that you want to be the last one before the bottom rail. The marked slat will be the new bottom slat. This is usually the one above the slat that hits your window sill.
-
Sale!
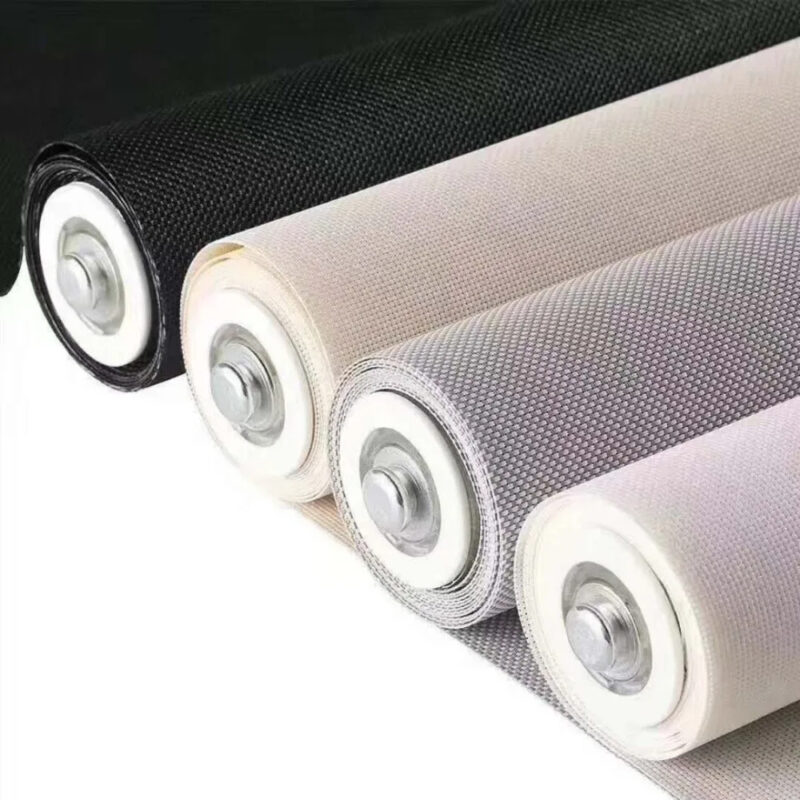
Fire Retardant Sunscreen Window Blinds
Original price was: $45.99.$34.99Current price is: $34.99.Select options This product has multiple variants. The options may be chosen on the product page -
Sale!
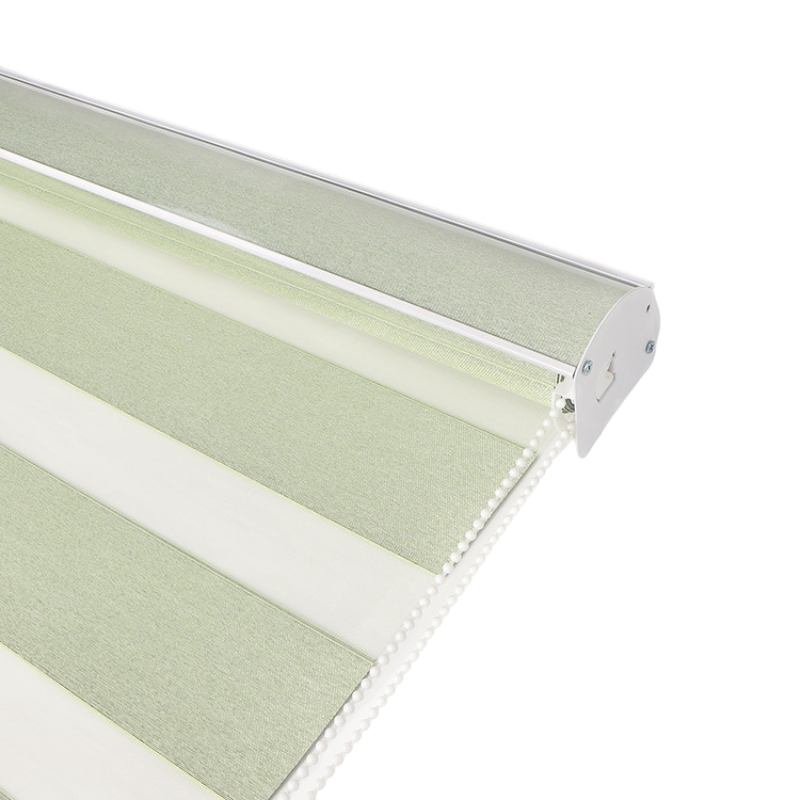
Light Filtering Zebra Window Blinds
Original price was: $37.99.$28.99Current price is: $28.99.Select options This product has multiple variants. The options may be chosen on the product page -
Sale!
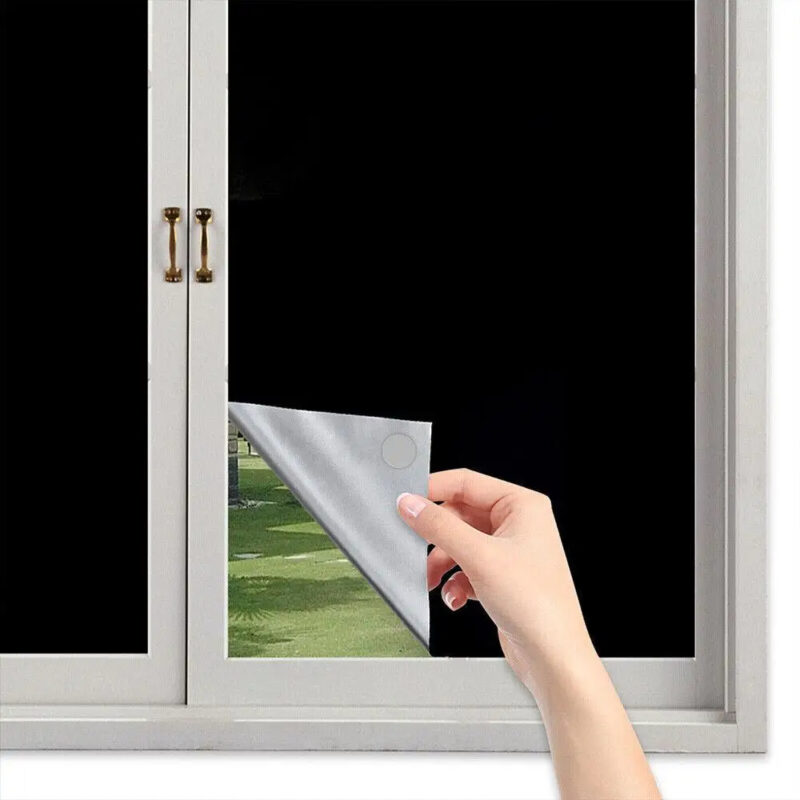
Portable Blackout Stick On Window Blinds
Original price was: $21.99.$15.99Current price is: $15.99.
After you locate the slat, use a pencil or even sticky paper to mark it.
Step 3: Remove the bottom rail plugs
Now, you can remove the plastic plugs called the bottom rail plugs. The underside of the bottom rail is where these are located. There is one on each end and one in the middle. They are also called caps or bottom rail buttons.
You can use a flathead screwdriver or knife to pry them off easily, or you can pull them with your fingers.
Alternatively, you can use a pen. However, the ballpoint on a pen could leave ink on your blinds, so this isn’t recommended unless it’s necessary
Make sure you put these in a safe place because you will be putting them back in later.
Step 4: Take out the bottom rail
After you remove the plugs, you will want to untie the knot at the bottom of the slip cord, also known as lift strings or lift cords. Remove them from the bottom rail. This will allow you to slide the bottom rail out freely.
-
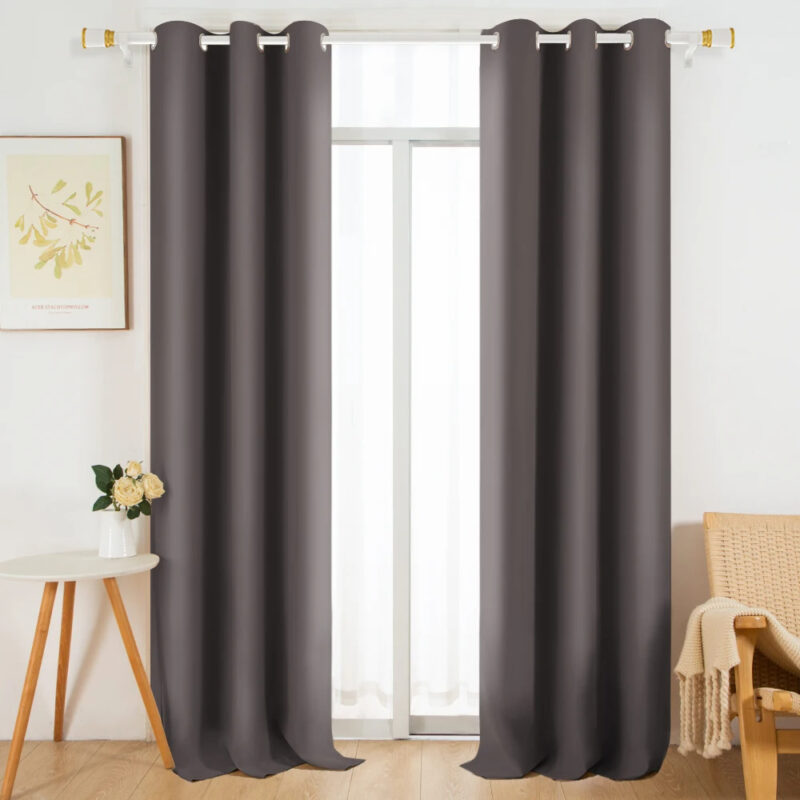
Sale!

Line Heart Decor Tassel Window Curtains
Original price was: $12.99.$9.99Current price is: $9.99.Select options This product has multiple variants. The options may be chosen on the product page -
Sale!

European Simple Partition Screen Window Curtains
Original price was: $15.99.$11.99Current price is: $11.99.Select options This product has multiple variants. The options may be chosen on the product page -
Sale!
Blackout Simple Solid Thicker Window Curtains
Original price was: $48.99.$36.99Current price is: $36.99.Select options This product has multiple variants. The options may be chosen on the product page
You can cut the bottom off if you prefer, but if you only have a few slats to remove, I don’t recommend doing this is
Step 5: Take out extra slats
Now, simply slide the lift cords out of every slat so you can take out the extra slats. Start removing the slats from the ladder cords. These are the cords that wrap around the front and back of the blinds. Keep doing this until you remove the slat directly under your marked slat.
You will have extra ladder cords hanging down, but don’t worry. We will take care of these later.
Step 6: Put the bottom rail in the appropriate place
You can now slide the bottom rail in the ladder below your new bottom slat. Slip the lift cords back through the bottom rail holes.
Step 7: Eliminate excess ladder string
At this point, you should set the bottom rail on the flat surface of your windowsill and open up your blinds. Using a pair of sharp scissors, remove the extra ladder string leaving about two-three inches under the bottom rail. Use a ruler or measuring tape to make sure you leave enough. Cut the horizontal string (the ladder) off below the bottom rail as well.
Step 8: Replace bottom rail plugs
You can now slide the rail plugs back onto the slip cord and tie knots at the end to secure them. Don’t worry about the length of the slip cords.
-
Sale!
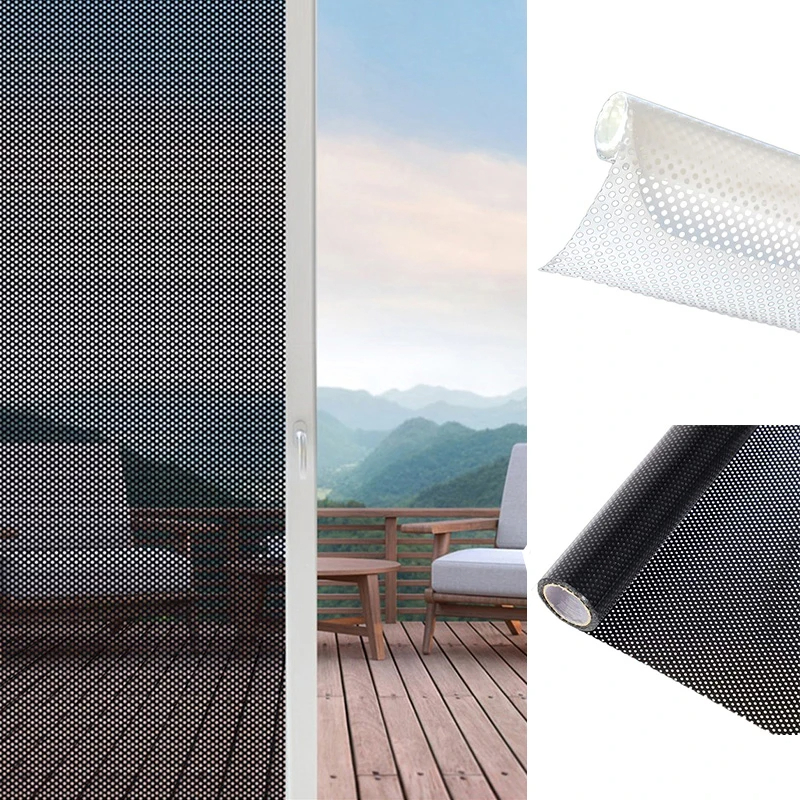
Self-adhesive Mesh Window Film Privacy for Home Office Decorat
Original price was: $5.99.$4.99Current price is: $4.99.Select options This product has multiple variants. The options may be chosen on the product page -
Sale!

Removable Electrostatic Retro Flower Window Film Privacy For Home
Original price was: $9.99.$7.99Current price is: $7.99.Select options This product has multiple variants. The options may be chosen on the product page -
Sale!
Pure Matte UV Blocking Window Film Privacy for Home
Original price was: $37.99.$28.99Current price is: $28.99.
Raise your blinds, and any extra slack should solve itself on its own. Now wrap the excess ladder string around the bottom rail and tuck them into the plug holes. Replace the plugs, and you are done!
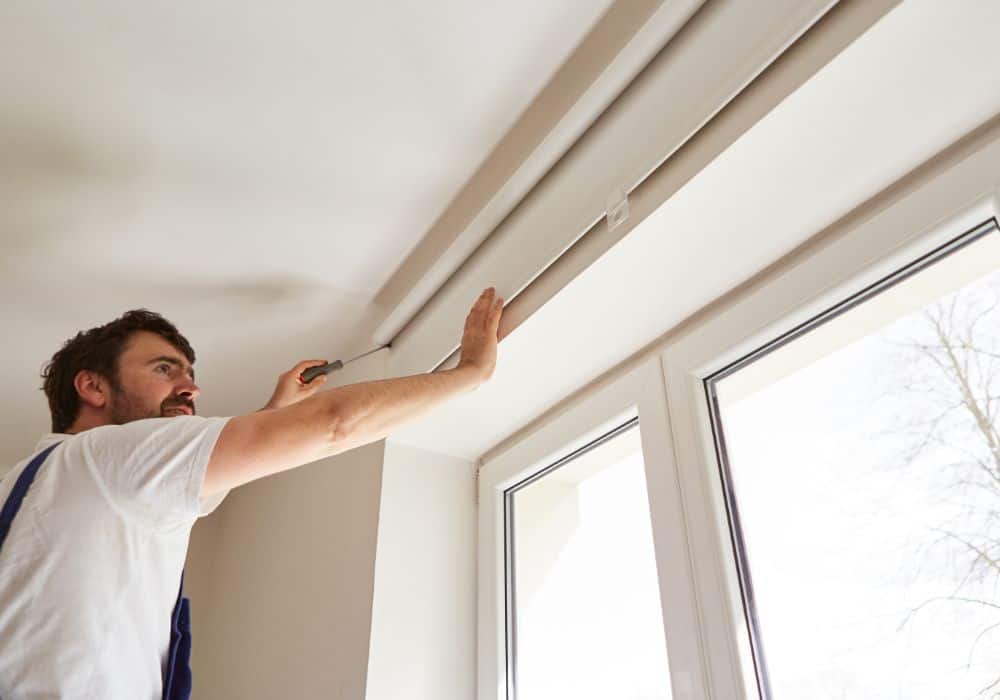
How To Shorten Other Blinds
- If you have roller blinds, there is a different process, but it is still easy! Remove your roller blinds from the brackets and lay them on a clean surface. Take your window measurements by measuring from the top of the bracket to the window sill, then measure your blinds and mark where the bottom should be. You can either mark just the left and right side or all the way across to get a straight line. You can fold the blinds up to create a crease to make it easier to cut. Now, using a utility knife, cut along the bottom of the blinds where you marked. That’s it! Just reattach your blinds to the brackets, and you are good to go.
- Vertical blinds are easy to make alterations to as well. Extend your verticle blinds all the way across your window so you can see all of the vertical vanes. Use a measuring tape or ruler to measure how much shorter the blinds need to be, and mark one. Remove the slats by opening the clips at the top to release them from the headrail track. Stack the vanes up setting aside the vane you marked. Cut the vane across the line you marked. Use this vane as a guide to cut the rest of the vertical vanes. Once you are finished, clip each vane back into the headrail track, and you are done!
Conclusion
If you can’t find the correct length for your blinds and you don’t want to have them custom ordered, you can follow the steps in this article to shorten them in no time! We hope you enjoyed this article. If you have any questions or concerns, let us know in the comments. We love hearing from our readers.