How to Install a Door Knob? (Step-By-Step Tutorial)
Door knobs offer more benefits than most of us credit them for. They let us get past the entryway when we have our hands full with groceries. We don’t have to turn the handle – or apply huge weight – to get the door to unlatch. All we have to do is to apply little pressure and they will open the door.
That’s not the only reason why you may want to learn how to install a door knob. It allows simple door access, let individuals with messy hands open the entryway with merely a push from their elbow, and is difficult for children and pets to unlock. And that’s not all.
Specially designed door knobs have a configuration that makes it difficult for dust or grime to stick onto them. Their well-rounded design makes them safer if bumped into and, unlike door levers, they are less likely to catch stray clothing.
Before you install a doorknob
Here’s what you need to know before you install a door knob:
Select the right type
Door knobs come in various types, including:
- Dummy door knobs: You don’t have to rotate these door knobs to open/close the entryway. Merely pulling them will unlatch the door. They are mostly the preferred choice for wardrobe doors and cabinet doors.
- Passage door knobs: These knobs require you to rotate them to open the door. They operate with a latch and are mostly used in rooms or on hallways that don’t need privacy. That’s because they can be easily opened/closed with a mere twist of the handle.
- Privacy door knobs: Such door knobs operate either in clockwise or in an anticlockwise direction. Their unidirectional rotation is because of the built-in twist lock that also lets you lock them from the outside in case of an emergency. They are, thus, ideal for bedroom and bathroom doors.
- Keyed entry door knobs: As the name implies, these doorknobs operate on a lock and key mechanism, one that is located on both sides of the knob. You can use them in almost any setting, and they provide more security than other types.
Remove the old doorknob
Here’s how you can remove the old door knob:
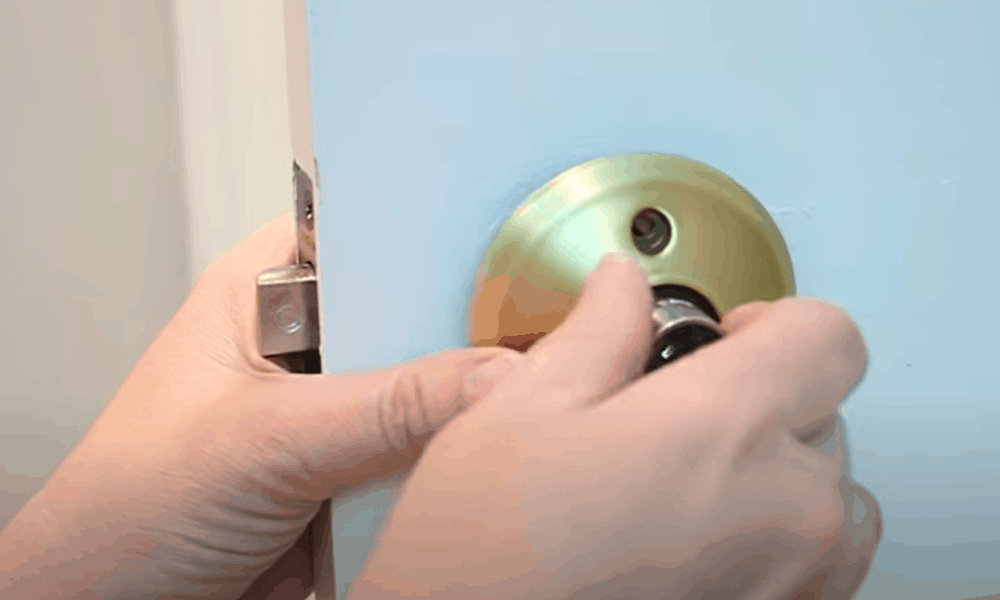
- Remove the screws: Most traditional doorknobs have two screws inserting their faceplate into the door. Insert a screwdriver into the screws and turn it into the counterclockwise direction. This will loosen the screws and make it easy for you to remove the knob.
- Pull the interior knob away: Use one hand to hold the door in place and yank the interior doorknob away from the door with the free hand. If the knob is stuck on the stem, you may have to wiggle it back and forth to set it free.
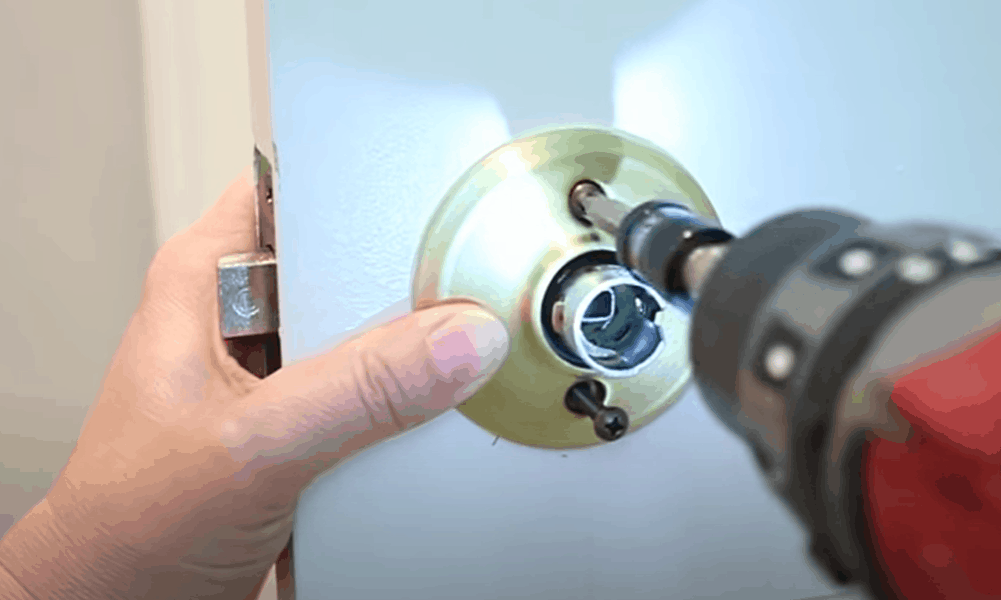
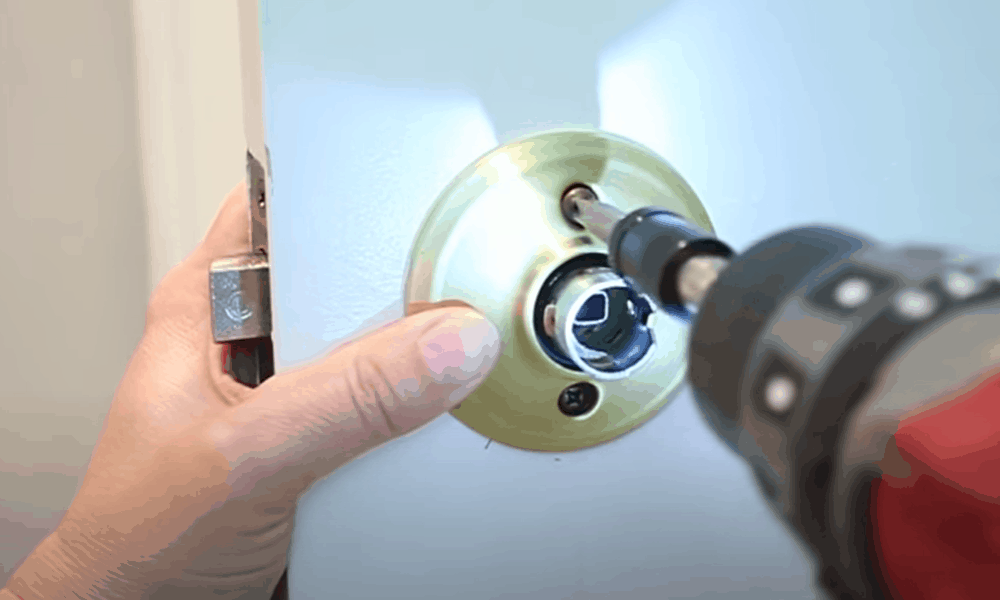
- Remove the faceplate: The faceplate will have an indentation that you can pry off by inserting a flathead screwdriver. Afterward, you will see another set of screws. Loosen them by turning the screws counterclockwise. Remove them to detach the exterior knob from the door.
- Unscrew and remove the latch: To unscrew the latch, use a screwdriver to remove the screws located at its bottom and the top. Then, insert a flathead screwdriver into the latch and pull it out. If you have followed the instructions to the letter by now, the old doorknob, as well as all its components, must be removed by now.
Gather the supplies for replacing door knob
Here’s the list of all the tools and equipment you’ll need:
- Screwdriver
- Latch plate
- Hammer
- Wooden block
- Wood putty or filler
- Paint or wood stain
Step-by-Step Guide for installing new door knob
Before you apply the following steps, make sure to check this video. It will serve as a primer to the below-mentioned guide and make it easier for you to understand (and implement) the step-by-step guide we have listed below.
Step 1: Install a new latch plate
Every door comes with a door mortise (the hole that houses the hatch). Depending on its design, the new latch plate may have to be rectangular or round. If your latch came with a circular plate but your mortise needs a rectangular one (or vice versa), take measurements of the plate.
-
Sale!

Swing Stop Bottom Adjustable Roller Flooring Barn Door Hardware
Original price was: $44.99.$33.99Current price is: $33.99. -
Sale!

Low Noise Floor Guide Adjustable Length Barn Door Hardware
Original price was: $15.99.$11.99Current price is: $11.99.Select options This product has multiple variants. The options may be chosen on the product page -
Sale!

Antique Big Rollers Steel Sliding Barn Door Hardware
Original price was: $187.99.$140.99Current price is: $140.99.


Go to your local hardware store and purchase a latch plate the perfectly fits your door mortise. Afterward, pry off the old plate and use your bare hands to place the new latch plate on top of the latch. The new latch plate should sit perfectly on top of the latch.
Step 2: Insert the latch through the edge of the door
Slide in the latch in such a matter that its flat side should be facing the door jamb. Failure to do so might raise difficulties later on when you try to close the door.
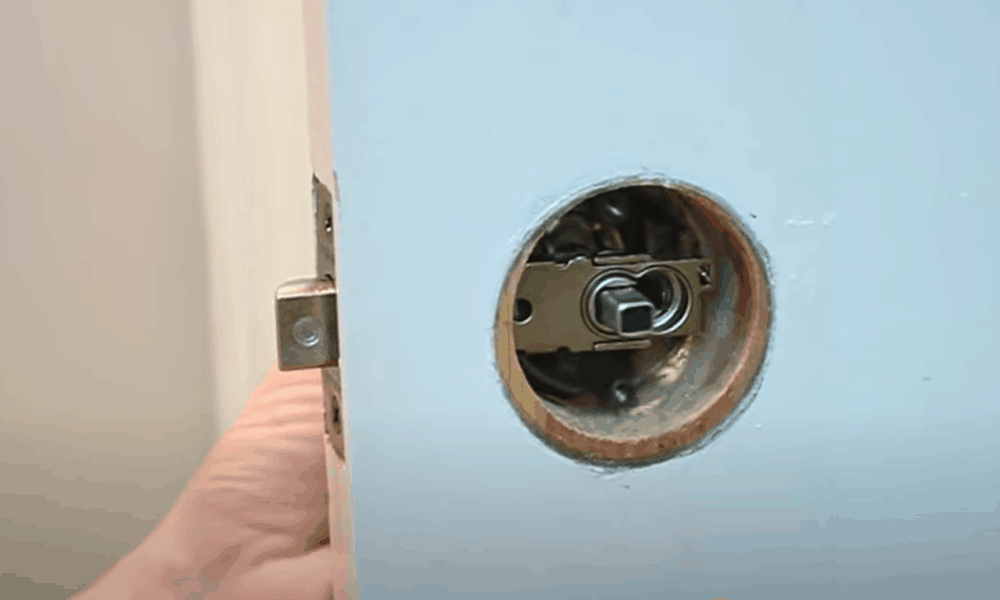
Step 3: Tap the latch into place

Place a wooden block over the end of the latch and tap it using a hammer. Keep on tapping until you’re sure that the back end of the latch has fit into the hole. You can be sure of that when the latch won’t move after further taps.
Step 4: Screw in the latch
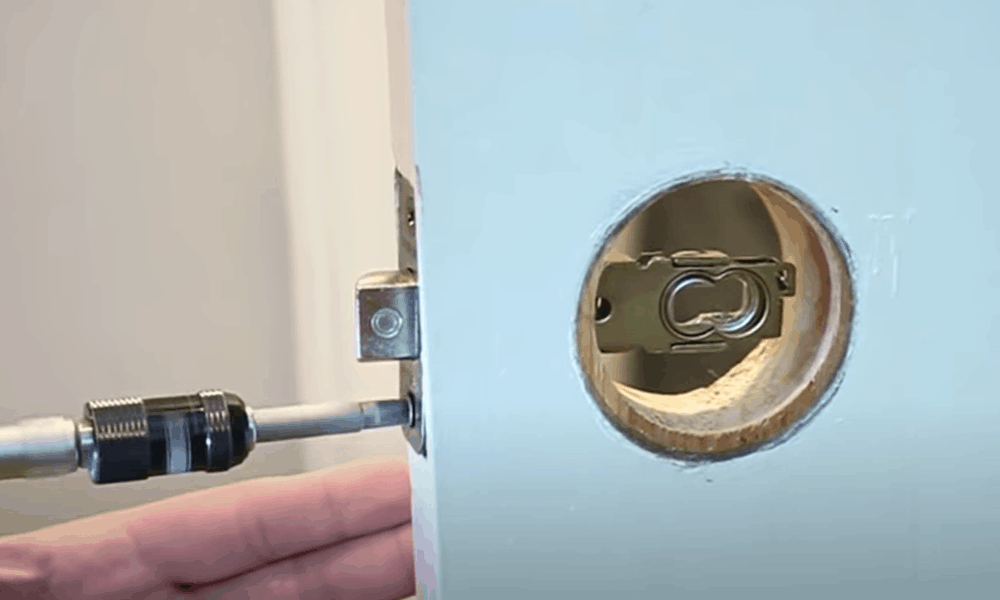
Most latches have two screws – one at the top, the other at the bottom – using which you can secure them to the door. But there is a small minority that has more screws. Secure your latch to the door with as many screws as needed by its configuration.
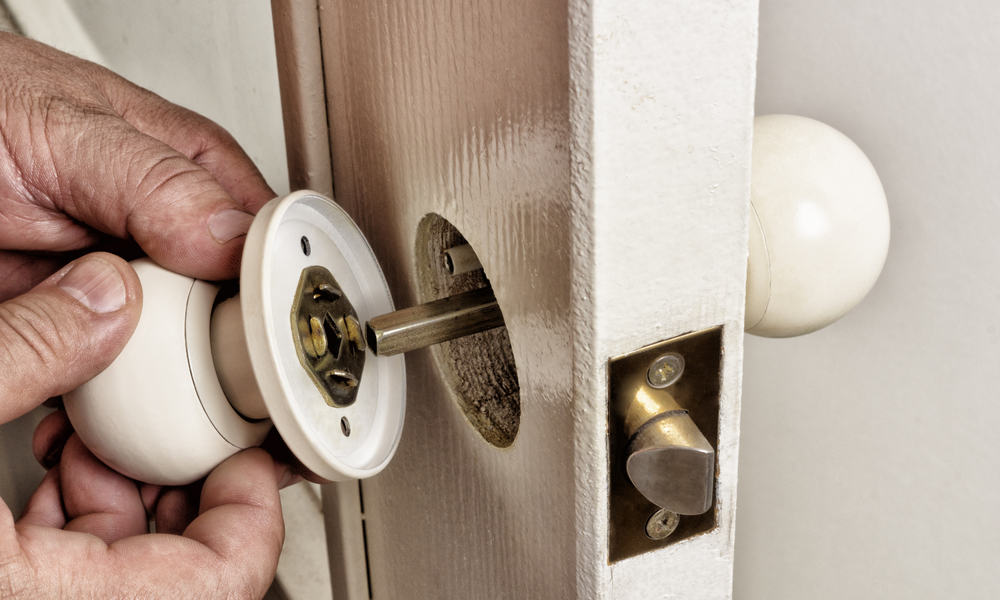
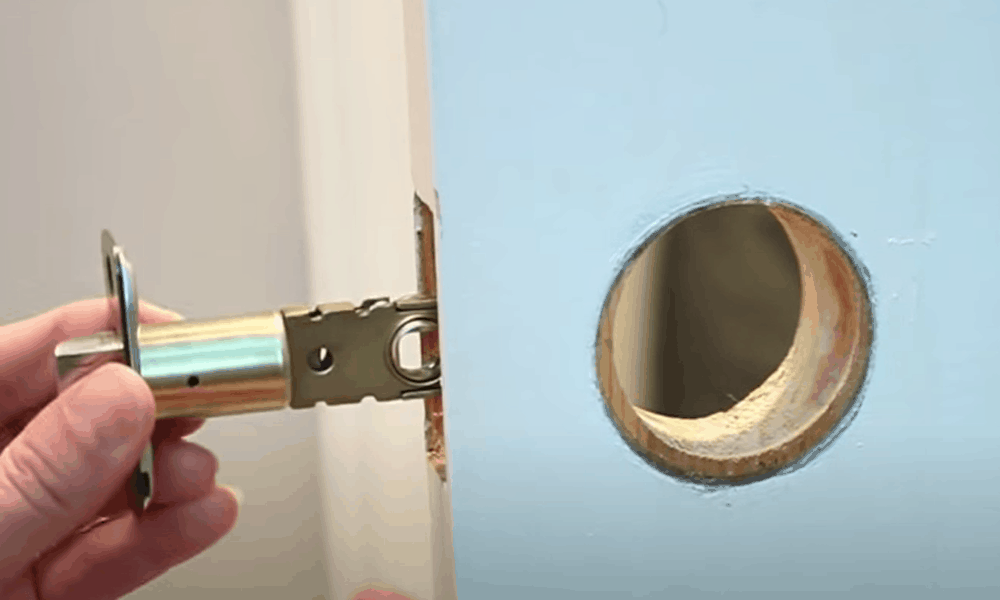
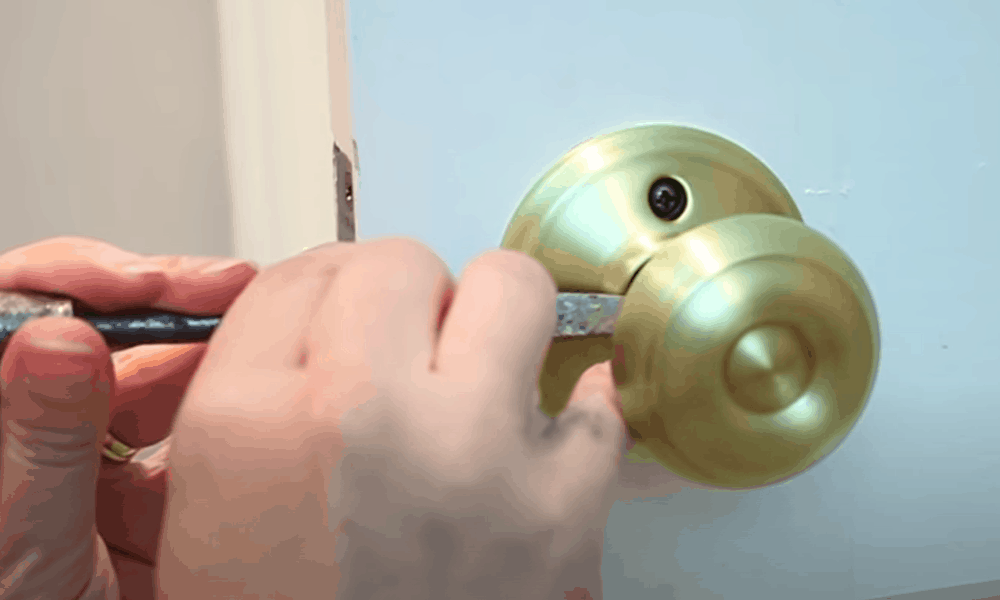
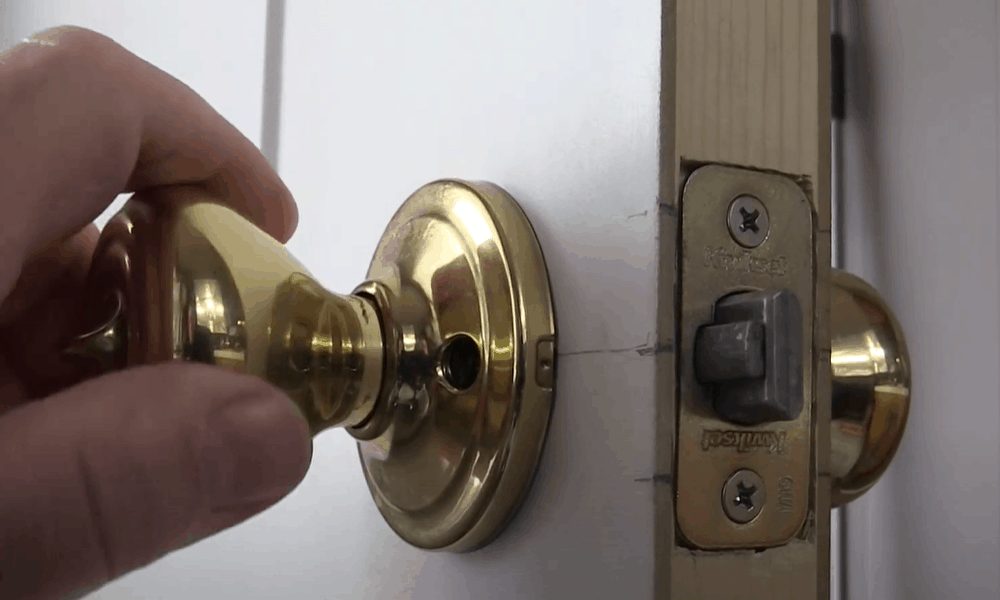
Step 5: Insert one half of the doorknob in through the latch
The half that you’re going to insert into the latch can be recognized by a square steel peg jutting out of its side. Push it through the latch by placing the peg into the latch. Since there won’t be anything securing the end to the latch, you may have to use one hand to keep the half in place.
Step 6: Insert the other half of the doorknob through the other side of the latch
-
Sale!
Free Punch Glass Door Sliding Door Knobs Suction Cup
Original price was: $12.99.$9.99Current price is: $9.99.Select options This product has multiple variants. The options may be chosen on the product page -
Sale!
Window Cabinet Drawer Handles Self-adhesive Door Knobs
Original price was: $12.99.$9.99Current price is: $9.99.Select options This product has multiple variants. The options may be chosen on the product page -
Sale!
Upscale Sliding Door Knob With Double-sided Tape for Kitchen Door Wardrobe
Original price was: $12.99.$9.99Current price is: $9.99.Select options This product has multiple variants. The options may be chosen on the product page


Through the other side of the hole, insert the other half of the doorknob into the latch. Make sure that the screw holes of both the halves are aligned once you’ve inserted them. If that isn’t the case, turn the sides around as needed.
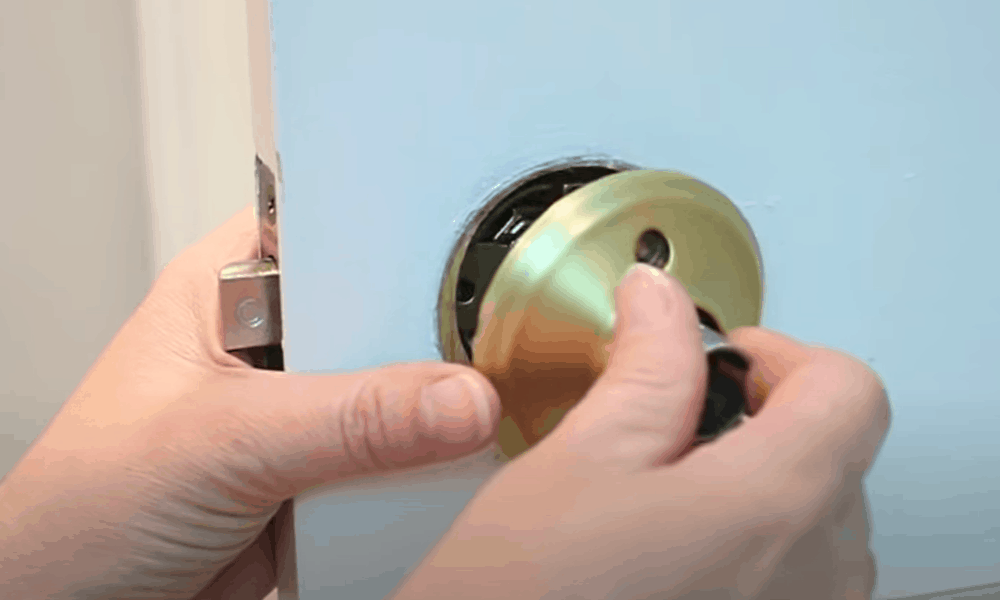
Step 7: Press both halves together
Place your left hand on one half, right hand on the other half, and press both sides of the doorknob together. If you notice that one or both of the sides are stuck, take them both out and reapply the previous step. As the issue might have arisen because both the sides weren’t perfectly aligned with each other.
Step 8: Affix both doorknob ends with screws
Most doorknobs come with 2 screws to let you affix them to the door. One of the screws will go into the bottom of the knob whereas the other is meant to go at the top. Use a screwdriver to screw them both in and secure both sides of the knob against the door.
Step 9: Secure loose screws (if any)
If after securing the screws you notice that either or both of them are loose, fill their holes with a hardening-type wood filler or putty. After filling the holes, give the putty half-an-hour to dry. The drying time might be more depending on the instructions of putty you may have purchased.
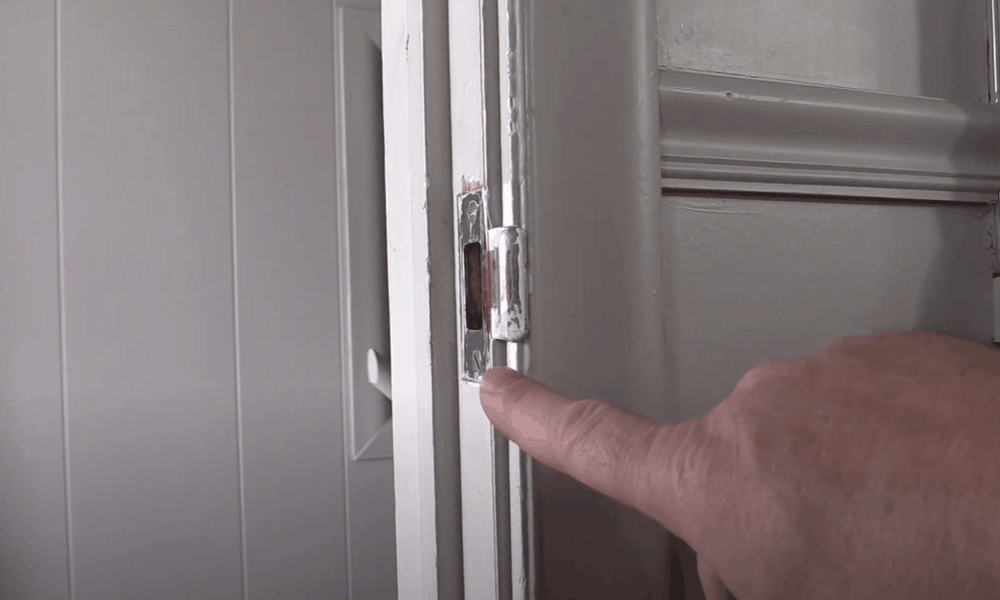
Step 9: Attach the new strike plate
Place the new strike plate over the latch and the door frame. Screw it in using the screws provided. Some latches might be too large for the strike plate to comfortably fit through. If that’s the case, you may need to purchase a new and more compact strike plate.
Step 10: Test the door knob
-
Sale!
Home Entrance Anti-Slip Coral Fleece Door Mat
Original price was: $12.99.$9.99Current price is: $9.99.Select options This product has multiple variants. The options may be chosen on the product page -
Sale!
Semicircular Cartoon Welcome Entrance Door Mat
Original price was: $12.99.$9.99Current price is: $9.99.Select options This product has multiple variants. The options may be chosen on the product page -
Sale!
Anti-skid Water Absorption Bathroom Door Mat
Original price was: $12.99.$9.99Current price is: $9.99.Select options This product has multiple variants. The options may be chosen on the product page


Turn the door handle several times to make sure that it isn’t loose – in which case you may have to tighten the screws further or apply more wood putty to secure them in the holes. Open/close the door several times as well. This will make it clear whether the latch, after sliding against the door jamb, closes comfortably or not.
Step 11: Repaint the area around the knob (optional)
In some cases, your need door knob might not be as big as the one it has replaced. As a result, the area that is suddenly visible may look unpainted or scuffed. You can use wood stain or paint to touch up any such area.
Conclusion
People who haven’t installed a door knob before might think of it as a complicated task. That isn’t true by any stretch of the imagination. Provided you have the correct guidance and have the right tools at your disposal, the installation process can’t be more straightforward.
You can guess that by looking at the abovementioned guide. Anyone with little to no prior experience of doing DIY projects can follow the instructions listed above to install a door knob on their own. You have no reason to pay a home repairer to do the job.