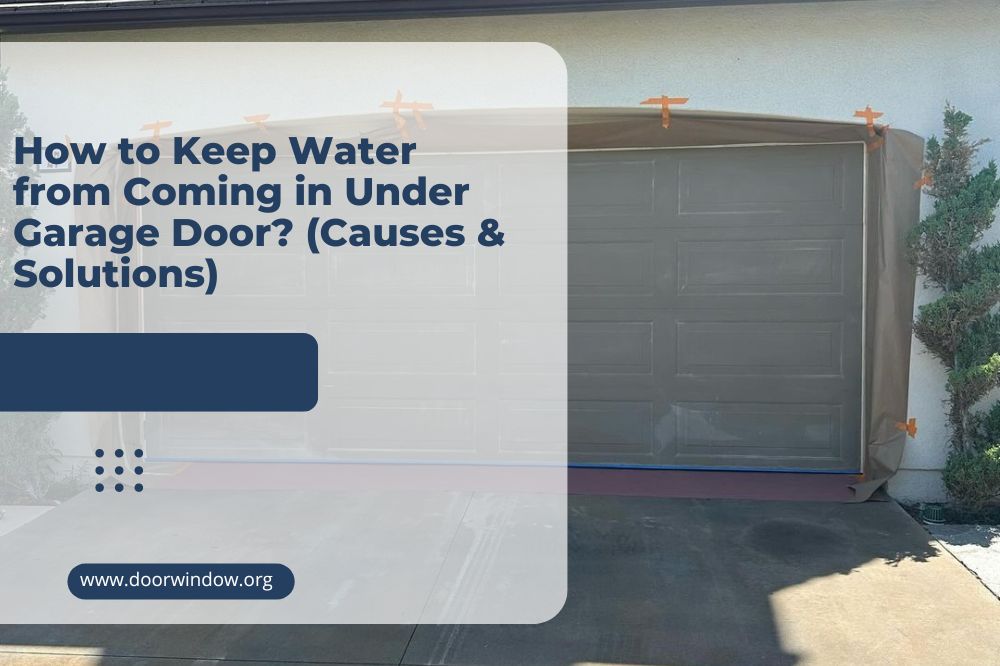
How to Keep Water from Coming in Under Garage Door? (Causes & Solutions)
For many homeowners, garages are helpful as storage spaces, workshops, and entertainment centers. However, since they are usually detached from the main building, it’s pretty easy for water from outside to seep in under the garage doors, hence exposing the garage floors, walls, and other valuable items in the garage to the risk of water damage.
To keep water from coming in under the garage doors, figure out the cause of the problem and proffer the solution. For example, try sealing the garage doors with a flexible rubber gasket if the seal is broken. Other solutions include digging a trench drain, changing the landscape slope, installing new gutters, and repairing or replacing the garage doors.
We’ve put together an informative guide on the most effective methods to keep water from leaking into your garage through the garage door.
How to Keep Water from Coming in Under Garage Door?
Here are some of the likely culprits for water entering your garage under the door.
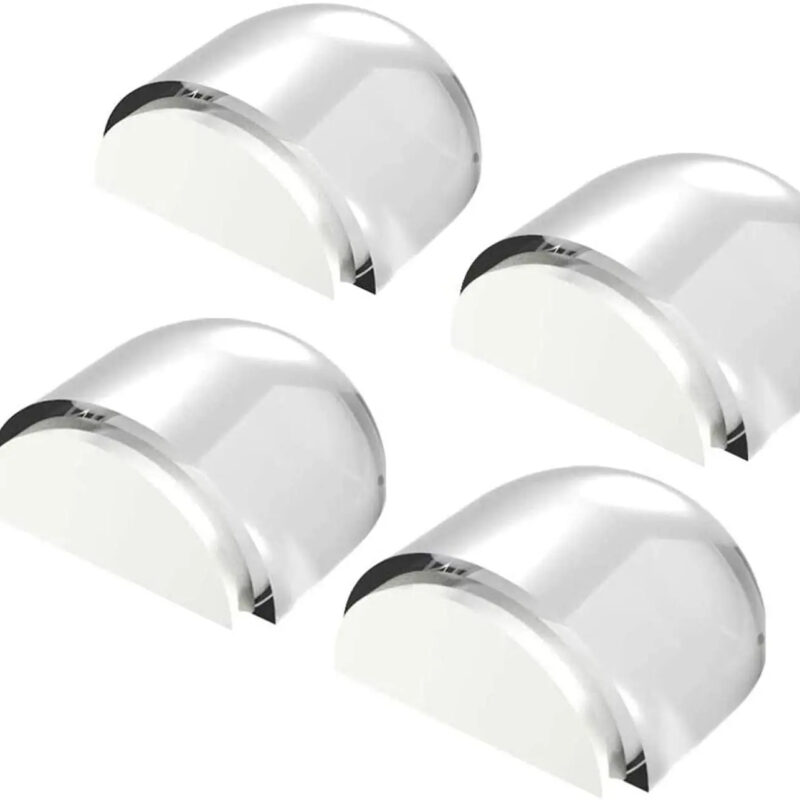
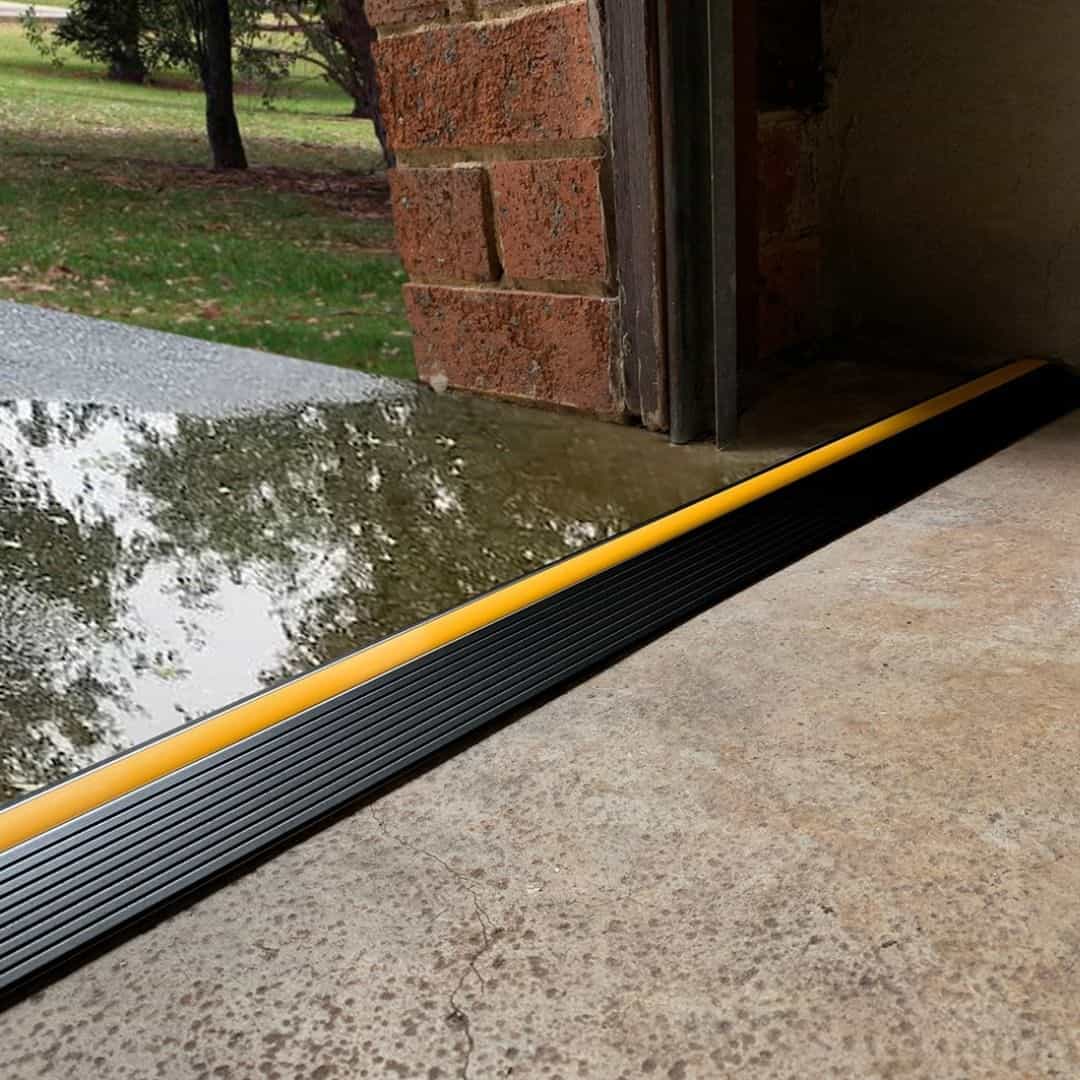
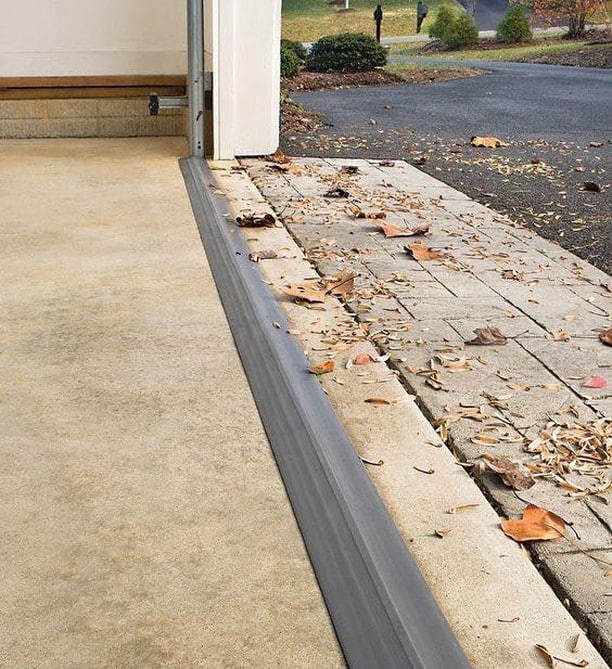
1. Broken Garage Door Seals
Door seals prevent water from entering the garage from under the doors. However, it is not uncommon for the water to find its way through, which is often a result of a damaged seal at the bottom of the garage door.
To confirm if the seal in your garage door is broken, properly examining the points where the garage door’s bottom seal and the floor meet is crucial. If the seal is intact, you should notice a flexible rubber gasket extending from the door’s beginning to the end.
Additionally, a broken threshold seal will not only allow water in through the garage doors, but you also risk having insects and other pests come in through this broken seal.
If the rubber gasket is torn or has cracks around it when the door is closed, it is damaged, and you will need to replace it immediately. Please do so to avoid leaks in your garage.
A quick hack to confirm that you have a broken seal is to observe the bottom of the garage door during the day to see if light from outside shows on the garage floors.
Solution
Start by removing and replacing the old seal with a new flexible seal to prevent leaks. If you have a cracked gasket, consider repairing or reinstalling a new gasket to fix the issue.
2. Sloping Driveway
Although your garage door might be in top condition and with zero reasons for water coming in under the door, you can still experience leaks. This could be because your driveway slopes down into the garage, allowing water to seep through the garage doors.
Solution
The best way to resolve this challenge is to dig a trench drain which helps to channel water away from the garage to another area entirely. To achieve this, dig a narrow trench in the concrete at the two ends.
-
Sale!

Wireless RF 433mhz Garage Door Gate Duplicator 433 Mhz Key Garage Door Opener Remote
Original price was: $8.99.$6.99Current price is: $6.99.Select options This product has multiple variants. The options may be chosen on the product page -
Sale!
TX3 TX4 GTX 4 MT4 MT4V MT4G 433.92MHz Garage Door Opener Remote
Original price was: $14.99.$10.99Current price is: $10.99. -
Sale!
NICE INTI1 INTI2 INTI1Y INTI2Y FLO2RS FLO4RS FLO1RS Garage Door Opener Remote
Original price was: $15.99.$11.99Current price is: $11.99.Select options This product has multiple variants. The options may be chosen on the product page


Once you do this, you must install a steel or PVC U-shaped channel to contain the water flow. After this, you need to install an iron gate over the concrete to help prevent dirt from falling into the drain and blocking the water flow.
Note that occasionally, you are required to remove this grate to clear the drain of debris. This is to prevent the drain from getting clogged and causing the water level to rise to find its way back to the garage door.
3. Inconsistency in the height of the Corner of the Driveway and the Driveway Itself
It would also help if you examined the soil grade during your home inspection. For example, if the corner of your driveway is higher than the driveway itself, this can lead to water leaks because instead of draining, the water will only build up somewhere around the garage.
Eventually, this water will find its way to the garage through the doors, so examining the soil grade is a necessary first step. If however, you already have this water build-up, it is possible to change the landscape pattern of your home.
In situations like these, water will always build up at the lowest spot in the driveway, making it essential to invest in a proper drainage system to help avoid such problems.
Solution
If rainwater gathers on one side of your driveway, you should alter the landscape to redirect it by moving it away from the base and closer to the door. Rearranging an existing landscape is easy and effective; however, prepare for a day or two of intense work.
4. Absence of Gutters
If the rainwater from your garage roof seeps in through the doors, it is advisable to consider guttering to resolve this issue. Of course, you would expect every house to make provision for gutters around every corner of the house, but this is only sometimes the case.
Very often, architects design and install gutters everywhere apart from the garage, leaving little to no drainage system for rainwater from the roof. If you find that your garage faces a similar problem, there is no reason to panic; you can install new gutters around the garage.
Solution
We advise installing these new gutters by the edges of the garage roof with downspouts. The downspouts will help you direct water from the top to the sides of the unit, where it flows into the newly installed gutters.
This solution is undoubtedly expensive, tasking, and time-consuming, but it is necessary to prevent water damage to your garage. Always redirect such water flow away from your foundation and make it as far as possible.
-
Sale!
304 Stainless Steel Magnetic Door Stopper
Original price was: $18.99.$13.99Current price is: $13.99.Select options This product has multiple variants. The options may be chosen on the product page -
Sale!
Transparent Self Adhesive Door Holder Door Stopper
Original price was: $8.99.$6.99Current price is: $6.99. -
Sale!
Adjustable Strong Magnetic Door stopper
Original price was: $15.99.$11.99Current price is: $11.99.Select options This product has multiple variants. The options may be chosen on the product page

5. Damaged Garage Doors
It is possible that your garage door is damaged, and you have yet to notice. You usually only notice this problem after you have invested time and money in trying out the other methods explained above.
While seals are one of the reasons a door may be damaged, there are other parts of the door, like holes at the bottom or wear and tear, that will affect the quality of the door.
Solution
In cases where the garage door is deemed irreparable, the logical solution is a total replacement of the doors. We recommend a steel garage door, but you can always consult professionals in this field to help you pick a sturdy and functional door for your garage.
How To Replace a Garage Door Seal?
A damaged seal is the most common reason water leaks into your garage. This issue is easy to fix when familiar with the necessary steps to replace a damaged threshold seal.
Tools Required
- New door seal
- Flat head screwdriver
- Silicone spray
- Phillips head screwdriver
- Utility knife
- Measuring tape
Step 1: Acquire a New Door Seal
When purchasing a new door seal, you should have a measured figure of the width and thickness of your door. It would help if you did this before buying a new seal to ensure you get the right fit for the door.
Step 2: Remove the Old Door Seal
Many times, the seal of the bottom of a garage door has screws in place, so before you can remove the existing seal, you need to remove the screws first. Unfortunately, the screws are usually short and hard to notice, so you must carefully observe the bottom.
Also, check if your garage door has a track because if it does not, it means there are nails used to keep the seals in place, which you must remove. Also, a door with a track makes it easier to pull out the older seal.
Step 3: Prepare your Door for New Seal
Once you take out the old seal, you need to prepare the door for a new one by cleaning and taking out debris or any excess material left on the door. This vital step prevents you from encountering problems installing the new seal.
Consider installing an aluminum track first because this makes it easier when removing or installing new door seals.
Step 4: Installing the New Seal
If your garage door is without a track, you will need a set of nails to hold the seal in place. Put the seal in position and nail it down at specific points so it is not loose and there is no space between the seal.
For a door with a track, observe the grooves along the track because this is where you will insert one end of the seal and slide it carefully across the whole track. Lubrication helps when sliding the new seal; you can use a silicone spray to achieve this.
Do not rush this process, and confirm that there is no part hanging down. Also, ensure that the seal follows the grooves at every point. Finally, you can ask a friend to assist you. This will prevent you from making a mistake while sliding.
-
Sale!
Mini Fingerprint USB Door Lock
Original price was: $27.99.$20.99Current price is: $20.99.Select options This product has multiple variants. The options may be chosen on the product page -
Sale!
Aluminum Alloy Stopper Sliding Door Lock
Original price was: $12.99.$9.99Current price is: $9.99.Select options This product has multiple variants. The options may be chosen on the product page -
Sale!
Button Push Furniture Door Lock
Original price was: $50.99.$38.99Current price is: $38.99.Select options This product has multiple variants. The options may be chosen on the product page

Step 5: Trimming
When you finish sliding the rubber seal to the end of the door, you should trim off any excesses using your utility knife and secure the edge of the seal with a small screw. Trimming the excesses helps your seal blend better with the door and gives it a clean look.
Follow these simple steps to secure your garage door and prevent any future water leaks.
Final Thoughts
Whenever you notice that water gets into your garage through the doors, you must first observe and confirm the cause of this leak so you can repair or replace it, as the case may be.
To avoid issues like this, consider possible preventive measures to help tackle issues. Here are some steps to consider.
- Using a good quality garage door
- Routine maintenance on your garage door
- Take account of your landscaping