How to Install Window Blinds? (Step-By-Step Tutorial)
It doesn’t look right to move into a new apartment only to discover that the window blinds are too old to be of any use. Well, if you like your interior space and want to enjoy some privacy, you need to install window blinds. Knowing how to fix outside mount blinds on molding or any other structure is a great step to begin with.
Window blinds protect the room from harsh sunlight and reduce your monthly energy bills. Before you allow that discouraging feeling, you may want to know that installing new blinds is that simple.
The idea of putting window guards to protect your room, your skin, and your eyes is a good one. However, you must make a wise selection when buying a new window cover or window insulation kit for your space. Here are ten easy steps on how to install window perfectly.
How to Install Window Blinds
Whether you want to know how to install blinds outside the window frame or inside your space, these 10 steps will guide you through.
Step 1: Choose the Position for Window Blinds
Choose and decide whether the blinds will be inside or outside the room. Window blinds mounted on frames usually look cleaner and better, so it is necessary to get precise measurements. On the other hand, fixing it outside will give room for any type of window covering inside.
Step 2: Pick the Proper Material and Design
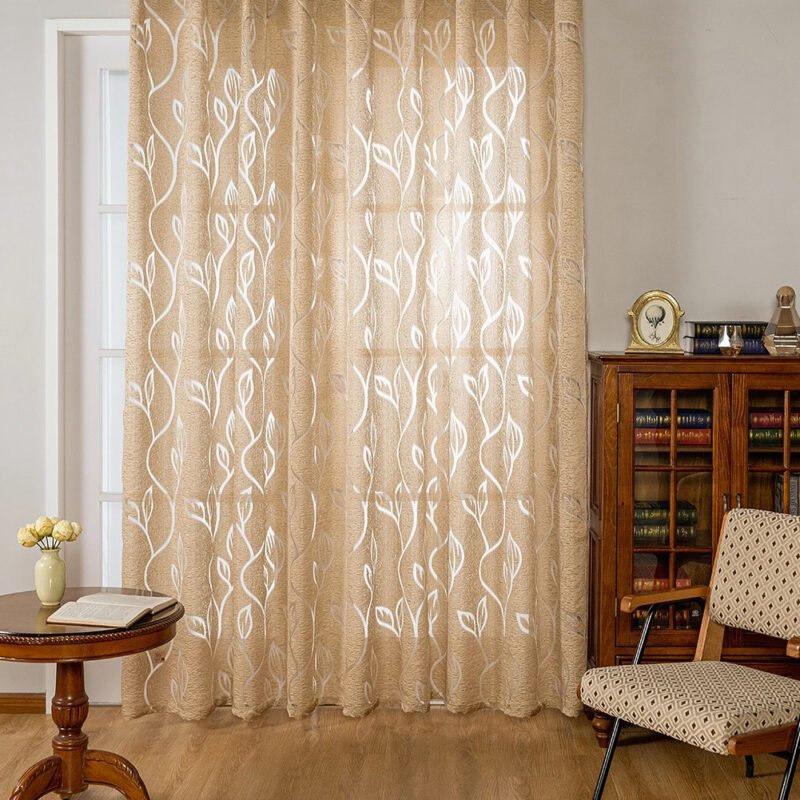
Unlike Shades that are fabric, window blinds come from hard materials such as vinyl and wood. Horizontal blinds come with slats, while vanes are part of the features of vertical window blinds. Both types of blinds can stand-alone or paired with matching curtains to give the design a cozy look.
Window blinds come at different prices to make them fit your budget. Window blinds made from wood are more expensive than those made of faux or vinyl although faux is more durable.
After selecting the material, the next thing is to choose how the blinds would open. The common types usually open and close by pulling the cords attached to the sides of it. Nowadays, most blinds function without the use of cords while some blinds operate with the use of remote control.
Step 3: Get the Windows Measurements
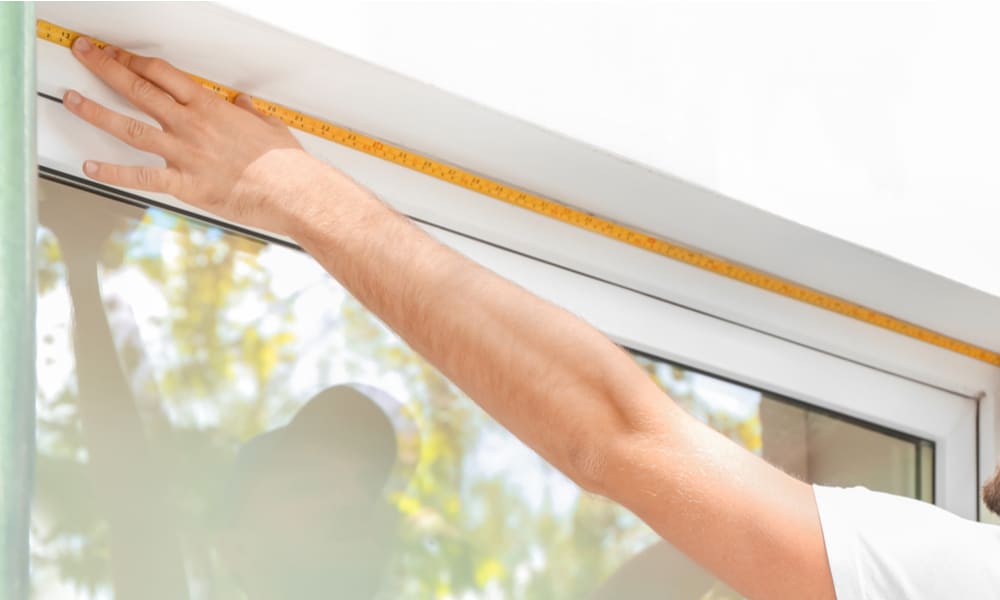
When the measurements of the window are correct, it is easier to get blinds will fit in perfectly. Use a good measuring tape to get the exact length and width of the window you want to cover.
-
Sale!

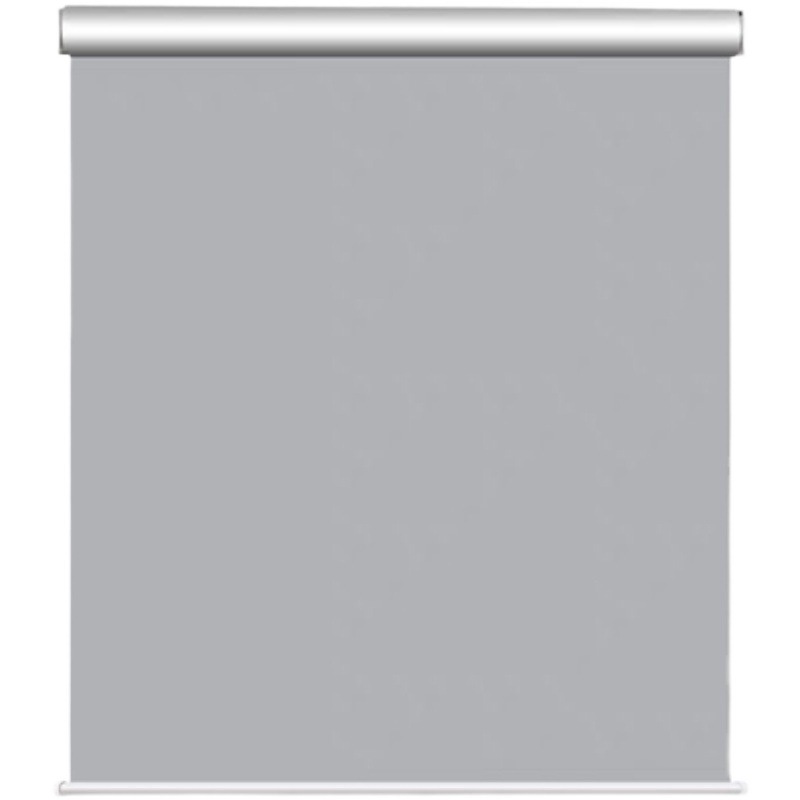
Universal Hook Up Nailfree Window Blinds
Original price was: $53.99.$40.99Current price is: $40.99.Select options This product has multiple variants. The options may be chosen on the product page -
Sale!
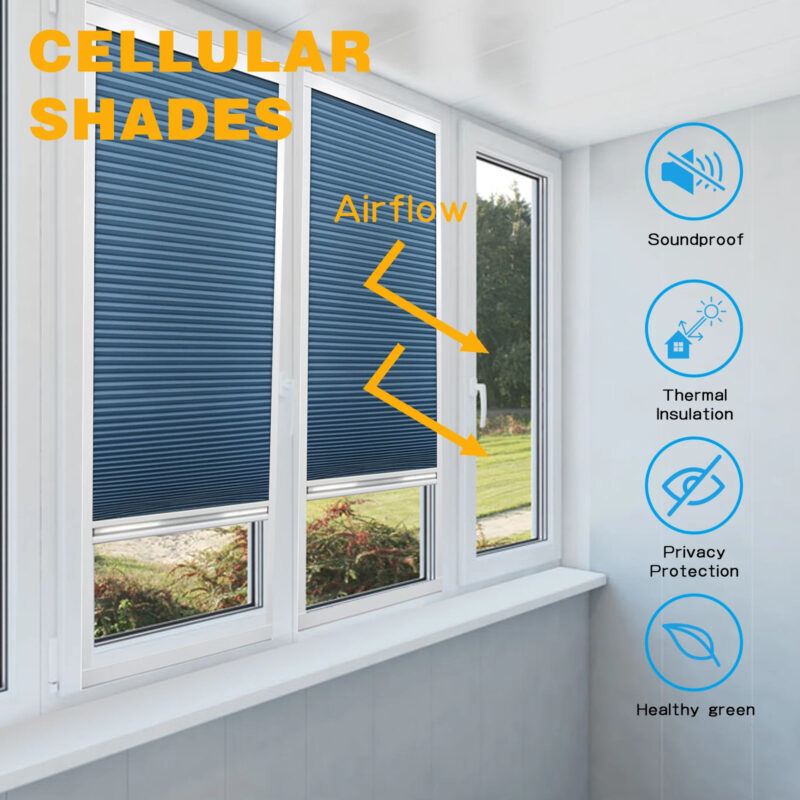
Cellular Honeycomb Fabric Window Blinds
Original price was: $166.99.$124.99Current price is: $124.99.Select options This product has multiple variants. The options may be chosen on the product page -
Sale!
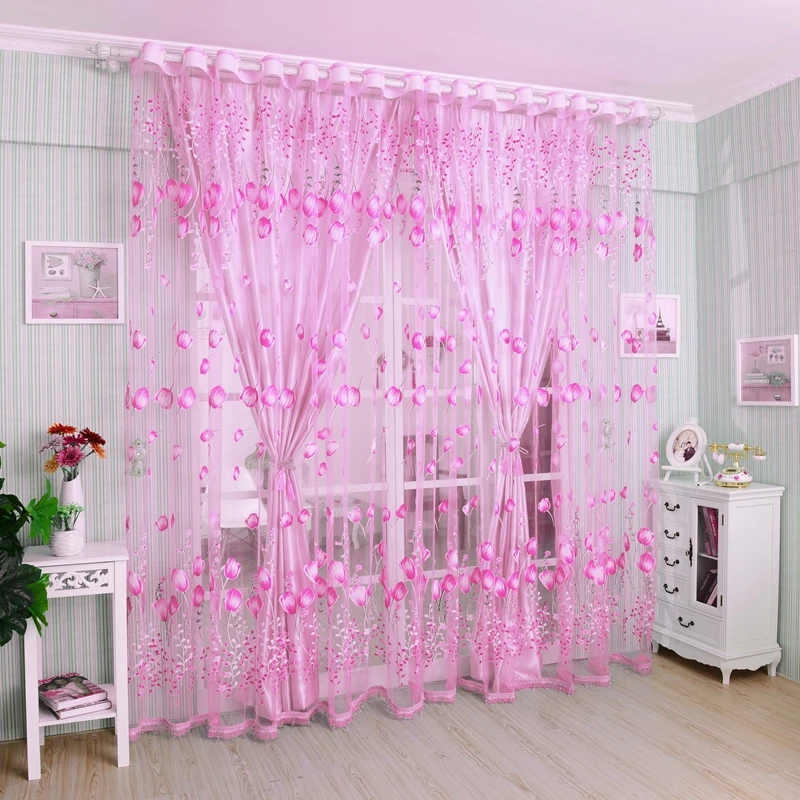
Creative Drape Modern Tulle Window Blinds
Original price was: $12.99.$9.99Current price is: $9.99.Select options This product has multiple variants. The options may be chosen on the product page
Window blinds can stay on the inside or outside of the window casing. So knowing how to install blinds on window casing will also be a good idea.
Blinds hanging on the inside of the window often look larger than normal. They look slimmer and have something attractive about them. Apart from that, inside blinds allow lights to shine through the edges more than blinds mounted outside the window.
Getting the right measurements are necessary to figure out how to install mini blinds inside mount or outside mount. Here are some measurement guides to put you through how to install window blinds.
- An easy way on how to measure for outside mount blinds is tomeasure around the window casing edges. Ensure to get the correct length by running the tape from top to bottom of the casing or sill, depending on which is available.
- Buy blinds that have the exact measurements of the window frame you measured. Check out different kinds of window blinds and choose any material of your choice and according to budget. If you want to install in your child’s room, make sure to cover it with lead-free paint.
Step 4: Make Pencils Marks for Blinds
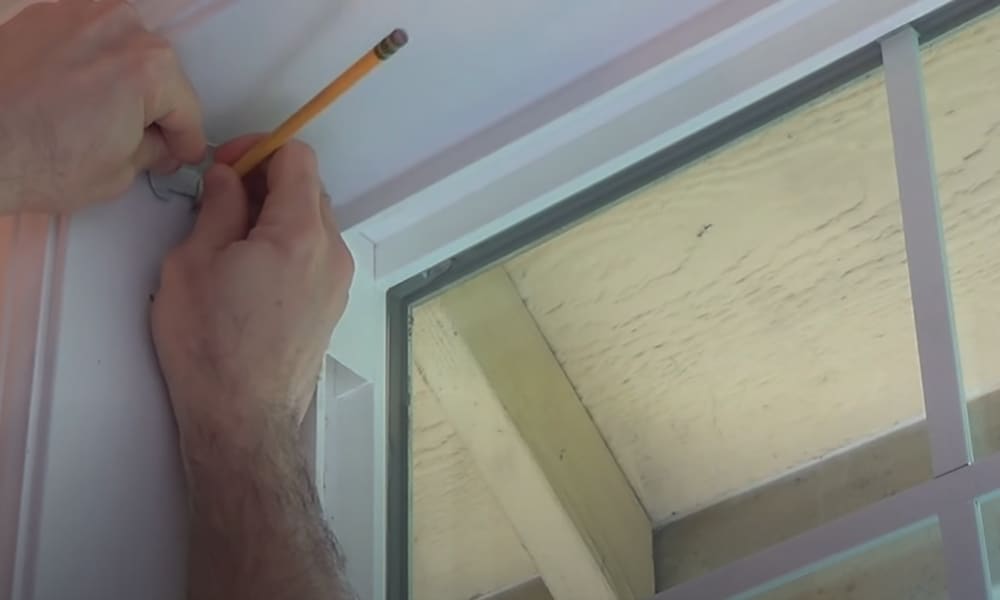
Arrange and check through the blinds to make sure that all the parts are intact. Read the manual and ensure to follow the instructions of the manufacturer. Get a pencil and mark where the brackets will enter. In addition to the manual, the following guide below will be useful.
- If you are mounting the blinds outside the window, hold the blind firmly and insert the top part into the rail. Make sure the blinds stand at the same level as the vertical slats on the window casing. Use a pencil to mark off one-quarter inch past the end of the top of each rail.
- For inside mount, put the top of the rail inside the window casing and ensure it is level. Even if it is the first time trying how to install window blinds, you can do it. Use a pencil to mark out places on each end of the rails.
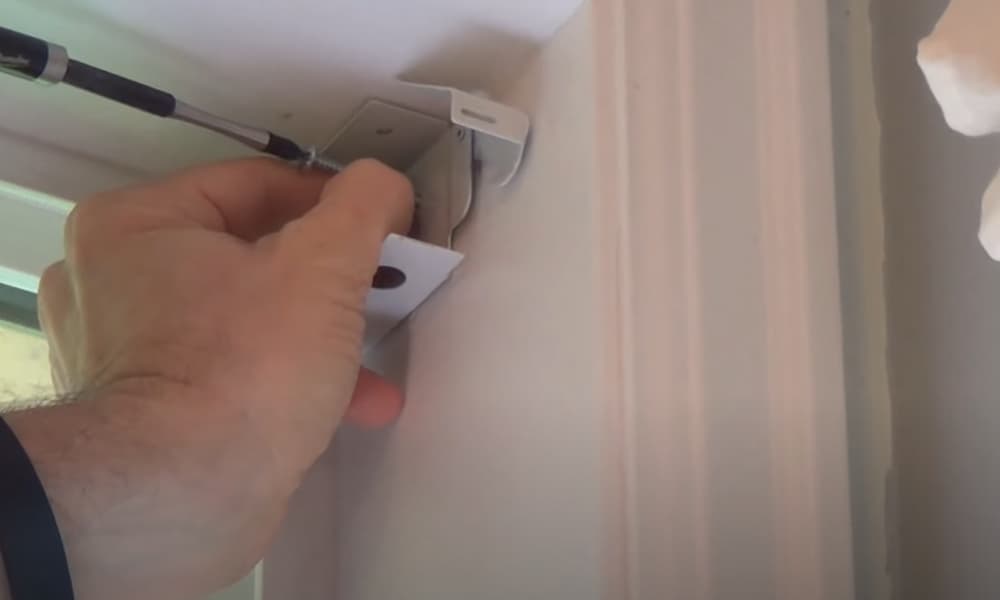
Step 5: Open and Hold the Brackets
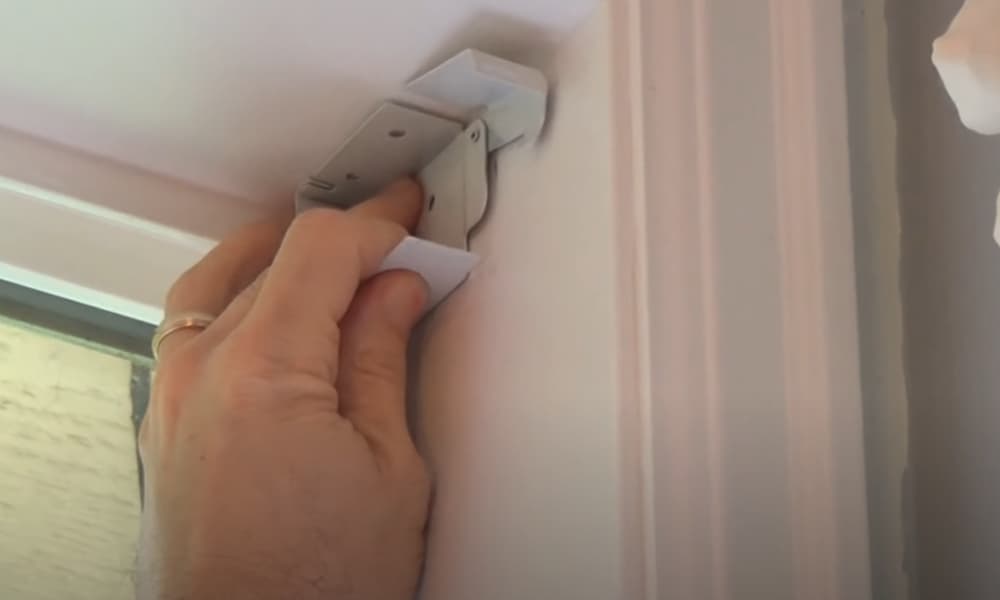
Open the door of the brackets and place them where the pencil marks are. Make one of the open sides of the brackets door to face the middle of the window. It should stand in such a way that it faces the inside of your space. Some brackets are tricky, so you may need the help of a screwdriver or your finger to get them open.
Step 6: Drill the Pilot Holes
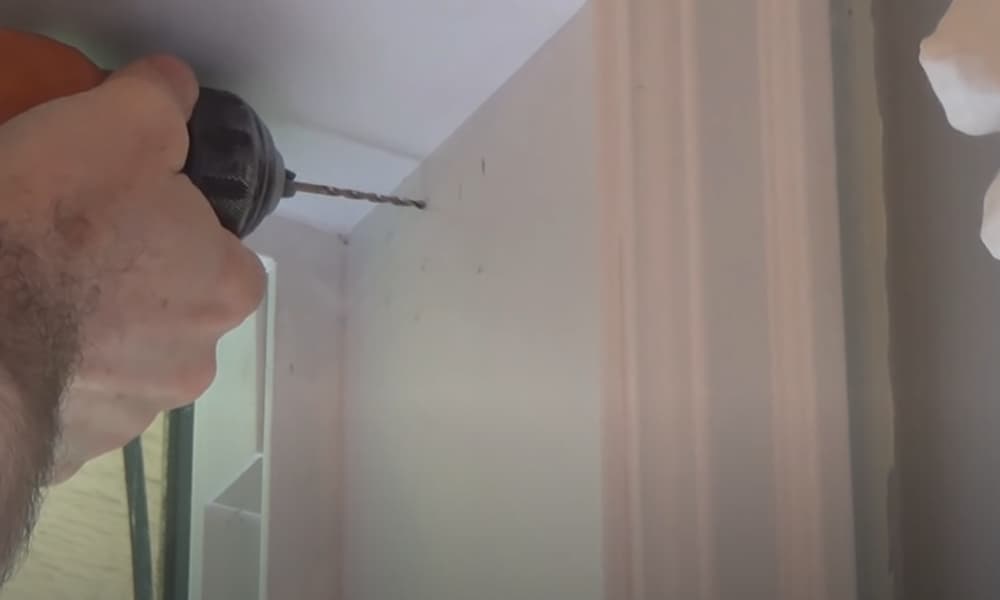
Before you start drilling, make sure you have the right drilling machine. A 3mm bit will do for the size of the holes you are creating.
Use a pencil to indicate the spots where you will drill two pilot holes. The task is to drill two diagonal holes to make the brackets fit in strong and firm inside the holes.
-
Sale!
Party Wedding Sequence Backdrop Sequin Window Curtains
Original price was: $30.99.$23.99Current price is: $23.99.Select options This product has multiple variants. The options may be chosen on the product page -
Sale!
Jacquard Leaf Designer Window Curtains
Original price was: $77.99.$58.99Current price is: $58.99.Select options This product has multiple variants. The options may be chosen on the product page -
Sale!
Star Blackout Partition Window Curtains With Gauze
Original price was: $41.99.$30.99Current price is: $30.99.Select options This product has multiple variants. The options may be chosen on the product page

If you are going to mount the blinds outside the window, place the brackets on the window casing. But inside mount requires putting the brackets inside the top corner sides of the window. Do not forget to wear safety goggles to prevent chips from flying into your eyes.
Step 7: Make Holes for the Brackets Screws
The bracket kit often comes with screws, and each bracket has two screws each. Use a 1/16-inch bit to drill the hole for the screws.
Since the holes are for screws, make the holes smaller than the screws. This measure will enable the screws to secure the brackets and keep them in place firmly. If you are making holes in drywall, concrete, brick, or plastic, use specified plugs and anchors.
Step 8: Attach the Valance Clips
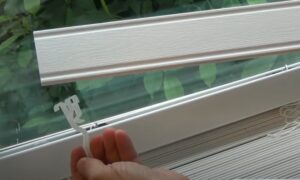
Valance clips usually help to clip the headrail in place. They cover the headrail, giving it a decorative and more appealing look. Create about 18-24 inches of space between the valance clips. Snap the clips in place above the lip of the railhead before inserting it into the brackets.
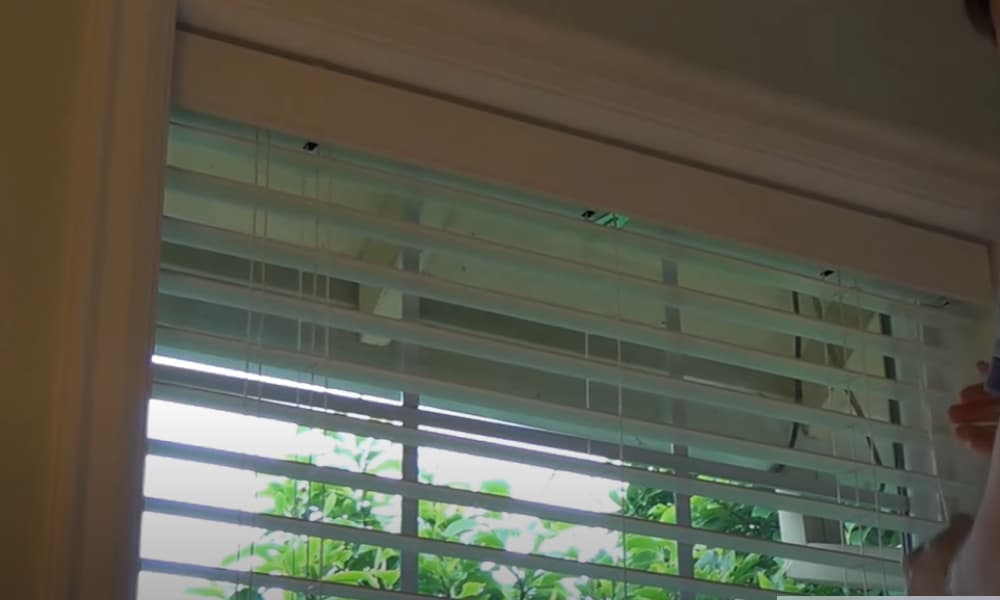
Step 9: Insert the Head of the Rail

When drilling is over, open the brackets door wide open and then fix the headrail in the brackets. Close the bracket doors once you put the head of the rail in the right place. The action should make a sound to indicate that it snapped into place.
Set the valance in the position you want it to be. Make it rest on the valance clips and then gently press with your hands. Hold it steadily, to allow the valance clips snap into position. Ensure you don’t trap the slat in the brackets and carefully move the headrail in the center of the brackets.
Step 10: Fasten the Blinds Wand
-
Sale!
Stained Static Cling Window Film Privacy Appliedsative Bathroom Shower Door
Original price was: $20.99.$15.99Current price is: $15.99.Select options This product has multiple variants. The options may be chosen on the product page -
Sale!
One Way Mirror Anti UV Window Film Privacy for Home Office Living Room
Original price was: $21.99.$16.99Current price is: $16.99.Select options This product has multiple variants. The options may be chosen on the product page -
Sale!
Opaque Frosted Glass Window Privacy Film Stickers for Home
Original price was: $10.99.$8.99Current price is: $8.99.Select options This product has multiple variants. The options may be chosen on the product page


Some blinds come with wands used for opening and closing the window blinds. But if it doesn’t have, find a way to attach it by pushing the plastic hook up. Hang the end of the wand on the S-hook and then pull down the sleeve or plastic covering over the tilt mechanism.
Wrap Up
Window blinds protect the interior space from harmful ultra-violet rays. When they are old or broken, it is necessary to figure out how to install window blinds. The procedures are simple and can take a short time that even a novice can fix.
If you find your blinds broken or not in good shape, follow these steps to replace them with a new one.
- Decide whether your blind should be inside or outside
- Choose a suitable blind material
- Get the right measurement before heading to the store
- Drill holes for brackets and screws
- Snap valance clips and insert railhead
- Fix the blinds wand in place
As you can see, the steps are simple and easy to follow. But if you have questions, feel free to use the comment section below. Also, share your experience, and let’s learn something new.