How to Install Door Trim? (Step-By-Step Tutorial)
Installing interior door trim will give your room an elegant look that will spice up your interior decoration. But before you can get a neat trim, you will need follow step by step to help get it done perfectly.
As a homeowner, it will be best you know how to trim a door opening so that you can save some money for other purposes. Also, if you learn the installation process, you can as well replace any wear out trims after years of use. That way, you keep the door trim in top shape at all time.
Surprisingly, swapping a worn-out trim for a fresh one does not require much work. Besides, you do not need to ring up a local carpenter. If you don’t know how to install door trim, this post will guide you on how to carry the installation process with ease.
Required Tools for Installing a Door Trim
- Five pieces of door casing
- Finish nails
- Paintable latex caulk (white)
- Miter box or power miter saw
- Hammer and nail set or power finish nailer
- Bar clamps
- Caulking gun
- Tape measure
- Pencil
Step by Step Guide on How to Install A Door Trim in Your Home
Step 1: Get the Measurement of the Opening Width
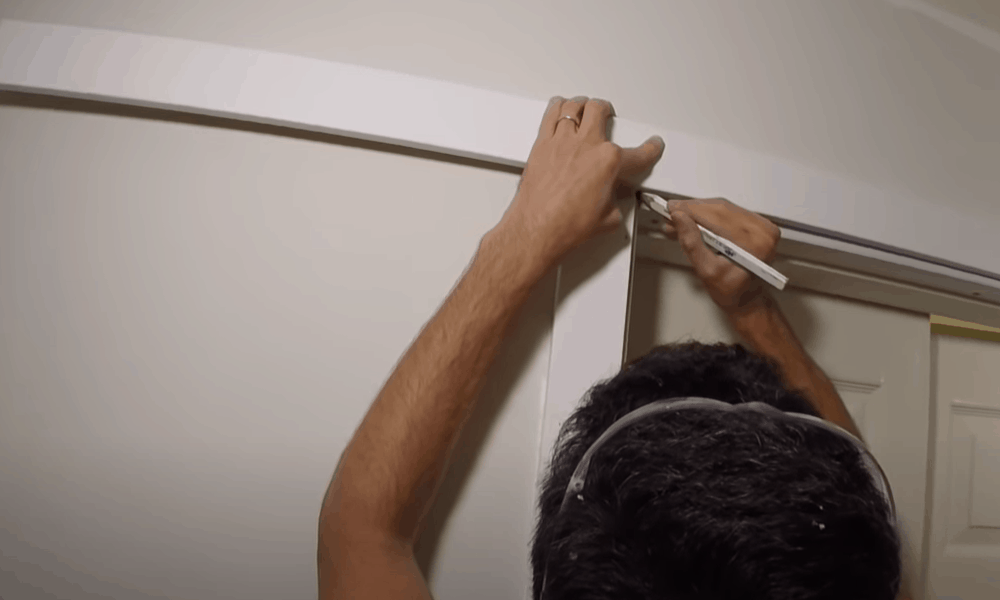
If you want to know how to install door trim, you can start by taking the measurements of the opening width. To do this, head to the top of the door opening and measure the width.
After getting the size, add 3/8″inch to your answer. This step helps place a 3/16″ reveal around the frame of the door. Even if experts recommend this reveal as a perfect choice, you can choose another one that meets your door requirements.
But if you want an accurate measurement, adjust a compass to 3/16″. Then use the pencil to make a line around the door jamb.
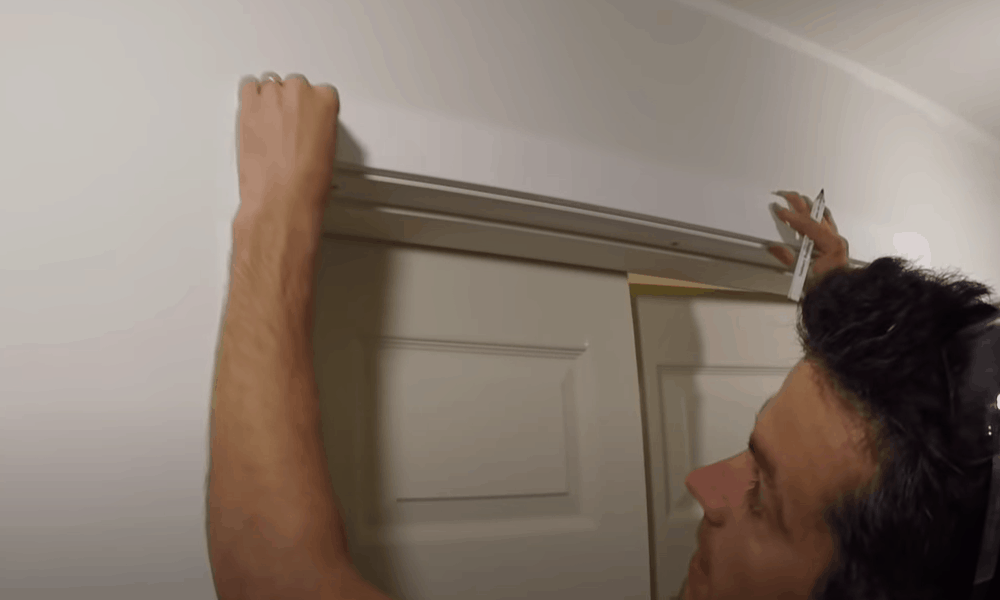
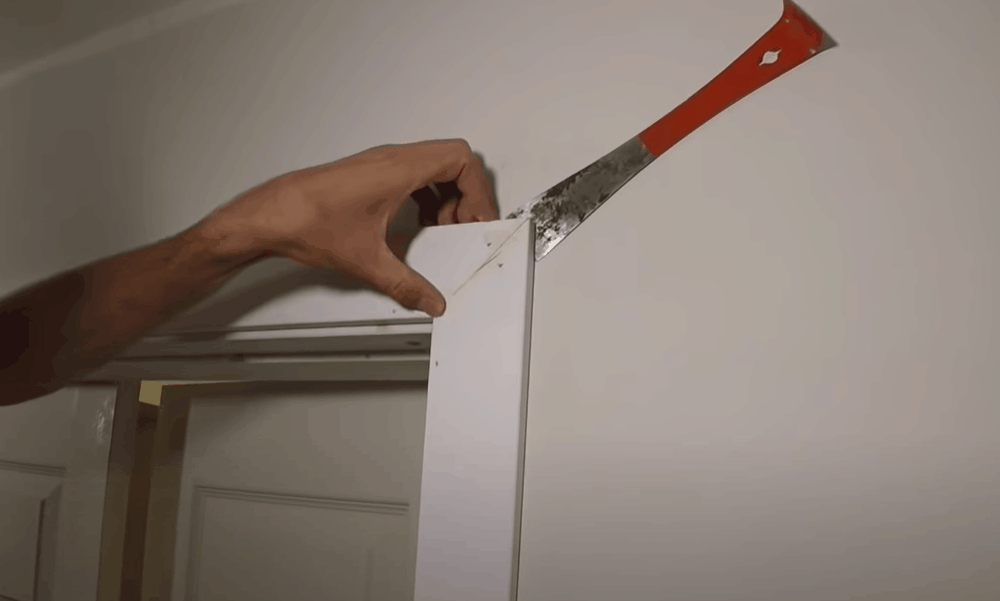
Step 2: Slice Off the Top Door Casing
Few people use this method, but it works. Start working from the upper part of the trim. This tip helps you get the proper fit and perfect edges.
When learning how to trim a cased opening, you will discover that the upper end of the door has a 45-degree cut on both ends. As for the bottom part, it is the size that you got from the measurements made in the first step. If you have a width of 28″, you will cut at the at 28-3/8″.
Trim one edge of the casing stock until it has a 45-degree angle. At this point, there is no need to take measurements. Simply cut the side of the piece to prevent any wastage.
Now measure from the lower part of the 45-degree cut and mark out the length of the top (in this case, 28-3/8″). Since you can’t connect the end of your tape measure to the miter, you will have to take some precautions. Hold the tape in place or work with drywall. Since the mark will be outside, so cut with extreme care.
-
Sale!

Swing Stop Bottom Adjustable Roller Flooring Barn Door Hardware
Original price was: $44.99.$33.99Current price is: $33.99. -
Sale!

Low Noise Floor Guide Adjustable Length Barn Door Hardware
Original price was: $15.99.$11.99Current price is: $11.99.Select options This product has multiple variants. The options may be chosen on the product page -
Sale!

Antique Big Rollers Steel Sliding Barn Door Hardware
Original price was: $187.99.$140.99Current price is: $140.99.


When learning how to trim a door opening, you will need a manual miter box for your cutting needs. After all, this incredible tool makes accurate cuts without littering the room with sawdust. You can also keep the space clean by using a plastic sheet to catch any debris. Besides, the miter box does a perfect job of creating cuts.
Ensure the door casing is set with the back down while the thick end of the trim stays against the fence. Also, secure the casing to the miter box by using small clamps. You should also use one hand to hold the control the saw while the other keeps the miter box in position. Alternatively, you can hold the miter box down with the clamp of a work table.
On the other side of the door, repeat the steps mentioned above. To get a perfect size, use the first top piece that you worked on previously – as a guide.
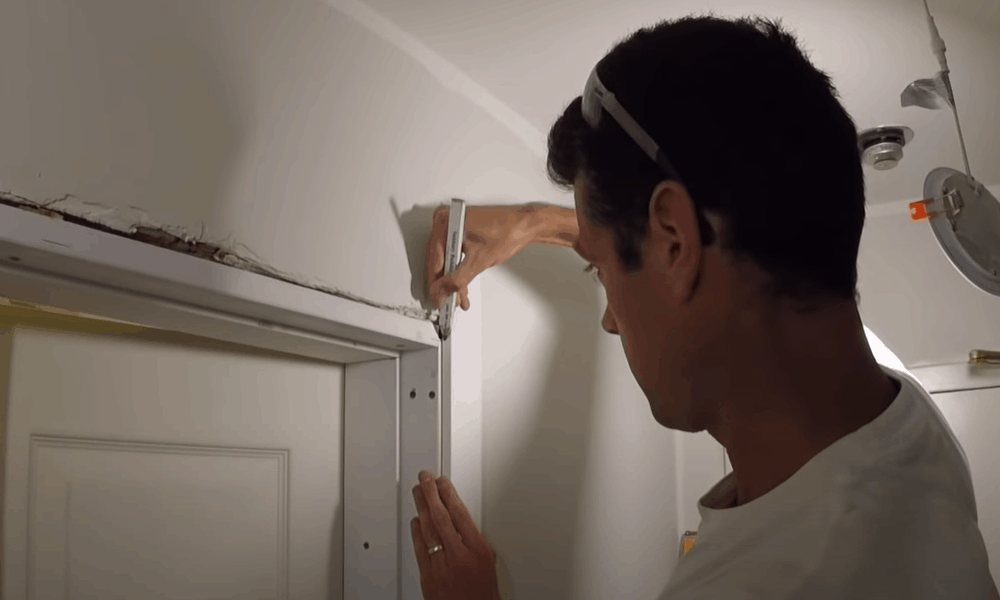
Step 3: Dry Fit the Upper Trim
After adjusting the size of the top trim, check if it fits. Then allow a 3/16″ space from the base of the door to provide a reveal and position it above the opening. Luckily, there’s no need for accurate measurement. So just look at it carefully and secure it temporarily with a 6″ clamp.
When you dry-fit the trim, its normal to find uneven surfaces along the drywall edges. If you meet such high spots, smoothen them with sandpaper or trim down to make the trim get a proper fit.
Step 4: Work on the Side Trim
If you work on the side trim, you should not bother about taking measurements. Instead, pick a long piece of trim and turn it so that the back facing you. Also, the thick part of the flipped trim rests against the upper trim while the lower part goes to the floor.
Now set the long trim piece square with the upper trim. Use your pencil to mark the point where the free trim touches the upper part of the top one.
Move the mark to the front part. To avoid any errors, you should also mark out the path that the miter will pass through. After taking these steps, you can create the cut.
-
Sale!
Window Cabinet Drawer Handles Self-adhesive Door Knobs
Original price was: $12.99.$9.99Current price is: $9.99.Select options This product has multiple variants. The options may be chosen on the product page -
Sale!
Upscale Sliding Door Knob With Double-sided Tape for Kitchen Door Wardrobe
Original price was: $12.99.$9.99Current price is: $9.99.Select options This product has multiple variants. The options may be chosen on the product page -
Sale!
Round Stainless Steel Door Knobs for Drawer Cabinet Kitchen Cupboard
Original price was: $12.99.$9.99Current price is: $9.99.Select options This product has multiple variants. The options may be chosen on the product page


Test fit the side trim. Now you can start making more precise adjustments to the top and side so the miter is tight and everything is lining up with a proper reveal. Once you get it positioned, clamp the side trim in place.
Perform a test with the side trim. If it does not fit, make required adjustments on the top and bottom sides until the miter rests entirely. Then keep the team in place and hold it down with a clamp. Now repeat these steps on the other part of the trim.
Step 6: Fix the Door Casing

Prepare three pieces of door casing by cutting them down to size. Also, smoothen out the edges as this provides a perfect fit and reveal. Now secure the pieces with a clamp and start nailing.
You can use a nail gun for this part of the project. But if you don’t have one, using a nail hammer is a great alternative on how to install door trim without nail gun, since the clamp keeps everything in place. Then, drive the nail head into the trim by using a nail set.
For the inner part of the trim, choose 18-gauge finish nails or the 5d type – especially if you don’t use a nail gun. When you get to the thicker exterior side of the trim, fix it to the wall framing with 16-gauge nails.
When you are through, use the above steps to trim out the opposite side of the wall.
Step 7: Seal and Paint the Edges
Now it’s time to add some finishing touches. You can start by applying some latex caulk that you can paint over. This material should stay at the point where the trim and door meet.
If you could not get a tight fit with your miters, seal up every gap, and nails holes. As soon as the caulk becomes dry, get ready to paint the seal.
-
Sale!
Semicircular Cartoon Welcome Entrance Door Mat
Original price was: $12.99.$9.99Current price is: $9.99.Select options This product has multiple variants. The options may be chosen on the product page -
Sale!
Anti-skid Water Absorption Bathroom Door Mat
Original price was: $12.99.$9.99Current price is: $9.99.Select options This product has multiple variants. The options may be chosen on the product page -
Sale!
Classic Friends Welcome Rubber Carpet Door Mat
Original price was: $12.99.$9.99Current price is: $9.99.Select options This product has multiple variants. The options may be chosen on the product page


Asides using the regular interior door trim kits, you will need some primer and paint for this part. If you want to try out interior door trim styles with the natural wood look, swap the paint for a staining product. Before applying any paint, coat the wood in oil or latex-based primer.
Conclusion
Learning how to install a trim is an easy way to upgrade the look of your home. Besides, it is cheaper than calling a professional that offers high charges. Although we didn’t show you how to install door trim with uneven walls, this article would guide you with working with regular trims.
If you are interested in finding how to make door trim, get the right tools and materials. Then use them to perform the following tasks.
- Measure the width of the opening
- Cut out part of the upper door casing
- Dry fit the upper trim
- Cut the side trim and hold it secure
- Hold the door casing in position and nail it tight
- Seal all holes and corners with caulk and paint the seal.
If you have any questions and comments, please feel free to share them in the space below.