How to Hang a Door? (Step-By-Step Tutorial)
Whether you’re building your home, or just adjusting your doors after new carpets, hanging a door is a handy skill. But if you’ve never done it before, it can be daunting. After all, doors are big and heavy, and damaging one can be expensive.
But don’t be deterred! Here, we’ll talk you through how to hang a door step by step. And when we’ve finished, you’ll be ready to tackle this task for yourself.
So what do you need to get started?
Tools for hanging a door
- Spirit level
- Tape measure
- Shims
- Pencil
- Circular saw with 80-tooth blade
- Rafter square
- 5 wooden blocks, 4 to 5 inches long
- 18-gauge 2-inch brads
- 18-gauge brad nailer
- Planer
- 15-gauge 2-inch nails
- Hammer
- Screwdriver
- 5-inch construction screws (look for some the same color as your door hinge)
How to hang a door
Step 1: Make sure your door is the right size
Start by measuring the space for your door to make sure it will fit. You’ll need three measurements: the height, the width at the bottom, and the width at the top.
You’ll also need to check the sides, particularly if this is the first time a door has gone into the space. They don’t need to be exactly plumb. They do, though, need to be near enough for the door to have room to open and close.
If your sides are out of plumb, then you’ll need to take that into account in the measurements. Deduct the distance the walls are out from the width of the opening. That’s the maximum width for your door.
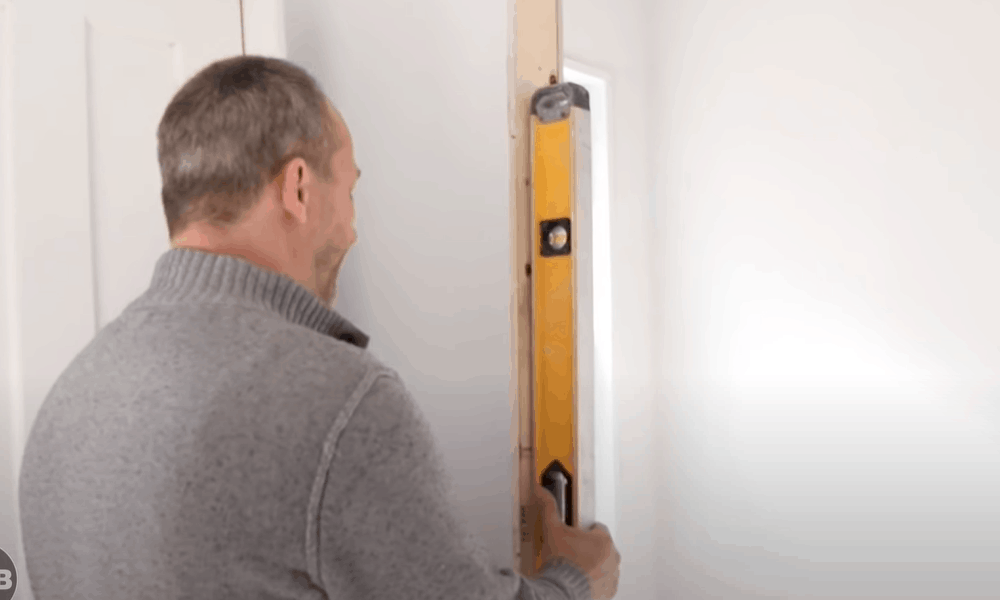
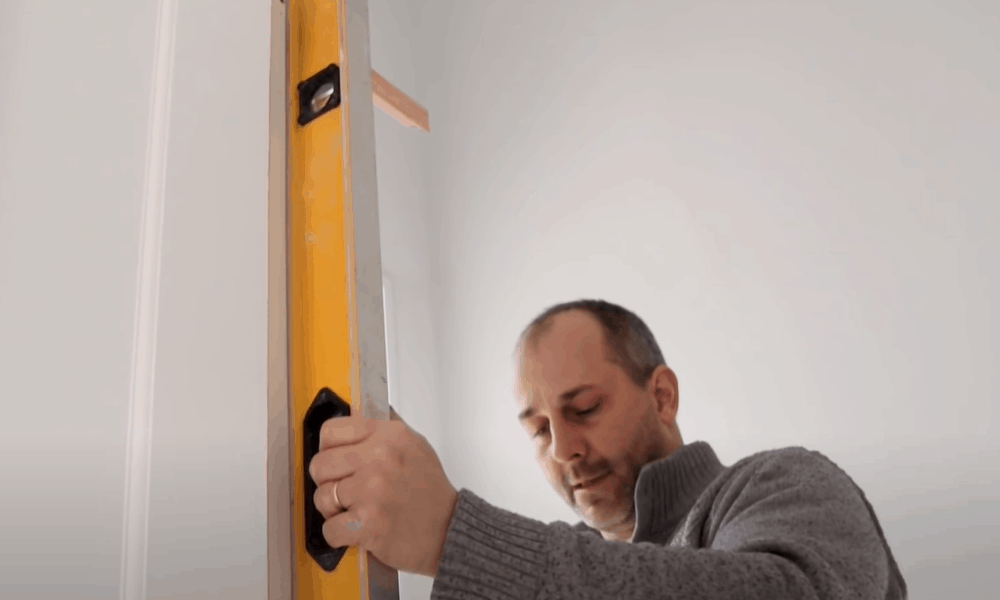
Step 2: Get the floor level
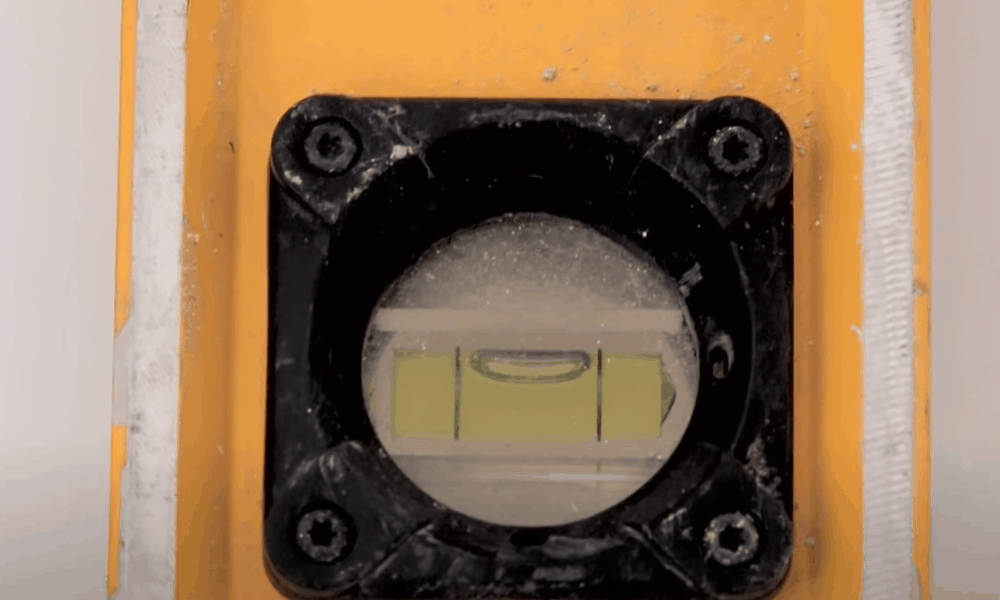
Now take your spirit level again and check that the floor is level. If it isn’t, and if the floor is finished, you’ll need to trim one of the door jambs.
To do this, use shims to position your spirit level so that it’s completely level. With a pencil, mark the shim at the point where the gap is biggest. Then measure the thickness of the shim at that point. This measurement is the amount you’ll need to cut off the door jamb at the opposite side.
Now use your circular saw to trim the door jamb. Take care to cut the side that will rest on the highest part of the floor.
Pro tip: Use a rafter square to help keep your saw straight and steady as you cut.
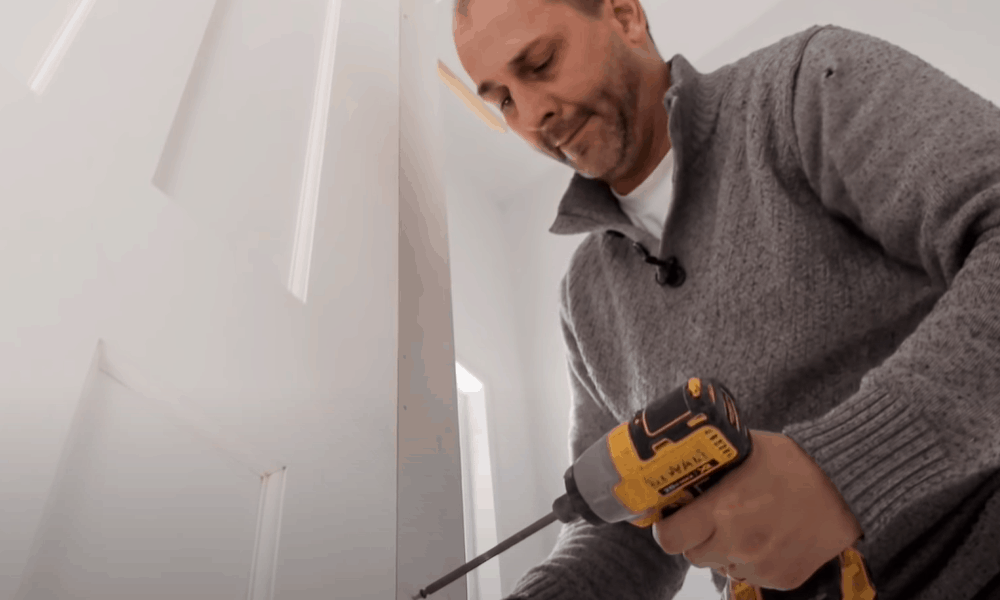
Step 3: Add blocks of wood to the door jambs
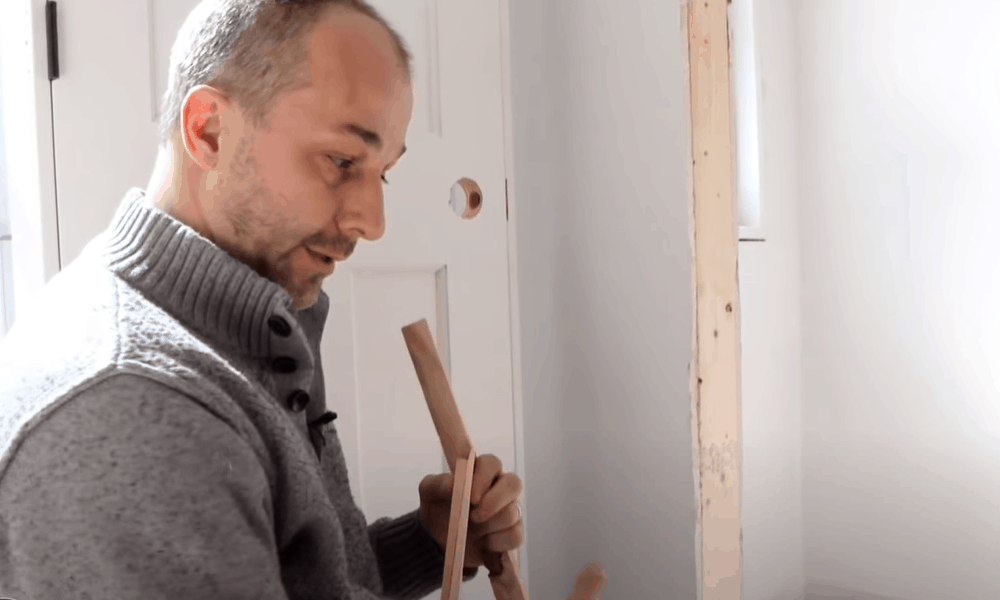
Temporary wooden blocks are a good way of making sure the door stays flush with the wall as you work. You’ll want your blocks to be about four to five inches square, and about half an inch deep.
Attach them to the door jambs using an 18-gauge brad nailer. Don’t worry – you won’t see the nail holes when everything is finished.
You want three blocks on the side of the door with the latch, at the top, middle and bottom. Attach two to the other side, at the top and bottom. Make sure they’re not too close to the hinges.
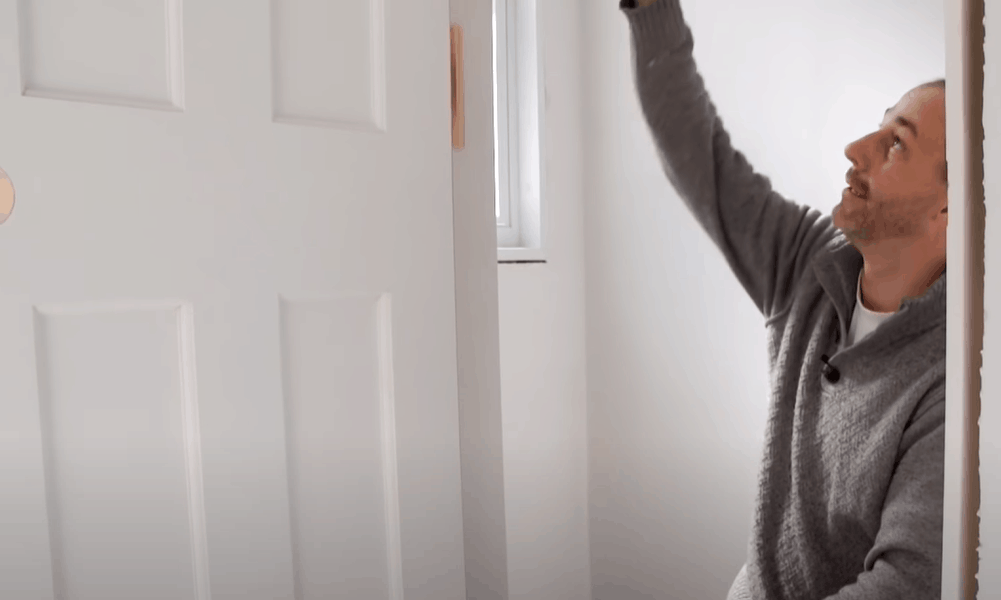
Step 4: Position your door at the right height
You now need to make sure your door is positioned at the right height. If you’re going to be laying new carpet, you’ll need to leave space for it under the door jambs.
-
Sale!

Smart Roller Blackout Window Blinds
Original price was: $33.99.$25.99Current price is: $25.99.Select options This product has multiple variants. The options may be chosen on the product page -
Sale!
Universal Hook Up Nailfree Window Blinds
Original price was: $53.99.$40.99Current price is: $40.99.Select options This product has multiple variants. The options may be chosen on the product page -
Sale!
Cellular Honeycomb Fabric Window Blinds
Original price was: $166.99.$124.99Current price is: $124.99.Select options This product has multiple variants. The options may be chosen on the product page
The precise measurement will depend on the thickness of your carpet and underlay. Between 3/8ths and 5/8ths of an inch is usually about right. If it’s possible, you can avoid any question marks over whether you’ve left enough room by laying the carpet first.
Cut wooden blocks to the correct height and rest the door jambs on top of them. Use your spirit level to make sure it’s straight.
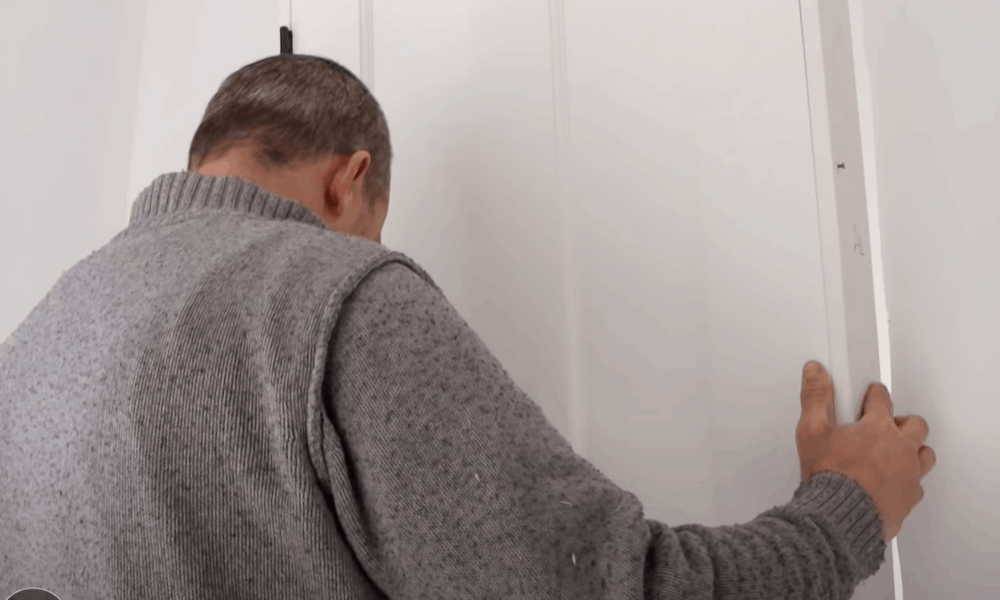
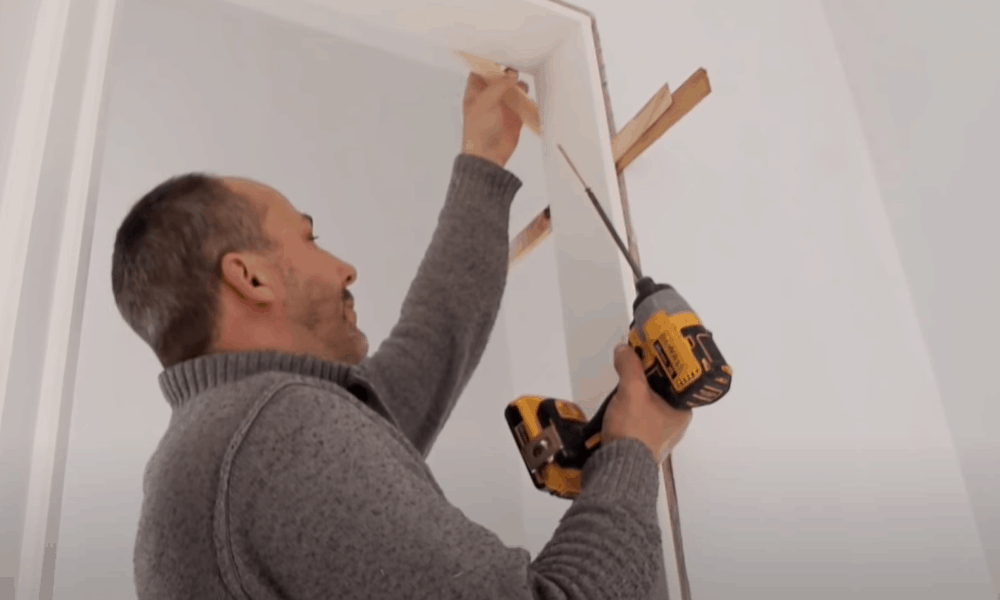
Step 5: Hold the door steady
It’s now time to attach the wooden blocks on the sides of the door to the wall.
Place the door in the middle of the space and check there’s an even gap on every side. (Make sure the jambs are still resting on the blocks, so it’s still the right height.) If the door jambs were cut correctly earlier, everything should be even.
If that’s not the case, don’t worry. Mark the sections that aren’t right and cut or plane the door as necessary by using any type of planer like a block plane.
Use your spirit level to check again that the hinge side of the door is plumb. If it is, you can now attach the blocks to the wall. Hammer two 2-inch, 15-gauge nails through each block on the hinge side, and into the wall.
Check the gap is still even, then do the same for the blocks on the latch side.
Step 6: Make sure the door will shut
Now your door is held in place, it’s time to make sure it will close properly.
Take out the plug that holds the door slab in place. Now open and close the door. Watch carefully as you do so. You’re checking that the side of the door hits the door stop at the same point all along its length.
If one part of the door is hitting the door stop first, you’ll need to adjust the door jamb again. Move the top or bottom of the jamb nearer or further from the door stop until the problem is solved.
Step 7: Place shims behind the hinges
Unscrew and remove the middle screw from each hinge. Now put a shim behind the hole.
When there’s a shim behind each hinge, check that the door jamb is still perpendicular to the wall. If it isn’t, adjust the shims as necessary. Then check that the door jambs are still flush with the wall.
-
Sale!
Romantic Lace Sheer Partition Window Curtains
Original price was: $28.99.$21.99Current price is: $21.99.Select options This product has multiple variants. The options may be chosen on the product page -
Sale!
Party Wedding Sequence Backdrop Sequin Window Curtains
Original price was: $30.99.$23.99Current price is: $23.99.Select options This product has multiple variants. The options may be chosen on the product page -
Sale!
Jacquard Leaf Designer Window Curtains
Original price was: $77.99.$58.99Current price is: $58.99.Select options This product has multiple variants. The options may be chosen on the product page

Check that the gap between the door slab and jambs is still even. And double check that the gap between the door stop and the slab is even too. If you find that gap is bigger than 3/8ths of an inch, only correct the door jamb for half the gap. You can correct the other half on the other door jamb.
When everything’s lined up, secure the shims using three 2-inch, 15-gauge nails
Pro tip: It’s possible to avoid the nailing by using shims with a self-adhesive strip. Just make sure the glue isn’t too strong, or it will be impossible to adjust the position if necessary.
Step 8: Screw in the hinges
Start with the hinge plate at the top of the door. Insert a screw into the hole nearest the bottom of the plate and tighten it up. Now do the same with the lowest hole on the hinge plate at the bottom of the door. Finally, go back and add the screw to the top hole of the topmost hinge plate.
Open and close the door to check that it doesn’t catch on the frame. If it does, you’ll need to adjust the shims.
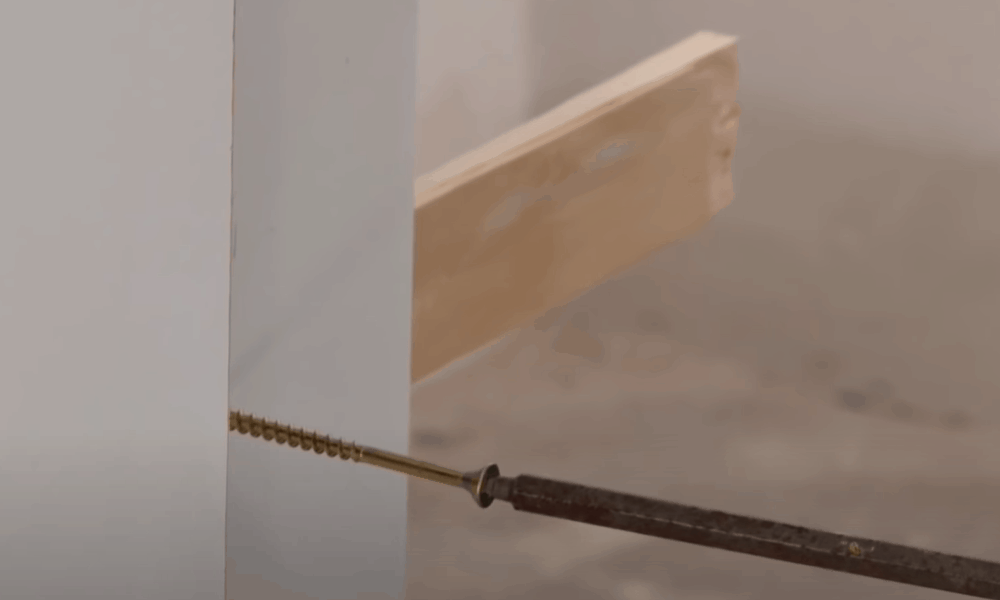
Now finish screwing in the hinges, ensuring that each screw penetrates the frame by at least an inch.
Pro tip: Replace one of the factory screws in each hinge with a longer construction screw for security. The length of screw you’ll need depends on the gap between the door jamb and the frame. If you have a 0.5-inch gap, for example, using 2.5-inch screws will keep everything firmly in place.
Don’t use screws designed for drywall here. They won’t be strong enough to cope with the wear and tear of a regularly opening door.
Step 9: Fix the latch side of the door in place
You’ll need two more shims for this. Insert one four inches up from the bottom of the door. The second goes four inches down from the top. Nail them into place.
To prevent damage from doors slamming in high winds, it’s a good idea to reinforce the latch plate. To do that, drill and countersink a hole in the top corner of the space for the latch plate. Make sure the hole is positioned well away from where the screws will go.
Use this hole to insert a long construction screw behind the latch plate. That will help to keep it secure, even if the door is slammed hard.
Don’t try to replace the screws in the latch plate holes with longer versions, though. The position of the holes is too close to the edge of the door. If you try this, you’ll probably split the wood.
Step 10: Remove the blocks and finish

Now your door is securely in place and opening and closing smoothly. Congratulations!
The final step is to remove the wooden blocks you used to hold it in place. Take out the nails and cover any visible holes in the wall with filler. The holes in the door jamb will be covered by the casing.
Extra tips
If you don’t have a planer, it’s possible to make small adjustments to your door using sandpaper.
Our guide assumes that hinge plates and hinge rebates are already in place. If they’re not, you’ll need to make the rebates using a chisel.
-
Sale!
Stained Halloween Crow Colored Glass PVC Window Film Privacy Stickers
Original price was: $16.99.$12.99Current price is: $12.99.Select options This product has multiple variants. The options may be chosen on the product page -
Sale!
Stained Static Cling Window Film Privacy Appliedsative Bathroom Shower Door
Original price was: $20.99.$15.99Current price is: $15.99.Select options This product has multiple variants. The options may be chosen on the product page -
Sale!
One Way Mirror Anti UV Window Film Privacy for Home Office Living Room
Original price was: $21.99.$16.99Current price is: $16.99.Select options This product has multiple variants. The options may be chosen on the product page


With the door in the right position, mark the place for the hinges. Then draw around the hinge plates with a pencil. Chisel out the wood to the same depth as the plate.
Finally, put the hinge plates back into position and drill some pilot holes. Finally, add the screws that fix the plate to the door.
Ready to hang your door?
There you have it – everything you need to know about how to hang a door! We hope you’ve enjoyed our guide, and that you’re feeling inspired to give this a try yourself.
Using wooden blocks to hold the door in position makes this a far easier job for one person. Just be prepared to spend some time fine tuning the position of shims to get a perfect finish.
If you’ve already hung your own door, we’d love to hear how it went! Please drop us a line and share your hints and tips.