How to Fix Gap between Door and Frame? (Step-By-Step Tutorial)

What happens when there is a gap between a door and its frame? The first issue that you’ll notice is that the door won’t close snug and tight. It will let cool air out during the scorching summer days and the cold air in during the frigid days of winter. Your home’s heating and cooling efficiency will also suffer.
However, if you know how to fix gap between door and frame, you’d never have to face the issues mentioned in the previous paragraph. It is quick and easy to do, as shown in this video, and won’t take more than a few hours off of your busy routine
What you’ll need to fix the gap between the door and frame?
Here’s a list of all the tools and equipment you’ll need to seal your door
- Screwdriver
- Wood plugs (optional)
- Weatherstripping
- Damp rag
- Paint scraper
- Measuring tape
- A pair of scissors
- Hammer and 1 ½’’ nails
- Vinyl or metal door sweep
Step-by-Step Guide for fixing the gap between the door and frame
Follow these steps to fix the gap:
Step 1: Tighten the door hinges
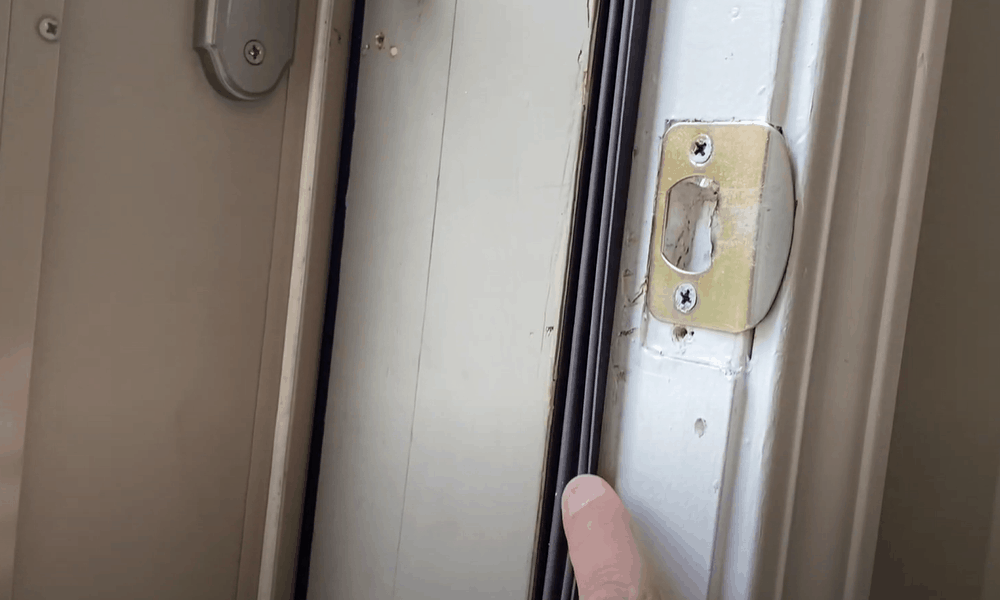
Check whether the door is loose by lifting it by the doorknob. If you can move it upward with little effort, use a screwdriver to tighten its hinges. That’s because, in some cases, the gap between the door and its frame exists only due to loose hinges.
If you notice that the screws are spinning without tightening the hinges, it means that the wood in the hole is hollowed out. You’d then need to buy wider or longer screws that can dig into that portion of the wood that isn’t stripped out.
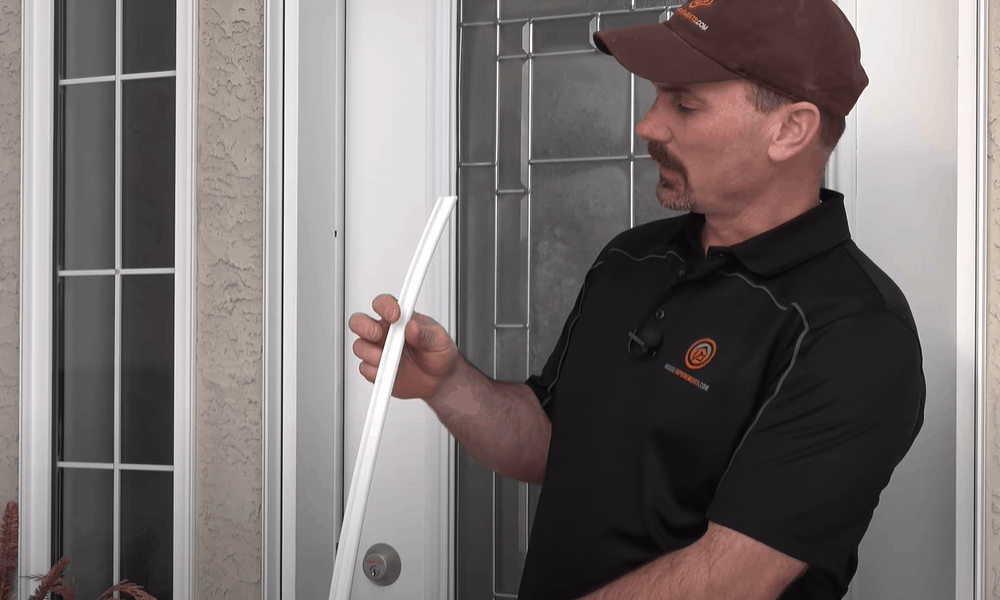
Step 2: Remove and replace old weather stripping

-
Sale!

Swing Stop Bottom Adjustable Roller Flooring Barn Door Hardware
Original price was: $44.99.$33.99Current price is: $33.99. -
Sale!

Low Noise Floor Guide Adjustable Length Barn Door Hardware
Original price was: $15.99.$11.99Current price is: $11.99.Select options This product has multiple variants. The options may be chosen on the product page -
Sale!

Antique Big Rollers Steel Sliding Barn Door Hardware
Original price was: $187.99.$140.99Current price is: $140.99.


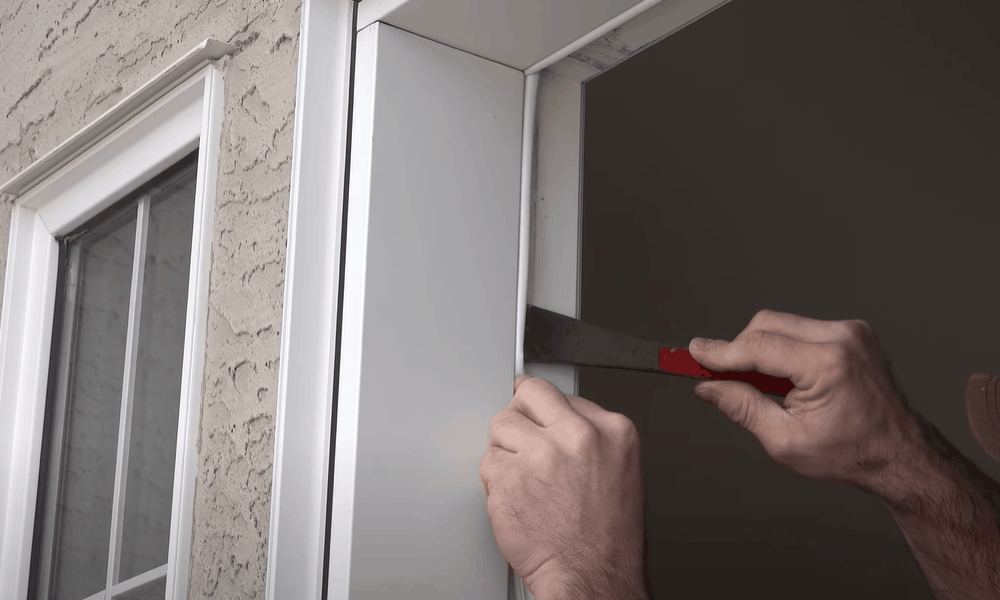
Have you previously installed weather stripping on the door? Then the presence of the gap indicates that the stripping is damaged. Remove old stripping by slicing it away from the top, bottom, and sides of the door with a paint scraper. Use a damp rag to clean the edges of the door and the door frame.
Afterward, you have two choices when it comes to buying new stripping: wrapped foam and metal. The former is durable and can be used to fill gaps of various sizes. Metal stripping is difficult to work with and isn’t a good choice for someone who has never sealed a door before.
However, if you have prior experience of sealing doors, you might do better with metal stripping that comes with a flexible vinyl flap. It is easy to work with for veterans and provides a seal that is more secure and durable
Pro Tip: Once you have purchased weather stripping, you may find that its kit only contains weatherstripping for the sides and top of your door. That means that you’ll need to purchase a door sweep separately. Flexible door sweeps work well with all types of floors, as well as carpets.
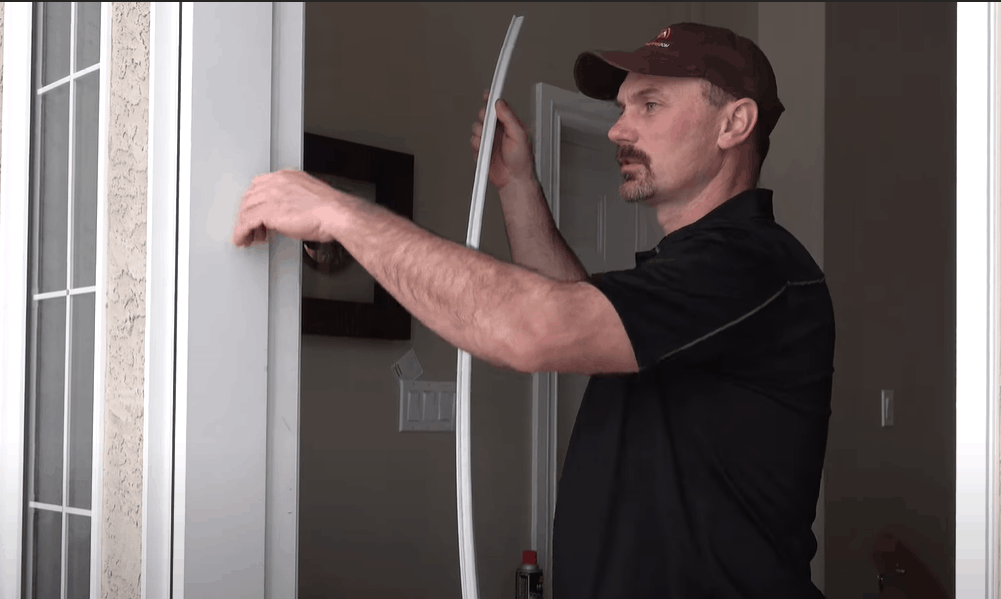
Step 3: Measure the door

Close the door and use a tape measure to measure along both sides of its frame. Also measure along the top of its frame. Make sure that you measure the ‘frame’ of the door, as it is separate from the ‘door’ itself that ends at the beginning of the latch.
Open the door and measure its bottom with a tape measure. You should be facing the inside (room side) of the door when you’re taking this measurement. As this is the surface where you’re going to apply the weather stripping.
Step 4: Mark the measurements on the weatherstripping
You now have four measurements in your possession. Two of them are of the sides of the door, whereas the other two are of the door’s top and bottom. Use a tape measure and pencil to mark all the four measurements on the weatherstripping.
-
Sale!
Free Punch Glass Door Sliding Door Knobs Suction Cup
Original price was: $12.99.$9.99Current price is: $9.99.Select options This product has multiple variants. The options may be chosen on the product page -
Sale!
Window Cabinet Drawer Handles Self-adhesive Door Knobs
Original price was: $12.99.$9.99Current price is: $9.99.Select options This product has multiple variants. The options may be chosen on the product page -
Sale!
Upscale Sliding Door Knob With Double-sided Tape for Kitchen Door Wardrobe
Original price was: $12.99.$9.99Current price is: $9.99.Select options This product has multiple variants. The options may be chosen on the product page


Step 5: Cut the weatherstripping
At the marks you measured out in the previous step, cut the weatherstripping with scissors. The cuts should be as even and clean as possible. One end of each side of the weather stripping – and both the ends of the top side – should be angled to fit into each other. You don’t have to angle the bottom side.
Step 6: Install weatherstripping
Step into your room and close the door. Position the top piece of weatherstripping along the top side of the door and nail it into place. You’d have to hammer the nails in. The nails should be 1 ½’’ in length and must be placed 2’’ from both sides to prevent splitting.
As the door stays closed, nail the side pieces of the weatherstripping along the sides of the door’s frame. Similar to what you’ve done with the top piece, you’d once again have to tack the side pieces into place with nails and a hammer.
Once you’ve done hammering in all four sides of the weatherstripping into the door frame, open and close the door to make sure that the seal is holding.
Step 7: Screw the door sweep along the bottom edge of the inside of the door
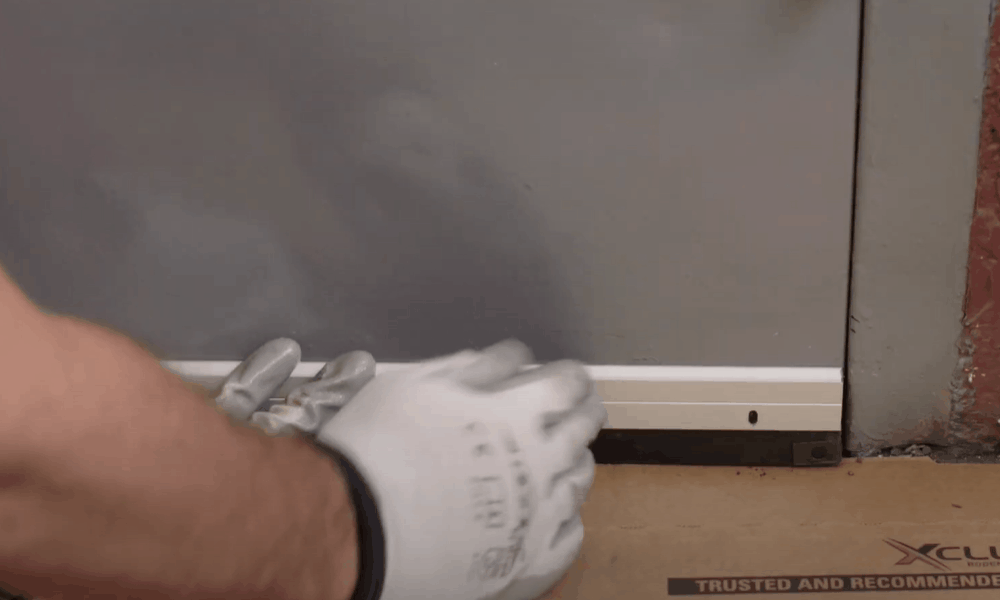
Provided you have bought metal door sweep, it will already have holes screwed in it. Mark the position of these holes along the bottom edge of the inside of the door with a pencil. Then, remove the metal sweep and use a drill bit to drill holes into these positions.
Afterward, place the sweep against the bottom threshold of the door and screw it in with the help of a screwdriver.
-
Sale!
Home Entrance Anti-Slip Coral Fleece Door Mat
Original price was: $12.99.$9.99Current price is: $9.99.Select options This product has multiple variants. The options may be chosen on the product page -
Sale!
Semicircular Cartoon Welcome Entrance Door Mat
Original price was: $12.99.$9.99Current price is: $9.99.Select options This product has multiple variants. The options may be chosen on the product page -
Sale!
Anti-skid Water Absorption Bathroom Door Mat
Original price was: $12.99.$9.99Current price is: $9.99.Select options This product has multiple variants. The options may be chosen on the product page


Pro Tip: If you decide to use vinyl door sweep, you can install it along the bottom edge of the door by placing a wood block over the weather stripping and them tapping it with a hammer to drive the weatherstripping’s flanges deep into the door’s bottom’s threshold.
Final Step: Test the seal
Just as you did to check the weatherstripping, open and close the door several times to test the snugness of the door sweep. If you have followed all the steps to the letter, your door should be adequately sealed by now, leaving no gap between itself and the frame.
Conclusion
Gaps between the door and its frame allow air to pass through them, thereby disturbing the inner temperature as well as the energy efficiency of your home. However, as you have now seen, it is fairly easy to fix the gaps. All you have to do is to determine the location of the leak, seal it with weatherstripping or door sweep (or both, if there are multiple sources of the leak).