7 Easy Steps to Adjust Garage Door Springs
Is your garage door opening or closing too quickly, slamming shut at the wrong speed, or closes unevenly by leaving a gap between the door and the opening? All these are indicators that something is amiss with its springs. Though you don’t need to worry. Here’s why.
Provided you know how to adjust garage door springs, you’ll be able to solve this problem on your own. But whether you’ve got a simple fix on your hands or a complex one depends on the style of door you have. As, depending on the door you are using, it may have one of two types of springs.
Before we move ahead and shed light on them, we recommend you watch this video. Watching it will take less than a minute of your time, but you’d be well-versed with the basics of garage door spring adjustment after going through it. It will also make it easy for you to understand the procedure listed below.
Before you adjust garage door springs
You must know the type of springs you are going to deal with. There are two types of springs used on garage doors: torsion springs and side-mounted springs. Here’s how you can determine which of the two is responsible for offsetting the weight of your door.
Side-Mounted Springs
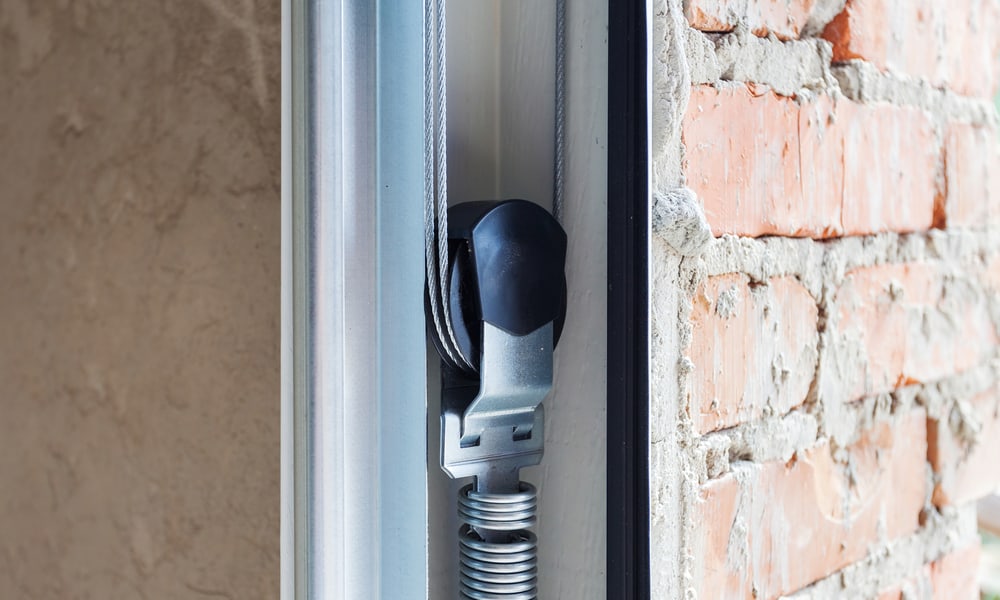
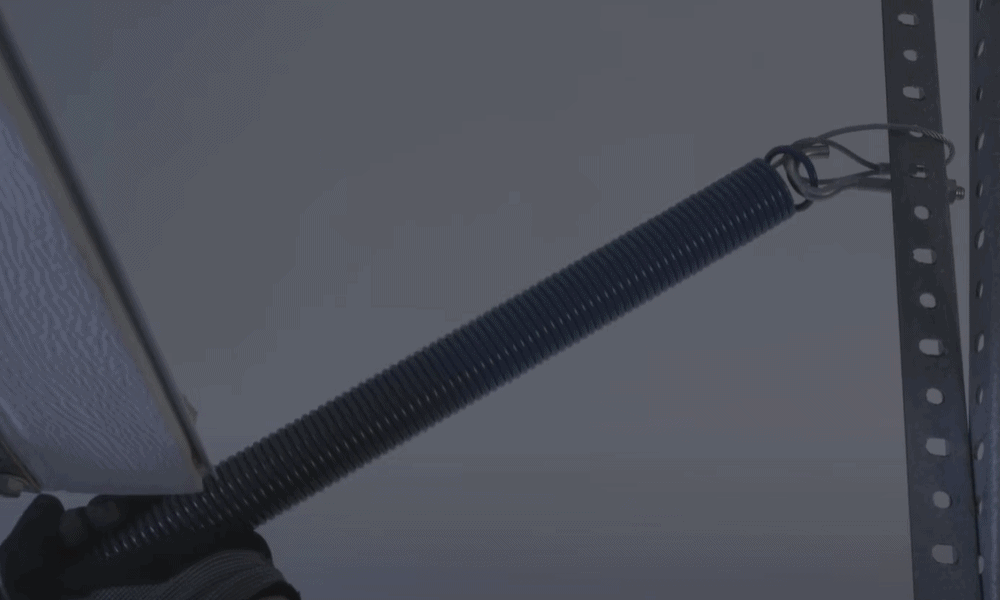
Also known as extension springs, they are mounted on both sides of the door. You can see them above the horizontal tracks. Whenever you open the door (via motor or hand), these springs extend to provide a counterbalancing force. The more force that is applied, the more the spring will expand.
Most manufacturers pair side-mounted springs with safety cables. These cables stop the spring from becoming a hazardous projectile in the case of a cable, spring or bottom bracket failure. These incidents can occur at any time, which is why all extension spring doors must have safety cables installed on them.
Furthermore, depending on your door, it might be using one of these three extension springs:
- Open Looped: Though not as strong as the upcoming types of extension springs, open-looped springs are the easiest to change. That’s mainly because they don’t require you to disassemble their pulley to replace the springs.
- Double Looped: Double looped springs come with two coils. One of them is connected to the pulley and the other is affixed to the eye bolt. They are more robust than their open looped counterparts but are relatively difficult to change.
- Clip Ends: By far the most durable of all extension springs, clip ends have an ultra-long shelf life. They owe their long-lasting utility to the fact that the clips don’t end up placing much force on the spring. That allows the spring to keep working with minimal wear and tear.
Torsion Springs
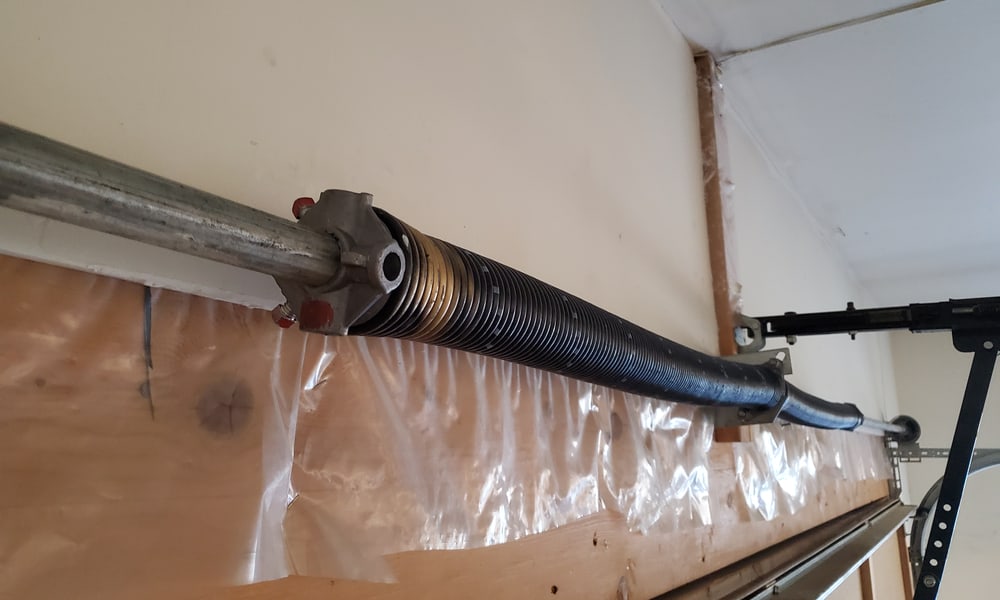
In contrast to side-mounting springs that use ‘extension’ to raise garage doors, torsion springs use torque. This force is the rotational equivalent of linear force. Just as you can categorize linear force in push and pull terms, torque moves the object in a circular motion around its axis.
The springs which use torque to open/close your garage door are located above and parallel to your door’s frame. They are mounted on a stationary metal shaft, with one end of the springs affixed to a stationary metal plate that is located right on top of the door frame.
- Standard Torsion Spring: As their name implies, standard torsion springs are the most commonly used type of torque springs. You can notice them mounted above residential garage doors. The metal shaft that comes in their package supports the springs.
- Torque Master Torsion Spring: If you can afford to spend extra, you should only settle for torque master torsion springs. They are by far the safest option as the torsion shaft keeps enclosed the springs at all times, leaving little chance for the spring to break off and become a projectile.
Step-by-Step Guide for Garage Door Spring Adjustment
Follow these steps to adjust your garage door springs:
a) Adjust Side-Mounted Springs
Here are the steps using which you can adjust side-mounted/extension springs:
Step 1: Gather the Supplies
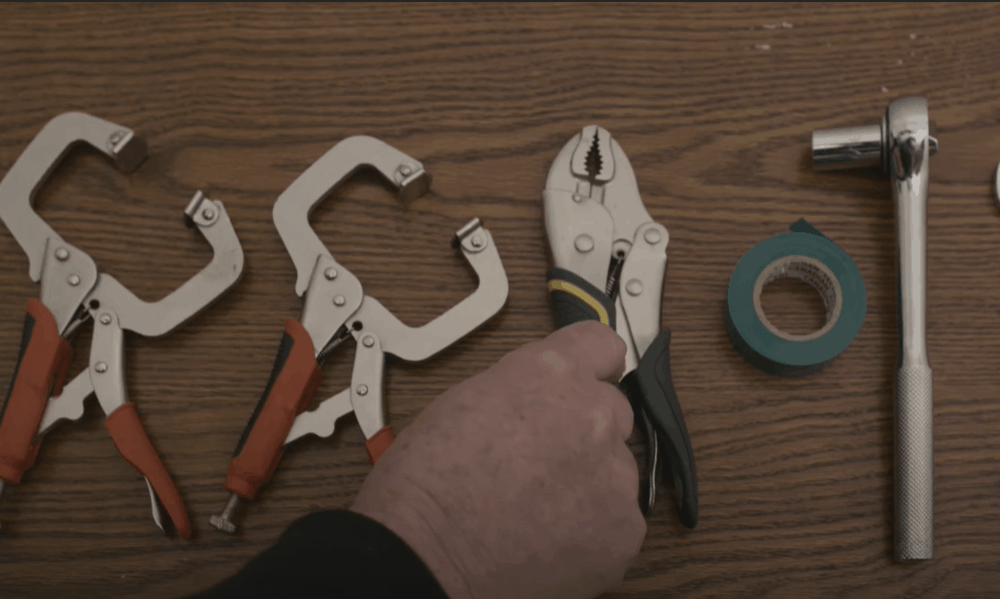
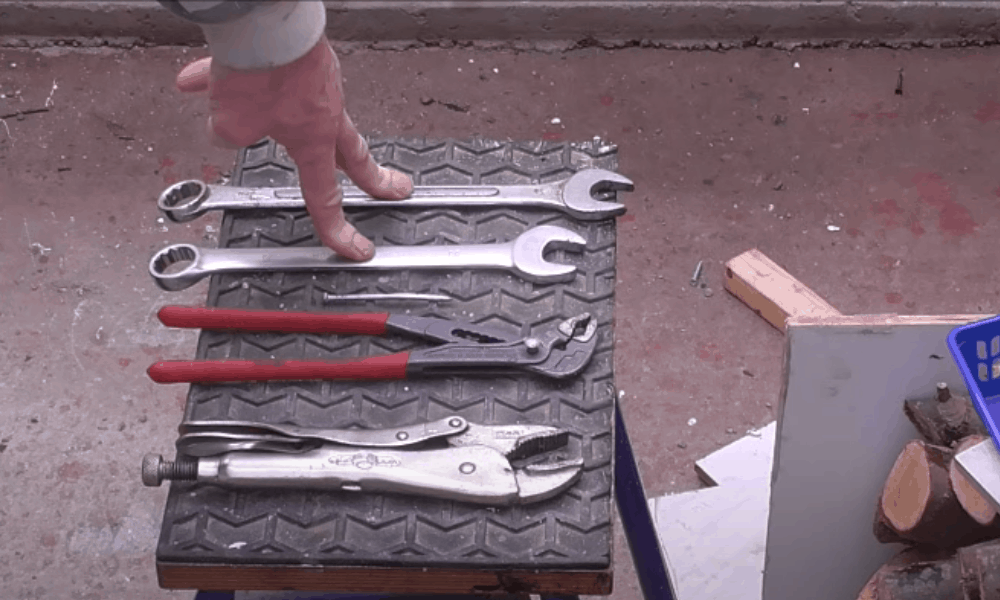
There are some personal protective equipment PPEs and basic tools that you’ll need to perform this job. The safety equipment that you’ll need includes a hard hat, safety glasses, and gloves. As for the other tools, they include:
- Sturdy ladder
- C-clamp
- Adjustable wrench
- Masking tape or marker
Step 2: Open your garage door fully

-
Sale!

Wireless RF 433mhz Garage Door Gate Duplicator 433 Mhz Key Garage Door Opener Remote
Original price was: $8.99.$6.99Current price is: $6.99.Select options This product has multiple variants. The options may be chosen on the product page -
Sale!
TX3 TX4 GTX 4 MT4 MT4V MT4G 433.92MHz Garage Door Opener Remote
Original price was: $14.99.$10.99Current price is: $10.99. -
Sale!
NICE INTI1 INTI2 INTI1Y INTI2Y FLO2RS FLO4RS FLO1RS Garage Door Opener Remote
Original price was: $15.99.$11.99Current price is: $11.99.Select options This product has multiple variants. The options may be chosen on the product page


You need to free the springs from any tension before you try and adjust their tension. If you have a manual door, keep on opening it until it can’t go any farther and hits the stop bolt.
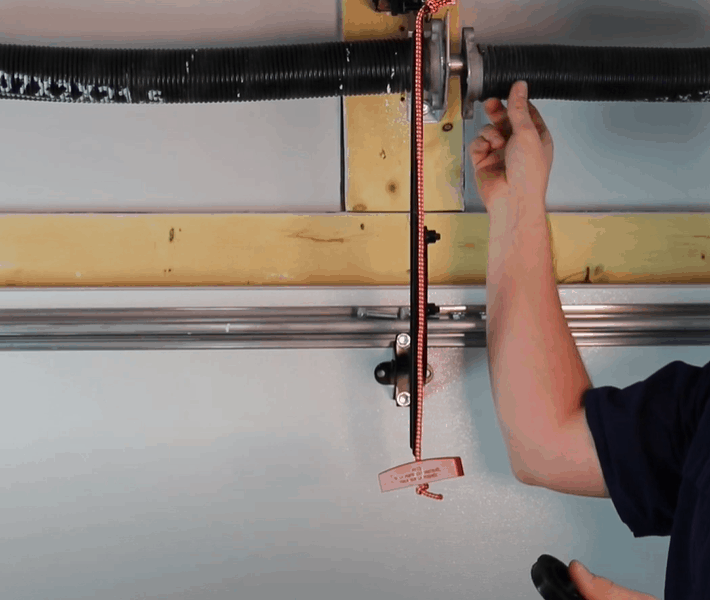
However, if you have an automatic door, use its remote control to open it. Once the door is fully opened, pull its emergency cord below and back until the spring is jammed in the open position.
This will disconnect any connection between the door and the opener and release any tension that the springs were previously bearing. You’ll also be able to open the door afterward manually.
Step 3: Secure your garage door in place
Make sure that the door won’t fall while you’re working on its springs. The best way to ensure that is by placing a C-clamp beneath the bottom roller. The C-clamp will hold the roller in place.
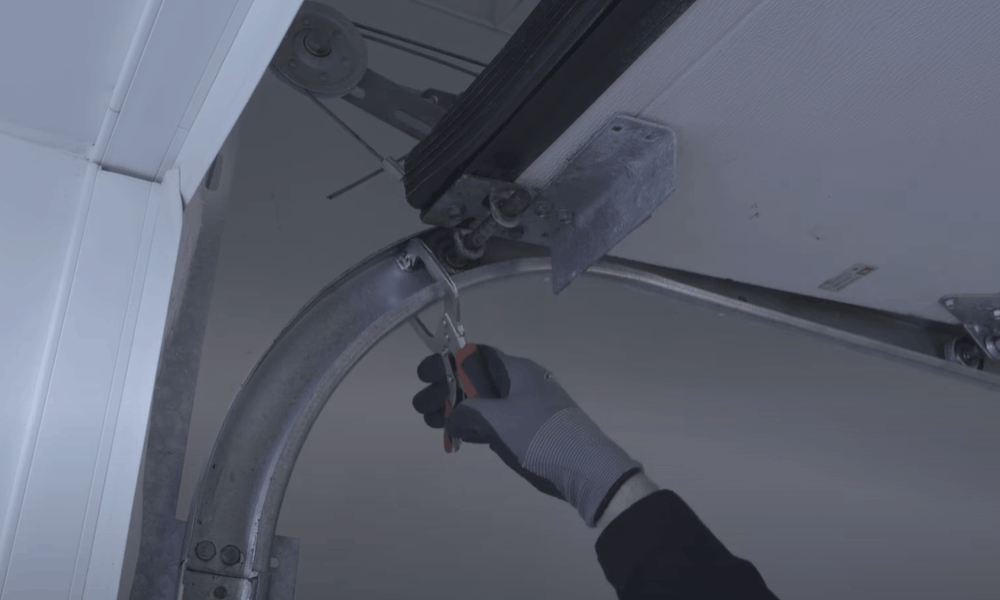
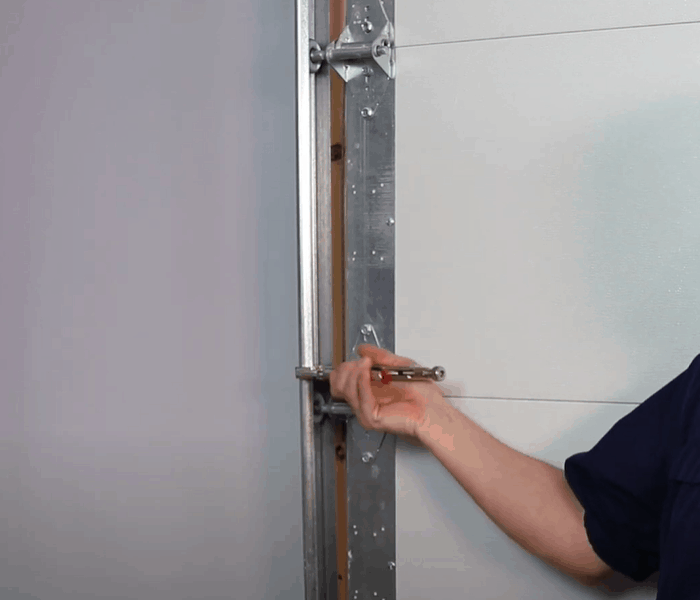
Step 4: Detach the spring hook

As you try to remove the spring hook, you will notice that a large hook is attaching it to the track hanger. This bigger hook, in turn, is secured in its place with a nut. You’ll need an adjustable wrench to remove the nut and, by extension, the spring hook.
The reason why we’re asking you to remove the spring hook is that it is responsible for maintaining the tension in the spring. Once you have removed it, you’ll be able to move it to a higher or lower hole to increase or decrease the tension.
Step 5: Adjust the tension of the spring
Provided your door isn’t closing fully, you’d have to decrease its spring’s tension to solve the problem. This you can do by affixing the spring hook to a lower hole on the track hanger.
Conversely, if your door opens or closes far too easily, you’d have to increase the tension in its spring. Attach the spring onto a higher hole on its track hangar.
Provided the door was closing unevenly, the solution might be to decrease tension (by affixing the spring hook to a lower hole on the track hanger) on the side where the gap lay.
Step 6: Adjust the cable’s tension
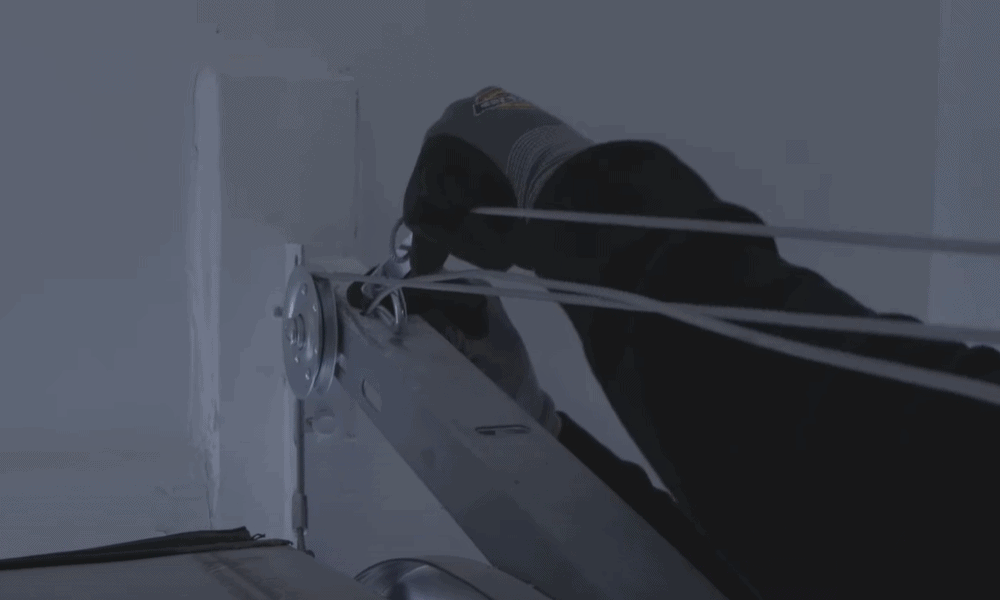
As stated earlier, extension springs come with safety cables. You may have to increase or decrease the tension of the cable alongside that of the spring to resolve the problem.
If you need to increase the cable’s tension, shorten it slightly by tightening the knot attaching it to the spring. If you need to decrease its tension, lengthen it by loosening the knot.
-
Sale!
304 Stainless Steel Magnetic Door Stopper
Original price was: $18.99.$13.99Current price is: $13.99.Select options This product has multiple variants. The options may be chosen on the product page -
Sale!
Transparent Self Adhesive Door Holder Door Stopper
Original price was: $8.99.$6.99Current price is: $6.99. -
Sale!
Adjustable Strong Magnetic Door stopper
Original price was: $15.99.$11.99Current price is: $11.99.Select options This product has multiple variants. The options may be chosen on the product page

Final Step: Test the door and lubricate the springs
Remove the pliers that you placed in the garage door’s track and test the door. If it’s performing as intended, lubricate the springs.
b) Adjust Torsion Springs
Here are the steps using which you can adjust torsion springs:
Step 1: Gather the Supplies
Apart from all the personal protective equipment that we have listed above, you’d need these extra items to adjust torsion springs:
- Two solid steel bars (12’’ to 18’’ in length)
- Adjustable wrench
Pro Tip: Before purchasing solid steel bars, determine the diameter of the holes in which you’ll be affixing them. These holes are in the collar that attaches the spring to the metal shaft. In most cases, their diameter will be ½ inch.
Step 2: Open the garage door
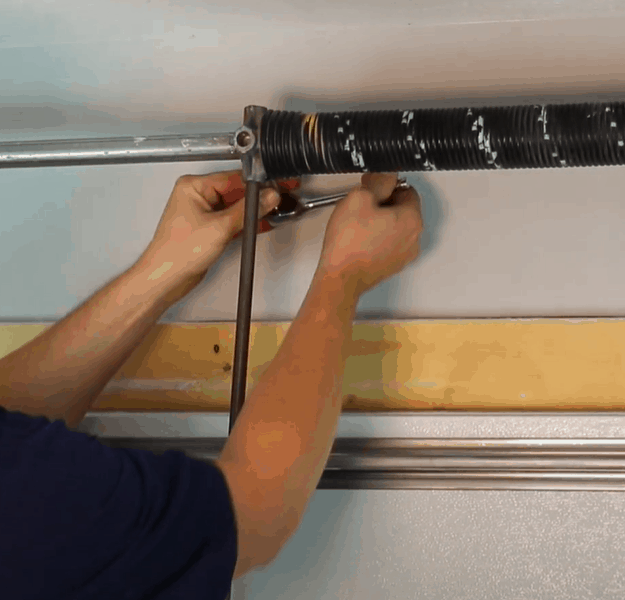
NEVER adjust torsion springs with the door down – the spring is under full tension. As soon as you loosen the set screws, those steel adjusting bars are going to fly. People have been killed by those.
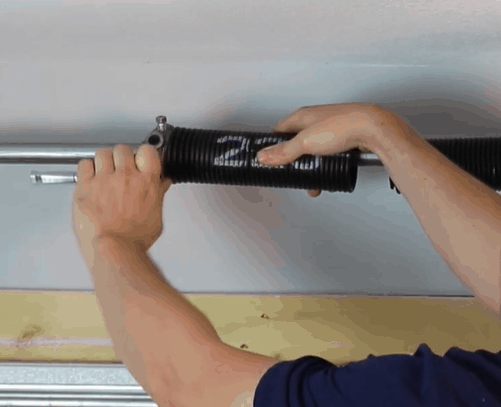
Make sure the door is fully open, and there is zero tension on the spring. The manufacturer paints a horizontal strip across the coils that will be visible as a straight line when the coil is relaxed. As you can see from the pictures, that line is completely wrapped up, indicating the coil is under tension.
Step 3: Find the winding cone
Place one eye over the stationary center plate and find the exact spot where the spring ends. That is the spot where the winding cone, responsible for keeping the spring in place, will be.
You can also recognize the cone by four-evenly spaced holes that it will have around it.
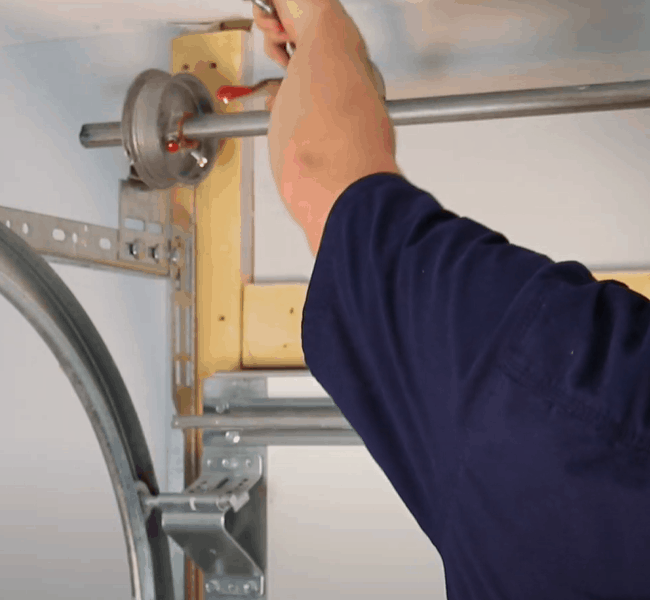
Step 4: Loosen the screws on the cone
The cone will have two set screws on the center shaft to lock the spring in place. Loosen them by inserting the steel rod or winding cone into the bottom hole on the cone.
Once you have inserted the rod and held the cone in place, loosen the screws with an adjustable wrench. Then, in two successive bars on the cone, insert the bars.
Step 5: Adjust the tension
If your door was closing too quickly, you need to increase its tension by winding the cone up. Or else, you may need to decrease the tension by winding the cone down if the door wasn’t closing fully.
Pro Tip: Provided you don’t know how much you need to increase or decrease the tension, go through the step, and test your door repeatedly until you get the proper tension.
Step 6: Stretch the spring
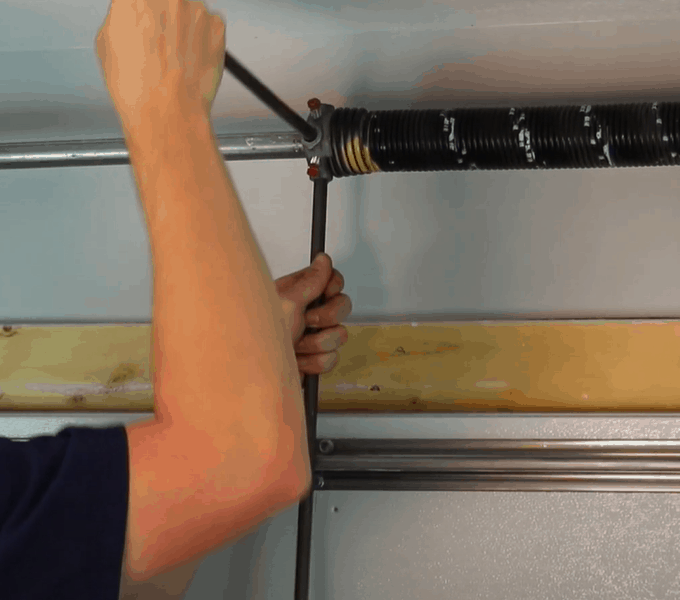
To stretch the spring, keep the bar placed in the bottom hole in place and remove the other one. Use a marker to make a mark at a distance of ¼’’ from the end of the winding cone (away from the center).
-
Sale!
Mini Fingerprint USB Door Lock
Original price was: $27.99.$20.99Current price is: $20.99.Select options This product has multiple variants. The options may be chosen on the product page -
Sale!
Aluminum Alloy Stopper Sliding Door Lock
Original price was: $12.99.$9.99Current price is: $9.99.Select options This product has multiple variants. The options may be chosen on the product page -
Sale!
Button Push Furniture Door Lock
Original price was: $50.99.$38.99Current price is: $38.99.Select options This product has multiple variants. The options may be chosen on the product page

Afterward, apply an upward force on the bar from below. As you’re doing this, keep on tapping on the bar with the second bar until the spring has been stretched to meet that mark you placed at a ¼’’ distance from the end of the winding cone.
Step 7: Tighten the set screws
Use the adjustable wrench to tighten the set screws that you loosened in the fourth step. This will lock the spring in its new place.
Repeat steps four to six on the other side if your torsion spring mechanism has springs on both sides of the center plate.
Conclusion
You might have guessed by now that adjusting garage door springs is easier if you have extension springs. Torsion springs require more delicate work and might be hazardous, especially once you have unplugged the opener. Make sure you’re wearing all the personal protective equipment that we recommended to stay on the safe side.