How to Install an Exterior Door? (Step-By-Step Tutorial)
Are you looking to swap out your exterior-facing door for a new one? Hanging a door properly is not just great for safety; a professionally done front door can improve your home’s curb appeal.
That being said, this is not a task for the fainthearted—in addition to securing the right tools, you will need to set aside enough time to complete the project successfully.
Also, going with a pre-hung door instead of a door slab can save you a lot of hassles. We’ll show you how to install an exterior door then you can decide if this is something you want to do on your own or if you’re better off hiring a pro.
Tools for installing exterior door
The tools you will need to get the job done are:
- Drill or screwdriver
- Tape measure
- Caulk gun
- Reciprocating saw
- Pry bar
- Hammer
- 2 inch and 6-inch level
- Putty knife
- Utility knife
- Shims
Materials
- Blanket insulation
- Caulk
- Flashing tape
Step-by-Step Guide on how to install an exterior door
Below, find the procedure for installing an exterior-facing door.
Step 1. Measure the old door

Before rushing out to grab a new door, measure the old one first so that you can buy the right size door. It is best to work with a pre-hung door, which comes attached to a frame and already has hinges and slots for hardware in place.
Follow these steps to get the correct measurements for your existing door:
- For the width, measure from one side of the door jamb to the other side. For accurate dimensions, measure at the top, middle, and lower area and use the smallest measurement as the width.
- For the height, measure from the top of the door jamb down to the top of the door sill or threshold. Do this along the middle of the door, right and left side. Again, use the smallest measurement as the height.
- Lastly, measure the thickness of the door jamb.
Note all three measurements and use these to buy a pre-hung door that fits.
-
Sale!

Swing Stop Bottom Adjustable Roller Flooring Barn Door Hardware
Original price was: $44.99.$33.99Current price is: $33.99. -
Sale!

Low Noise Floor Guide Adjustable Length Barn Door Hardware
Original price was: $15.99.$11.99Current price is: $11.99.Select options This product has multiple variants. The options may be chosen on the product page -
Sale!

Antique Big Rollers Steel Sliding Barn Door Hardware
Original price was: $187.99.$140.99Current price is: $140.99.


Step 2. Take out the old door and frame
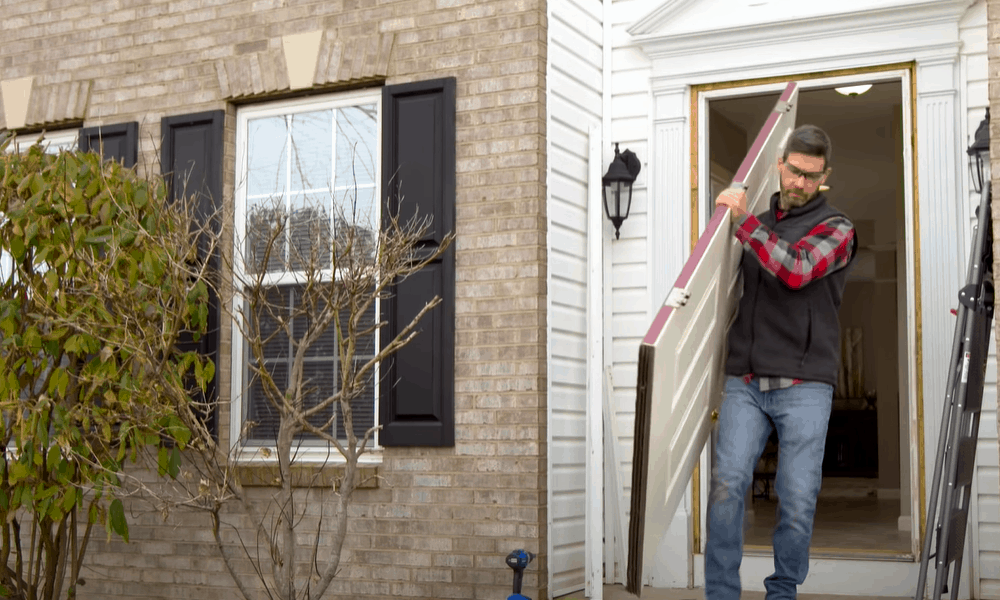
The easiest way to install a new door is to start with a rough opening. This means removing the old door together with the frame. Here’s how to do it:
- Using a putty knife, pry off the interior and exterior trim. The new pre-hung door comes with its own trim so you can dispose of the old trim.
- Use a drill or screwdriver to remove the hinge screws. As you do this, ask your partner to hold the door firmly. With the hinge screws out, you can now remove the door. Set it aside in an out of the way location.
- Use the drill or screwdriver to remove the strike plate that is attached to the frame. Put a reciprocating saw between the door frame and the house siding to cut out fasteners, pins, and screws on the hinge-side of the frame.
- Pry a putty knife in the space between the door sill/threshold and floor to cut the caulking. If the seal proves to be too difficult to break using a knife, hammer a pry bar underneath the sill and carefully lift the threshold to release it from the floor.
- With all the fasteners out, push the doorframe out to leave behind a rough opening.
Pro tip: Be gentle when using the reciprocating saw. Applying excessive force can damage your house siding.
Step 3. Prepare the rough opening
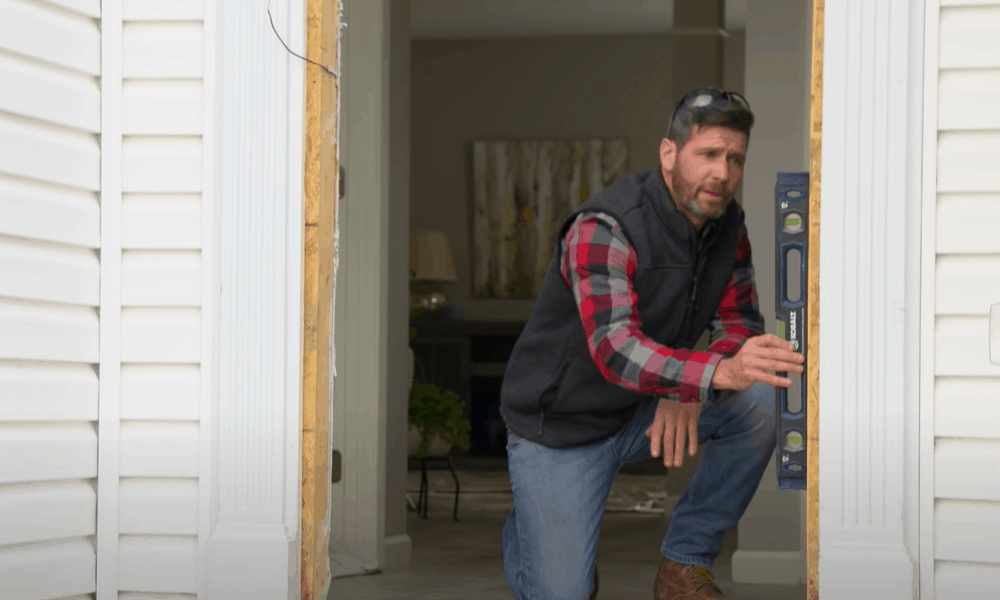
Before installing a new door, make sure that the rough opening is plumb on the sides and leveled at the top and bottom.
- Place the six-foot level flat against one side of the rough opening. Check that the bubble is centered between the two lines; if it is, this side is plumb. Repeat the process on the other side of the opening to check for plumb as well.
- For the header, place the two-foot level flat against the upper forward-facing part of the opening. Check that the bubble is centered between the two lines; if it is, the header is level. Next, place the level on top of the sill and check if it is level.
Pro tip: If the sides, bottom, or top are not fully plumb and level, install shims in the rough opening as is necessary. Ideally, the opening should be one inch taller and wider than the pre-hung door.
Step 4. Protect the rough opening from water damage
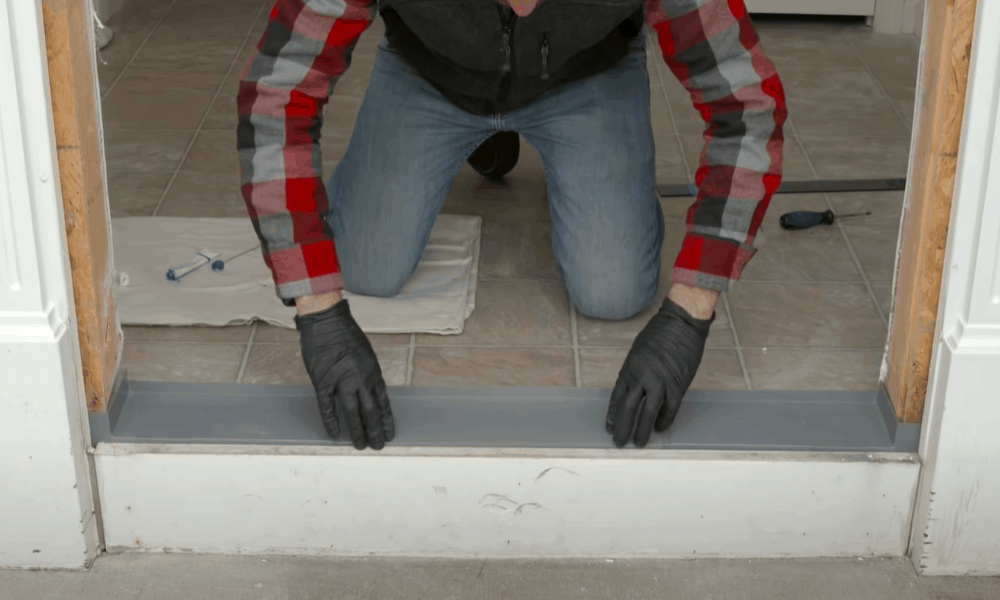
Mildew and mold are a leading cause of exterior door damage. To prevent moisture from sipping behind the trim, install flashing tape all around the rough opening. Check out our helpful video for tips on how to apply flashing tape.
In addition to using flashing tape, you can also install sill pans at the bottom and Z-flashing at the top of the opening.
Step 5. Test fit the new door

-
Sale!
Free Punch Glass Door Sliding Door Knobs Suction Cup
Original price was: $12.99.$9.99Current price is: $9.99.Select options This product has multiple variants. The options may be chosen on the product page -
Sale!
Window Cabinet Drawer Handles Self-adhesive Door Knobs
Original price was: $12.99.$9.99Current price is: $9.99.Select options This product has multiple variants. The options may be chosen on the product page -
Sale!
Upscale Sliding Door Knob With Double-sided Tape for Kitchen Door Wardrobe
Original price was: $12.99.$9.99Current price is: $9.99.Select options This product has multiple variants. The options may be chosen on the product page


- Before screwing in the new door into place, check that it fits into the rough opening. This is especially important if you have used shims or a spacer board to level the opening.
- If the door fits, it is time for the actual installation. Remove the door from the opening and set it aside for the time being.
Step 6. Apply caulk and set the pre-hung door
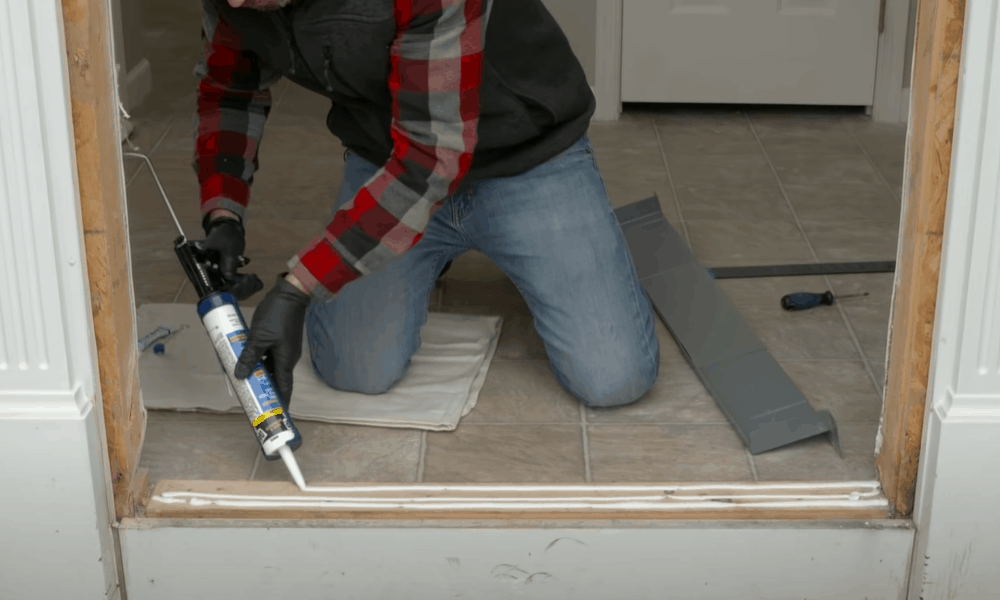
Caulking helps with weatherproofing the door.
- Using the caulking gun, apply two lines of caulk along at the bottom where the sill will be installed, at the top of the opening, and on the sides.
- Next, set the pre-hung door into the opening. Start by setting the bottom of the door while titling the top outward. With the bottom part intact, push the door fully into the opening.
Pro tip: Have someone help you hold the door as you set it into the opening. Ensure that the door remains closed as you do this.
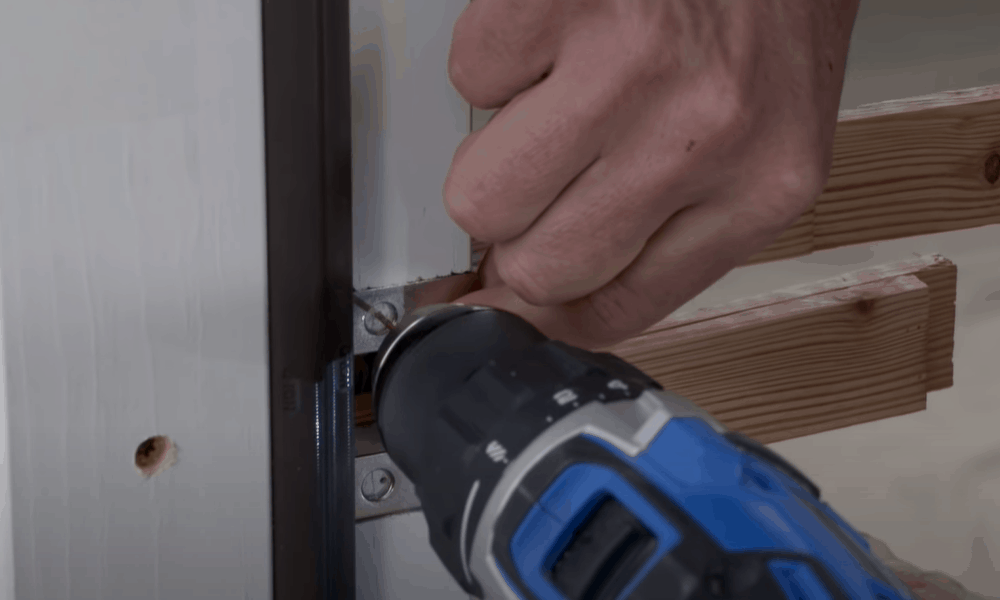
Step 7. Insert shims and secure frame

Shims are small wedged pieces of wood or plastic that are fitted into tight spaces to improve fit. Shimming is an important technique when installing a prehung door, so we recommend that you learn more about it.
- With the door set in the rough opening, insert shims at the top, middle, and lower edges of the frame on the hinge side and the latch side as well. Be sure to inset one behind the lock plate slot.
- While standing outside, check that the door fits evenly in the opening. From inside, partly insert screws into the hinges then step outside and fully drive in the screws to secure the hinge-side.
- Ensure that the weather stripping aligns properly with the door. Adjust the latch side of the frame accordingly. To secure the latch side, partially drive fasteners at the top and bottom of the frame itself.
- Insert a shim in the middle section of the latch side, check that the frame is level, and fully drive in the top and bottom nails to secure the latch side. Remember to place a shim behind the site of the lock plate and secure it in place using a nail.
Step 8. Check that the door fits snugly

With the frame secured to the opening and the hinges and door secured to the frame, test the operations of the door.
- First, close the door and inspect the space between the door edge and the jamb all around the door. There should be a 1/8 inch space along the edge; lightly tap in the shims to make the spacing consistent.
- Secure the rest of the door jamb at the top and the bottom by driving in the remaining nails, making sure to put the nails through the inserted shims.
Step 9. Install lock plate and deadbolt
- Once you have secured the entire door jamb and verified the door works properly, install the lock strike. Remember to drive the lock strike screws into the shim and the siding of the house.
- Now is also a good time to install the deadbolt—check the manufacturer’s instructions on how to fix the deadbolt.
- Using a utility knife, cut the protruding ends of the shims so that they are flush with the door frame.
Step 10. Insulate the door
With the door intact, the next step is to insulate it.
-
Sale!
Home Entrance Anti-Slip Coral Fleece Door Mat
Original price was: $12.99.$9.99Current price is: $9.99.Select options This product has multiple variants. The options may be chosen on the product page -
Sale!
Semicircular Cartoon Welcome Entrance Door Mat
Original price was: $12.99.$9.99Current price is: $9.99.Select options This product has multiple variants. The options may be chosen on the product page -
Sale!
Anti-skid Water Absorption Bathroom Door Mat
Original price was: $12.99.$9.99Current price is: $9.99.Select options This product has multiple variants. The options may be chosen on the product page


- Using a putty knife, push strips of blanket insulation all around the edges of the door frame.
- Next, follow the door manufacturer’s instructions on installing the interior trimming.
- Apply caulk along the meeting point of the trim and brick mold. Do this for both the interior and exterior trim and allow it to dry.
Extended Tips
- When you bring the new door home, check the manufacturer’s suggestions on removing the braces that come with the door. Improper removal can affect the squareness and levelness of the door.
- If you live in an area with extreme temperature differences, take into account the expansion and contraction of wooden doors. Use bigger shims to create a larger space around the door frame to fill with a good amount of insulation. This will ensure that door is always well insulated whether the wood expands in the summer or shrinks in the winter.
A big-impact project you can complete in a day.
Pre-hung doors have made it easy for anyone with some DIY skills to install a door in a rough opening. With our step-by-step guide, you should be able to have your new door up in a few hours.
A crucial first step is to get the correct measurements for the opening and the new door. That being said, pay close attention to the manufacturer’s instructions on installing trim, fixing the lockset, and painting the door.
Have you tried to install a front door or do you have any comments/questions about this topic? Leave them below—we’d love to hear from you!