How to Wire a Doorbell? (Step-By-Step Tutorial)
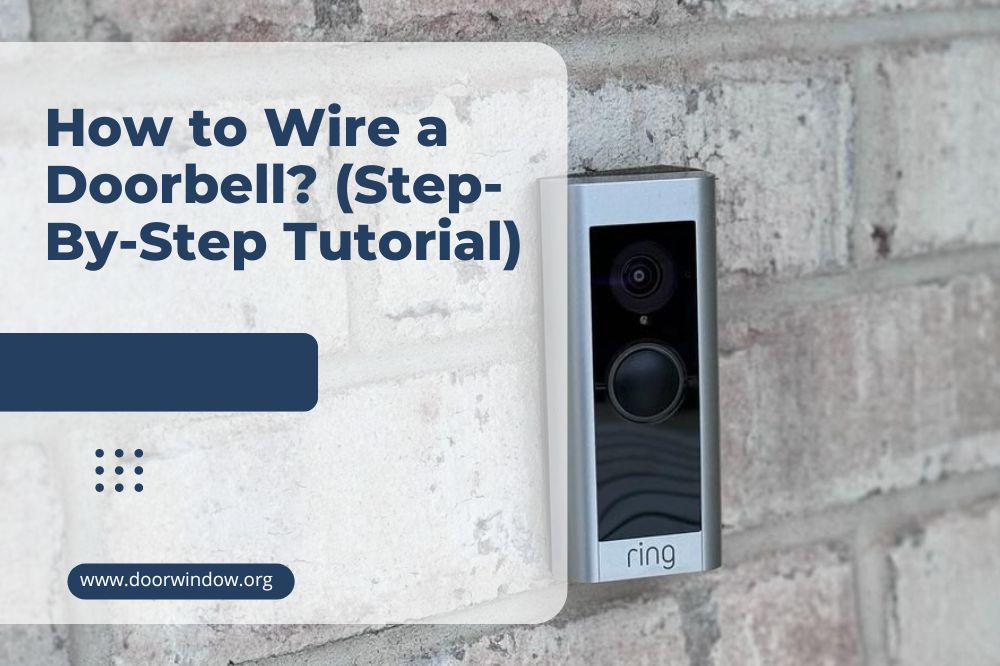
Almost every house has doorbells close to the doorway, especially in recent homes. You might decide to repair, replace, or add a new doorbell. The first thing you need to know is how to wire the doorbell to make it work properly.
Although carrying out this task is easy, but you need the required doorbell wiring kit to get this done. With that, you can pull this off in a matter of minutes.
You can choose from three different types of doorbells which are the wireless, hard-wired, and Wi-Fi model. The Wi-Fi bell links to your home router with or without a wire.
Running the cable through a concealed path gives your home a better look than visible wiring. So, its best you lay it through the basement if the hidden installation is difficult for you. Below is a guide on how to wire a doorbell.
How to Wire a Doorbell Button (Single)
This option is the easiest way of installing a doorbell. You’ll observe the push button connecting to the terminals in the chime, that is, the front. The doorbell transformer junction box completes the circuit and links to the chime and push button. Here are some steps on how to wire a single doorbell.
Step 1: Find the Source of Power
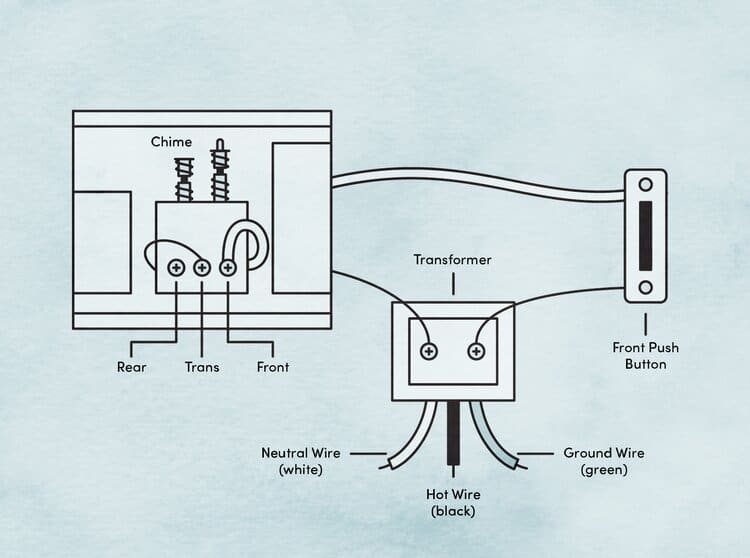
A better spot for the transformer of the doorbell is in the attic. So, you may connect it to any power source around, be it the ceiling lightbox or an outlet. However, you need a medium that has up to 120Volts of power, and the ceiling light is the first that comes to mind.
Check the doorbell voltage multimeter to ensure its stable and not connected to a switch. This regulator turns your doorbell off when it’s not on.
Step 2: Switch Off Power
It’s best to turn off the light supply to the junction box that powers the doorbell transformer. Cross-check with a voltmeter to make sure it’s truly dead. Then, join the cables in the box with like wires and twist them together before fastening them with bolts.
Step 3: Choose the Best Spot
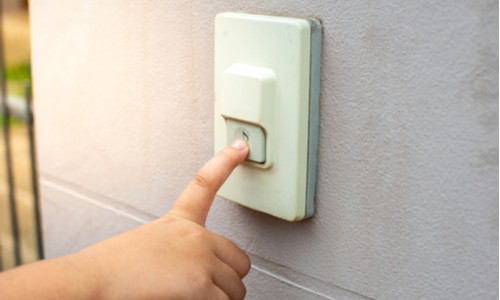
Decide on the best position to install the button and receiver. Choose a spot that every member of the family can reach. Also, mount the receiver in a place where everyone in the home can hear it. You should do well to also abide by the manufacturer’s manual guidelines for installing receivers and buttons.
-
Sale!

Swing Stop Bottom Adjustable Roller Flooring Barn Door Hardware
Original price was: $44.99.$33.99Current price is: $33.99. -
Sale!

Low Noise Floor Guide Adjustable Length Barn Door Hardware
Original price was: $15.99.$11.99Current price is: $11.99.Select options This product has multiple variants. The options may be chosen on the product page -
Sale!

Antique Big Rollers Steel Sliding Barn Door Hardware
Original price was: $187.99.$140.99Current price is: $140.99.


Step 4: Wiring and Testing of the Doorbell
Connect a cable to the bell button screw and link it to the transformer. Run another wire for the second nut in the doorbell switch. Now, attach this wire to the screw on the receiver. You should do the same thing for the third cable and ensure you bind it on the nut well. Finally, check if the doorbell is working.
How to Wire a Double Button Door Bell
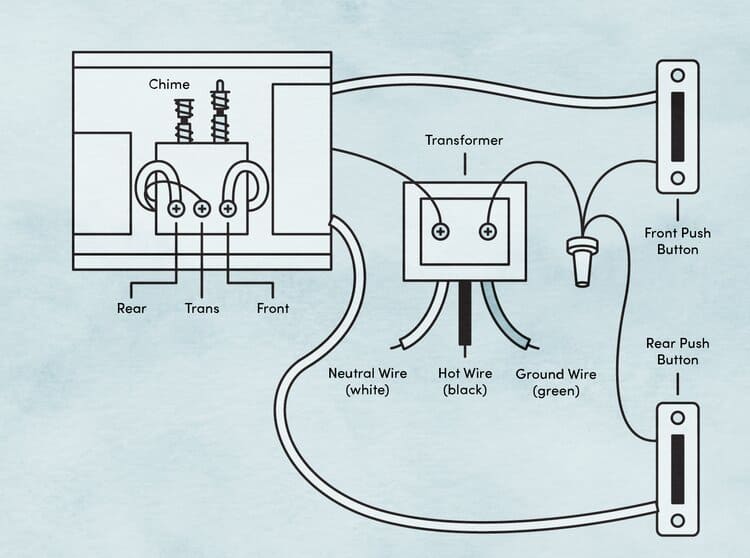
If you want a doorbell button at the front and back of your home, you should install the double regulator. This type of button rings only on one receiver but has two different switches. These steps will help you with the installation.
Step 1: Mount the Button in the Right Position
Select the best position for the doorbell buttons and receivers. Ensure you place them where it is reachable to every guest and family member. Also, mount the receiver in a location where everyone around can hear the chime. Lastly, follow the makers’ instructions for installing buttons and receivers on your wall type.
Step 2: Run the Cable Network and Test the Bells
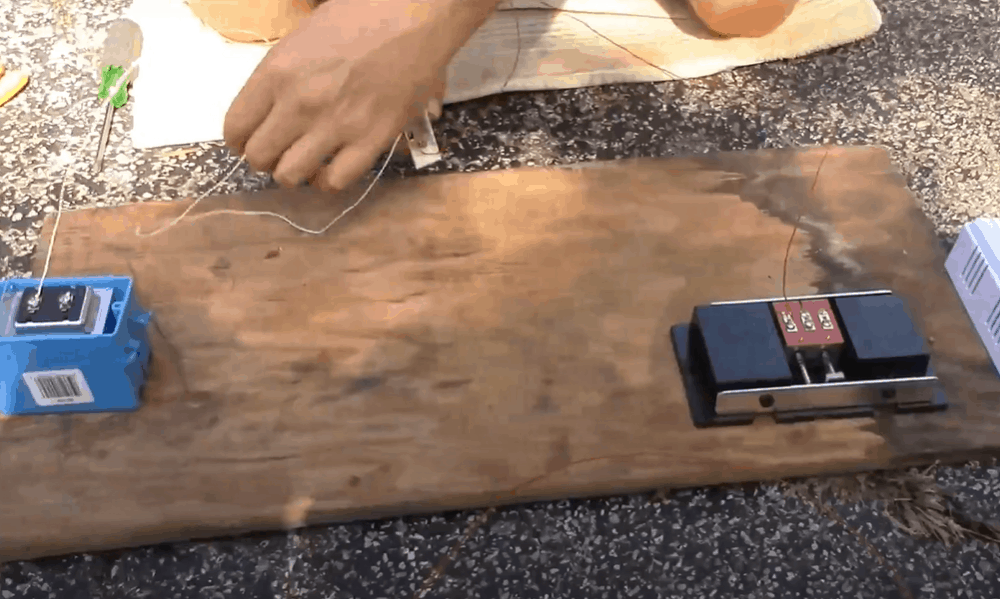
Before touching anything in the doorbell transformer junction box, try and switch off the power supply. Get a good layout for the wiring of both buttons so that it will look neat after installation. Run a wire from the terminal screw of both buttons and connect them to the doorbell transformer.
Fix the second wire to the terminal of the front door button. Then, attach the cable to the receiver. You should do this for both buttons, ensuring that you don’t mess up doorbell wire colors. Ensure to connect the correct wires from the buzzer to the terminal screws of the two regulators. Now, test all the buttons to see if they are working.
How to Hard-Wire a New Doorbell
The following steps will help you hard-wire a new doorbell.
Step 1: Turn Off the Power
-
Sale!
Free Punch Glass Door Sliding Door Knobs Suction Cup
Original price was: $12.99.$9.99Current price is: $9.99.Select options This product has multiple variants. The options may be chosen on the product page -
Sale!
Window Cabinet Drawer Handles Self-adhesive Door Knobs
Original price was: $12.99.$9.99Current price is: $9.99.Select options This product has multiple variants. The options may be chosen on the product page -
Sale!
Upscale Sliding Door Knob With Double-sided Tape for Kitchen Door Wardrobe
Original price was: $12.99.$9.99Current price is: $9.99.Select options This product has multiple variants. The options may be chosen on the product page


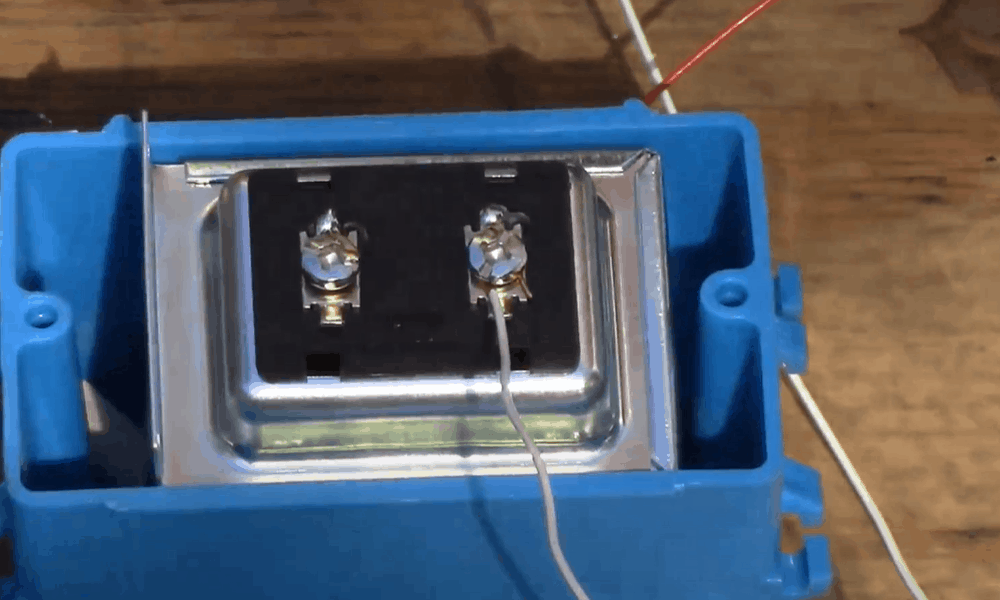
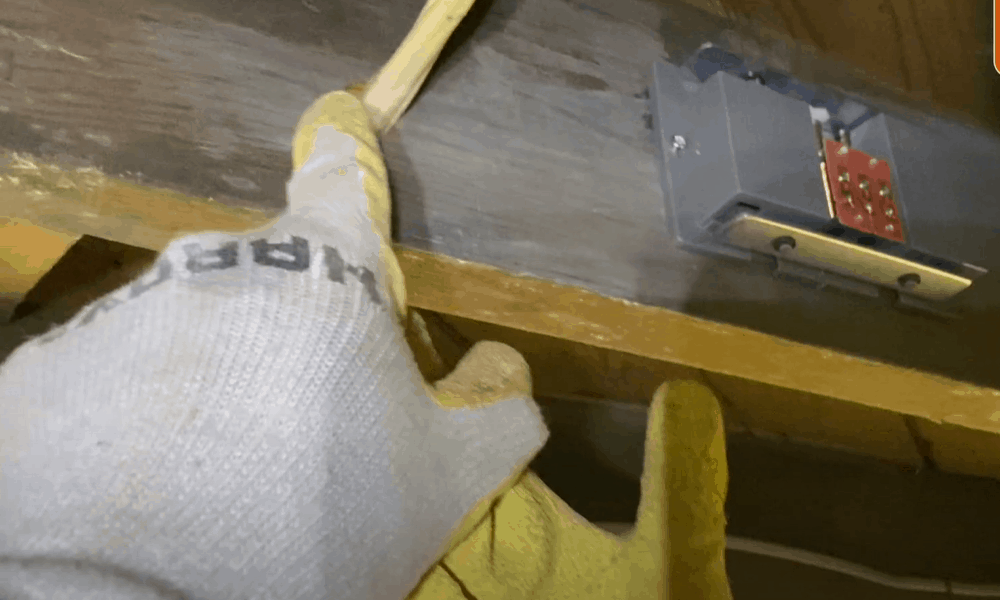
Switch off all the power supply by turning off the circuit breaker that runs to the transformer junction box. You may connect it to any terminal that has a steady energy flow in it. Double-check with a non-contact voltmeter to ensure it has no surge of power.
Step 2: Choose a Good Location
Pick out an excellent spot for the bell button and receiver. You should know how to find doorbell wire spots to avoid drilling into a wall stud. You can use the electronic stud finder to spot the best position. Now, open a hole on the wall that is one inch for the cables.
Mark the points where the screws will enter by holding up the doorbell. Then, use a drill bit and open slots for the wall anchors and push them inside.
Step 3: Remove the Baseboard and Trim, then Drill a Connecting Duct
Take out the portion of the baseboard under the doorbell with a utility knife. Then, drill a 3/8-inch hole into the basement through the baseplate. Also, take away the trim on the door’s lock side where you’ll mount the button. Cut out a part of the cable attachment wallboard and then bore into the basement beneath the channel.
Step 4: Wire the Doorbell and Transformer

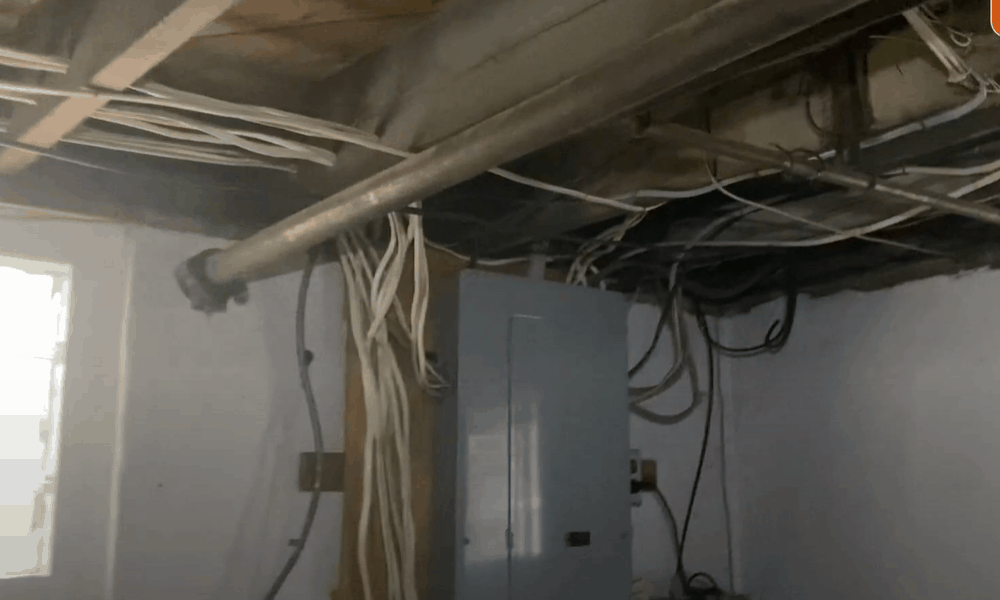
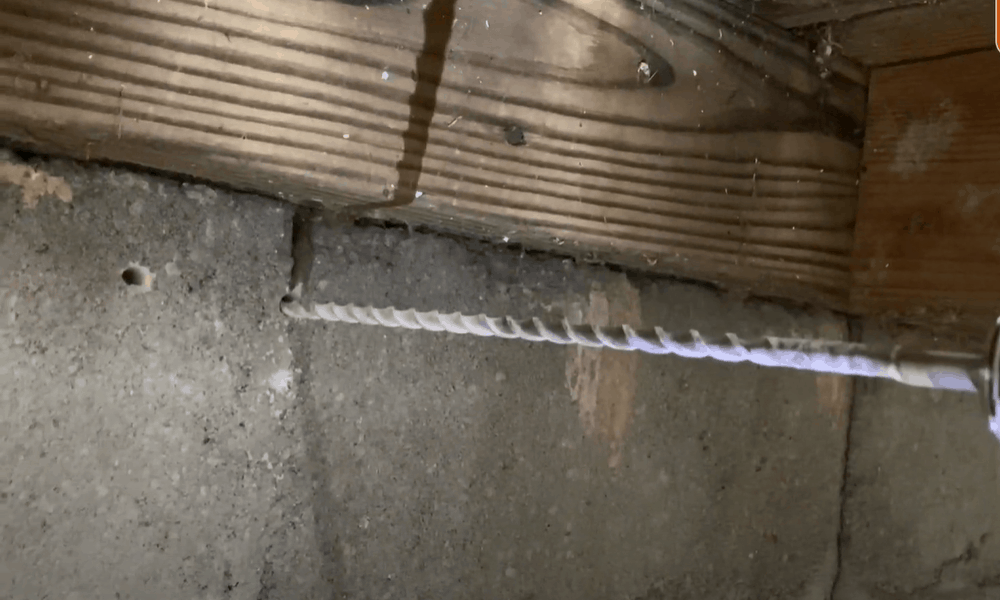
Mount one long doorbell cable from the junction box to the transformer area. Run another one to the position of the button. Then, thread the wire into the basement through the holes you drilled. Ensure to run it along the floor beams and fasten it with staples at an interval of four-foot.
Deduct some inches from the end of the wires and cut open the latex covering by 1/2inch. Connect the doorbell wire colors (which are black and white) to the screws on the transformer. Coil it on the screws and tighten them. Attach corresponding wires to screw terminals of the button and receiver.
Step 5: Connect Doorbell Wire to the Button
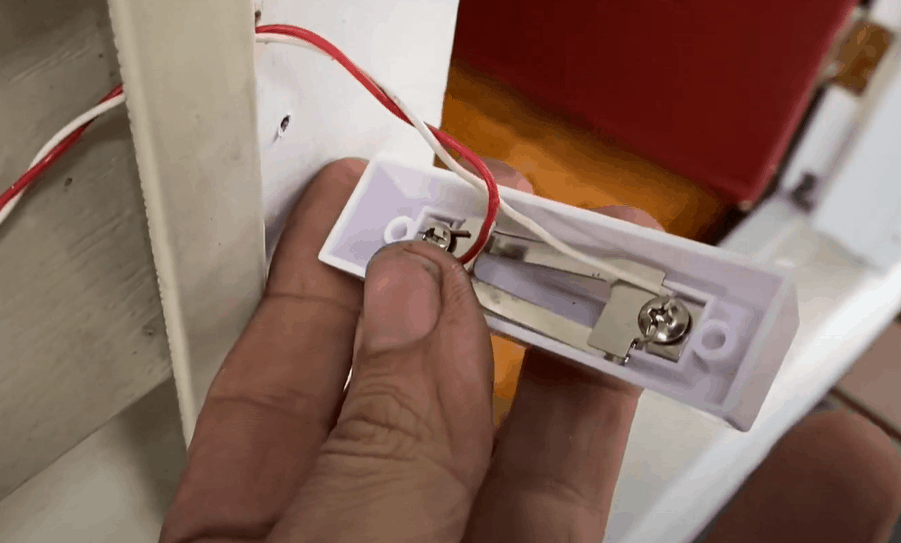
After you connect the black and white cables accurately, put the silicon sealer on the button. Then, install the switches using the nuts.
-
Sale!
Home Entrance Anti-Slip Coral Fleece Door Mat
Original price was: $12.99.$9.99Current price is: $9.99.Select options This product has multiple variants. The options may be chosen on the product page -
Sale!
Semicircular Cartoon Welcome Entrance Door Mat
Original price was: $12.99.$9.99Current price is: $9.99.Select options This product has multiple variants. The options may be chosen on the product page -
Sale!
Anti-skid Water Absorption Bathroom Door Mat
Original price was: $12.99.$9.99Current price is: $9.99.Select options This product has multiple variants. The options may be chosen on the product page


Step 6: Test the Doorbell

When you finish installing all the parts of the doorbell and running the connections, test your work. Switch on the circuit breaker to restore power and ring the doorbell. Push the buttons and pay attention to the buzz or chime.
Final Word
Knowing how to wire a doorbell is essential for everyone. Since it’s a simple process, there is no need to involve an electrical expert. All you need to do is to follow the guidelines on the manufacturer’s handbook.
However, this guide explains the steps in detail and shows you how to use the doorbell installation kit. Ensure to switch all light before any connections and then test the buttons and receivers when you finish. If you follow every step in this article, then it would surely work.