How to Fix a Door Frame? (Step-By-Step Tutorial)
Similar to most items in our homes, door frames are also vulnerable to wear and tear. Prolonged exposure to moisture, attempts at forced entry when the door was locked, and extreme heat could disfigure their orientation and cause the entire door to malfunction. That’s where the bad news end.
Depending on how much damage it has suffered, the knowledge of how to fix a door frame can help you reverse or disguise it. All you need to have are the necessary tools that are required for repair – and a few hours of free time, and you can restore the frame to its past glory.
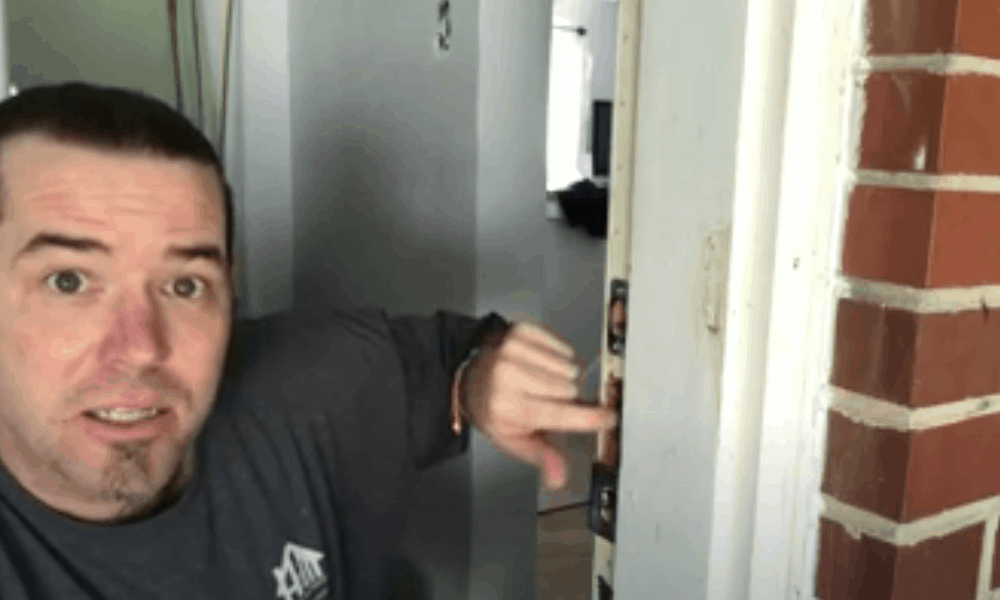
Have doubts about this claim? Think that your door frame is beyond repair? Then you should check out this video. Apart from convincing you that the situation can still be salvaged, it will serve as a primer to the below-mentioned guide. You can learn a few helpful tips and tricks from it as well.
Before you fix a door frame
You must know the type of damage you are trying to repair. A frame that might have been warped due to extreme temperature changes, moisture, or age will require you to adopt a different reparation procedure than the one that might have been split after an attempt of forced entry.
Similarly, if your door has attracted rot after moisture had gotten deep into its frame, the procedure with which you can reverse this damage will obviously be different to the one using which you can patch-up a door that might have suffered structural damage.
That means that depending on the type of damage, you’ll have to approach a different procedure to reverse it. You should, therefore, consider yourself extremely lucky as we have listed down four different methods using which you can repair the four types of damages mentioned above.
What You’ll Need to repairing door frames
Here’s a list of all the tools and equipment you’ll need:
- Chisel and multi-tool
- Hammer or putty knife
- Mallet and measuring tape
- Plastic shims
- Spirit level and nails
- Utility knife
- Hand or powered saw
- Wood or carpenter’s glue
- 320-grit sandpaper
- Body or wood filler
- Wire mesh
- Primer and paint
Step-by-Step Guide on how to repair door frames
Follow these steps to fix a door frame
a) Fixing a warped door frame
Here are the steps using which you can fix a warped door frame:
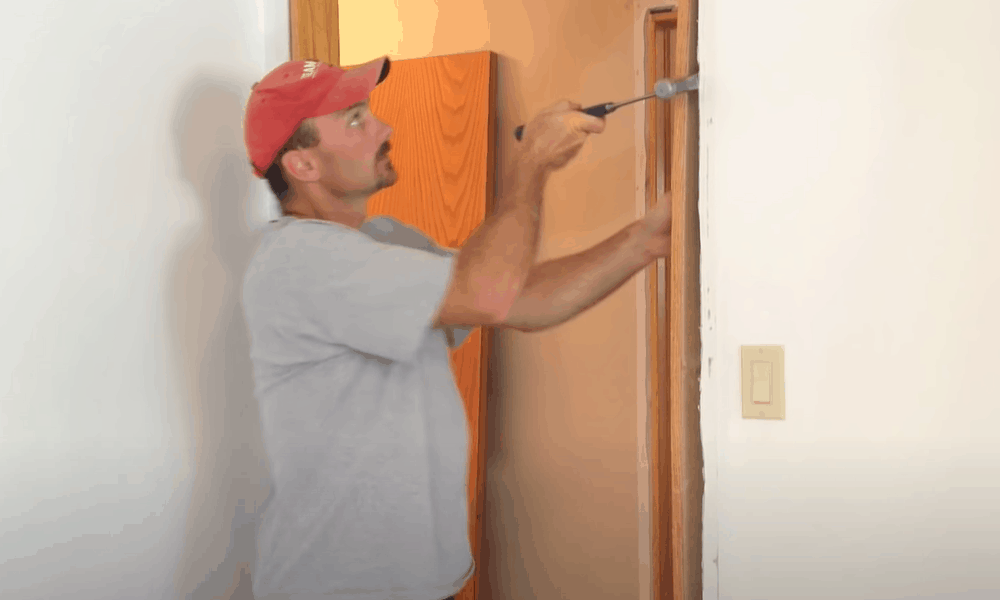
Step 1: Detach the door stop and molding from the frame

Use a hammer and chisel or putty knife for this purpose. Insert both into the door stop and yank them out to remove the door stop and molding. Make sure you start at the very bottom and work your way up by removing the stop and molding along the way.
Take special care not to damage the stop as you’re detaching it from the frame. You can do that by placing the claw end of the hammer on the nails. This will support the nails and ensure even removal of the door stop, thereby protecting it from damage.
Step 2: Remove the shims and straighten the frame
Most of you might already know that shims are used to level the door to both sides of the frame. Their removal is necessary if you want to repair a warped door frame. Once you’ve removed them, straighten the frame with gentle taps of a mallet.
As you’re delivering the blows of the mallet to the frame, the door should be closed. The area where the blows are landing must be covered with a thick piece of wood. This will ensure that the impact of the blows is evenly distributed along the frame.
Step 3: Reinstall the shims

-
Sale!

Swing Stop Bottom Adjustable Roller Flooring Barn Door Hardware
Original price was: $44.99.$33.99Current price is: $33.99. -
Sale!

Low Noise Floor Guide Adjustable Length Barn Door Hardware
Original price was: $15.99.$11.99Current price is: $11.99.Select options This product has multiple variants. The options may be chosen on the product page -
Sale!

Antique Big Rollers Steel Sliding Barn Door Hardware
Original price was: $187.99.$140.99Current price is: $140.99.


Since you have straightened the frame, it’s time to reinstall the shims. You shouldn’t install the shims that you replaced. Instead, purchase plastic shims from the market and use them. They are more long-lasting than their wooden counterparts and are more resistant to rotting too.
As you’re reinstalling the shims, place them on both sides and at the hinge height of the door. This will protect the door’s integrity in future as it’s at this point that the door transfers its weight to the frame. Nail the shims to secure them to the frame.
Pro Tip: Open and close the door several times after you’ve reinstalled the shims. It will let you know whether the door is even. If it isn’t, you may have to readjust the shims and the door.
Final Step: Reinstall the door molding
After installing new shims, it’s time to reinstall the door molding. Since its size will be comparable to that of the previous shims, you may have to remove any excess using a utility knife. Make sure that the molding is flush and level with the frame afterward.
b) Fixing a split door frame
Here are the steps using which you can fix a split door frame:
Step 1: Pinpoint the damaged area

Depending on how the door was damaged, the split might have occurred in a variety of locations. If the door was forced shut or opened with too much force, the middle of the frame might have borne the most of brunt. Such a scenario is likely during burglaries.
Conversely, if you or someone in your house kicked the door in frustration, a split might have occurred in the lower part of the frame.
Step 2: Detach the molding and door strip

Use a hammer and chisel for this purpose. Insert both into the door stop and yank them out to remove the door strip and molding. Make sure you start at the very bottom and work your way up by removing the strip and molding along the way.
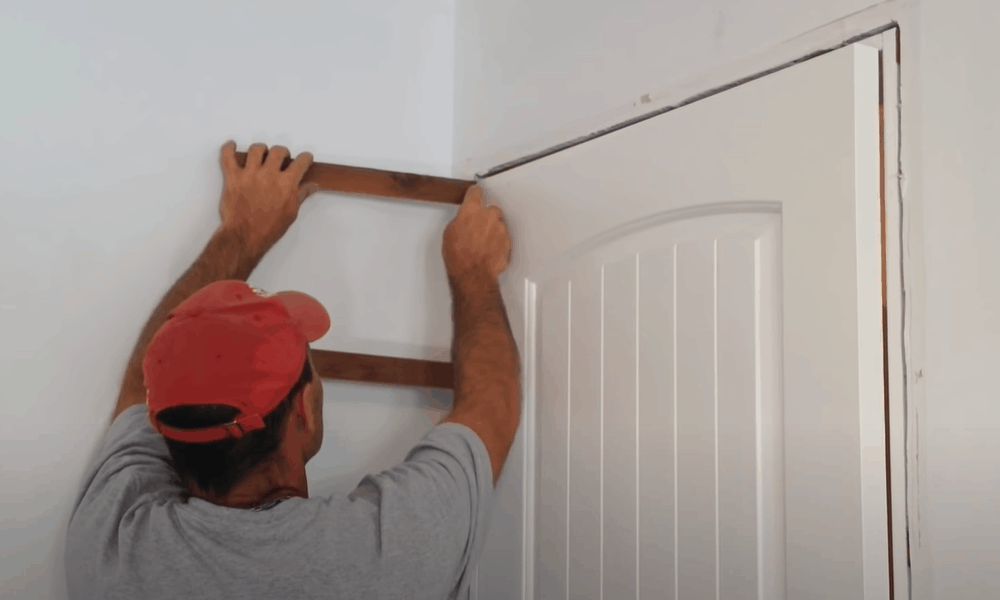
Step 3: Make the measurements
If the damage is at the center of the frame, measure 6 inches above and below the damaged area. Mark the measured area with a pencil afterward. However, if the frame has split at the bottom, you have no choice but to mark measurements above the damaged area.
Step 4: Cut the damaged area
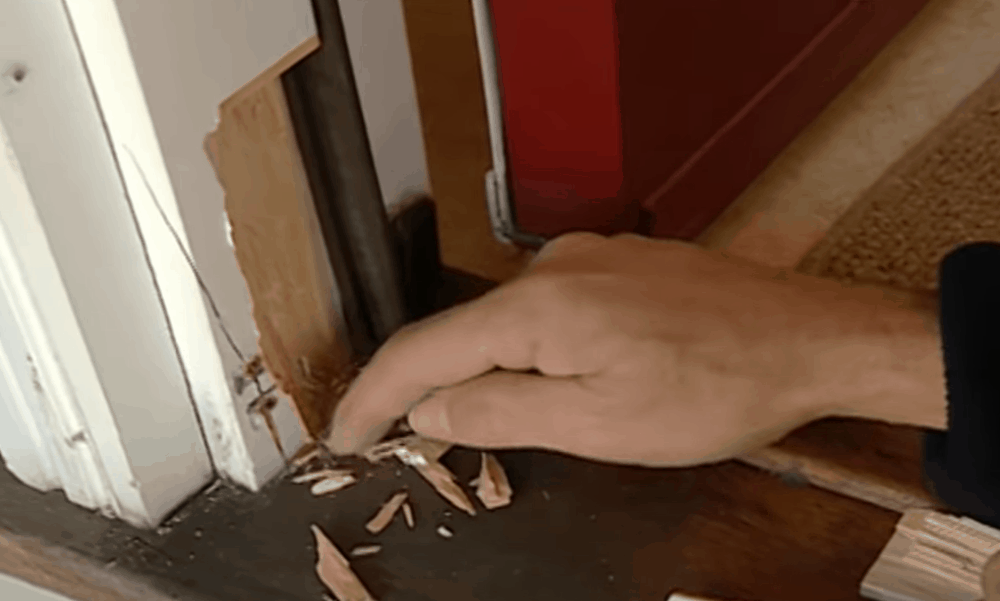
According to the measurements you marked in the previous step, cut the damaged frame away using a power saw. To hold the frame tight, you can apply screws above and below the measured area. Don’t cut too deep or you might end up damaging the frame’s integrity.
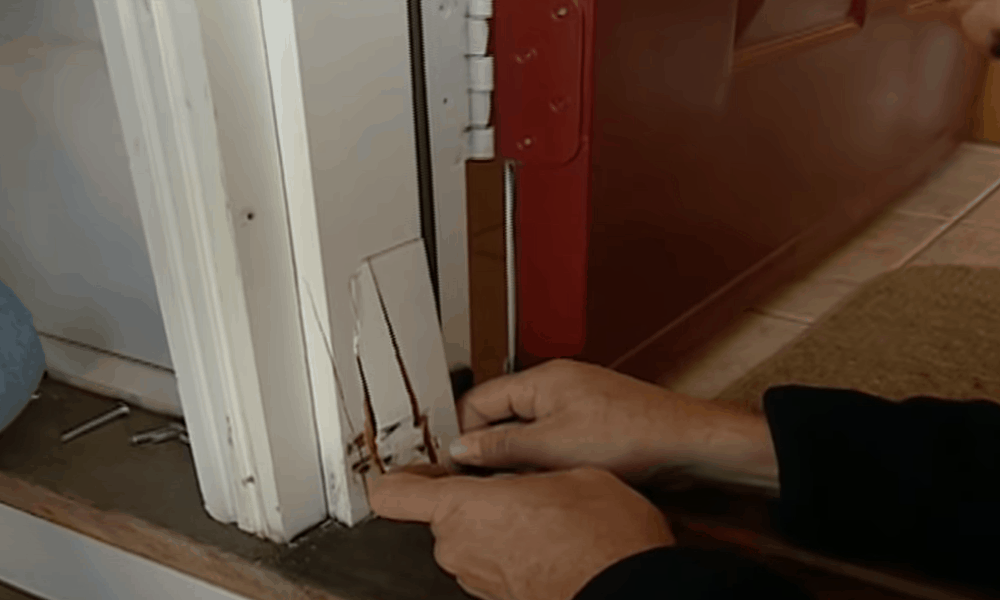
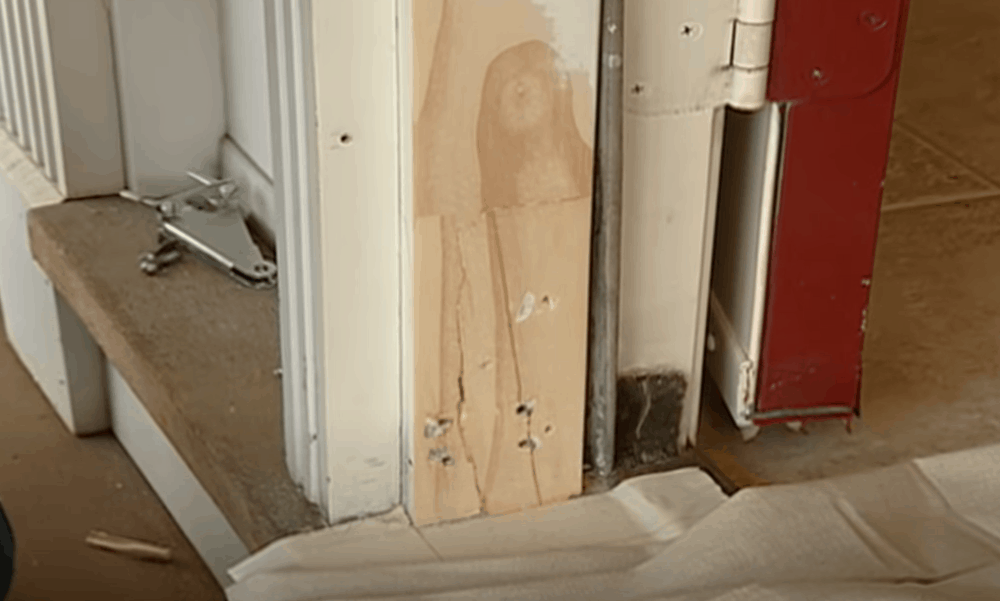
Final Step: Fill the damaged area with new timber
-
Sale!
Free Punch Glass Door Sliding Door Knobs Suction Cup
Original price was: $12.99.$9.99Current price is: $9.99.Select options This product has multiple variants. The options may be chosen on the product page -
Sale!
Window Cabinet Drawer Handles Self-adhesive Door Knobs
Original price was: $12.99.$9.99Current price is: $9.99.Select options This product has multiple variants. The options may be chosen on the product page -
Sale!
Upscale Sliding Door Knob With Double-sided Tape for Kitchen Door Wardrobe
Original price was: $12.99.$9.99Current price is: $9.99.Select options This product has multiple variants. The options may be chosen on the product page


Use the measurements you noted in the third step to cut timber of the same size. The material of the timber should ideally be the same as that of the rest of the frame. You can make sure of that by taking the damaging portion that you have cut to your local hardware store.
Once you have purchased and cut the new timber, use a carpenter’s glue to glue it in place. Hammer two nails – one at the top of the timber and the other at the bottom – to secure it in place. Then, sand away the area and apply a wood filler into the spot where the timber is meeting the frame. Sand the filler and then wrap things up by coating the timber with a coat of primer and two of paint.
c) Fixing a minor wood root
Here are the steps using which you can fix a minor wood rot:
Step 1: Pinpoint the damaged area
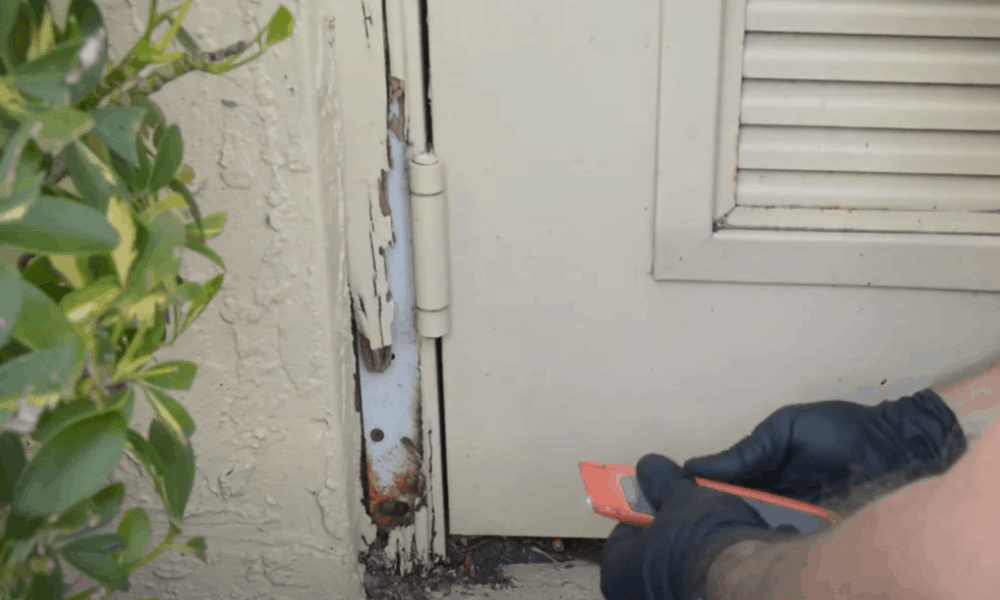
As you might know from experience, wood root occurs at the bottom of the frame as that’s the area where the frame is the most likely to come into contact with water. Measure the area that has caught rot with a measuring tape and then mark it with a pencil.
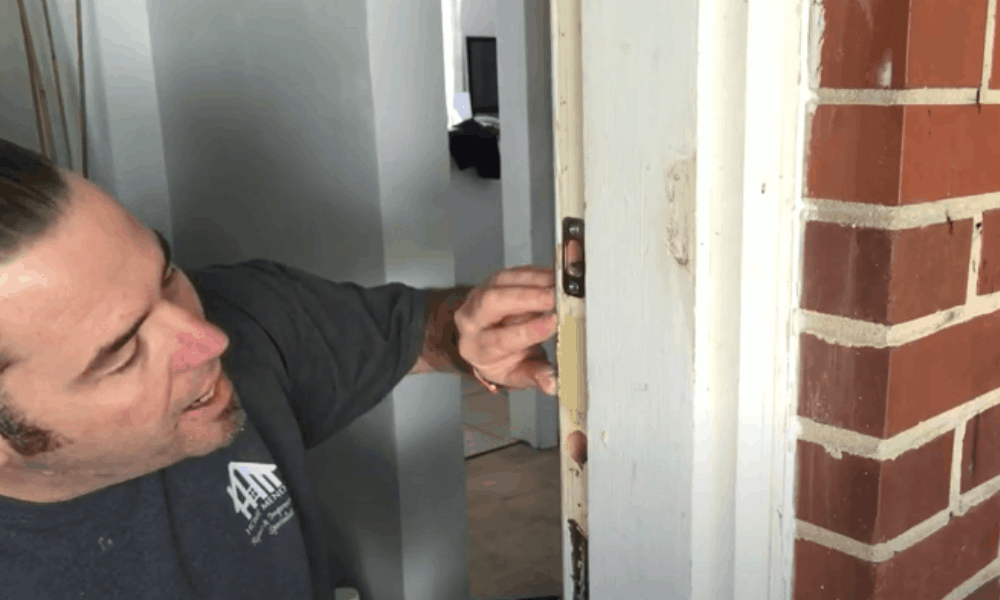
Step 2: Remove the damaged area

According to the measurements you marked in the previous step, cut the damaged frame away using a chisel. Make sure that you cut away every last piece of rotted wood. If even a tiny portion of the rotted wood remains in place, it will soon spread to the remaining area.
Step 3: Insert a wire mesh into the area you have cut

Insert a wire mesh into the opening and then lock it in place using screws.
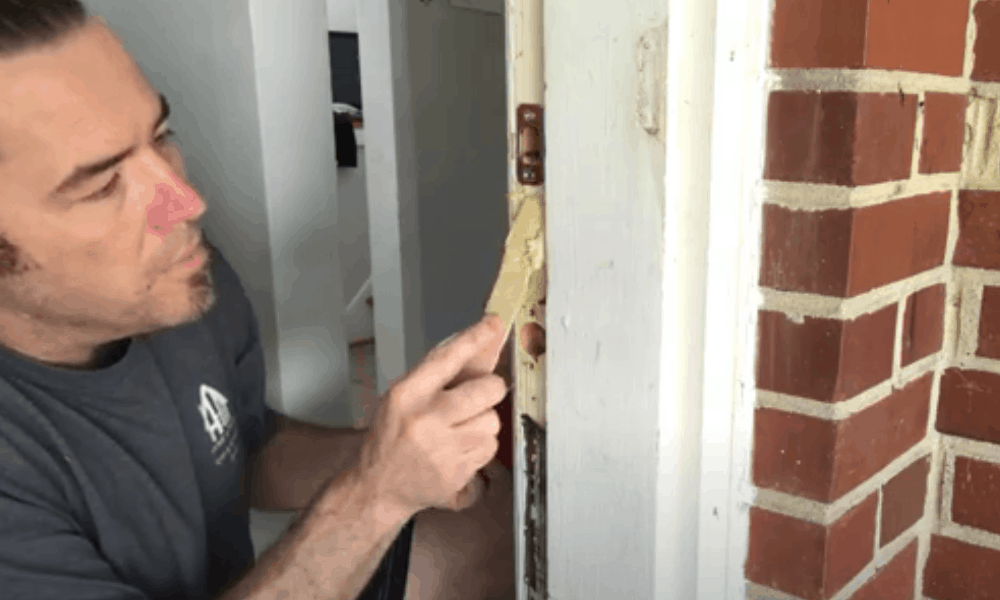
Final Step: Fill the gap with wood or body filler
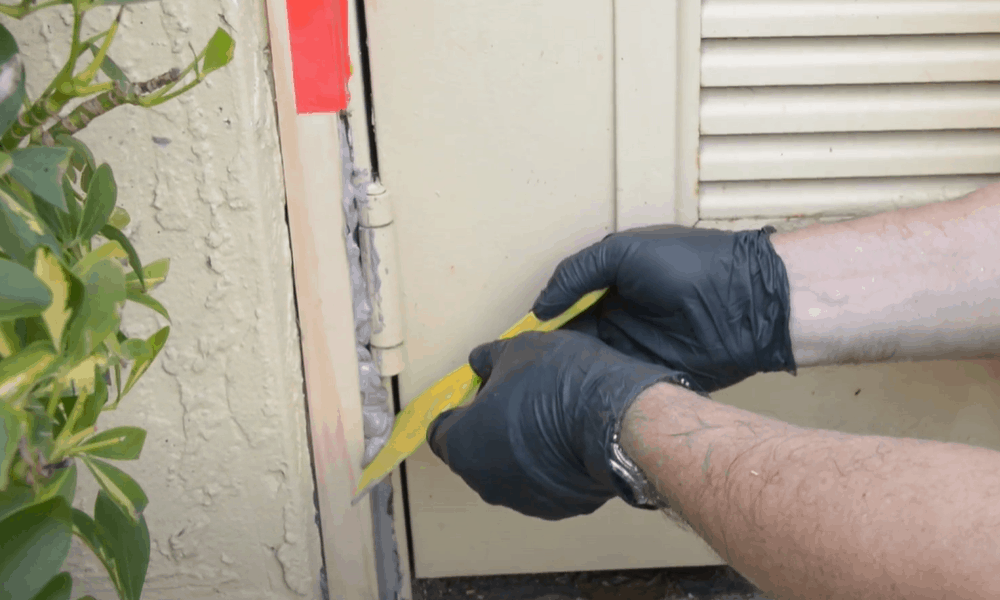
Dip a putty knife into the container of body filler and then use the filler to fill the gap you created in the 2nd step. Give the filler a few minutes to set in and then add additional filler. Any excess filler should be removed with a chisel before it can harden.
Lastly, after letting the filler dry overnight, sand the area and apply one coat of primer and two coats of paint over it.
d) Fixing a minor frame damage
Here are the steps using which you can fix minor frame damage:
Step 1: Identify the damaged area
There are any reasons due to which the frame can suffer minor damage, including animal bites, bed frames, door keys and other household accidents. Gently tap at the damaged areas to check the severity of the damage. As long as the wood isn’t pulling away, the frame can be repaired.
-
Sale!
Home Entrance Anti-Slip Coral Fleece Door Mat
Original price was: $12.99.$9.99Current price is: $9.99.Select options This product has multiple variants. The options may be chosen on the product page -
Sale!
Semicircular Cartoon Welcome Entrance Door Mat
Original price was: $12.99.$9.99Current price is: $9.99.Select options This product has multiple variants. The options may be chosen on the product page -
Sale!
Anti-skid Water Absorption Bathroom Door Mat
Original price was: $12.99.$9.99Current price is: $9.99.Select options This product has multiple variants. The options may be chosen on the product page


Step 2: Pour filler in the gouges
Use a putty knife and apply the filler into the smaller nicks, dents and gouges. The reason why we are recommending wood filler and not epoxy filler is that the latter might be more long-lasting but it has a less pleasant aesthetic.
Final Step: Let the filler dry overnight
Afterward, apply one coat of primer and two coats of paint over the damaged area.
Conclusion
As long as the damage that your door frame has suffered isn’t permanent, you can repair it by using one of the four methods mentioned above. Just make sure that you don’t hurry things up during reparation, as it might end up exacerbating the damage.