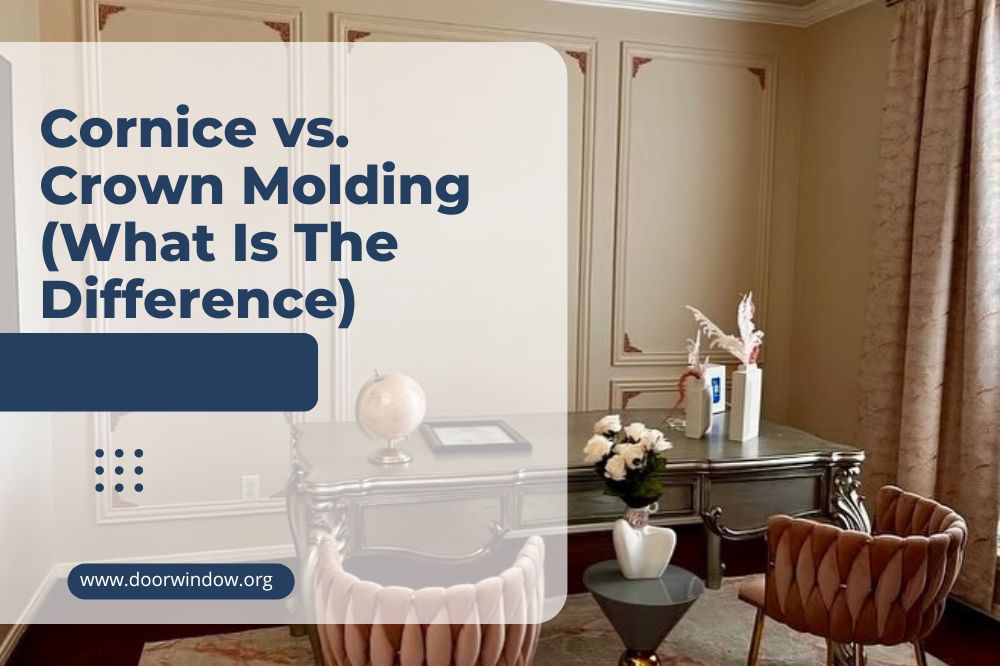
Cornice vs. Crown Molding (What Is The Difference)
When it comes to interior decorating, there often needs to be more clarity about the difference between the cornice and crown molding. Even experienced designers and builders need clarification about which trim piece should be used in a given space.
Crown molding and cornices offer a decorative touch to walls or cabinets. Crown molding is typically seen inside, while you can use cornice in interior and exterior designs. The two can be combined to create an exciting effect. Both add a unique element of sophistication to any design space.
Today, we will provide an overview of the differences between cornices and crown molding and their various uses in residential buildings.
Cornice vs. Crown Molding: What Is The Difference?
What Is a Cornice?
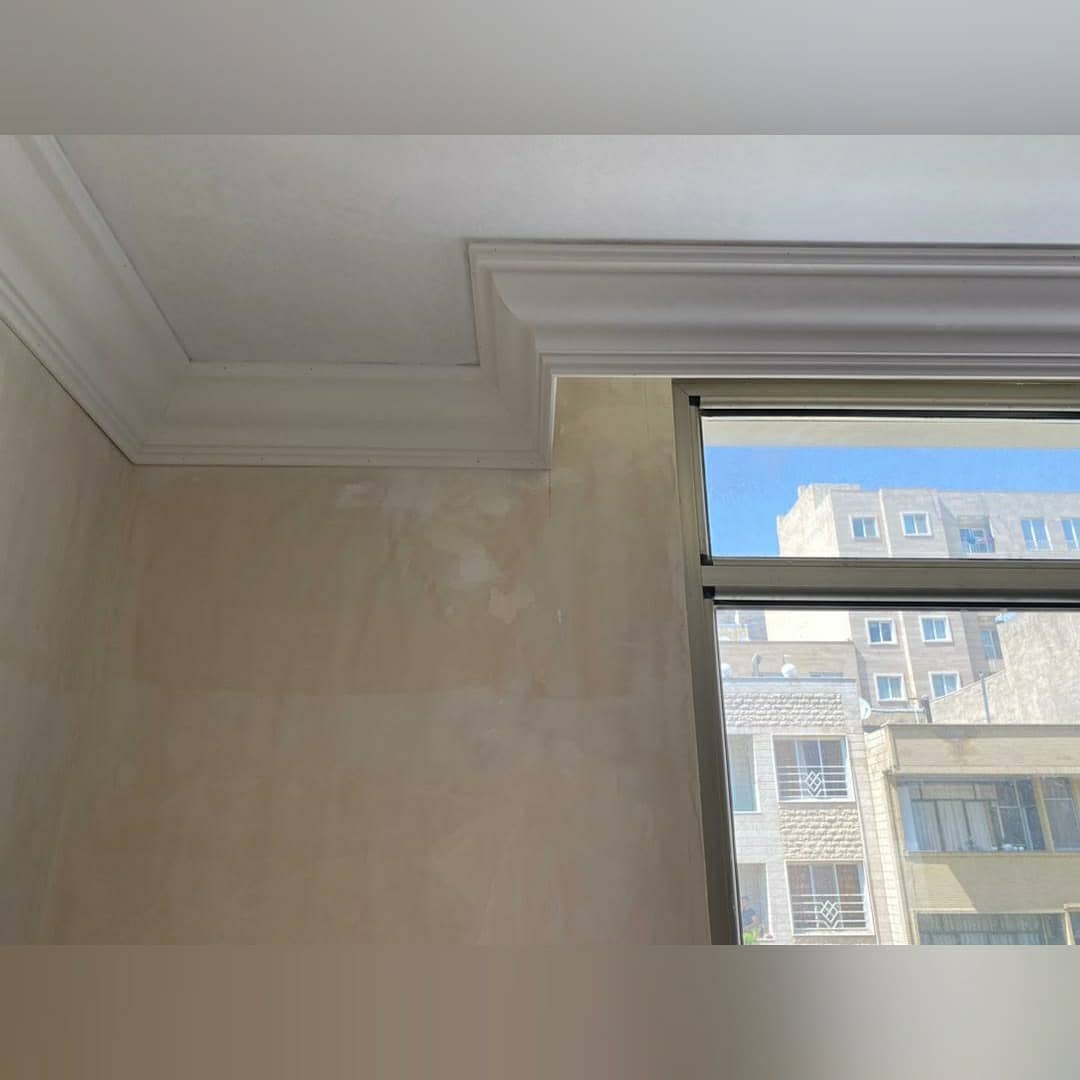
A cornice is a decorative element that projects from the uppermost part of an interior or exterior wall. This element can be made from wood, plaster, or lightweight materials such as polystyrene.
The primary purpose of a cornice is to serve as a decorative element that adds visual impact to the space and draws attention away from the ceiling height.
It protects by keeping rainwater away from the top of the wall and can even create a smooth transition between an exterior wall and a fireplace or balcony.
Formal spaces often feature plaster cornices, which can be sculpted to create intricate designs.
It’s often used to add texture or shading around the pedestal or armoire.
Uses of Cornices Molding
Ceiling cornices have been used for centuries to finish off the top edges of walls, such as in ancient Greek and Roman architecture.
They are also commonly seen adorning residential buildings, churches, government facilities, and other public spaces. Durable wood cornices are a popular choice for interior walls and give the room an extra aesthetic touch.
1. Lightweight Application
Ideal for lightweight applications like ceiling decorations, cornices made from polystyrene is often used to create a smooth transition between the wall and ceiling at the top of a room.
The lightweight material makes it easy to install in residential buildings.
2. Rainwater Management
Exterior cornices help manage rainwater runoff by providing a narrow surface to collect the water and direct it away from the building.
Basements and lower-level areas can remain dry when heavy rains occur.
3. Aesthetics
Exterior cornices are also used for aesthetic purposes as well as for structural protection.
They add a touch of luxury to the façade of a building and can be made from various materials like wood, aluminum, stone, or other durable materials.
4. Fire Protection
The exterior cornice is used as a fire protection barrier between the upper floors and exterior walls.
This helps prevent fires from spreading quickly throughout the building, which can help minimize damage and save lives.
-
Sale!

More Styles 3D Stained Glass Window Film Privacy Heat Insulation
Original price was: $12.99.$9.99Current price is: $9.99.Select options This product has multiple variants. The options may be chosen on the product page -
Sale!
Retractable Roll Shading Window Blinds
Original price was: $19.99.$14.99Current price is: $14.99.Select options This product has multiple variants. The options may be chosen on the product page -
Sale!
Nail-free Suction Cup Window Blinds
Original price was: $14.99.$9.99Current price is: $9.99.Select options This product has multiple variants. The options may be chosen on the product page

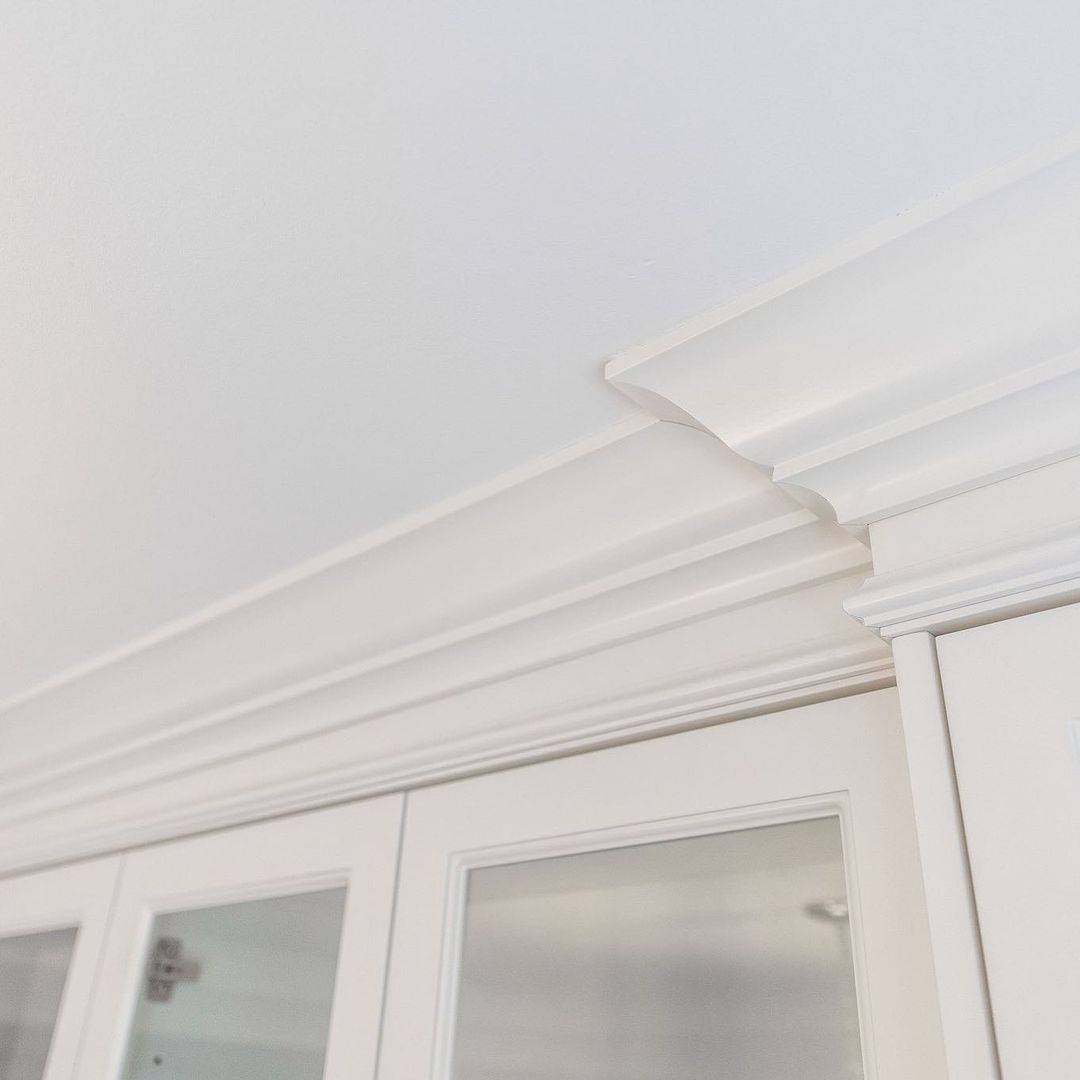
What Is Crown Molding?
Crown molding is interior design trim used to form an architrave around corners. Crown molding consists of two parts: the upper part, called the crown, and the lower part, called the base.
It refers to the topmost portion of certain pieces of furniture, such as armoires, bookcases, and overhangs. Crown molding also consists of ornamental wooden bars placed at the uppermost edges of a room to create a decorative look.
This type of trim can create a seamless transition between different areas of interior space and add style.
Uses of Crown Molding
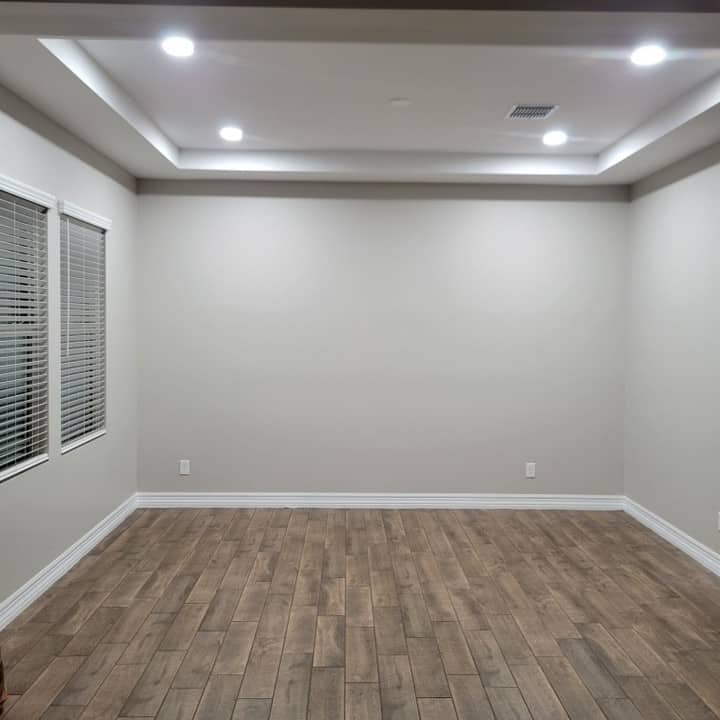
1. Heightened Ceiling
Crown molding is often used to give a room a heightened ceiling effect by making the height appear higher than it is.
This can be done even in rooms with 9-foot ceilings and can completely transform the look of the space.
2. Unique Profile
Crown molding can also create a unique profile along the top of the wall or ceiling, adding depth and interest to any space.
3. Smooth Transition
Whether you’re using it to transition from the ceiling to a fireplace, balcony, armoire, or bookshelf, crown molding can provide a smooth transition between different architectural elements.
It also helps create an attractive ledge at the top edge of a pedestal or uppermost edges of walls and furniture pieces.
4. Decorative Element
Crown molding can add a decorative element and style to any room.
Whether you choose a classic, ornate baroque style or something more modern and contemporary, crown molding can add elegance to the space.
5. Accent Paint
Crown molding is also an excellent way to add an accent color to your walls without repainting the room entirely.
Simply paint the molding with an accent color, such as a bright pink or deep blue, and instantly add visual interest to your space.
6. Framing
You can use crown molding to frame your home’s paintings, mirrors, windows, or other wall-mounted objects.
By framing these objects with molding, you’ll be able to add a sense of sophistication and style.
7. Functional Feature
Crown molding can also be used as a functional feature in your home. For example, you can use molding to hide any wiring or piping visible along the walls or ceilings of your home.
This is especially useful in bathrooms or kitchens where a lot of plumbing needs to be hidden.
Cornice vs. Crown Molding: What is the Difference
1. Price
Prices play an essential role in choosing between cornices and crown moldings.
Cornice molding can generally be purchased at a relatively low cost at any local building supply store. On the other hand, crown molding tends to be more expensive since it typically requires custom cutting and is used in more formal settings.
In terms of labor cost, cornice molding takes less time and effort to install than crown molding.
Cornice molding comes in a sheet that contains various classical shapes, which makes it easier for the installer to determine where it should be placed. Crown molding is usually cut to fit in specific places and can take more time to install.
Overall, the cost of cornice molding tends to be lower than that of crown molding. Despite this, it is not always the best option. It all comes down to personal preference and the overall look you are trying to achieve in your space.
2. Design
Several design considerations must be considered when choosing between the cornice and crown molding.
Firstly, the size of the moldings should be proportional to the room and column’s diameter.
When it comes to cornice molding, it is essential to remember that haphazard bellies and avalanches are not a good look when trying to achieve an aesthetically pleasing design. Cornices often look too busy if too many pieces are used.
Crown molding can create a more sophisticated look and feel in a room. It is vital to remember to give the crown enough “breath” or pauses when it is being installed. This will help ensure that the overall effect remains uniform.
Consider the diameter of the column when selecting crown molding. This will help to ensure that the proportions remain balanced and aesthetically pleasing, as well as create a clean wall-to-door transition.
Remember that there are different types of molding available, and the right one depends on your desired look.
For example, a full entablature can create an elegant effect in a formal room, and a simple flat trim might be more suitable for a casual setting.
Step-by-Step Guide to Installing Cornice and Molding
Installation of cornice and crown molding can be challenging, but it is achievable with the right tools and supplies. Achieving desired effects requires adhering to specific rules of architectural proportion. Ancient design principles such as the Golden Ratio and Fibonacci Sequence can be applied to ensure a visually pleasing outcome.
Step 1:
To begin, measure and cut the cornice and crown molding. Measure the length of each wall or ceiling and transfer these measurements to the pieces of molding.
Step 2:
Cut the wood at a 45-degree angle using a saw or miter box. If you are joining corners, ensure that both ends of the cut wood pieces meet in a smooth corner. Sand any rough edges or splinters.
Step 3:
The next step is to attach the molding to the wall or ceiling. Apply construction adhesive on the back of the wood and place each piece in place. Use a nail or screw gun to attach the molding permanently onto the wall or ceiling.
Step 4 :
For added detail, use trim nails to secure the molding at regular intervals. The key to a successful installation is creating a balanced look of visual interest. Utilize ancient design principles such as the Golden Ratio and Fibonacci Sequence to create a visually pleasing outcome.
Step 5:
Finally, when the installation is complete, fill any nail holes with wood putty and paint the molding to match the wall or ceiling.
Installing cornice and crown molding may be a challenging task, but if done correctly, it can have an amazing impact on the look and feel of your home.
Pro Tips
- Installing crown molding around corners can be tricky. Use smaller pieces rather than long ones to ensure an even level of formality in the room and create a beautiful wall-to-door transition.
- In formal settings, flat surfaces are ideal, while an Avalanche of dips creates an interesting texture in any room.
- Experiment with different techniques to find a look that works for you.
- When installing molding, remember that the lower molding should be a slightly different color than the upper one to create the illusion of depth and add visual interest to your room.
- For those who want to go the extra mile, there are many options for custom carpentry or an elaborate design. A sheet of classical molding shapes can be purchased from a local lumberyard or online and cut to size onsite. This can be a great way to create a unique look and make your room pop.
Final Thoughts
Cornice and crown molding provide unique architectural elements to a home but serve different purposes. The cornice is used to mask imperfections in the corner of walls, while crown molding defines the overall shape and style of the room or space.
Ultimately, it’s up to you to decide which option best suits your needs and personal preference for your project.
No matter what you choose, these two elements will add a touch of sophistication to any home. So go ahead and get creative with your design vision!