How to Remove Bubbles in Window Tint? (Tricks & Guides)
Window tint can be a great way to reduce glare and keep your vehicle interior cool when the sun’s out. But bubbles appearing in the film are the bane of any driver. Not only do they look unsightly, but they can also interfere with your visibility.
Fortunately, there are ways to get rid of them. Follow our 5 tips to remove bubbles from window tint, and your windows can look as good as new.
Ready? Let’s go!
1. Consider whether you should do it yourself
Before you get stuck in, it’s worth taking a moment to consider whether you should deal with the problem yourself.
If you’ve had your windows professionally tinted and spot bubbles shortly afterward, the answer is probably “no”. After all, you’ve paid the professionals so that you don’t have to deal with this problem.
Check any paperwork you’ve had from the auto shop. In many cases, work will come with a warranty, so defects like bubbles in your tint should be covered. Read through the conditions so you’re aware of any small print that might affect your claim.
But if you don’t have a warranty, don’t be put off from taking your car back to the auto shop. Any establishment worth it’s salt should stand behind the quality of its work. So if bubbles have appeared in your brand new tints, they should get rid of them for you.
That might mean a repair, or if necessary, replacement with the new film.
If your tint is several years old, again, it’s worth considering whether replacement is a better option. Trying to repair tint where the adhesive is failing with age will be at best a temporary solution. You may fix some bubbles, only to find new ones appearing shortly afterward.
It may be a better use of your time to bite the bullet and invest in new tints.
But if you’ve got new tints that you’ve put onto your vehicle yourself, only to spot bubbles later – read on! There may be no need to scrape them off and start again.
Instead, take a look at our hints and tips to get rid of them. You’ll avoid the expense of a new tinted film and save the time it takes to install it on your windows. And perhaps best of all, you’ll have the satisfaction of a job well done.
2. Turn up the heat
-
Sale!

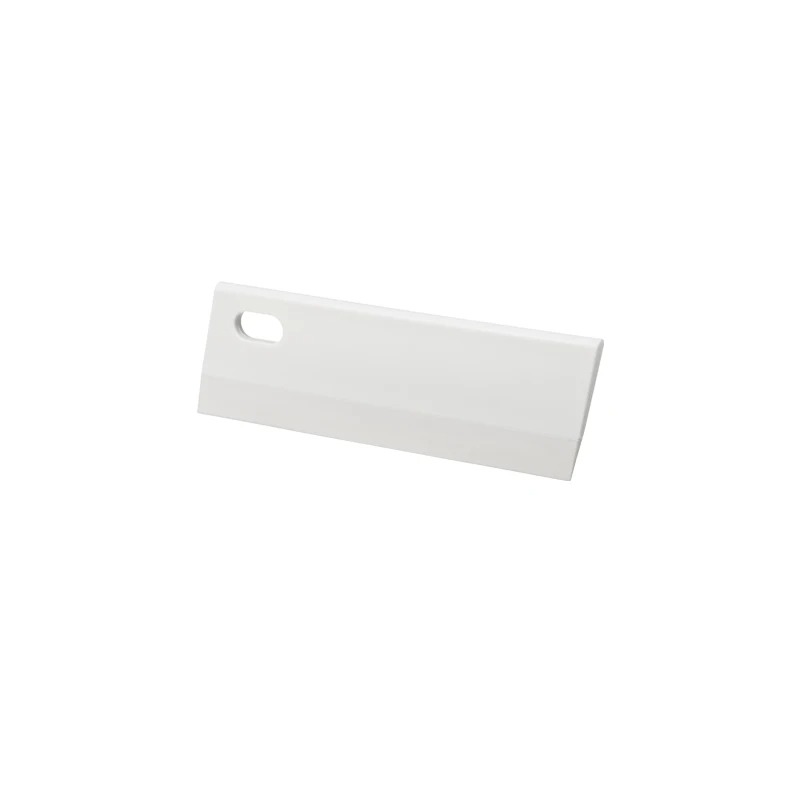
Household Scraper Car Mirror Wiper Window Cleaner
Original price was: $4.99.$3.99Current price is: $3.99. -
Sale!
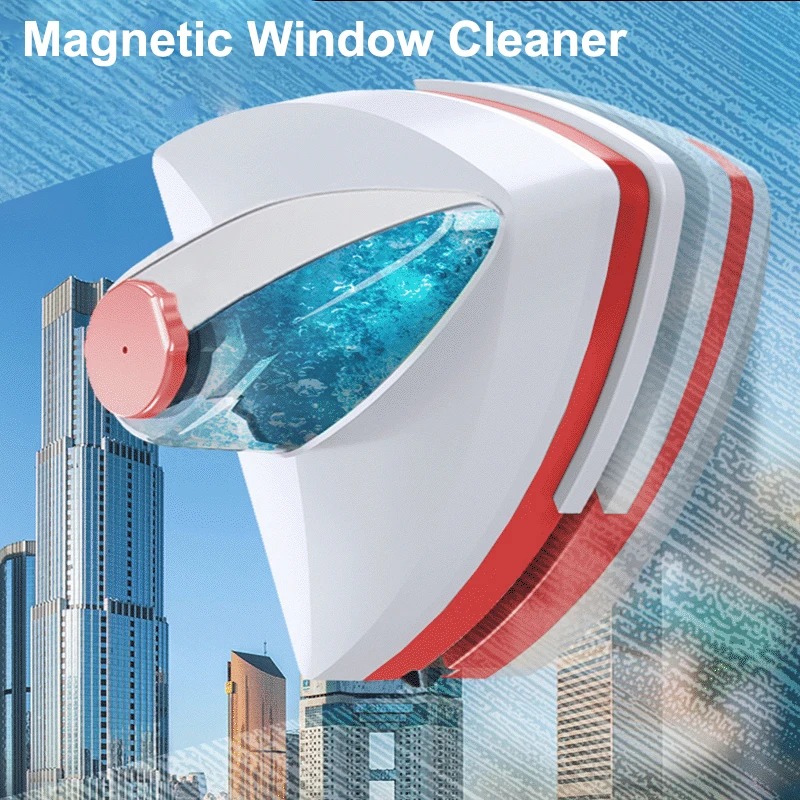
Magnetic Double-Side Automatic Water Discharge Window Cleaner
Original price was: $67.99.$50.99Current price is: $50.99.Select options This product has multiple variants. The options may be chosen on the product page -
Sale!
Shower Squeegee Long Handle Silicone Window Cleaner
Original price was: $15.99.$11.99Current price is: $11.99.Select options This product has multiple variants. The options may be chosen on the product page

Before you start doing anything to your tints, you need them to be flexible. If they’re not, they’re liable to split or break when you approach those bubbles.
And as well as the film itself, you want the adhesive attaching it to the window to be flexible too.
One excellent way to make address both these issues is to apply heat. There are a number of different approaches you can use to do that.
In warm weather, a good way to start is to place your vehicle in the sunshine. Solar heat can be very effective at warming up the film on your windows. And it will also penetrate through the film and heat up the adhesive underneath.
Choose a day when it’s at least 75 degrees Fahrenheit, and park your vehicle somewhere it’s away from any shade. Then simply leave it there for an hour or so while the temperature rises.
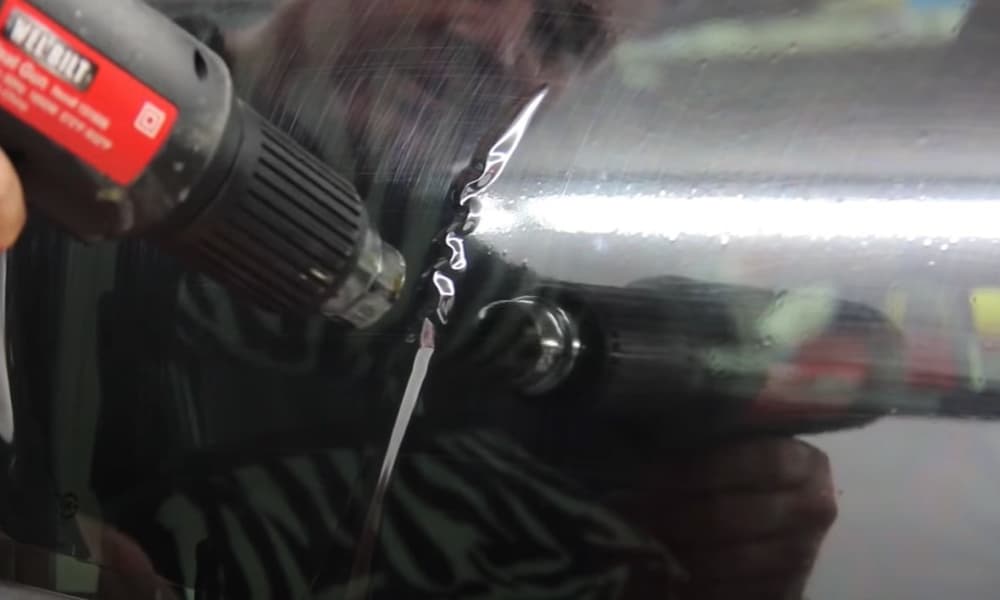
For best results, though, you can’t beat direct heat. Place a heat gun near the windows to get that film warmed up. And if you don’t have a heat gun, a hairdryer will work just as well. Just make sure you have a long enough extension cord to reach your car.
Apply the heat for a few minutes to the window you want to work on. Don’t try to do the whole vehicle at once. You’ll probably find that by the time you’ve finished dealing with one window, the others will have cooled down again.
If you’re having to do this job in cooler weather, it’s best to have your vehicle in a heated environment. If you’ve got a garage, plug in a portable heater. Even with a heat gun, the window can cool down again quickly if the temperature outside is cold.
If that happens before you’ve had time to complete the job, it will be a recipe for rips and tears.
3. Use soapy water
The next step in making sure the film is flexible enough to be worked on is to use soapy water. By far the easiest way to apply this is by using a spray bottle. The kind of thing you use to mist the leaves of houseplants is ideal. They’re not expensive and will be available at most hardware stores.
Fill the bottle three-quarters full with water, and then add liquid detergent before giving it a shake. Adding the detergent last avoids the bottle filling up with soap suds that overflow when you add the water.
It’s a good idea to prepare your bottle of soapy water before you start heating up the film. That way you’ll avoid losing any heat whilst you’re searching your house for a spray bottle.
Apply the soapy water as soon as you’ve finished heating the window you want to work on. Spray it generously over the whole surface. The heat will interact with the water and make both the tint and the underlying adhesive far more flexible. And that will make your job a whole lot easier.
4. Put a pin in it
Now that the film is nicely pliable, you’re ready to start attacking those bubbles. And to do that, you’ll need a sharp pin.
A safety pin will do the job perfectly, and it will give you a larger area to hold onto. That, in turn, will help you get a better aim. As we’ll see shortly, that’s very important.
Use the pin to make a tiny hole in the middle of each bubble. If you’re worrying about poking holes in your carefully applied tints – there’s no need! As long as the tint isn’t old and it’s nice and pliable, it will seal itself back up again.
The flexibility of the film and adhesive is ultra-important for this to work. That’s why it’s worth spending plenty of time on the earlier steps before you get out that pin!
The technique here is important too. Be gentle as you poke the tint, and point the pin directly into the center of the bubble. If you pierce the film at an angle, it will be very easy for it to tear. And no matter how well you’ve prepared the window with water and heat, that isn’t something that will repair itself.
That’s why a safety pin is a good choice. The larger end means a bigger surface area to grip, and will help you aim the point effectively.
Make sure you keep the film nice and wet as you work. It’s a good idea to re-spray the window several times so the part you’re working on is always nicely flexible.
5. Iron out those bubbles
For this stage, you’ll need an object with a firm, straight edge. A squeegee is ideal. If you’ve invested in a professional squeegee kit to apply your tints, get it out again for this.
But if you don’t have a squeegee, don’t worry. A piece of firm plastic will do the job just as well. An old credit or debit card would be perfect. You want something that isn’t too flexible but can withstand a bit of pressure without cracking.
Now choose the bubble you want to start with and apply your card or squeegee to the film. Make sure you hold it at a 45-degree angle to the surface of the window.
You need to start at the outermost edge of the bubble. Press down firmly and slide the card towards the middle, where you’ve made the pinhole. Use long, smooth strokes, and take your time. That way you’ll minimize the risk of the film ripping.
What you’re doing here is driving the air that’s collected behind the film towards the pinhole. When it reaches it, it will be expelled through the gap. With the air gone, the adhesive and film can sit flush against the window once again.
Keeping the film flexible is just as important during this part of the process. If you’re working inside, keep the garage warm. And just as you did when you were making the pinholes, keep the film wet. Hold onto that bottle of soapy water and spray the windows regularly.
Ready for bubble-free tinted windows?
We hope you’ve enjoyed our top 5 tips for removing bubbles from window tint. With care, patience, and a few simple tools, your windows can be bubble-free once again. That will leave your vehicle looking smarter, as well as improving visibility as you’re driving or reversing.
If you’ve had your tints installed professionally, remember to check your warranty before attempting any repairs yourself. You may find you’ve invalidated your cover if you subsequently try to make a claim.
But if you’ve done the installation yourself, taking the DIY approach to bubble blasting can be very rewarding. We hope our hints and tips make the process go smoothly. And if you’ve done this yourself, please comment and let us know how it went!