How to Install a Bifold Door? (Step-By-Step Tutorial)

Do you want to flood your home with sunlight? Hoping to enjoy the freedom that comes from being outside without stepping foot out the front door? Looking for ways using which you can enhance your property’s security? Then we have some good news for you.
You can reap all these benefits once you learn – and apply – how to install a bifold door. These doors make your home look slick and modern with their luxurious design. Their availability in over 200 colors makes sure that you can easily select the color that perfectly matches with your interior.
Before you install a bifold door
Here’s what you need to do:
Make the necessary preparation
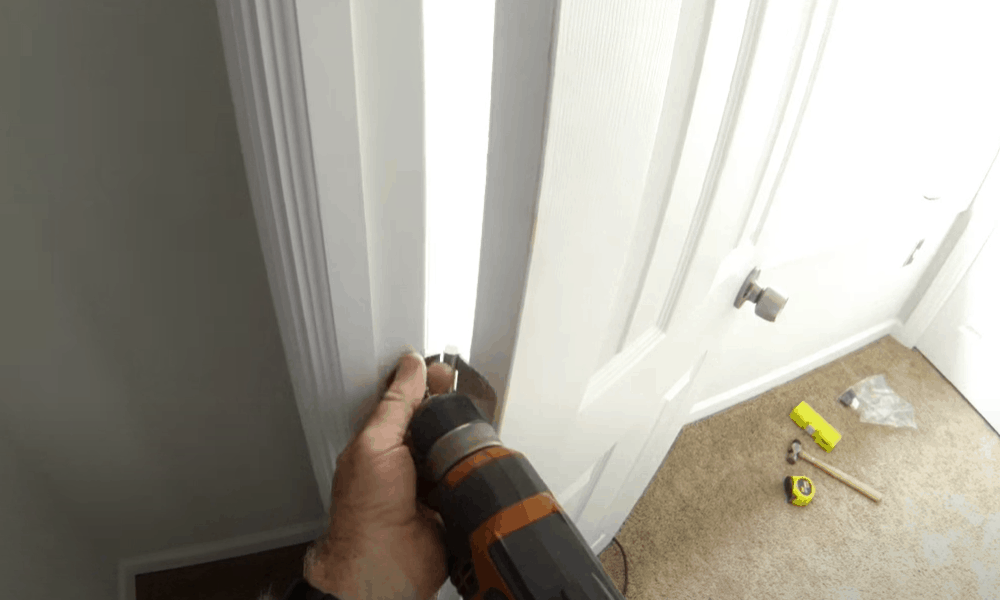
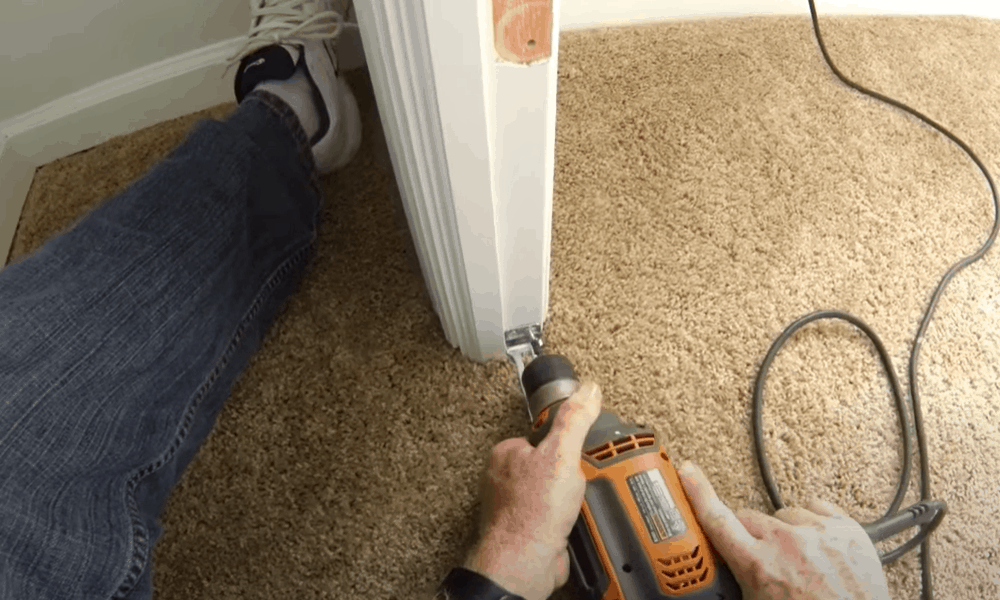
Remove the old doors (if any) and the hardware that kept them in place. You may have to use a screwdriver, hammer and chisel for this process. After you have taken separated the old door from the door jamb, you’ll be left with the door opening.
You might have to repair the door opening if the removed door stood for many years. This will require you to fill old screw holes with wood putty. Use the opportunity to paint the area where the door comes into contact with the frame, as it will be hidden after you’ve installed the new door.
Select the right type of bifold door
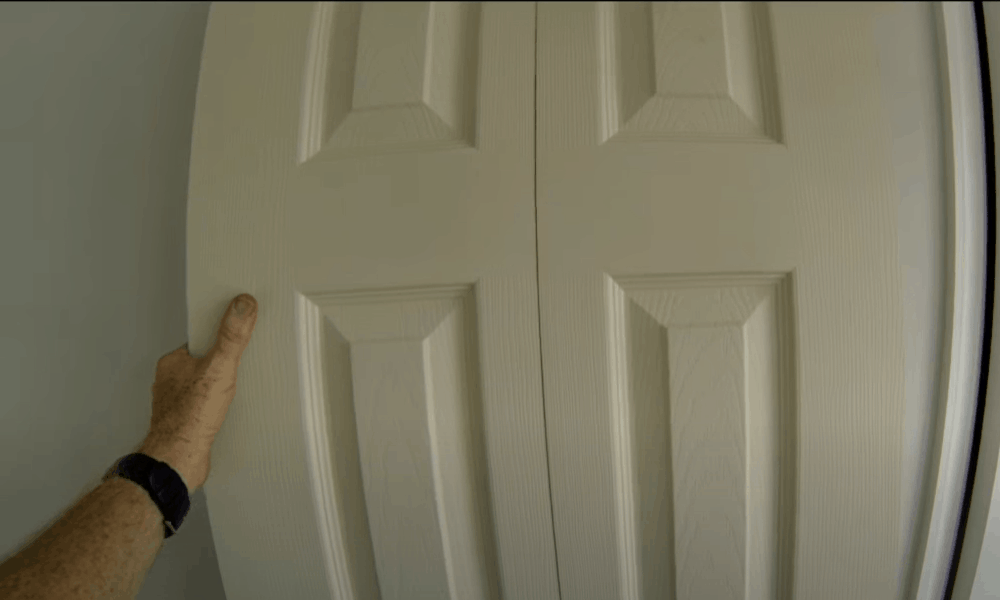
Two types of bifold doors are available on the market: single bi-fold door and a pair of bi-fold doors. You might want to choose the former if you have a small opening. If you feel that a small door cannot fill the size of the opening, choose a pair of bi-fold doors.
Regardless of its type, make sure that the bi-fold is made of solid wood or at least its core must be of solid wood. This is necessary because hollow-core bi-fold doors aren’t as long-lasting and won’t stand the test of time.
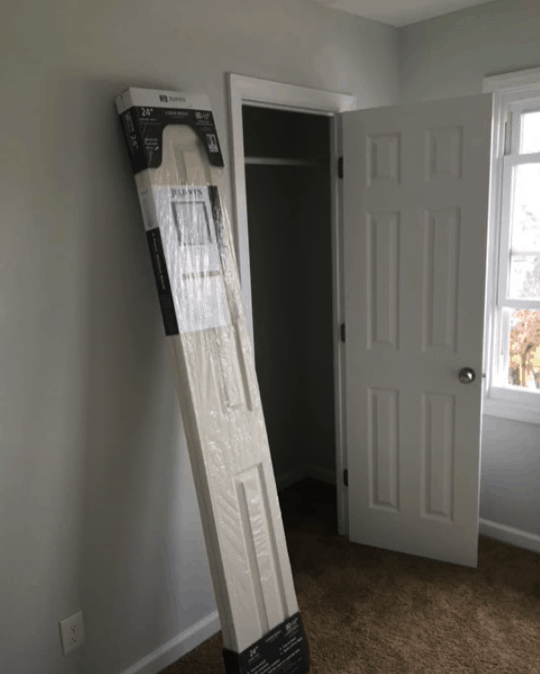
Purchase the door after taking measurements
Use a measuring tape to measure the height and width of the door opening. Head home to your local hardware store or Amazon to purchase a new billfold door. The combined height measurements of both the new doors should be 1 to 2 inches less than that of the opening.
-
Sale!

Swing Stop Bottom Adjustable Roller Flooring Barn Door Hardware
Original price was: $44.99.$33.99Current price is: $33.99. -
Sale!

Low Noise Floor Guide Adjustable Length Barn Door Hardware
Original price was: $15.99.$11.99Current price is: $11.99.Select options This product has multiple variants. The options may be chosen on the product page -
Sale!

Antique Big Rollers Steel Sliding Barn Door Hardware
Original price was: $187.99.$140.99Current price is: $140.99.


Similar should be the case with both the doors’ combined width measurements. They should b 0.5 inches less than the width of the opening. The reason why you’d be doing that is to account for mechanical parts that you’ll need to attach the door to the frame.
What you’ll need for installing a bifold door
Here’s a list of all the tools and equipment you’ll install a bifold door
- Safety glasses and work gloves
- Bifold door track kit
- Drill and drill bits
- Hammer and hacksaw
- Level and screwdriver
- Snugger guide
- Paint brush, paint pail and putty knife
- Sawhorses and tape measure
- Track and brackets
- Paint and paintbrush
- Door aligners
Step-by-Step Guide on how to install bifold doors
Before you apply the following steps, you might want to check out this video. It will serve as a primer to the below-mentioned guide and make it easier for you to understand (and implement) the step-by-step guide we have listed below.
Step 1: Mark the center of the opening

Use a measuring tape to measure the width of the entire opening. Then, mark the center point of the width with a pencil. This is where you’re going to position the new door.
Step 2: Cut and install the track
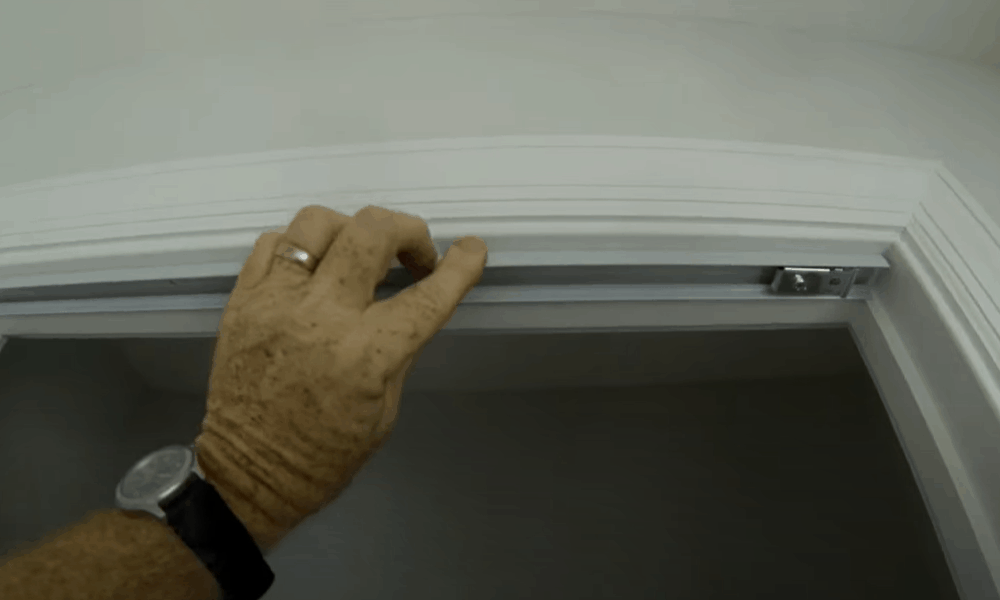
Bifold doors need a track and brackets for their installation. Cut the track in such a way that there’s a 1/16’’ gap on both ends. Then center the track on the top of the header (frame), position its pivot bracket toward the jamb, and install the track.
Step 3: Fasten the bracket to the jamb
Every jamb needs to have a bracket to connect it with the door. The bracket doesn’t come pre-installed with the jamb so you need to attach both afterwards. To do this, center the bracket at the floor, drill pilot holes into it and then fasten it to the jamb with screws.
-
Sale!
Free Punch Glass Door Sliding Door Knobs Suction Cup
Original price was: $12.99.$9.99Current price is: $9.99.Select options This product has multiple variants. The options may be chosen on the product page -
Sale!
Window Cabinet Drawer Handles Self-adhesive Door Knobs
Original price was: $12.99.$9.99Current price is: $9.99.Select options This product has multiple variants. The options may be chosen on the product page -
Sale!
Upscale Sliding Door Knob With Double-sided Tape for Kitchen Door Wardrobe
Original price was: $12.99.$9.99Current price is: $9.99.Select options This product has multiple variants. The options may be chosen on the product page


Step 4: Paint the new doors
Put the new door on the sawhorses as it will be easier to paint it there. You can use either a paintbrush or paint spray gun for this purpose. We recommend you opt for the former as it is relatively easy for DIYers to achieve a smooth and bold finish with a paintbrush.
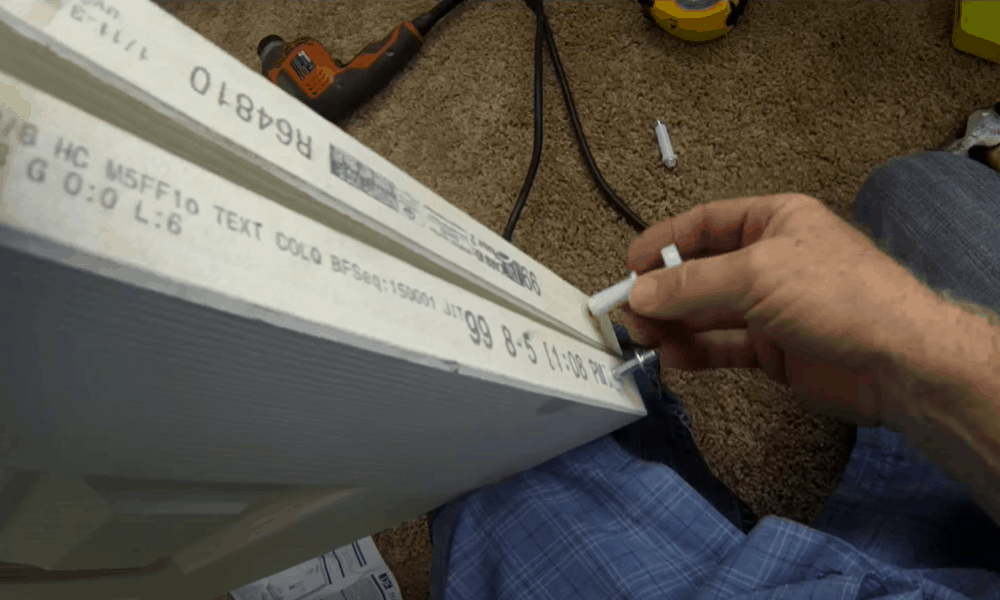
Once you have given the door enough time to air dry, use a hammer to tap the pivots into the holes that will be there at the top and bottom of the door.
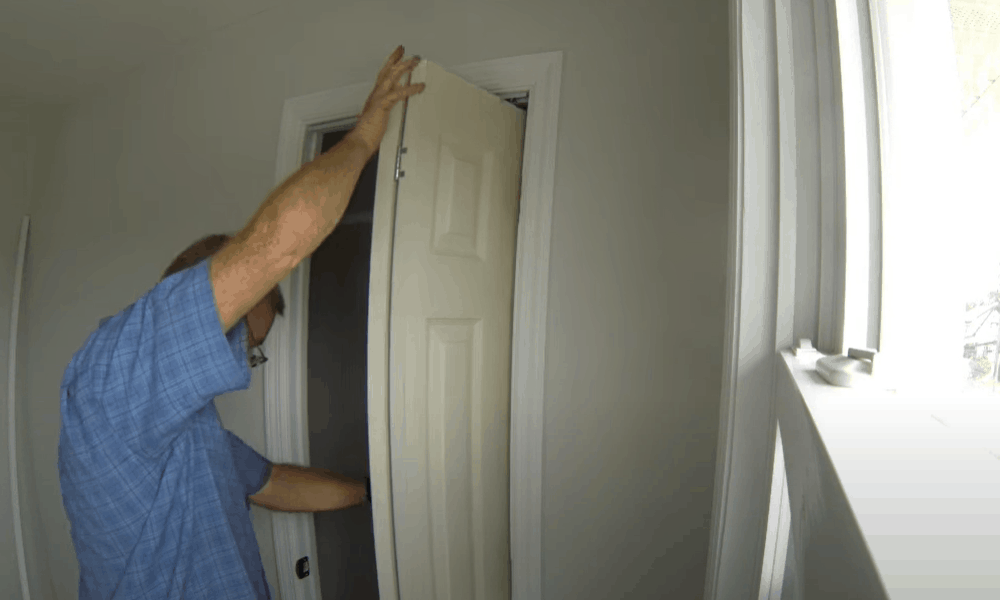
Step 5: Install the door
To install the doors, first insert the top pivot into the brackets and follow it up by seating the bottom pivots in the bottom brackets. Afterward, fill the track with the snugger guide. To make sure that the guide pivot is rotating securely in the door, squeeze it into the top of the door, slide it under the track and release the snugger guide.
Step 6: Adjust the door
Make sure that the door isn’t coming in contact with the header jamb (at the top). It shouldn’t rub on the floor either. If any of the two issues exist, rectify it by lifting the door and rotating its bottom pivot. You’d then have to make the door plumb.
You can do this by lifting the door and sliding it into its position on the jamb bracket. Loosen the screw at the top of the pivot bracket, and push the door until it is plumb, after which you should once again tighten the screw.
Final Step: Attach the hardware
-
Sale!
Home Entrance Anti-Slip Coral Fleece Door Mat
Original price was: $12.99.$9.99Current price is: $9.99.Select options This product has multiple variants. The options may be chosen on the product page -
Sale!
Semicircular Cartoon Welcome Entrance Door Mat
Original price was: $12.99.$9.99Current price is: $9.99.Select options This product has multiple variants. The options may be chosen on the product page -
Sale!
Anti-skid Water Absorption Bathroom Door Mat
Original price was: $12.99.$9.99Current price is: $9.99.Select options This product has multiple variants. The options may be chosen on the product page


You won’t have to attach any hardware if your bi-fold doors come with pre-installed pulls. If that isn’t the case, pinpoint a height on the door where your hand can reach comfortably. Mark it with a pencil. Hold the hardware in your hand, press it against the door, and insert the screws into the holes.
Next, attach the aligners as they help keep bi-fold doors closed. Loosely attach them on the room-facing side of the door, about 1 foot above the floor. Keep on adjusting them as long as the doors don’t snap close. Then tighten their screws.
Conclusion
Since they fold back into sections, bi-fold doors save a lot of space and therefore serve as an excellent alternative to sliding doors. Their installation process can be a bit tricky, but if you carefully follow all the steps mentioned above, you’ll be able to install your bi-fold doors in a matter of hours.