How to Install a Window Well? (Step-By-Step Tutorial)
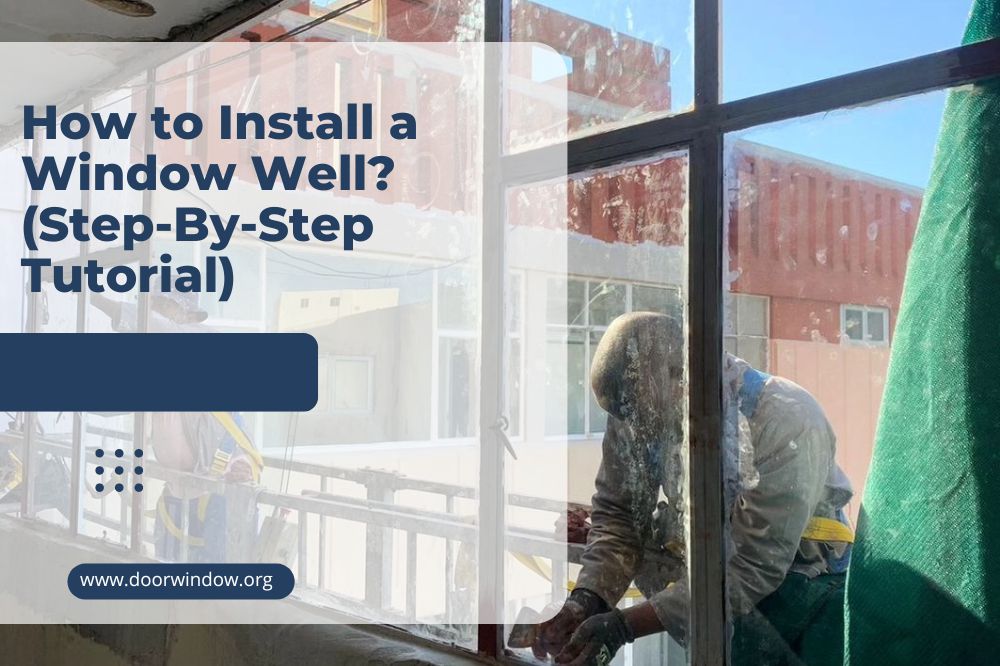
There are many reasons why learning how to install a window well is a smart move on your part. These U-shaped dug-outs are meant to keep your family safe by providing an exit point in the case of an emergency like a fire, burglary, etc.
Aside from that, the light and air that window wells let-in turns your basement from a damp and dreary place to one that is bright and inviting. These structures also prevent moisture damage by keeping soil from amassing up in the openings in the foundation’s walls.
Steps by Steps for Installing a Window Well
Follow these steps to install a window well on your own:
Step 1: Gather the supplies
You’re going to need the following tools:
- Tape measure
- Window well
- Shovel
- Power auger
- Perforated tube with a drain cap
- 3/8’’ masonry bit on a hammer drill
- Anchor sleeves with nuts
- Well cover
Step 2: Measure the size of your basement window
Use a tape measure to determine the length and width of the basement window. Add 15 cm (6 inches) to the width and 20 cm (8 inches) to the height measurement. It will make sure that the well that you’re going to install will perfectly fit inside the window’s outer side.
Step 3: Select a well meeting the window’s dimensions
Four types of window wells are mostly available on the market. Let’s take a brief look at each to decide which one might suit your needs better.
- Wood window well
Depending on the existing trim on your home, you can select a matching wooden window well. These wells offer you the advantage of cutting them to any design of your liking. But you must know that wood wells are more susceptible to rot.
- Cement window well
Apart from being strong, cement is affordable and durable. It provides a finished, clean appearance to your basement window, but, just as is the case with wood, cement doesn’t stand up well on long-term exposure to moisture.
-
Sale!

Fire Retardant Sunscreen Window Blinds
Original price was: $45.99.$34.99Current price is: $34.99.Select options This product has multiple variants. The options may be chosen on the product page -
Sale!
Light Filtering Zebra Window Blinds
Original price was: $37.99.$28.99Current price is: $28.99.Select options This product has multiple variants. The options may be chosen on the product page -
Sale!
Portable Blackout Stick On Window Blinds
Original price was: $21.99.$15.99Current price is: $15.99.
- Metal window well
If you can afford to spend over the odds, galvanized steel wells will provide you the best value for your money. Such units are impervious to leaks, withstand extremes of temperature, and come in all styles to match any home exterior.
- Plastic window well
One of the unique selling points of plastic window wells is that they come with a built-in liner. These wells perform brilliantly when it comes to repelling water and have the necessary strength to last long.
Step 4: Dig a hole for the well
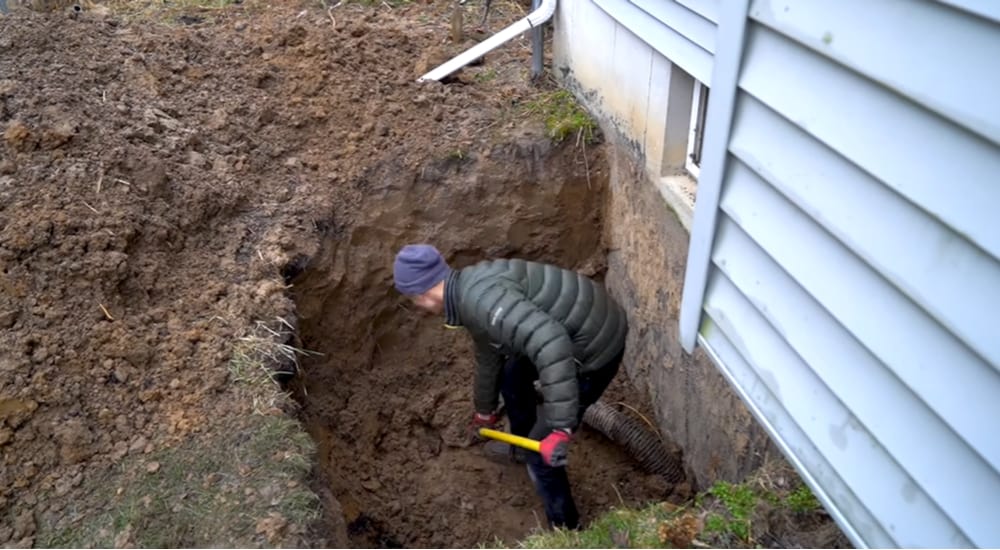
Dig the hole about 5 inches (13 cm) from the front-facing side of the window. Make sure that it is 5 inches (13 cm) deeper and 6 inches (15 cm) wider than the dimensions of the well. Shovel the dirt into a tarp so it’s easy to take away to the dumping point.
Step 5: Create a drain hole using an auger
Augurs are vertical drills that dig holes in the ground. You’re going to create a bore using it so as to create a drain hole for the window well. Position the end of the auger in the center of the drain and turn it on. Keep on digging until the auger strikes the layer of gravel that is under your house.
If the augur starts making a whirring sound, it’s a sign that dirt may have accumulated on its blades. Take it out to remove the dirt and then start creating a bore once again.
Step 6: Fill the drain hole with a perforated tube with a drain cap
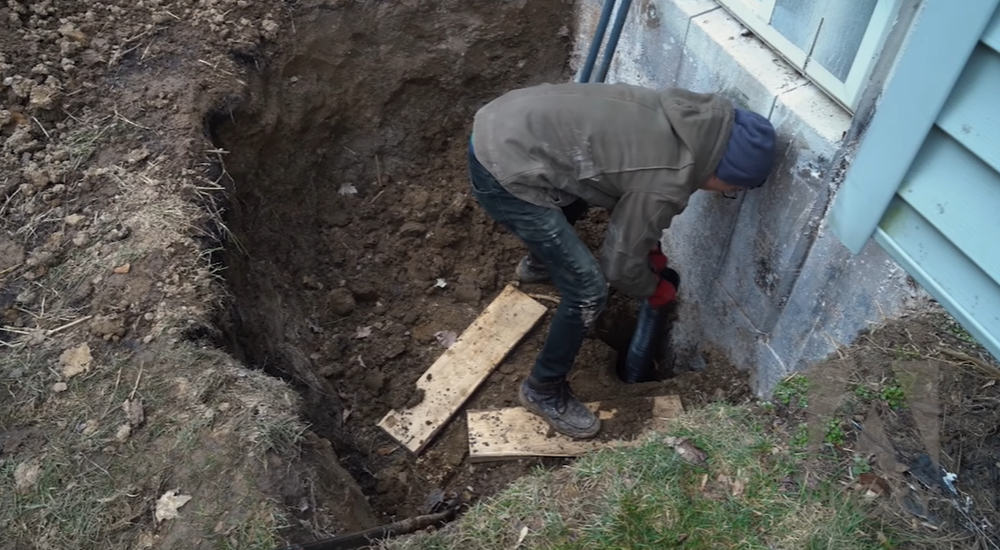
The perforated tube will take water away from the well and divert it towards your home’s underground drainage pipe. Measure the length of the drain hole and then purchase a perforated tube that’s the same length. The diameter of the tube should range between 4 and 5 inches.
-
Sale!
Line Heart Decor Tassel Window Curtains
Original price was: $12.99.$9.99Current price is: $9.99.Select options This product has multiple variants. The options may be chosen on the product page -
Sale!
European Simple Partition Screen Window Curtains
Original price was: $15.99.$11.99Current price is: $11.99.Select options This product has multiple variants. The options may be chosen on the product page -
Sale!
Blackout Simple Solid Thicker Window Curtains
Original price was: $48.99.$36.99Current price is: $36.99.Select options This product has multiple variants. The options may be chosen on the product page


Once you have the tube, place it in the drain hole and cover it with its drain cap. This will stop any gravel or dirt from getting into the tube and clogging it. Then pour gravel around the outside of the tube to ensure that the tube stays in place. Keep on pouring the gravel until it’s touching the drain cap.
Step 7: Put the well into the hole
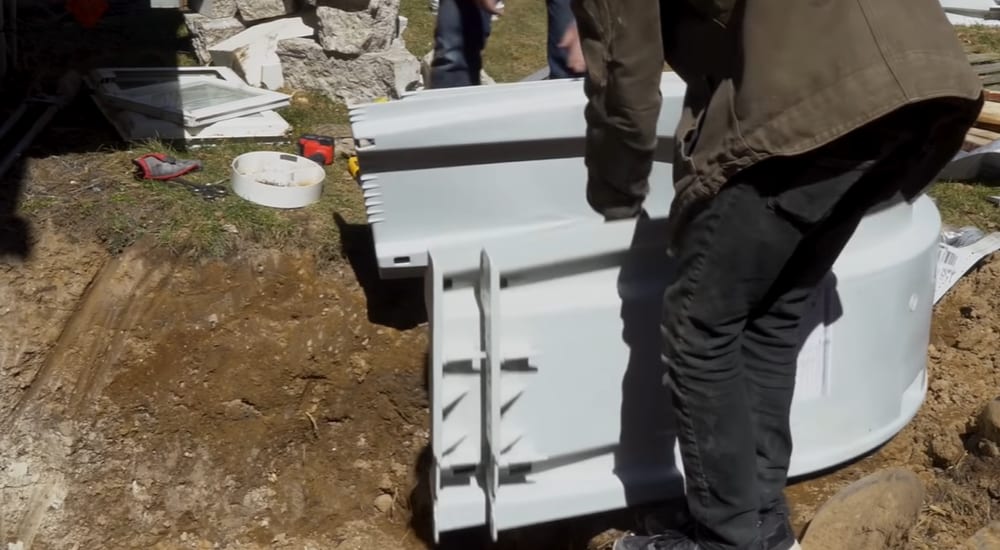
Set the well against the foundation and make sure it’s level. The edges of the well’s sides must be 3 inches from either side, whereas the top must be 3 inches over the dirt. Use a level to check that the well is sitting straight inside the hole. If it isn’t, add more dirt underneath the well.
Once the well is sitting straight, use a marker to mark the location of its predrilled holes on the foundation. The well shouldn’t be shifting around as you’re marking the holes. Or else, they won’t line up when you want them to in the upcoming steps. Take the well out of the hole after marking the holes.
Step 8: Drill pilot holes
Fit a 3/8” masonry bit on a hammer drill. Use it to drill holes on the marks that you made against the foundation in the previous step. All the holes should at least be 2 inches deep.
Step 9: Screw the well into place
After unscrewing the nuts from them, insert the anchor sleeves into the holes you drilled in the previous step. Put the well in front of the sleeves and screw the nuts back onto the sleeves. The anchors should be 1 7/8” long and 3/8” wide. Tighten the nuts using a wrench to secure the well in place.
Step 10: Pour gravel alongside the outer edges of the well
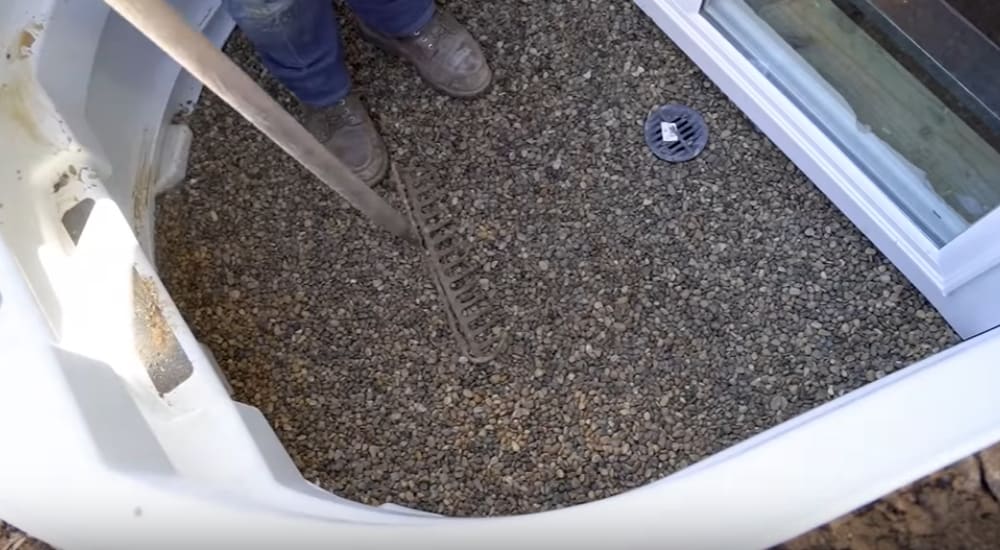
This step is self-explanatory. Use a shovel to pack down the gravel and be careful not to add so much gravel that its layer gets above the window sill. This will let the gravel leak into your home.
-
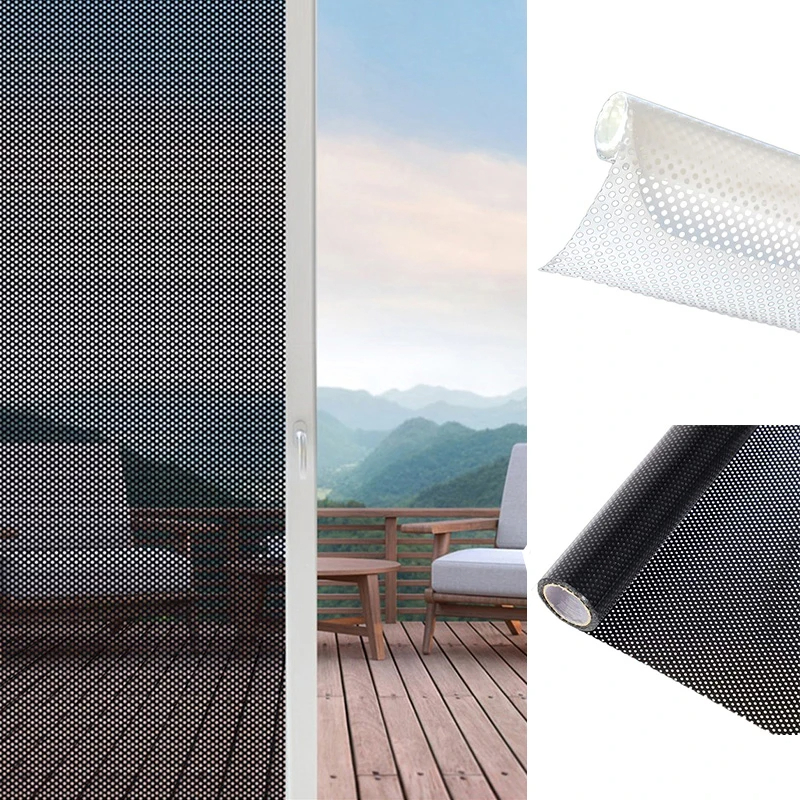
Sale!
Self-adhesive Mesh Window Film Privacy for Home Office Decorat
Original price was: $5.99.$4.99Current price is: $4.99.Select options This product has multiple variants. The options may be chosen on the product page -
Sale!
Removable Electrostatic Retro Flower Window Film Privacy For Home
Original price was: $9.99.$7.99Current price is: $7.99.Select options This product has multiple variants. The options may be chosen on the product page -
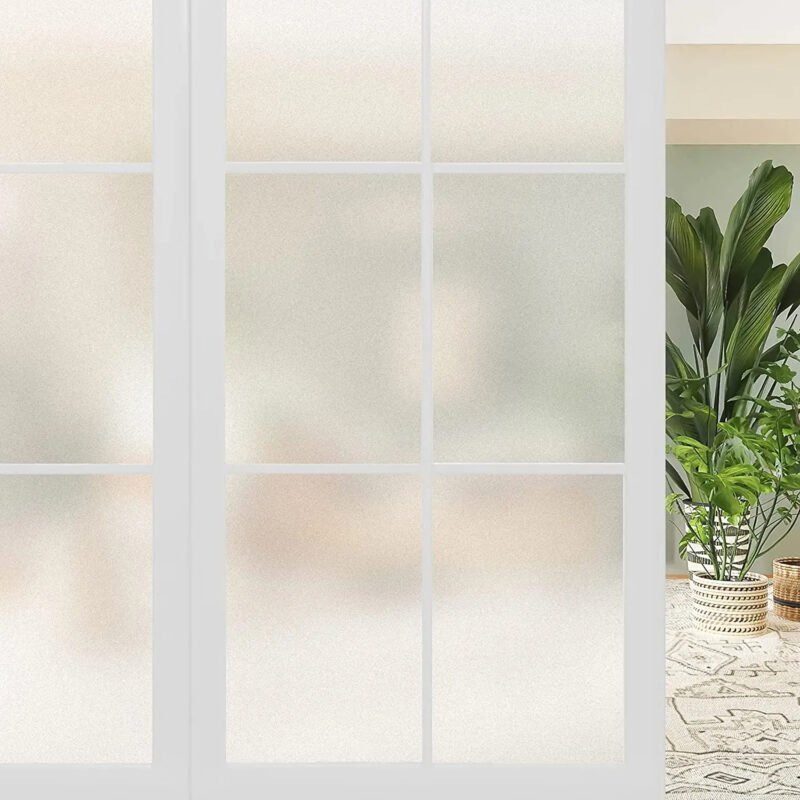
Sale!
Pure Matte UV Blocking Window Film Privacy for Home
Original price was: $37.99.$28.99Current price is: $28.99.

Then, to fill in the remainder of the hole, pour in the dirt you initially dug up. After each shovel of dirt, tap onto it. Keep on doing that until the hole is filled. Don’t forget tapping the dirt as it will ensure that the well is well packed.
Step 11: Put a cover over the well
If you want to temporarily place a cover, simply purchase one from the market and put it over the opening. For a permanent solution, drill holes in the foundation and use anchors to cover the window well permanently.
Conclusion
As you might have guessed by now, installing a window well isn’t easy. But given the benefits that it provides – safety exit, more light in the basement, etc. – the effort that you’re going to put in right from digging the first hole to placing a cover over the well is well worth it.