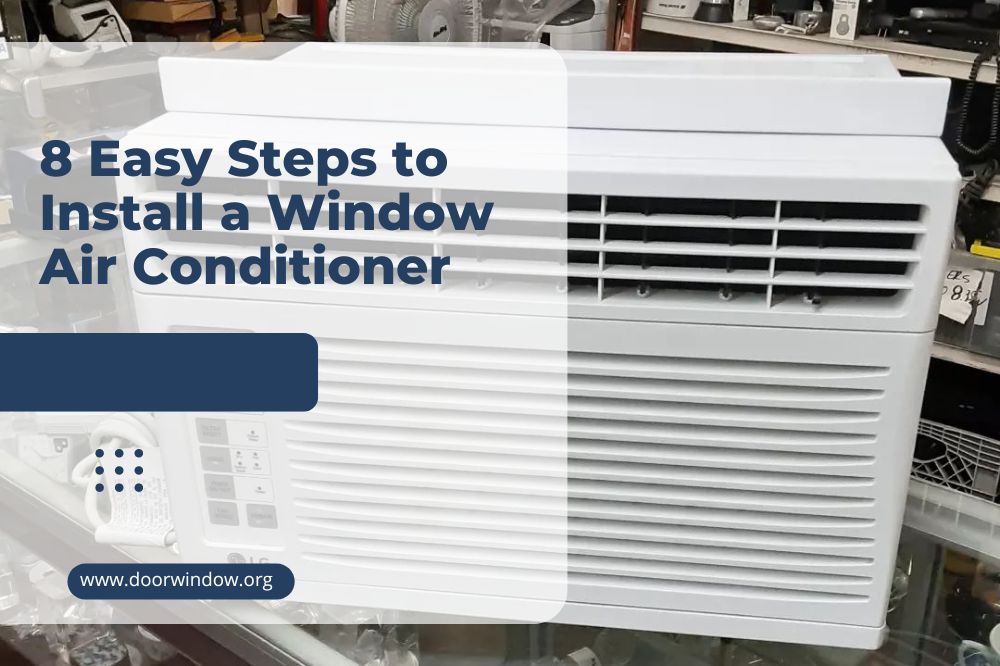
8 Easy Steps to Install a Window Air Conditioner
Many features of the window air conditioners convince people to prefer them over their split and central air conditioning counterparts. They are a reliable and time-tested option and provide cooling that lasts for hours, even in the case of power outages.
Aside from that, when the summer heat nosedives and you have no need for them, you can easily remove them and use your window sill for other purposes. You’d also appreciate the fact that compared to other air conditioning equipment, they are convenient to operate.
With all these benefits in mind, let’s check out how to install a window air conditioner:
How to Install a Window Air Conditioner
These units have an awkward shape and are typically heavy. You won’t know until you lift them whether you can carry their weight on your own or not. It is for this reason that we recommend that you have a helping hand when installing a window air conditioner.
Once you have an aide standing alongside you, follow these steps to install your unit:
Step 1: Check out its kit
Provided you’re installing a brand new window air conditioner, it might have come with a kit containing mounting brackets and window extensions. Both these items are extremely important. They will help secure the window and give the air conditioner an air-tight fit.
Purchase these attachments if you’re going to install an air conditioner that didn’t come with a kit or one that has been lying in your garage with these components missing.
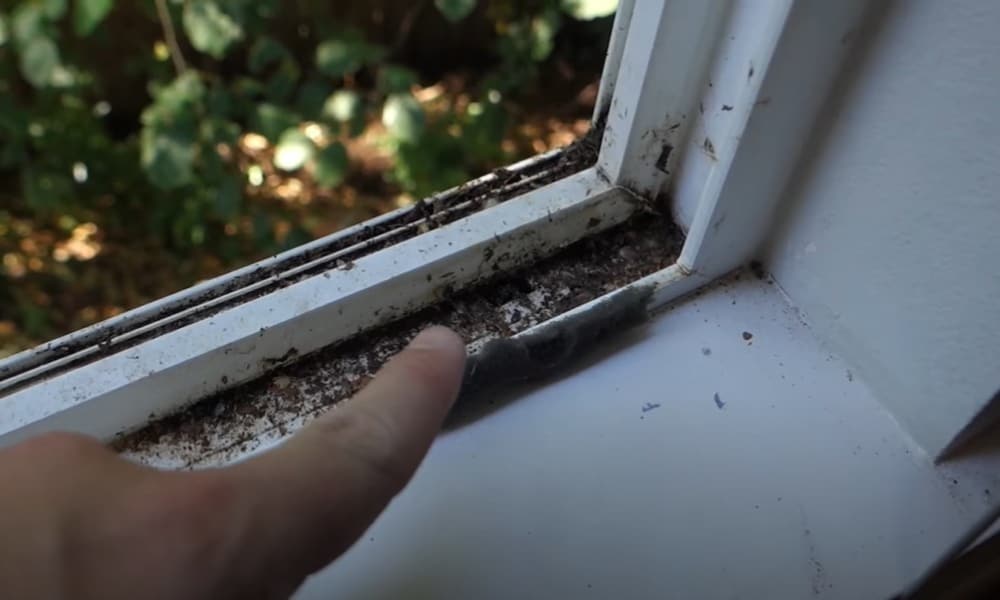
Step 2: Clear out the window sill
-
Sale!

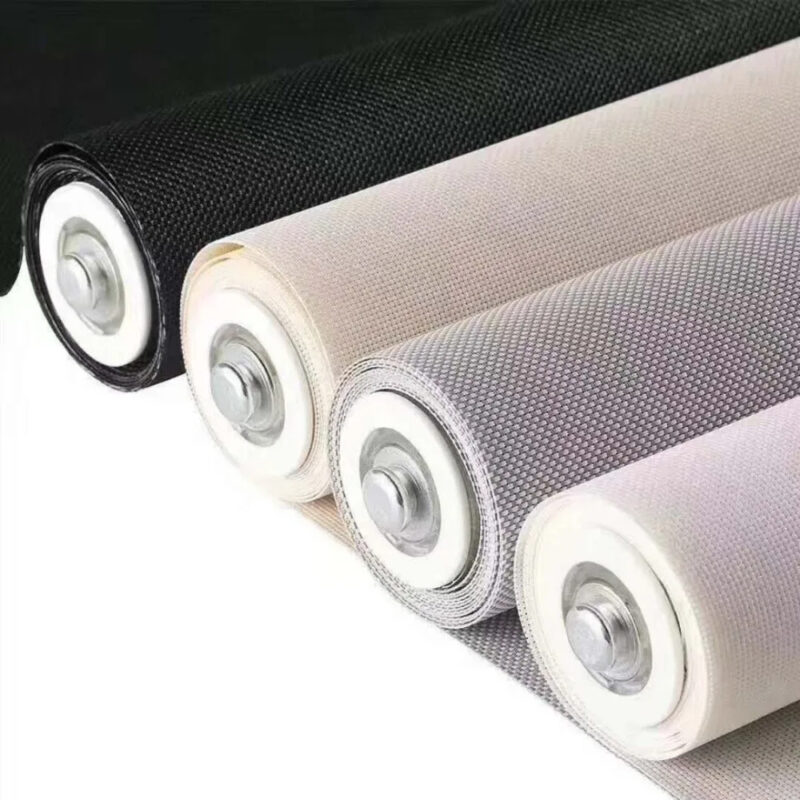
Fire Retardant Sunscreen Window Blinds
Original price was: $45.99.$34.99Current price is: $34.99.Select options This product has multiple variants. The options may be chosen on the product page -
Sale!
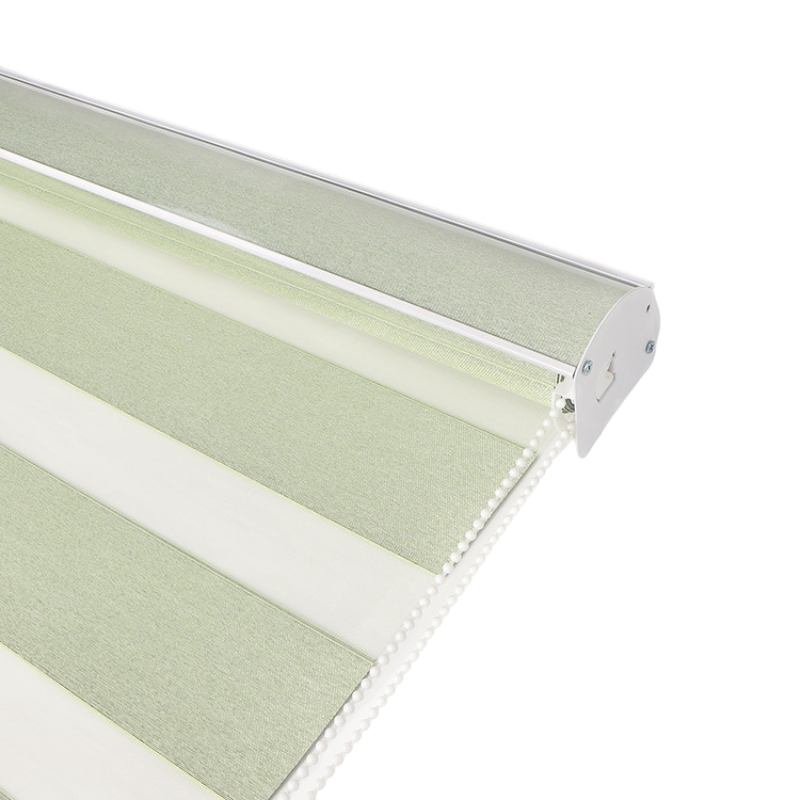
Light Filtering Zebra Window Blinds
Original price was: $37.99.$28.99Current price is: $28.99.Select options This product has multiple variants. The options may be chosen on the product page -
Sale!
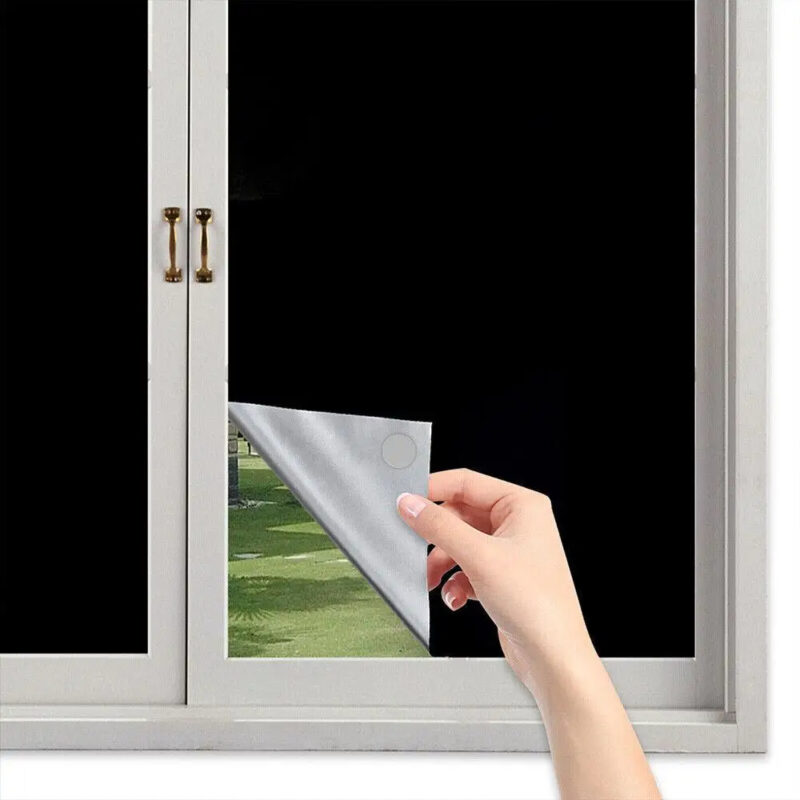
Portable Blackout Stick On Window Blinds
Original price was: $21.99.$15.99Current price is: $15.99.
If your window had a screen to keep insects from coming in, now is the time to remove it and put it away at a secure location. The bottom sash of the window should be completely opened to allow easy ingress of the air conditioner. You may also vacuum the sill if it contains too much dirt that you feel might impede the entry of the unit.
Step 3: Install the extensions
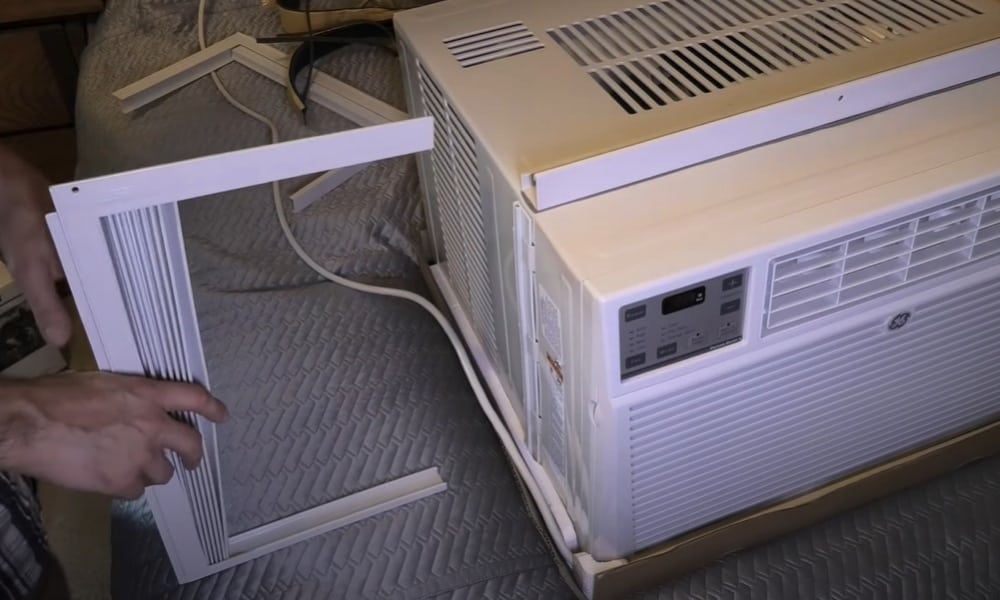
Remember the extensions we talked about in the first step? Their primary purpose is to slide into the opening and fill it. Some air conditioners, particularly the latest ones, come with the extensions pre-attached. Others require you to slide them into the channels. Either way, make sure that the extensions are in place before you slide the air conditioner into the window.
Step 4: Install the mounting brackets
Most old window air conditioners will simply sit on your window sill without any support. The latest ones, however, sit on brackets that you have to attach to the sill beforehand. If your unit falls in the latter category, follow the manufacturer’s instructions to install these mounting brackets.
The brackets come with fasteners that you have to secure to the window sill. Some units on the market contain a couple of lengths of weatherstripping foam in their package. One of these lengths will go beneath the unit for the unit to sit snugly, whereas the other will go over its top once it is installed.
Tip: Most manufacturers recommend that their window air conditioner is tilted downward toward the outdoor-facing side to facilitate the drainage of condensate. If your instructions state the same, install the mounting brackets with a slight downward slope.
Step 5: Lift the unit onto the sill
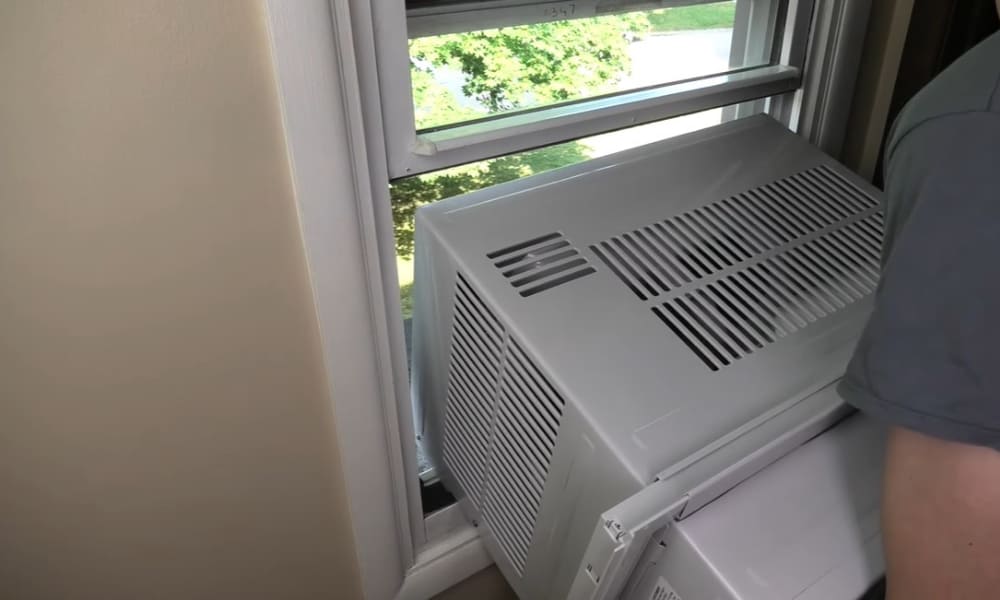
Use your legs to lift the air conditioner. Some people make the mistake of using their back muscles and end up with a painful back injury. The difference between both lifting mechanisms is that when you lift from your legs, you keep your back straight all the way from lifting the unit from the ground to placing it in the sill. You lift as if you’re doing a squat.
Once you’ve lifted the unit to the height of the window sill, slide it onto the support brackets. You need to be careful while positioning the unit onto the sill, or it may fall out the window. If your unit has a built-in drainage hose, manually route it to the outside.
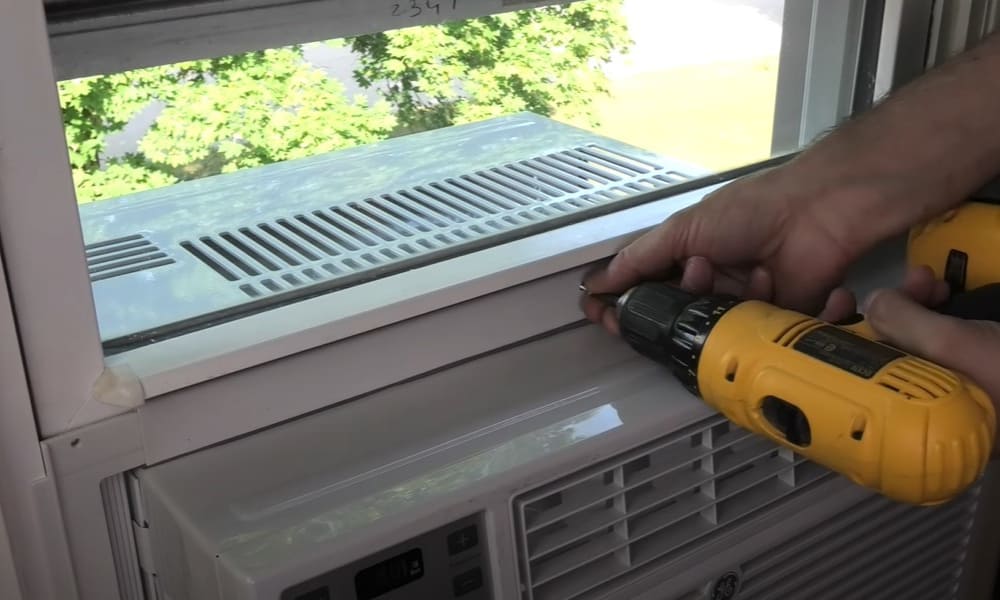
Step 6: Lock the unit in place
There are two ways using which you can lock the unit in place:
- With a window sash: If you have a window sash, you can lower it on top of the unit in such a way that the mounting flange at the top of the air conditioner is flat against the window sash. Then, to fill the opening, slide the accordion extensions and fasten them.
- With the brackets: The brackets on which you’ve placed the unit can also be used to lock it in place. All you’d have to do is to fasten your air conditioner to the brackets and secure the extensions to the window jamb.
Step 7: Seal the unit
You have to seal the unit both from the inside as well as outside. On the outside, apply caulk around its perimeter to get a perfect seal. On the inside, use the two lengths of weatherstripping to seal the unit from above and below.
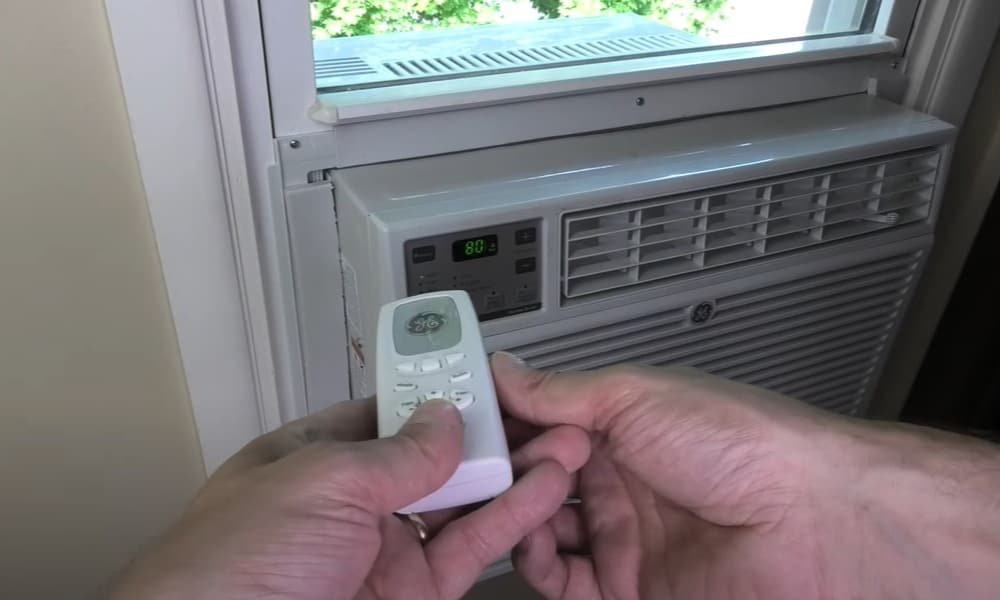
Final Step: Power up the unit
Since air conditioners draw in a lot of electricity, you’d have to select the circuit you’re going to plug-them into carefully. If it’s the same that powers other high-energy consuming appliances such as vacuums, refrigerators or washing machines, plug the air conditioner in a different circuit.
Also, make sure that the circuit you’re plugging the air conditioner is either ‘’air-conditioner cord” rated or “major appliance cord” rated. Both of them can supply the heavy current that your window air conditioner will require to operate.
Conclusion
Most of you might have concluded by now that installing a window air conditioner isn’t a one-person job. Aside from all the heavy-lifting that it forces you to do, the unit’s installation also requires you to vacuum the window sill, install the brackets and extensions, and do the sealing.
That is why we once again recommend that you shouldn’t go about the installation of your window air conditioner alone. The whole process is too burdensome and lots of things could go wrong if you’re working all on your own.