How to Replace Door Threshold? (Step-By-Step Tutorial)
Is your entry door threshold looking out of shape? Don’t wait until it is drafty and completely broken to replace it.
You need moderate DIY skills to cut and shape the new threshold but the job is relatively easy and takes about two to three hours to complete.
Below we show you how to replace a door threshold with a new one.
Tools for threshold replacement
You will need the following tools and materials to complete the project:
- Tape measure
- Jigsaw
- Reciprocating saw
- Pry bar
- Putty knife
- Utility knife
- Tri-square
- Scribe or pencil
- Nail drill
Materials
- Nails
- Sealant and sealing gun
- Paint and primer
- Varnish
- Nail filler
- Threshold block
- ¼ inch hardboard
Step-by-Step Guide on exterior door threshold replacement
Follow this simple guide to successfully remove and replace a worn-out threshold.
Step 1. Remove the old threshold
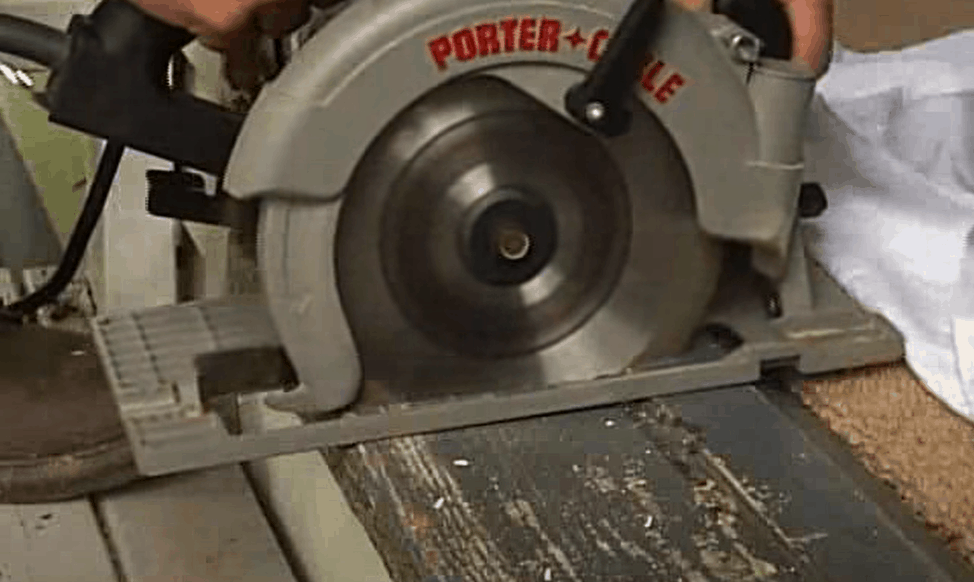
- Use a reciprocating saw to cut the old threshold board into half. This makes it easy to pry out the board. Be careful not to cut into the subfloor.
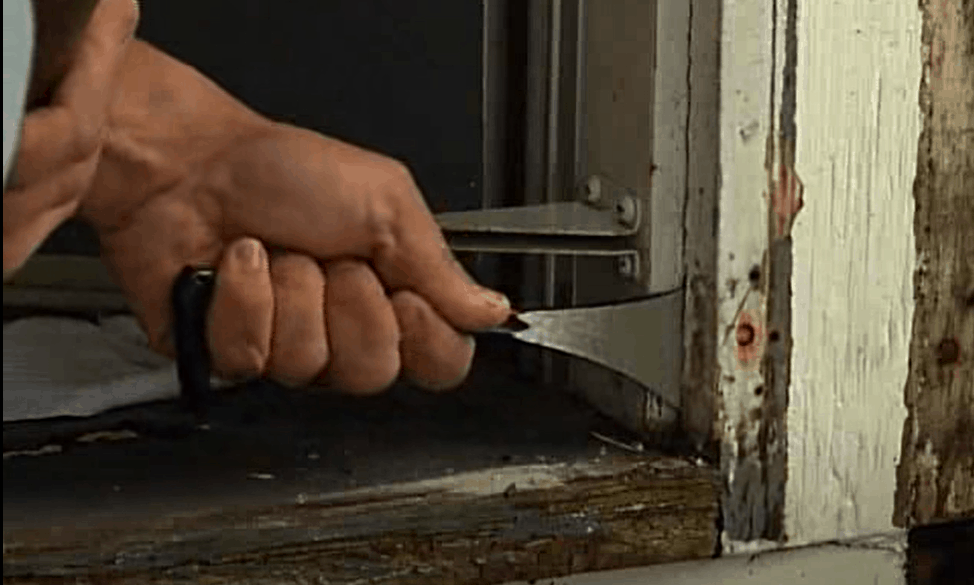
- Insert the flat end of a pry bar between the threshold and subfloor and lift out the threshold.
- If the board is stuck to the jambs, fit a chisel between the ends of the threshold and jambs and slightly tap with a hammer to break the seal.
Pro tip: Insert a small pry bay or putty knife between the exterior-facing board perpendicular to the threshold (also known as the toe kick) to check for signs of water damage. Be sure to replace a rotting or damaged toe kick.
Step 2. Prepare the replacement threshold
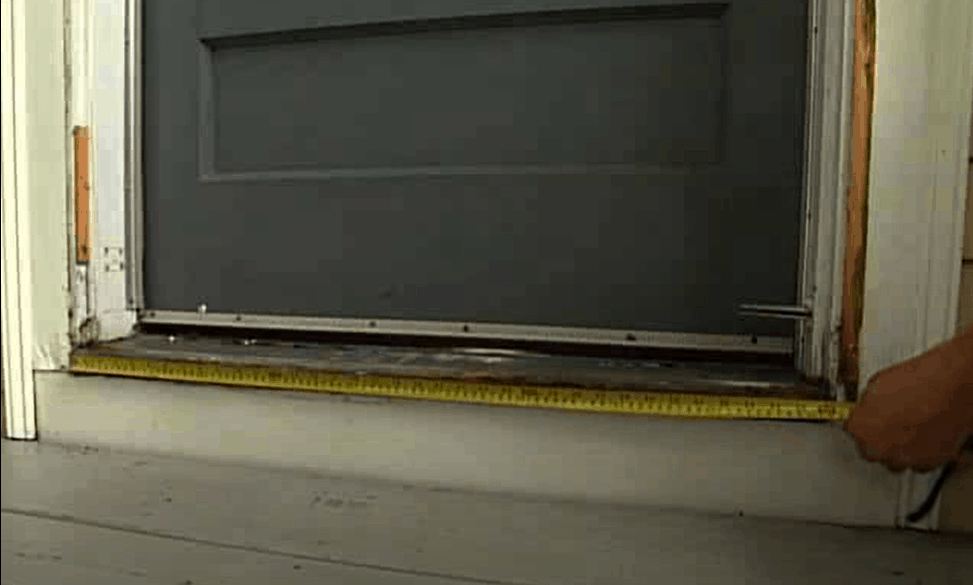
- Use a tape measure to determine the length, width, and thickness of the existing threshold. Use these measurements to prepare a new threshold block.
- The replacement block should be about two inches longer than the length between the casings on both sides of the door. This will give you ample space to trim the threshold board to fit.
Step 3. Install flashing
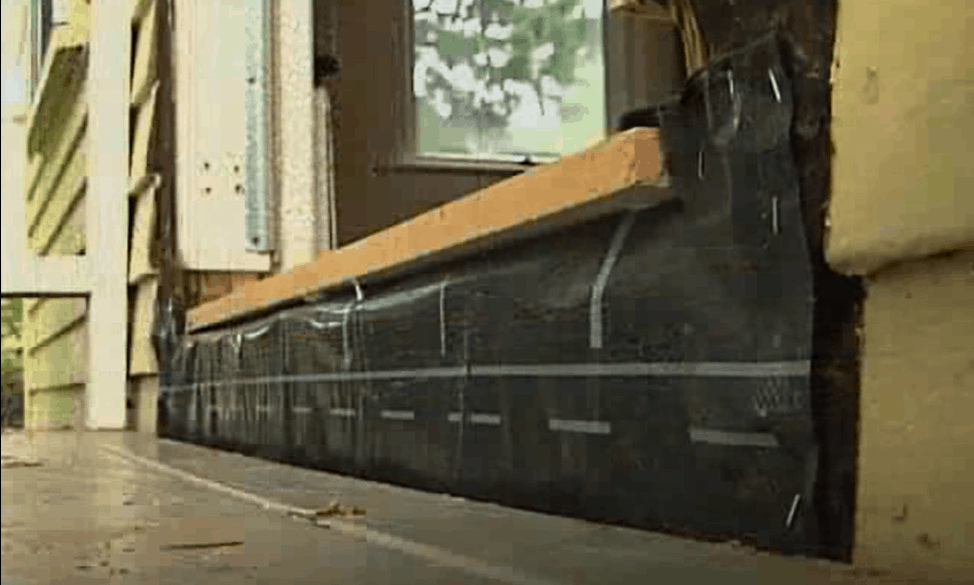
- Flashing protects against water infiltration. There are several variations of flashing including metal, vinyl, and rubber. Keep durability and your area’s climate in mind when choosing suitable flashing material. For this project, we’ll use a self-adhering rubber membrane that offers maximum protection against moisture.
- Cut a sheet of the rubber flashing to fit the length of the threshold. The width of the flashing should be slightly wider than that of the sill so you can tuck it into the toe kick to seal this part against moisture.
- Lay the flashing on the sub sill with the self-adhering side facing down. Smooth out the flashing to get rid of any air bubbles underneath.
Step 4. Trace the door jamb profile
-
Sale!

Swing Stop Bottom Adjustable Roller Flooring Barn Door Hardware
Original price was: $44.99.$33.99Current price is: $33.99. -
Sale!

Low Noise Floor Guide Adjustable Length Barn Door Hardware
Original price was: $15.99.$11.99Current price is: $11.99.Select options This product has multiple variants. The options may be chosen on the product page -
Sale!

Antique Big Rollers Steel Sliding Barn Door Hardware
Original price was: $187.99.$140.99Current price is: $140.99.


- Cutting the new threshold is usually the tricky bit of this project due to the intricate jamb contours. For a perfect fit, you need to transfer these contours to the new threshold then cut as needed.
- Cut a ¼ inch hardboard board to the width of the threshold. You will use this board as a template to trace the contours of the jamb and then transfer them to the new threshold board.
- To trace the contours, lay the template hardboard where the new threshold will sit. The edge of the template should be perpendicular to the face of the doorjamb.
- Use a scribe or pencil to trace the outline of the jamb onto the edge of the template. Then, use a jigsaw or utility knife to cut the template following the doorjamb profile you have scribed on it.
- Slightly sand the cut out edges of the template for accuracy when transferring the profile to the threshold board.
Step 5. Transfer jamb profile and cut threshold to fit
The next step involves drawing the profile of the doorjamb onto the threshold board before cutting it.
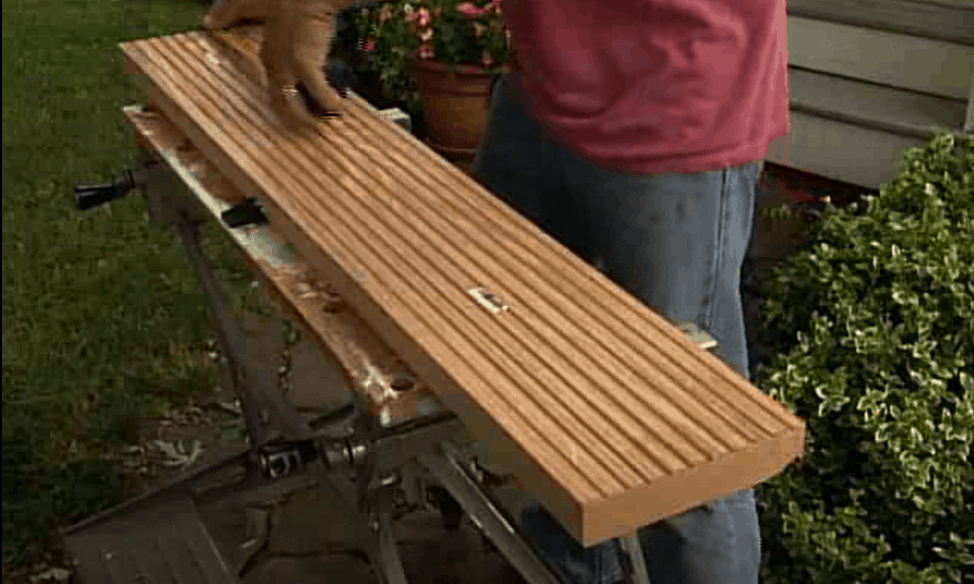
- Lay the board on a flat surface with its backside facing up. Then, place the hardboard template flush on top of the board and use a pencil to transfer the jamb profile to the board. Do this on both ends of the threshold board.
- Take a jigsaw to the threshold edges and cut along the profile. Use a sanding block to smoothen out the cut out edges of the new threshold.
Step 6. Install the threshold
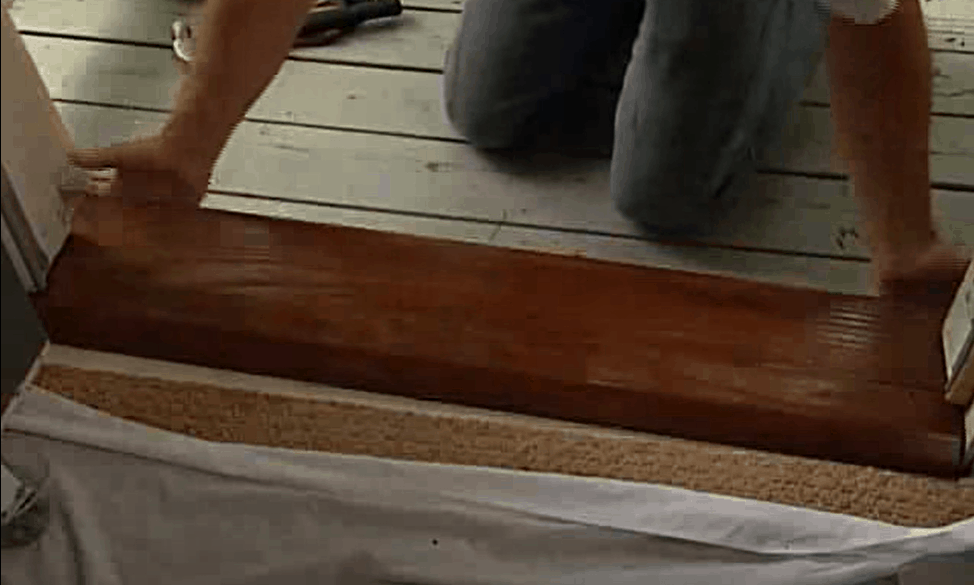
- Position the new threshold on the door opening. The contoured edges should fit perfectly with those of the doorjamb.
- Ensure that the threshold block sits flush with the sub sill. If not, use a hammer to slightly tap it into position.
- Next, insert shims between the threshold block and the sub sill from both the interior and exterior side of the door. Place the shims at the center and on both ends.
- Using a nail drill, punch in two nails one on each side along the length of the threshold. Alternatively, you could first pre-drill holes in the sub sill to make it easier to drive the nails into the threshold through the shims and down to the sub sill.
Pro tip: Arrange the shims such that the narrow ends overlap. This will raise the threshold evenly and keep it square.
Step 7. Seal and wrap up

- You are almost done replacing your door threshold. Before cleaning up the site, remember to apply sealant along the inner and outer edges of the threshold block and between the edges of the block and doorjamb.
- Sealant not only helps to hold the threshold in place. It also acts as additional insulation against draft and moisture.
- Use a sealant gun to apply waterproof caulk or expanding foam around the threshold. Allow the sealant to dry before you can coat the new threshold with varnish or the paint of your choice.
There you are! That is all there is to replacing an entry door threshold.
Extended Tips for replacing exterior door threshold
Here are a few extra tips to help you get the most from this project:
Treat wooden threshold and toe-kick boards
A wooden threshold is easy to install but it can succumb to water damage within a short time, forcing you to replace it again.
To increase the lifespan of your threshold, use a borate solution to treat the wood before positioning the new threshold in the door opening.
-
Sale!
Free Punch Glass Door Sliding Door Knobs Suction Cup
Original price was: $12.99.$9.99Current price is: $9.99.Select options This product has multiple variants. The options may be chosen on the product page -
Sale!
Window Cabinet Drawer Handles Self-adhesive Door Knobs
Original price was: $12.99.$9.99Current price is: $9.99.Select options This product has multiple variants. The options may be chosen on the product page -
Sale!
Upscale Sliding Door Knob With Double-sided Tape for Kitchen Door Wardrobe
Original price was: $12.99.$9.99Current price is: $9.99.Select options This product has multiple variants. The options may be chosen on the product page


Treating the wood helps to keep bug and water from destroying the threshold and surrounding parts.
Choose the right type of threshold
Exterior door thresholds are commonly made from wood. However, you can replace your old one with a steel or aluminum threshold that is durable and less prone to water damage. Of course, the style of threshold you opt for will also depend on the floor style. A wooden threshold would pair better with hardwood floors than a steel one.
One advantage of metal thresholds is that most come pre-packaged; there isn’t a lot of trimming and contouring involved. Go to the hardware store with your old aluminum threshold to buy the right size replacement.
An additional perk is that pre-made aluminum thresholds feature a mounted rubber strip that helps to close the gap between the threshold and door. This added sealing goes a long way in keeping your home energy efficient.
Consider installing a door sweep
Replacing a worn-out threshold should help keep warm air in and cold air out in winter and the opposite in summer. However, if there is still a gap between the door and threshold, an easy solution is to install a door sweep to seal the gap.
Sweeps generally come in two styles—metal strips and u-shaped sweeps. U-shaped sweeps are easier to install and just require sliding under the door. The metal strips require you to attach them to the door using nails or screws.
To install the sweep, just measure the door width and cut the sweep to the corresponding measurement. Pre-drill holes into the sweep, attach it to the door, and drive in the appropriate nails or screws.
A quick DIY job to spruce up your entryway
It is easy to neglect entry door thresholds as long as the door itself is working properly. But, a worn-out threshold is not something you want to put off for later.
-
Sale!
Home Entrance Anti-Slip Coral Fleece Door Mat
Original price was: $12.99.$9.99Current price is: $9.99.Select options This product has multiple variants. The options may be chosen on the product page -
Sale!
Semicircular Cartoon Welcome Entrance Door Mat
Original price was: $12.99.$9.99Current price is: $9.99.Select options This product has multiple variants. The options may be chosen on the product page -
Sale!
Anti-skid Water Absorption Bathroom Door Mat
Original price was: $12.99.$9.99Current price is: $9.99.Select options This product has multiple variants. The options may be chosen on the product page


Not only can it be a safety hazard; the damage can quickly spread to the doorframe, necessitating costly repairs. As you can see from our instructions, replacing a door threshold requires basic skills and the right tools.
Just measure and cut the new board to size, position it correctly, secure it in place and you are good to go.
Do you have any questions or comments on how to replace a door threshold? Please leave them below—we’d love to hear from you!