How to Install a Screen Door? (Step-By-Step Tutorial)
Screen doors improve the ambiance of your home. You can count on them to let in and circulate cool, fresh breeze in your indoors and improve its air quality. They also give you the peace of mind that your pets and toddlers will remain safe even without you watching over them at all times.
These aren’t the only reasons why you may want to learn how to install a screen door. These units also allow you to customize the size of their mesh and create your desired level of privacy within your home. They also place downward pressure on your energy bills by improving your home’s ventilation.
Satisfied by what they have to offer? Then you may want to check out this video. It will serve as a primer to the below-mentioned guide by making it easier for you to understand (and implement) the step-by-step guide we have listed below. Come back to the article after you’ve seen the video.
Before you install a screen door
You have to make three decisions. There are numerous styles of screen doors that are available on the market and you have got to purchase one that complements your taste and meets your requirements. Afterward, you have to decide on the material of the screen and in which direction you want the door to open.
Types of screen doors
Following are the common types of screen doors:
- Unfinished Pine Screen Doors
Provided you are working on a tight budget, unfinished pine screen doors are great to have. The average door will hit you around $30 in the pocket. But their low price tag doesn’t mean that these doors would quickly break down.
They have a simple design that lets you stain or paint it anyway you like. You can stain them if you’re going to install them indoors. Or, you may want to paint them if these doors are going to be used outdoors.
- Vinyl and Aluminum Screen
If you can afford to pay slightly over-the-odds for a high-end door, you’d do well with vinyl and aluminum screen doors. They don’t require you to paint them before installation by coming in standard colors and shades.
As for their price tag, the minimum price you may have to pay for these doors is $50. But some brands that are more famous than others will charge more for their doors as well.
Types of mesh

The common choices for mesh include:
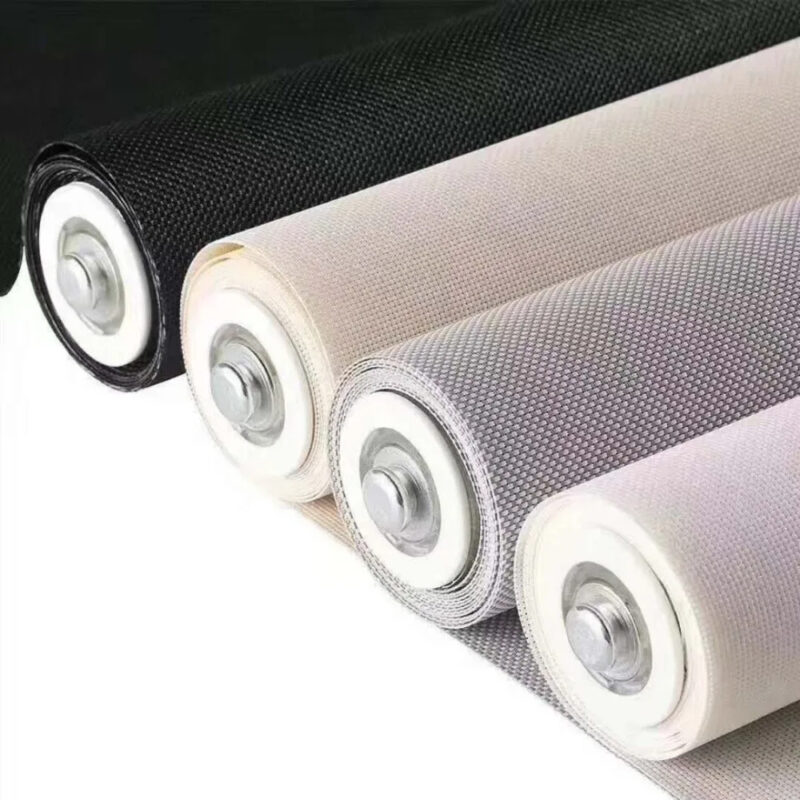
- Vinyl-coated Fiberglass Window Screen
The preferred choice of the majority of users who choose to install screen doors in their home, the vinyl-coated fiberglass mesh is affordable, easy to install and ultra-durable.
-
Sale!

Fire Retardant Sunscreen Window Blinds
Original price was: $45.99.$34.99Current price is: $34.99.Select options This product has multiple variants. The options may be chosen on the product page -
Sale!
Light Filtering Zebra Window Blinds
Original price was: $37.99.$28.99Current price is: $28.99.Select options This product has multiple variants. The options may be chosen on the product page -
Sale!
Portable Blackout Stick On Window Blinds
Original price was: $21.99.$15.99Current price is: $15.99.
Unfortunately, since it is only available in two colors – charcoal and gray – this mesh screen might not be alluring to those of you who aren’t looking for something traditional.
- Aluminum Window Screen
In addition to being more durable than vinyl-coated mesh, the aluminum window screen is also available in more colors. You can get it in black, silver and charcoal.
There’s, however, this issue about its price that deters potential users form buying aluminum screen. As you can probably get two vinyl-coated window screens for the price of one aluminum.
The opening direction of the Door
In which direction will the door open? Here’s how you can answer this question:
- Open it in the direction of your main door if: The handles of both doors (screen and main) do not interfere with each other. This is the direction most users prefer their screen door open towards.
- Open it away from your main door’s direction if: The handles of both doors (screen and main) do not interfere with each other.
Tip: Stand against the door with your face facing the inside of the room. Then check which of your hands is nearest the doorknob? This is the side the door should open.
What you’ll need for installing screen door
Here’s a list of all the tools and equipment you’ll need:
- Measuring tape
- Drill
- Screws
- Personal protective equipment
Step-by-Step Guide on how to install screen door
Follow these steps to install a prehung exterior door:
Step 1: Measure the size of the outside of the door frame
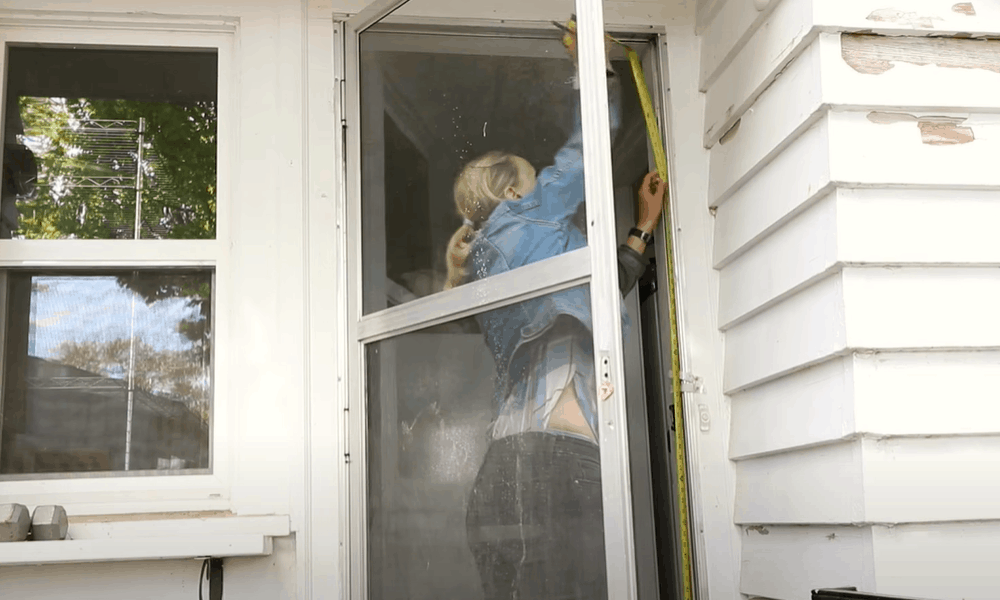
Most of us seem to think that all door frames are perfectly square whereas in reality that might not be the case. That is why you should take the length and width measurements along the bottom, middle and top portions of the frame.
Provided the door is too tall for you to keep your feet on the floor and make measurements, use a ladder. Have someone hold it in place as regardless of how flat the surface you have placed the ladder on, there’s always the danger that your movement might cause its feet to slip away.
Crucial Tip: Once you have the measurements in hand, subtract 0.64cm (¼’’) from the shortest. That’s because you need a 0.32cm (1/8’’) gap around the door for it to fit properly. So if your door is 90 ¼ inches tall and 35 ¼ inch wide, the replacement door must be 90 inches tall and 35 inches wide.
Step 2: Examine the new door

Assuming you’re going to order a new door from your local hardware or home improvement store, there’s a small chance that might be damaged. It is essential therefore that you take a good, hard look at the door and make sure it’s in good condition before purchasing it.
When checking the door for any signs of damage, look for dings or dents in its frame. As these sorts of damages are the ones that could do the most damage to the door’s integrity. Also check the screen for any manufacturing defects or tears that could allow insects to crawl through.
-
Sale!
Line Heart Decor Tassel Window Curtains
Original price was: $12.99.$9.99Current price is: $9.99.Select options This product has multiple variants. The options may be chosen on the product page -
Sale!
European Simple Partition Screen Window Curtains
Original price was: $15.99.$11.99Current price is: $11.99.Select options This product has multiple variants. The options may be chosen on the product page -
Sale!
Blackout Simple Solid Thicker Window Curtains
Original price was: $48.99.$36.99Current price is: $36.99.Select options This product has multiple variants. The options may be chosen on the product page


It goes without saying that if you don’t find anything wrong with the door, you should proceed with the installation process. However, if that isn’t the case and you suspect you have damaged goods, speak with the owner/representative of the store from where you purchased the door about exchanging it.
Step 3: Put the screen door in the door frame
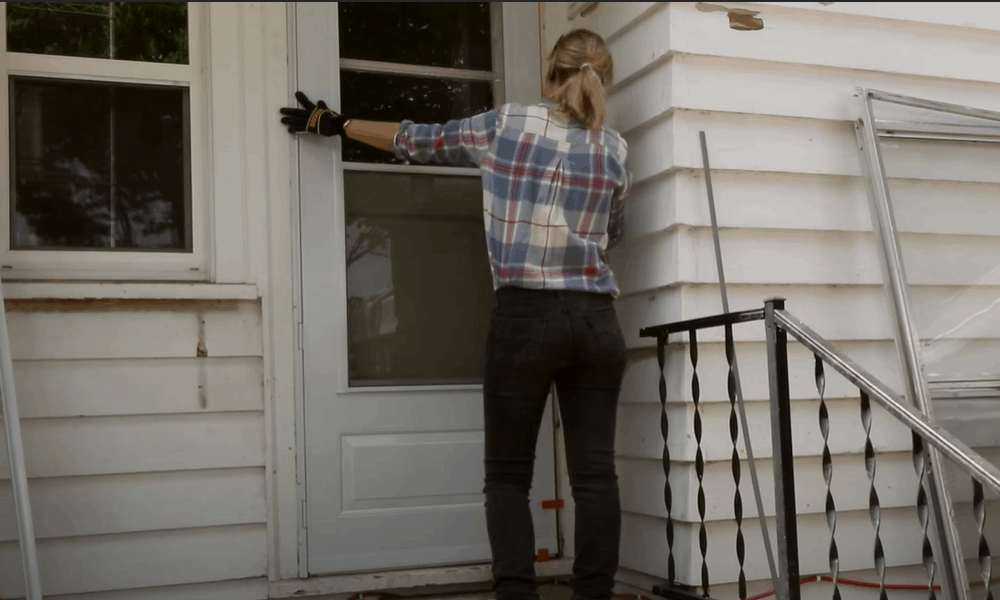
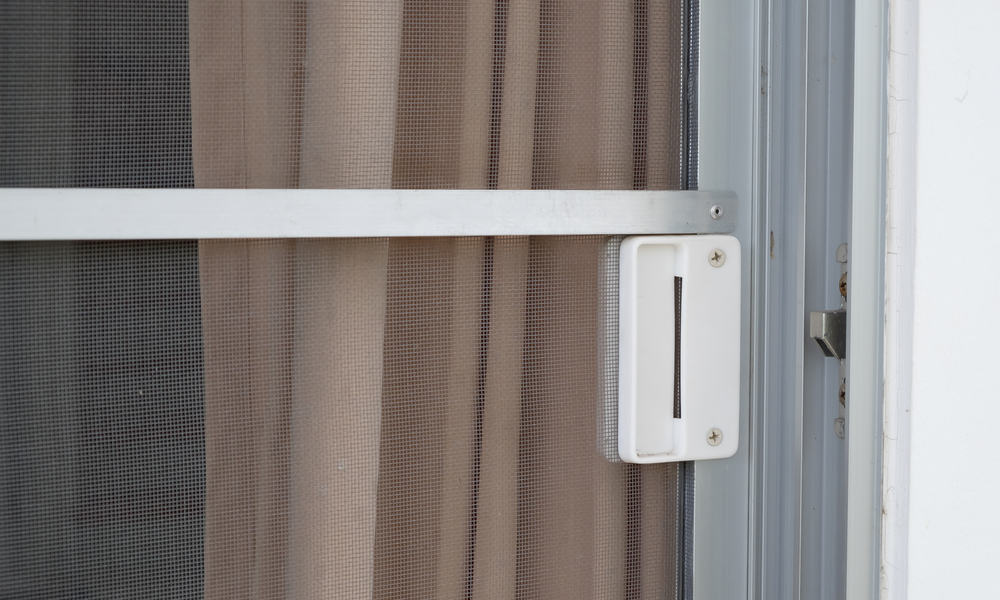
Make sure someone is helping you as you’re putting the screen door in the door frame. These doors might not be heavy but you still you need hands free to install them securely.
The other person has to do nothing but to gently push pressure on the screen to prevent it from falling outwards as you’re installing the door in its frame.
Step 4: Use shims to ensure door is square
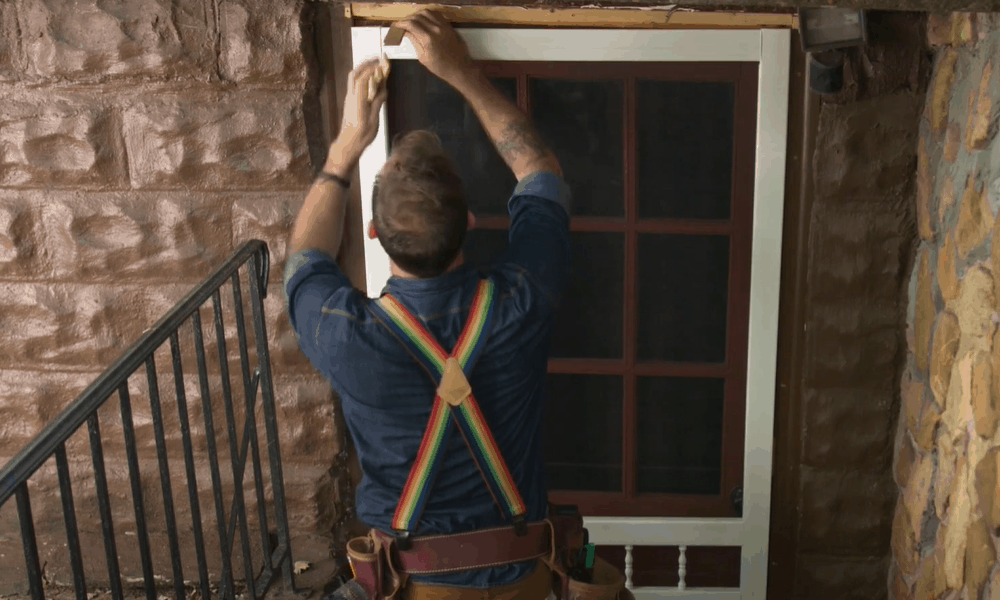
Shims are tapered items that you have to insert along the bottom and top of the door. Make sure that you’re fitting 2 shims on each side. Provided the shims can be easily inserted, it’s a sign that all the portions of your door frame are square.
If that is not the case and you have a door made of wood, you might have to lightly sand it for the wooden frame to fit. However, if the door isn’t made of wood, you should consult a professional to square the frame only after which you should install it.
Step 5: Measure the placement for hinges
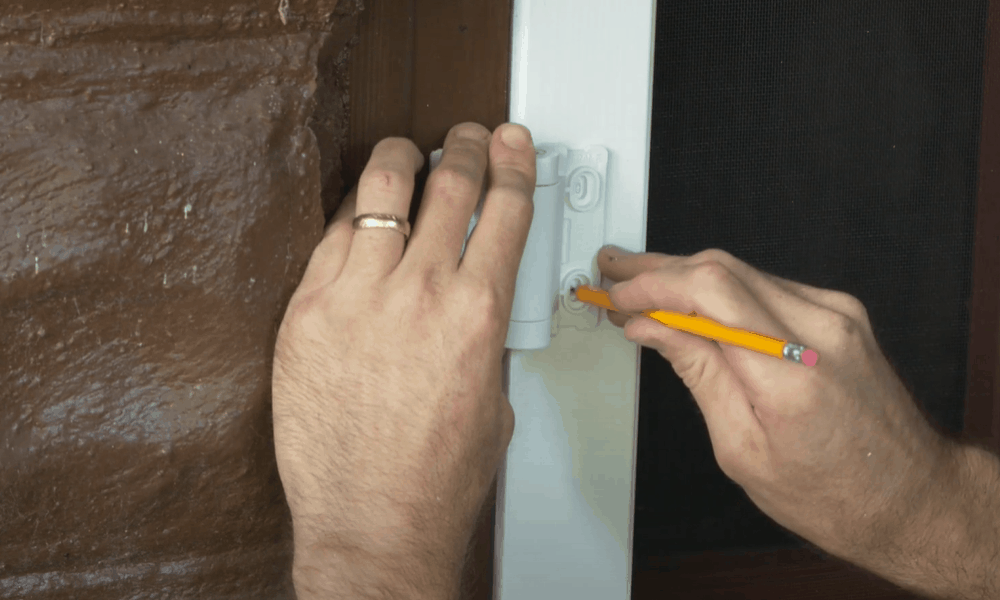
The screen door will require you to place three equally-spaced hinges on the side opposite to that of the handle. Use a measuring tape to make marks along the door that are 5 inches from the bottom and top. Then make a mark in the middle of these two marks. These three marks are where you’re going to place the three hinges.
Step 6: Drill holes for the hinge
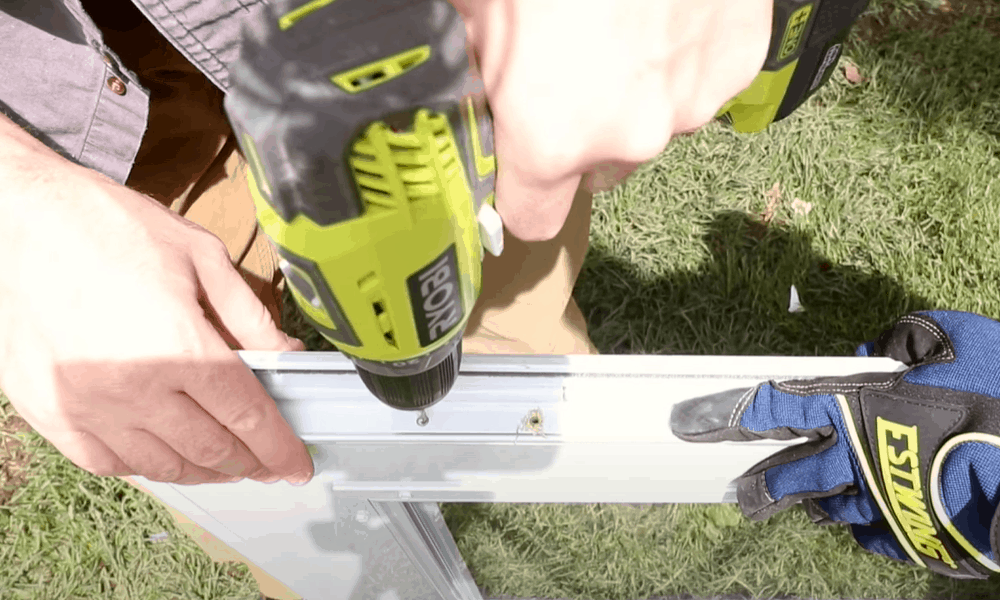
Place the hinge over all three marks one by one and drill holes on the marks. This will ensure that the marks are placed in proper position and have the diameter that is equal to that of the screws that will go into the hinge.
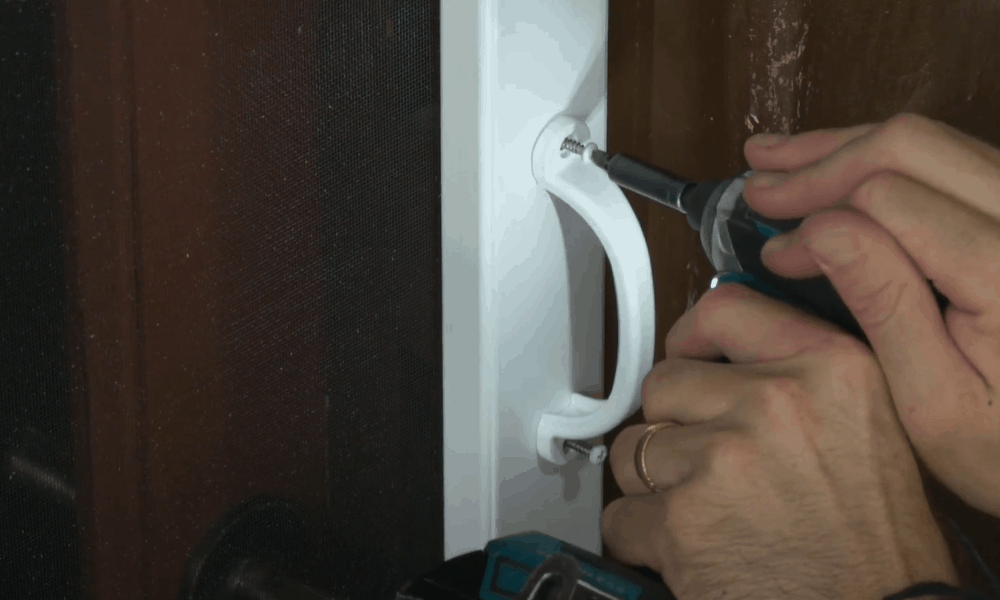
Step 7: Screw the hinges into the holes
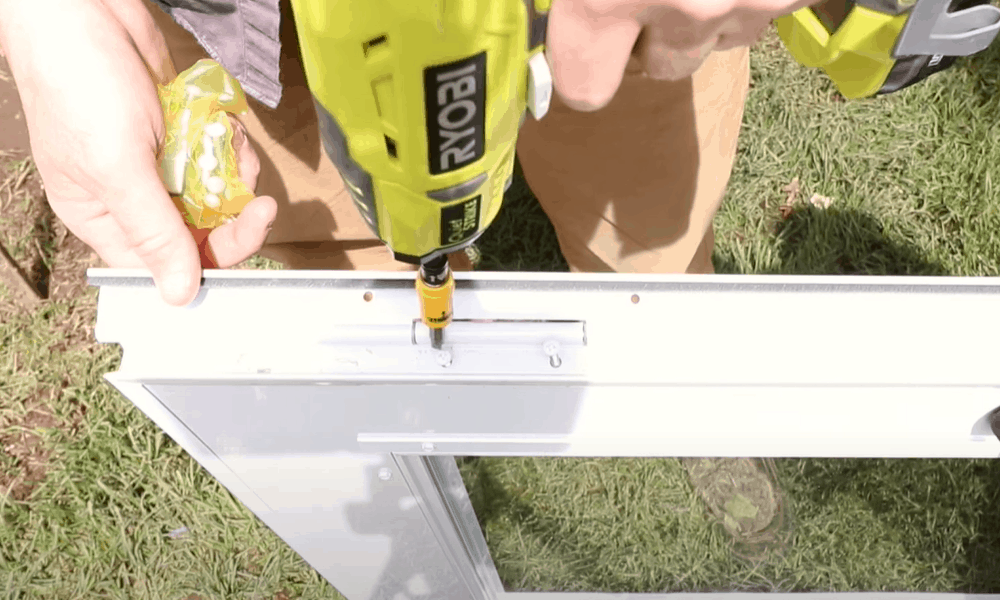
Use a drill to screw the hinges into the holes. Slowly install the screws and make sure that the hinge is firmly pressed against the door. All the hinges will have 3 mounting screws, so start with the middle to balance the hinge and then screw the top and bottom screws.
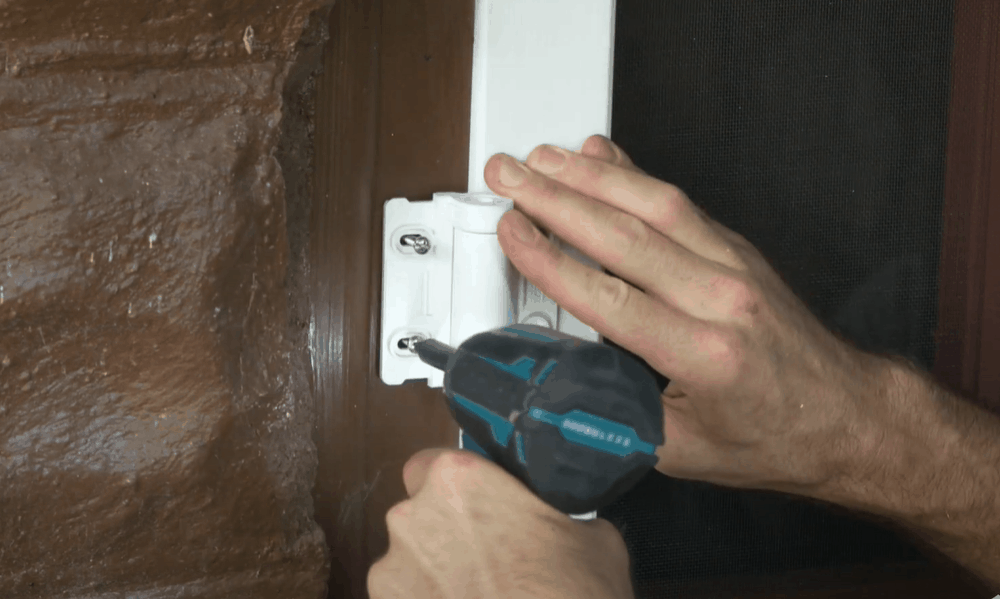
Step 8: Attach the hinges to the door frame
-
Sale!
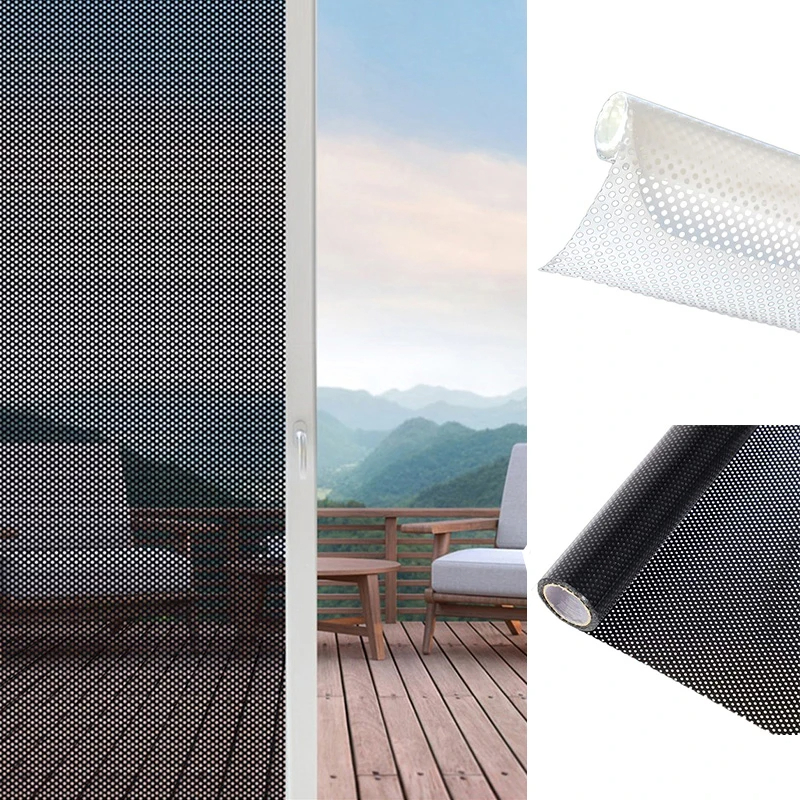
Self-adhesive Mesh Window Film Privacy for Home Office Decorat
Original price was: $5.99.$4.99Current price is: $4.99.Select options This product has multiple variants. The options may be chosen on the product page -
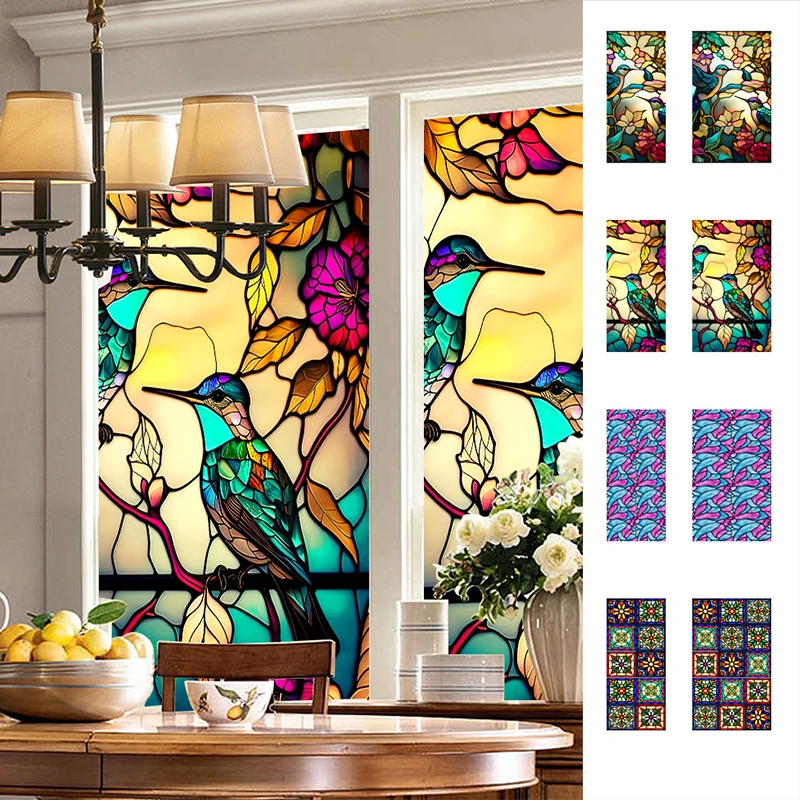
Sale!
Removable Electrostatic Retro Flower Window Film Privacy For Home
Original price was: $9.99.$7.99Current price is: $7.99.Select options This product has multiple variants. The options may be chosen on the product page -
Sale!
Pure Matte UV Blocking Window Film Privacy for Home
Original price was: $37.99.$28.99Current price is: $28.99.
Now that you have the door held in place, you can secure the hinges to its frame. Drill the holes into the frame and then, using the hinges that you’ve already attached as a guide, install the mounting screws. Double-check to make sure that the door is sitting evenly before you screw the hinges in place.
Final Step: Install the doorknob
Most screen doors come with a complimentary doorknob as well as the instructions using which you can install it. Follow them to install the doorknob.
Conclusion
To complete the abovementioned process with perfection, you may need to set aside a whole day. More time might be needed if you’re not installing a standard-style door. Regardless, if you have any questions, please feel free to let us know.