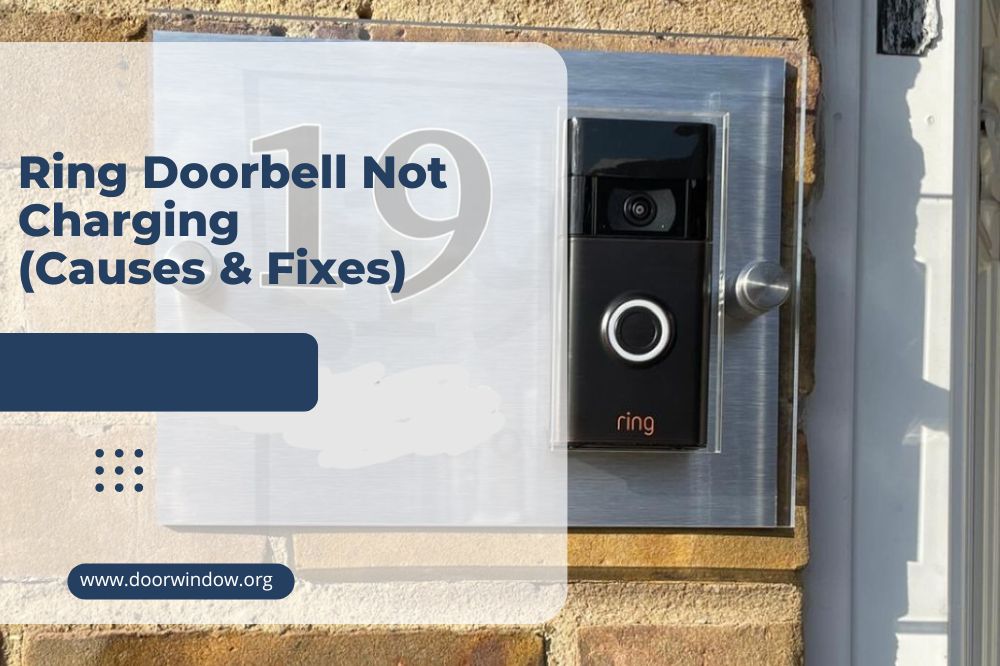
Ring Doorbell Not Charging (Causes & Fixes)
Any user of Ring doorbell can testify to its efficacy as a smart doorbell because it enables you to see who is at the door without opening it. The device also allows you to communicate with service agents, delivery people, and other visitors if you are indisposed to attend to them.
However, there have been notable issues with charging the device when the battery runs low. Many users have reported an inability to fix this problem, especially if you go by the reviews on different e-commerce websites. So, we have created this guide to help you troubleshoot and fix the problem.
How to Fix a Ring Doorbell Not Charging
One of the primary reasons for your inability to charge the smart doorbell is charger issues. Another reason is a poor WiFi connection, which may not be your first suspicion. You may also want to check the battery status or inspect the breaker box to see if it is tripped.
Let’s discuss these points and others in detail.
1. Start by Refreshing the Battery Status
There is a possibility that while charging the battery, you notice the charge does not hold. You may connect it to electric power but nothing changes after several minutes. This may indicate that there is a problem with the battery power status.
If that is the case, you can refresh the battery status by pressing the Ring doorbell a few times. Doing this should refresh the Ring app’s battery status and get the device working again. You will see the correct battery status on the app. That is if this battery fault is all there is to it.
2. Inspect the Device Charger
However, refreshing the status may not solve the problem. Sometimes, it only fixes the battery temporarily; after a few charges, the status returns to the low battery level. That means the problem may be with the Ring charger.
So, inspect the USB cable to ensure there is no damage. Sometimes, you may put it in a place where someone steps on it and breaks the connection point. But if it appears intact, you can test it on an alternative device to see how well it works.
If the second device charges with the USB charging cable, the problem is with the Ring doorbell. However, if the device does not charge, the cable is damaged and you need a new one.
The charger may simply produce a trickle charge, inadequate to charge the battery. And if the charger is slow, it will take too long for the battery to charge, which may make it appear as if it is not charging. Replace the charger if that is the case.
-
Sale!

Swing Stop Bottom Adjustable Roller Flooring Barn Door Hardware
Original price was: $44.99.$33.99Current price is: $33.99. -
Sale!

Low Noise Floor Guide Adjustable Length Barn Door Hardware
Original price was: $15.99.$11.99Current price is: $11.99.Select options This product has multiple variants. The options may be chosen on the product page -
Sale!

Antique Big Rollers Steel Sliding Barn Door Hardware
Original price was: $187.99.$140.99Current price is: $140.99.


3. Test the Circuit Breaker
Some Ring doorbells are hardwired to recharge on their own. In other words, you do not need an external charger to power the battery. But if your Ring device is hardwired, the charging problem may be with the breaker that supplies power to it.
Sometimes, fuses fail or the breaker may trip, especially if there are voltage surges or power fluctuations. If that happens and the doorbell stops charging, you should check the breaker and fuses. That may mean testing each switch to find the defective one. Then, you can replace it.
Otherwise, turn the breaker off and on, and see if there is a change in the charging status. Monitor it for some time and wait for a positive charge. If the problem resolves, you can continue using the doorbell normally. But if it remains, you can troubleshoot further.
4. Test the Battery Life
Have you considered the possibility that the battery’s life has diminished? Over days, weeks, and months of constant use, the battery’s capacity to run or the charge will deplete. Typically, the battery lasts from six months to a year and you should be ready to get a replacement by the end of a year.
Another thing to consider is daily usage. If you use it often and roughly, the battery may wear out earlier than expected. Since this device typically uses lithium-ion batteries, you must note that they should not completely discharge to preserve their life for a long time.
Otherwise, it weakens the batteries and eventually interferes with charging them. Therefore, ensure they do not fully discharge before charging the batteries if you have to manually charge them. Also, do not expose them to a high-temperature condition, as it will quickly damage the batteries.
5. Check the Doorbell Transformer Voltage
When you are sure the breaker box and battery are in good working order, the next thing to check is the voltage supply from the transformer connected to the doorbell. This only applies if the device is hardwired instead of requiring an external charger.
The wiring from the transformer to the doorbell must be correct for the voltage supply to be adequate. You will need an electrician to check the wire connection to ensure it is correct. After determining the state of the connection, whether or not it is correct, you can check the voltage to the doorbell.
Typically, it should be about 16 volts; if the supply is less, the Ring battery will not charge well. So, you will need a bigger and better transformer. On the flip side, the transformer may produce adequate voltage, but the doorbell device may not have enough voltage coming from it.
-
Sale!
Window Cabinet Drawer Handles Self-adhesive Door Knobs
Original price was: $12.99.$9.99Current price is: $9.99.Select options This product has multiple variants. The options may be chosen on the product page -
Sale!
Upscale Sliding Door Knob With Double-sided Tape for Kitchen Door Wardrobe
Original price was: $12.99.$9.99Current price is: $9.99.Select options This product has multiple variants. The options may be chosen on the product page -
Sale!
Round Stainless Steel Door Knobs for Drawer Cabinet Kitchen Cupboard
Original price was: $12.99.$9.99Current price is: $9.99.Select options This product has multiple variants. The options may be chosen on the product page


This problem may come from the distance between the device and the transformer; if you need to make a long wire connection, it may reduce the voltage from the device. Consequently, the battery cannot charge, even when there is enough power. Consider changing the wiring in your house.
6. Try the WiFi Connection
Ring doorbell devices are smart devices that work with WiFi connections. So, your device’s app may show the wrong battery status if there is no WiFi connection. This is because the app cannot load the correct information as there is no strong connection to work with it.
If the Wi-Fi connection has a weak signal, it is crucial to find a stronger connection. That way, you can check the battery status and determine whether or not it correctly charges. You can also turn off the router and turn it on again to see if the connection improves.
To check the connection strength, do the following:
- Open the app and click on the device you want to test.
- When it opens, click on the Health of the Device icon. You will notice an indicator showing the signal strength in the menu, and it will display the Received Signal Strength Indicator or RSSI value for the doorbell. The RSSI number will tell you the signal strength.
- 0 to 40 indicates that your signal strength is excellent, and all the device’s features, such as the Ring video doorbell and camera, should work well.
- 41 to 65 indicates that the strength is good, but not strong enough to carry some features. This signal strength may affect the battery status display.
- 66 to 90 indicates a weak Wi-Fi signal strength, which may explain why you have trouble determining whether or not the battery is charging.
Consider moving the router closer to the doorbell to see if the connection spikes. Otherwise, the doorbell may continue to look for a network signal, depleting the battery in the process. This will eventually appear as if it is not charging.
7. Clean and Tighten the Contacts
The contacts close or open to stop or allow the flow of current from the breaker to the device. If the contacts become significantly dirty, the dirt will obstruct the flow of power and impede the battery’s ability to charge. So, you need to clean the contacts to improve charging.
Cleaning the contacts is easy; dip a swab of cotton wool in lemon juice or rubbing alcohol, also called isopropyl alcohol. An old but soft toothbrush also works if it is small enough to reach the dirt. Then, scrub the dirt from the device until it is clean; the charging capacity should improve if dirt is the problem.
Another step to take is to check the tightness of the contacts. They may come loose over months of use, which will affect the charging capacity. Therefore, take a look at the screws securing the electricity lines to the doorbell contacts to ensure they are tight.
If they appear somewhat loose, use a screwdriver to tighten them without making them too tight. If you overtighten them, the mounting plate may bend and affect the connections. Consequently, charging will fluctuate or stop altogether.
8. Observe the Weather
As already mentioned, Ring doorbell devices do not function well in high temperatures. The same is true if the weather is too cold. So, observe the weather and check the surrounding temperature to determine if it interferes with the device’s charging capacity.
-
Sale!
Semicircular Cartoon Welcome Entrance Door Mat
Original price was: $12.99.$9.99Current price is: $9.99.Select options This product has multiple variants. The options may be chosen on the product page -
Sale!
Anti-skid Water Absorption Bathroom Door Mat
Original price was: $12.99.$9.99Current price is: $9.99.Select options This product has multiple variants. The options may be chosen on the product page -
Sale!
Classic Friends Welcome Rubber Carpet Door Mat
Original price was: $12.99.$9.99Current price is: $9.99.Select options This product has multiple variants. The options may be chosen on the product page


However, the Ring Doorbell Pro version is capable of withstanding tougher weather conditions. So, if you have issues with fluctuating weather in your area, consider upgrading your device. Otherwise, you may keep experiencing charging issues.
Conclusion
How well a battery works depends on several factors, including the charging capacity. This is true for all smart devices, so if your Ring doorbell battery has a charging problem, the best step is to troubleshoot and find a lasting problem.
This article lists a detailed but systematic approach to finding the problem’s source. It may be with the WiFi connection, device health, dirt on the contacts, or transformer voltage. Follow the guide to fix your device and get it charging again. You can also replace the defective device if applicable.