How to Install a Prehung Door? (Step-By-Step Tutorial)
Installing a door can be a tricky process – and one you need to get right because if you don’t do a good job of it, you will end up with a door that doesn’t fit properly and may not open and close smoothly the way you would like.
Choosing a prehung door can make the job easier, but even with one of these, you need to understand the correct steps to make sure you do a proper job. And if you’re looking for a guide to how it’s done, here’s how to install a prehung door.
If you’re looking for a preview of some of the things we’re going to be talking about – as well as a visual demonstration and a few extra hints and tips – you can check out this informative video before reading on.
What you’ll need for installing a prehung door
Here’s a list of the items you’ll need for this project.
- Prehung door
- Shims
- Nails
- Hammer
- Screws
- Screwdriver
- Pry bar
- Putty knife
- Expanding foam
- Drill
Step-by-step guide on how to install a prehung door
Here are the steps you need to follow.
Step 1. Remove the old door
The first step is to remove the old door. Start by removing the old lockset and hinge pins and lift the door out of place. Next, pry off the old trim and then remove the old door frame.
Pro tip: When prying off the old trim, place a putty knife against the wall to protect it from the pry bar. This will prevent the wall from being damaged as you work, and if you work carefully, you won’t need to repaint the wall after you have finished the job.
Step 2. Measure the rough opening
When you have removed the old door and its frame, the space that is left is what’s known as the rough opening.
You now need to measure the rough opening – the rough opening needs to be around 1-2” wider than the door you are going to fit into it since when you install it, you are going to fix it in place by using shims.
Pro tip: If possible, you should remove the old door and measure the rough opening before buying the new door to make sure that it is going to fit – however, in the real world, this might not always be possible.
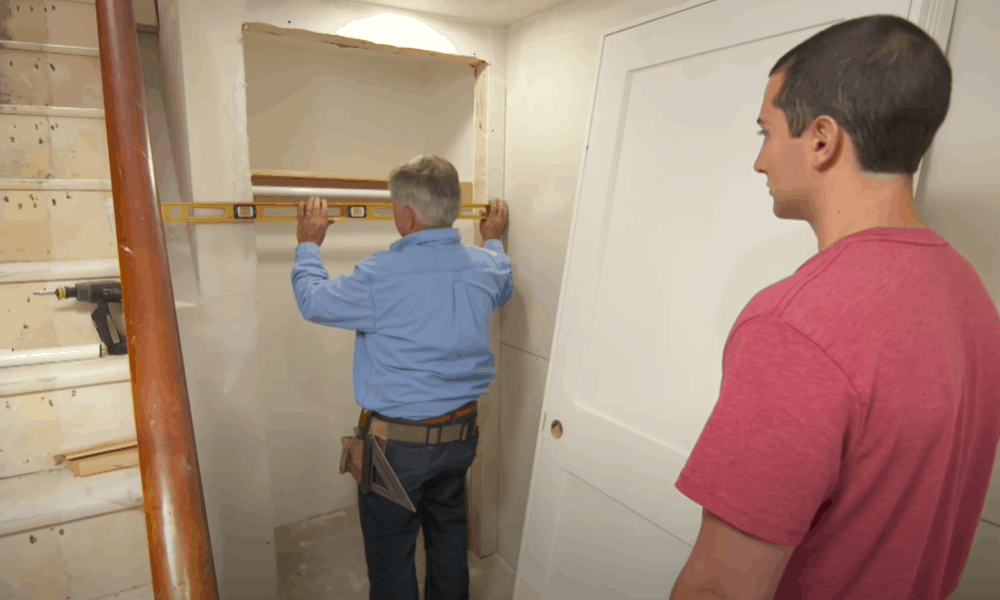
Step 3. Check that the floor is level
In some buildings, especially older houses, it is possible that the door sill is not level. If there is a significant difference in height at one side of the door to the other, this can affect how the door opens or closes.
-
Sale!

Swing Stop Bottom Adjustable Roller Flooring Barn Door Hardware
Original price was: $44.99.$33.99Current price is: $33.99. -
Sale!

Low Noise Floor Guide Adjustable Length Barn Door Hardware
Original price was: $15.99.$11.99Current price is: $11.99.Select options This product has multiple variants. The options may be chosen on the product page -
Sale!

Antique Big Rollers Steel Sliding Barn Door Hardware
Original price was: $187.99.$140.99Current price is: $140.99.


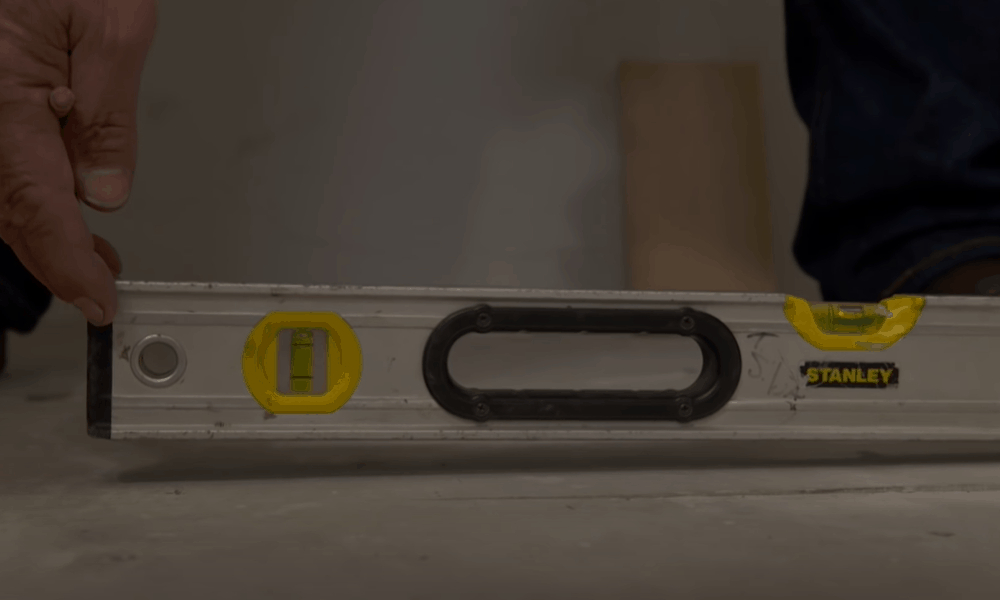
To check this, use a level on the floor to see if the floor is flat. If the floor isn’t level, place shims under the level until the bubble moves to the center.
Once you have it level, measure the gap between the floor and the level – and this is how much you will need to take off the door jamb for the frame to fit perfectly into the space.
Step 4. Adjust the jamb according to the measurement you took
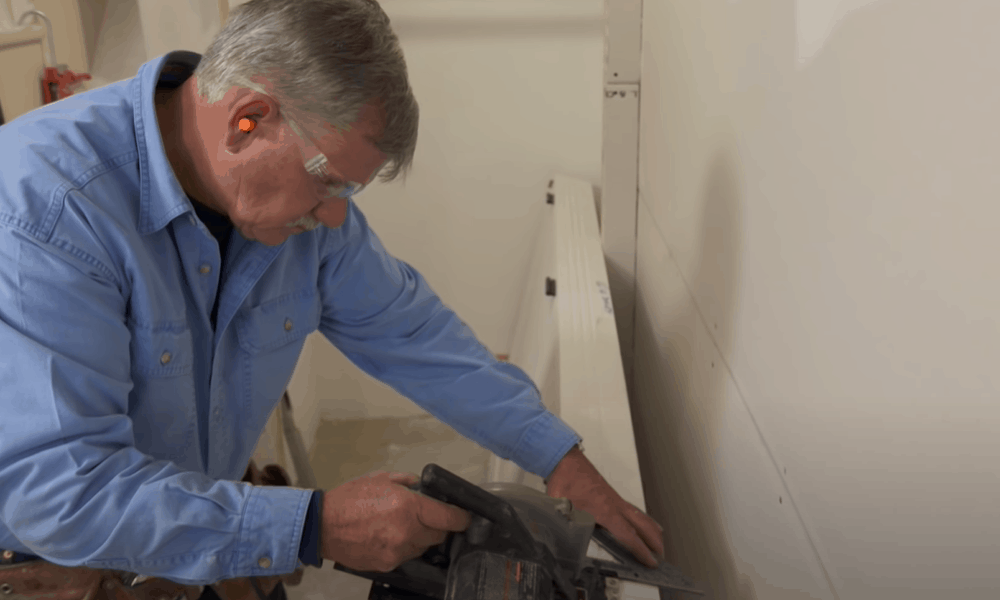
The measurement you just took tells you how much higher the floor is at one side of the door compared to the other. You now need to adjust the door jamb by removing this amount from the bottom.
Be careful that you cut the correct jamb. The one that will be on the side where the sill is higher is the one that needs to be shortened.
If you cut the wrong one, you will have to correct it by cutting even more off the other side, and this might mean the frame no longer fits the rough opening correctly.
Pro tip: You can use a manual saw or a circular saw to cut the jamb. A circular saw blade with a larger number of teeth is more suitable since this is less likely to splinter the wood.
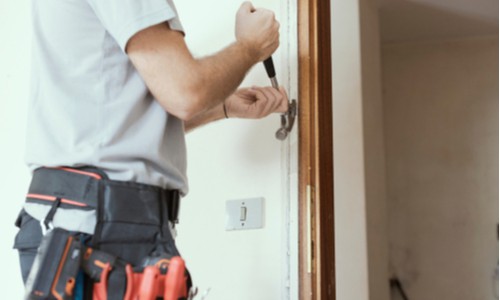
Step 5. Place the door in the rough opening and line it up
The next step is to place the door in the rough opening. You need to make sure that the hinge side of the door is perfectly vertical. When you have it lined up correctly, you can then start to fix it in place by placing shims around it.
Start at the top and measure with the level. When you are sure that the shim and the frame are correctly positioned, put a nail through to hold it in place.
Repeat the process to put more shims in around the door frame to hold it securely in place and keep taking new measurements with the level as you go.
This may take a bit of time and you will have to make lots of readjustments, but this is the key step, so make sure you do it right.
Pro tip: To avoid damaging the door jamb with the hammer, don’t hit the nails all the way in. You can leave a little bit sticking out and then finish them off after with a nailset.
-
Sale!
Window Cabinet Drawer Handles Self-adhesive Door Knobs
Original price was: $12.99.$9.99Current price is: $9.99.Select options This product has multiple variants. The options may be chosen on the product page -
Sale!
Upscale Sliding Door Knob With Double-sided Tape for Kitchen Door Wardrobe
Original price was: $12.99.$9.99Current price is: $9.99.Select options This product has multiple variants. The options may be chosen on the product page -
Sale!
Round Stainless Steel Door Knobs for Drawer Cabinet Kitchen Cupboard
Original price was: $12.99.$9.99Current price is: $9.99.Select options This product has multiple variants. The options may be chosen on the product page


Pro tip: If you are installing a door in a room where the floor surface has not been added, you will need to leave a little extra space at the bottom to allow for this. For example, you might be installing the door before carpet is laid in that room.
In that case, work out how much extra height you will need for the floor surface and place a shim of the correct width under the door jamb on either side to allow for this. Once you have finished hanging the door, you will then be able to remove these shims to lay the floor.
Step 6. Close the door and check the installation
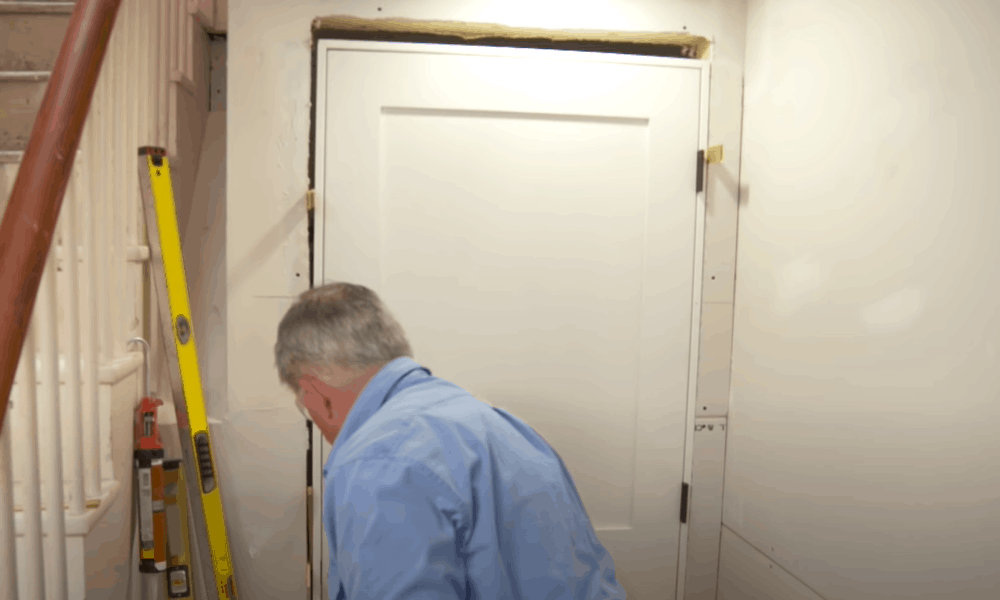
Now close the door and make sure everything fits the way it should. Look at the top of the door to make sure it closes properly without a gap – because if it doesn’t, you will need to go back and make sure everything lines up properly.
If the top doesn’t line up properly, you will need to add more shims on the latch side of the door to help the door line up correctly. Keep working at this until the door closes properly and the gap at the top is even.
Pro tip: If everything lines up correctly, by this stage, the door should be fixed firmly in place with shims all around it holding securely. Don’t move onto the next step until you are sure everything is perfect since this is your last chance to make any alterations.
Step 7. Fit the trim
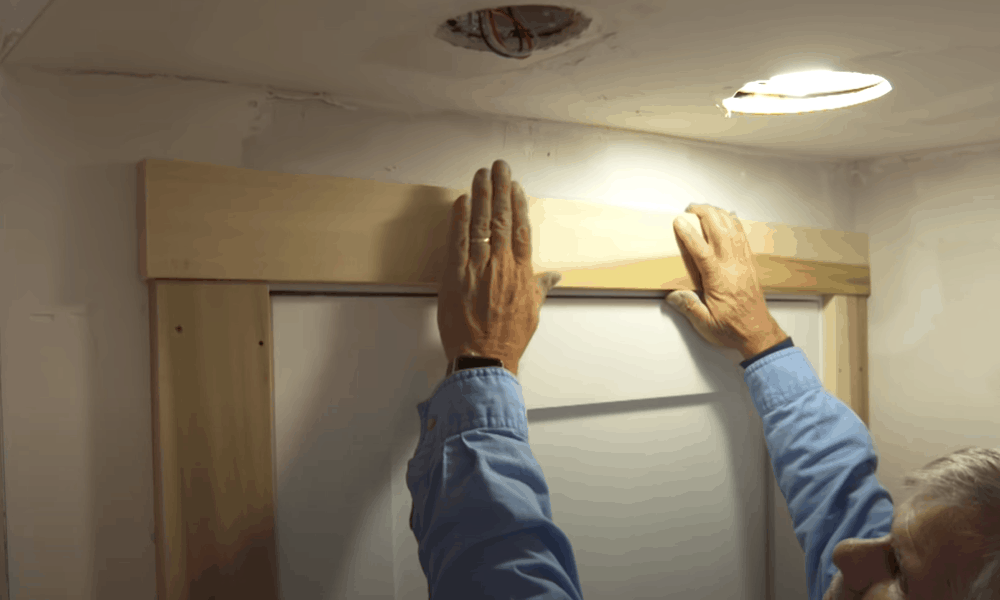
When the door is installed and held firmly in place, what’s left now is simply to fit the trim around the door to make it look good.
Pro tip: When the trim is attached, sand it lightly, prime it and paint it and the job is complete.
Extra pro tips for installing a prehung door
Here are a few extra tips that will help you complete this job successfully.
- Ask someone to help
While it’s possible to do this job alone, if you can find someone who is willing to give you a hand, it may come in useful. This way, one person can hold the door while the other is putting in shims, making the whole process less complicated.
This is also true for the step when you lift the prehung door into the rough opening and try to line it up. This is another part of the job that is much easier for two people than just one alone.
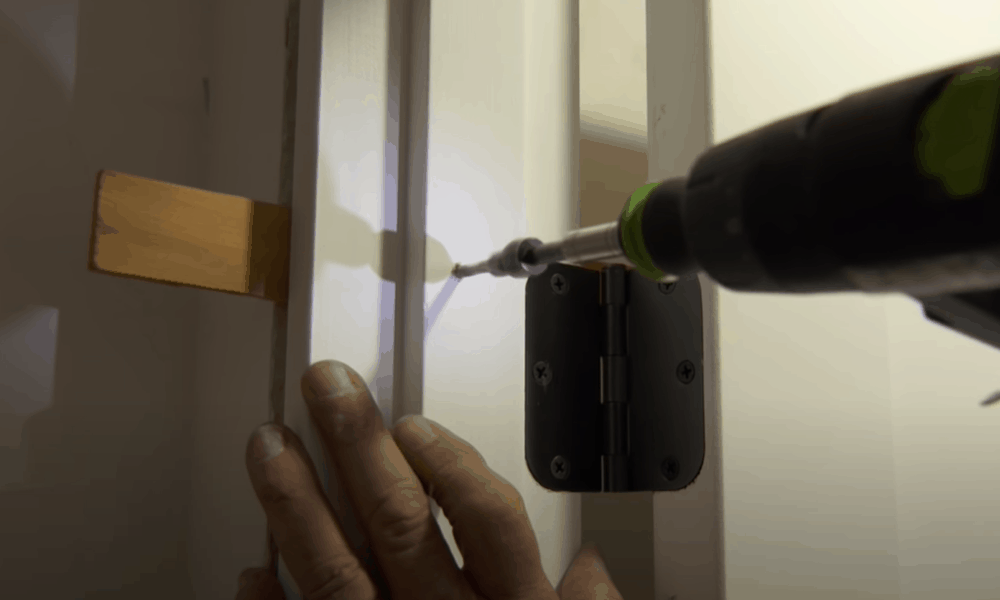
- Place shims behind the hinges
When you are shimming the door, place shims directly behind where the hinges will go. You can then fix them in place with longer screws, and this will give the hinges a bit of extra strength.
-
Sale!
Semicircular Cartoon Welcome Entrance Door Mat
Original price was: $12.99.$9.99Current price is: $9.99.Select options This product has multiple variants. The options may be chosen on the product page -
Sale!
Anti-skid Water Absorption Bathroom Door Mat
Original price was: $12.99.$9.99Current price is: $9.99.Select options This product has multiple variants. The options may be chosen on the product page -
Sale!
Classic Friends Welcome Rubber Carpet Door Mat
Original price was: $12.99.$9.99Current price is: $9.99.Select options This product has multiple variants. The options may be chosen on the product page


- Insert expanding foam for extra insulation
If the door is an external one, you can add extra insulation by using expanding foam in the gap between the doorframe and the rough opening.
Using the foam gun, squirt the foam into the gap and let it expand to fill the hole. Be careful not to use too much – if you squirt too much foam into the gap, it will expand too much and will spill back out of the gap.
- Add a sill pan if a door is exposed to the weather
If an external door is exposed to rain, consider adding a sill pan to protect the subfloor from water damage.
A relatively simple job when you know how to do it
Installing a prehung door is much easier than hanging one that isn’t prehung, but you still need to make sure you do it right. If you don’t take your time to measure correctly and ensure everything is level, you will end up with a door that is incorrectly hung.
However, as long as you have the correct tools and understand how to do it, if you take your time to shim the door correctly and take careful measurements to keep it level, there is no reason why you shouldn’t be able to do it yourself, saving yourself a bit of cash in the process.