How to Install a Pocket Door? (Step-By-Step Tutorial)
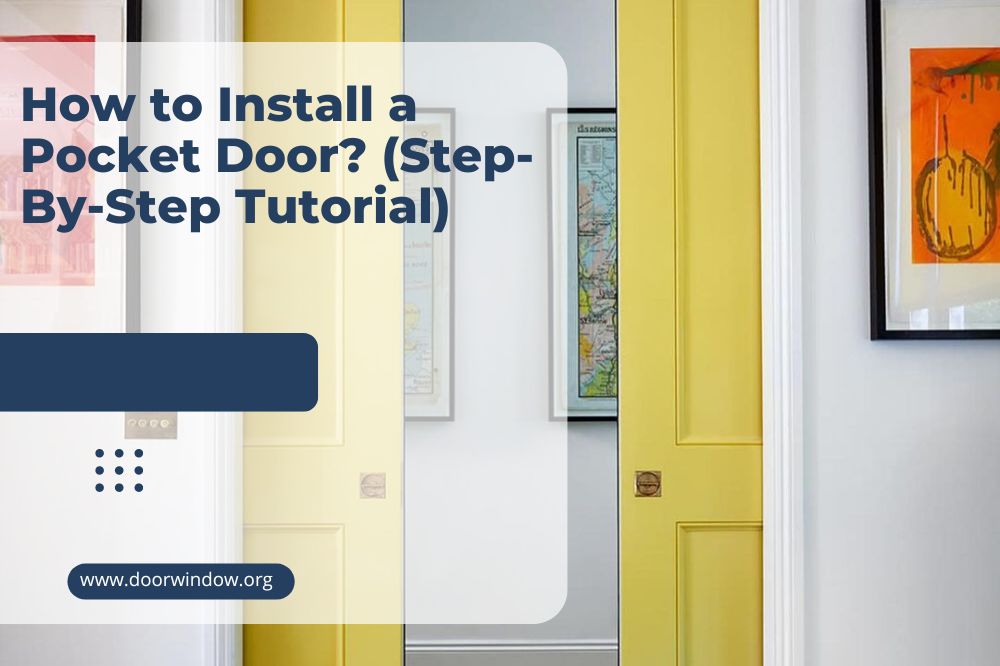
If you have a small house or need to save a bit of space in a tight corner, a pocket door could be just the answer you are looking for. Instead of swinging open like a regular door, they slide into the wall, allowing you to gain both floor and wall space at the same time.
Installing pocket doors is a bit more complicated than fitting a regular door, and it will involve some more substantial work. However, for a dedicated DIYer, it is still quite possible to do it without professional help, so if you want to try, here’s how to install a pocket door.
If you want a preview of some of the things we’re going to be talking about – as well as a few extra hints and tips – you can check out his video before reading on.
Tools and materials for installing a pocket door
Here’s a list of what you’ll need for the project.
- Pocket door kit
- Protective dust covers
- Reciprocating saw
- Crowbar
- Tape measure
- Drywall compound
- Drywall paneling – if you don’t plan to reuse the part you remove
- Timber for the header and studs
- Nails
- Wood for the shims
- Screwdriver
- Any other tools required for fitting the pocket door kit
Step-by-step guide on how to install a pocket door
Here are the steps you should follow you install your pocket door.
Step 1. Ensure the wall is suitable for a pocket door
If you install a pocket door, you will need to cut a hole in the existing wall and remove any studs from inside. If you are working on a load-bearing wall, this may cause significant structural changes to your house, in which case, you need to check with a professional first.
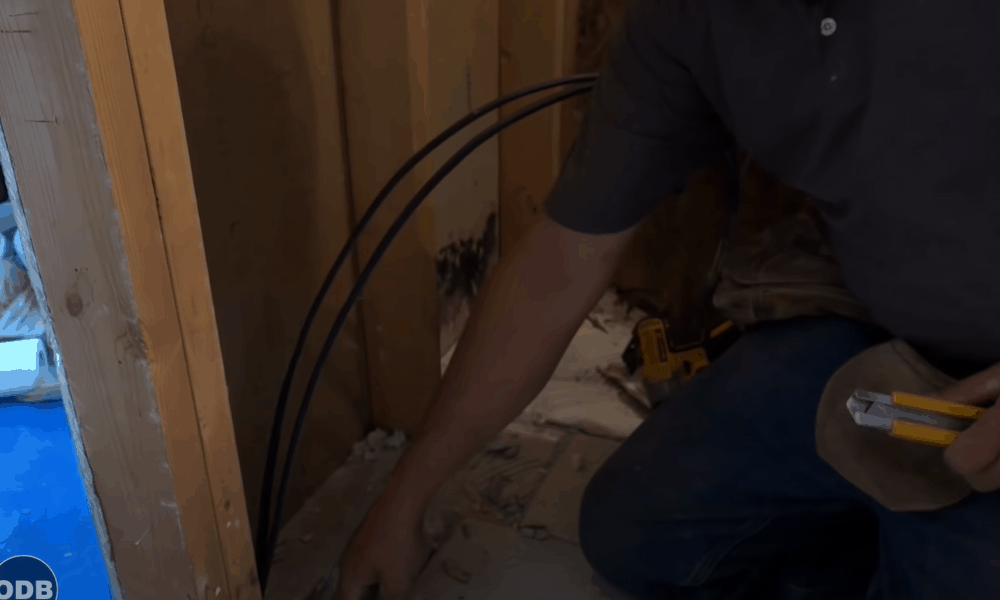
Also, walls may contain electric cables or pipes, in which case the wall you have chosen might not be suitable for a pocket wall – or the job might otherwise entail more work than you had imagined. For this reason, you should check this out first too.
Step 2. Choose a pocket door kit
If the location where you want to install your pocket door is suitable, you can think about buying a pocket door kit. You can buy them with or without the door included, but buying one with a door makes the installation easier. Alternatively, you can reuse your existing door.
Pro tip: If you have a problem with a pocket door after installation, it will be more troublesome and expensive to repair than a regular door. For this reason, you should buy the best kit your budget allows to reduce the risk of issues arising later.
Step 3. Prepare the area
When you start, the work will cause a certain amount of dust and debris, so make sure you cover everything with protective cloths before you begin.
Step 4. Remove the old door and frame
Start by removing the old door. This may be as simple as unscrewing it from the hinges and taking it down. You will also need to remove the old door frame.
Step 5. Construct the rough opening for your door
-
Sale!

Swing Stop Bottom Adjustable Roller Flooring Barn Door Hardware
Original price was: $44.99.$33.99Current price is: $33.99. -
Sale!

Low Noise Floor Guide Adjustable Length Barn Door Hardware
Original price was: $15.99.$11.99Current price is: $11.99.Select options This product has multiple variants. The options may be chosen on the product page -
Sale!

Antique Big Rollers Steel Sliding Barn Door Hardware
Original price was: $187.99.$140.99Current price is: $140.99.


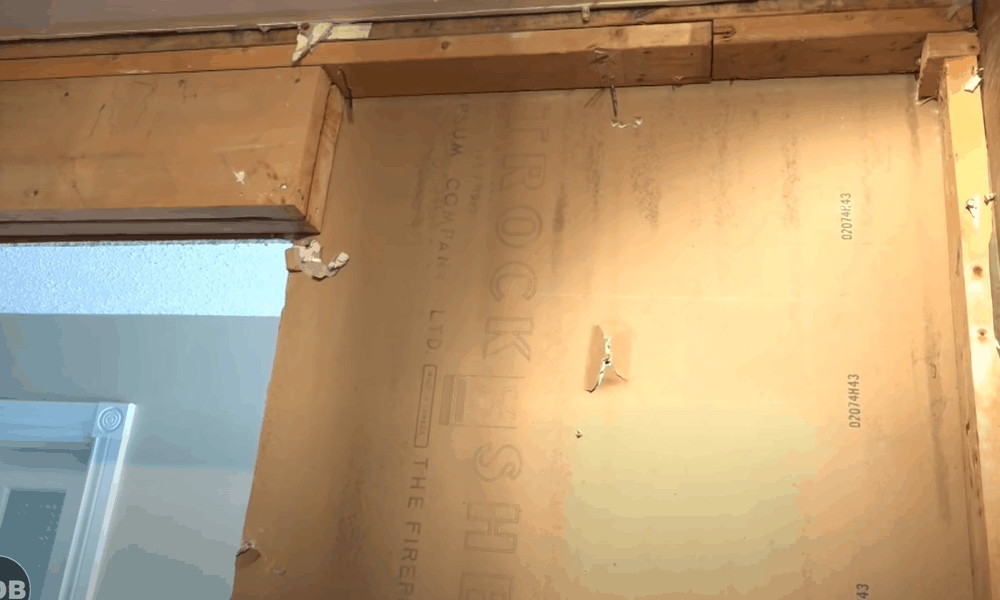
You will now need to cut a section of the existing wall away to construct the rough opening for your sliding pocket door. The rough opening is the space where the frame and pocket door will be fitted.
Measure out the size you require and remove the section of drywall. Since your door will need to slide into the gap you create, you should make a rough opening that is just over twice the width of your new door to ensure there is enough space.
Pro tip: A reciprocating saw is the best tool for removing the drywall. When you have cut out the shape, you can use a crowbar to prize it away from the wall.
Pro tip: If you are careful when cutting away the section of drywall, you should be able to reuse it later when you need to put everything back. If you hope to do this, work slowly and carefully so as not to damage it.
Step 6. Remove the studs and header
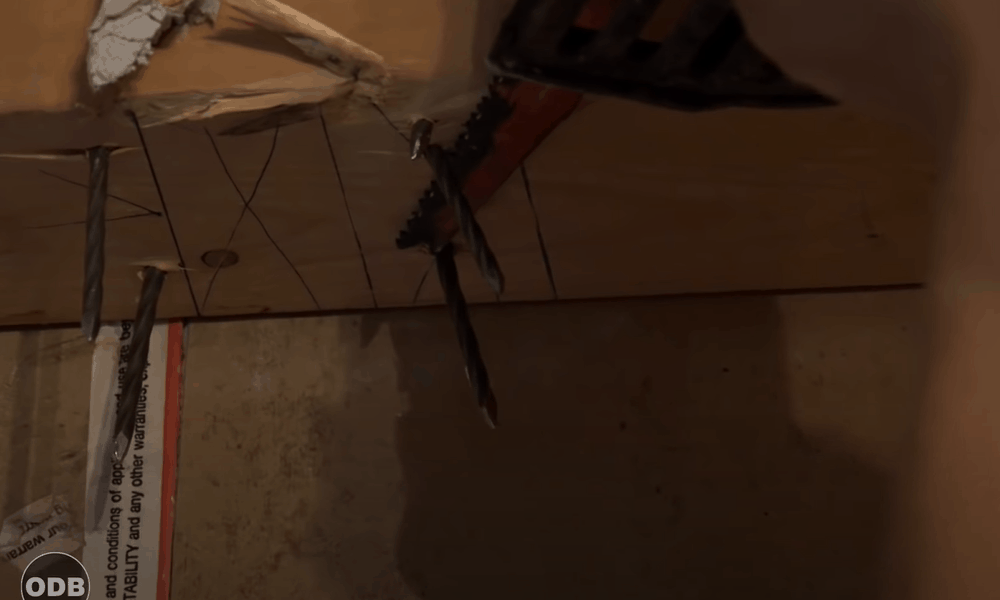
With the drywall removed, you will now have access to the studs. These need to be removed to make space for the door to slide into, as does the old header.
You will probably need to cut through the nails at the top of the studs to remove the studs, and the best way to do this is to use a reciprocating saw. The advantage of this is that you can remove the studs in one piece, allowing you to reuse them later.
However, make sure you use a blade that is suitable for cutting through metal.
Pro tip: If the wall is a load-bearing wall, you should not simply remove the studs as this may cause structural weakness in the building.
For load-bearing walls, it is advisable to consult a professional builder and you may need to construct a temporary wall to take the weight while you complete the work.
Step 7. Construct the new frame
Once the old door, frame and studs have all been removed, you can now start constructing the new door frame. This is the last tricky step, after which, everything else should be much easier.
The header will need to be longer than the one you just removed, allowing the new door to slide along it. Once you have measured this out, you will also need to fit new studs in place, both to hold up the header and outside of the header.
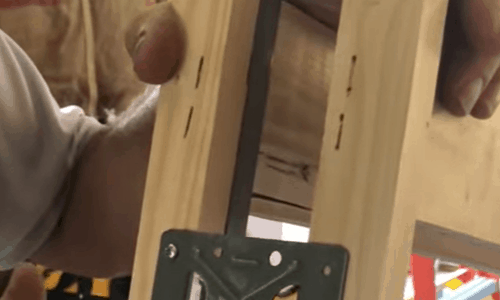
Step 8. Install the pocket door kit

You can now install the pocket door kit. Cut the track to the correct length and mount it as detailed in the instructions that came with it. Fit the split studs into the floor brackets and attach the tops of the studs to the header using nails.
-
Sale!
Free Punch Glass Door Sliding Door Knobs Suction Cup
Original price was: $12.99.$9.99Current price is: $9.99.Select options This product has multiple variants. The options may be chosen on the product page -
Sale!
Window Cabinet Drawer Handles Self-adhesive Door Knobs
Original price was: $12.99.$9.99Current price is: $9.99.Select options This product has multiple variants. The options may be chosen on the product page -
Sale!
Upscale Sliding Door Knob With Double-sided Tape for Kitchen Door Wardrobe
Original price was: $12.99.$9.99Current price is: $9.99.Select options This product has multiple variants. The options may be chosen on the product page


You will also need to nail the floor brackets to the soleplate or to the floor.
If you are reusing the old door, you will now need to attach the hardware included in the kit, as explained in the instructions.
Once everything is ready, you can now hang the door by sliding it into place.
Pro tip: All pocket door kits are slightly different, so the most important thing is to read the instructions carefully. Although the process is usually similar, there may be slight differences from one model to another.
Pro tip: The split door jambs for the pocket door shouldn’t be nailed directly to the studs. Use a shim to make sure they stay securely in place.
Step 9. Replace the drywall
When the door is hung, test it to make sure it slides correctly as required. If everything is satisfactory, you can now replace the drywall.
If you cut away the drywall carefully before, you should be able to reuse it. However, if you didn’t manage, you will need to install a new section.
Pro tip: To fit the drywall back in place, use drywall tape and several layers of drywall compound, letting it dry off and sanding it down each time before applying the next layer.
Step 10. Finishing touches
When the drywall is back in place, all that’s left to do is to take care of the finishing. Paint over everything that needs painting and make sure everything looks the way it should, and you have successfully completed the installation of your pocket door.
Extra pro tips
Here are some extra tips that will help you make a success of this project.
-
Repair old door using sawdust and wood putty
If you are reusing your old door, you will want to remove the old door handle, otherwise it won’t be able to slide properly into the “pocket”.
The problem with this is, it will leave an unsightly hole in the door, and this will need to be plugged.
The simplest way to do this is to use a mixture of sawdust and wood putty. Simply fill the gap and then paint over the work. For the best results, you should repaint the whole door so the new paint won’t be visible.
-
Electric cables can be moved but pipes are more of a problem
As we mentioned earlier, you should start this project by considering whether the wall you want to install the door in is suitable.
If you find the wall contains electric cables, this is something that can be dealt with – although you will probably require the services of a professional electrician.
-
Sale!
Home Entrance Anti-Slip Coral Fleece Door Mat
Original price was: $12.99.$9.99Current price is: $9.99.Select options This product has multiple variants. The options may be chosen on the product page -
Sale!
Semicircular Cartoon Welcome Entrance Door Mat
Original price was: $12.99.$9.99Current price is: $9.99.Select options This product has multiple variants. The options may be chosen on the product page -
Sale!
Anti-skid Water Absorption Bathroom Door Mat
Original price was: $12.99.$9.99Current price is: $9.99.Select options This product has multiple variants. The options may be chosen on the product page


However, if you find that the wall contains pipes, this is more complicated, in which case you might wish to reconsider your plan.
-
Have someone help when mounting the door
Most of the work described here can be accomplished by just one person. However, the step of hanging the door can be more challenging for only one person, so if possible, for this step, it might be a better idea to ask someone to give you a hand.
A challenging but rewarding DIY project
As you can see, while this is perhaps not a project for novice DIYers, installing a pocket door will not be beyond anyone with a moderate amount of DIY expertise and experience. The only thing that will make it more difficult is if the wall is load-bearing or contains pipes.
However, if you don’t have any of these kinds of problems to deal with, once you have prepared all of the necessary equipment, this is a job that most people will be able to complete successful in only a couple of days.