11 Steps to Install Glass Block Window

Most people install glass block windows in their basements and bathrooms. These are translucent, thick blocks of glass that allow light rays to pass through them while distorting vision. But the privacy they offer isn’t the only reason why you may want to learn how to install glass block window.
Since these windows are made of thicker glass than regular windows, you can count on them to enhance the overall security of your home. They are usually sealed in the wall with mortar to eliminate the risk of air leakages and improve your home’s energy efficiency.
How to Install Glass Block Window
Follow these steps to install glass block window on your own:
Step 1: Gather the supplies
You’re going to need the following tools to finish the job with perfection:
- Measuring tape
- Safety gloves
- Circular saw
- Dry vacuum cleaner
- Pry bar
- Utility knife
- Cedar shims
- Cement and sand
- Trowel
- Caulking gun
Step 2: Size the glass block window
Use a measuring tape to size the current window frame. Make sure that you measure down to the masonry and not just the frame. Take pictures of the entire frame and take them to the vendor if you’re unsure where the frame ends and the masonry starts.
Measure twice to ensure that the dimensions are spot-on as getting them right is crucial. Then subtract ½’’ from both sides (width and length). This will allow you to compensate for the mortar joints which exist on each side of the panel.
Step 3: Purchase a new glass block window
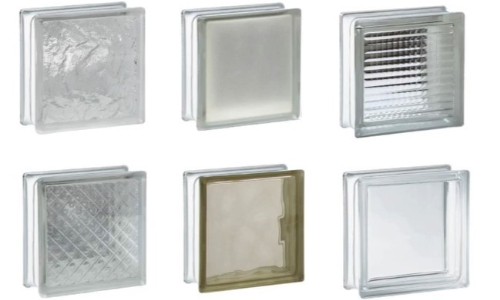
Take the measurements you have noted to a vendor. They will show you several designs to help you select the one that meets your eye. If you’re going to take the panel home in your car, request the vendor to place band clamps around the window. They will keep the blocks of the larger panel from snapping off as you’re transporting the window.
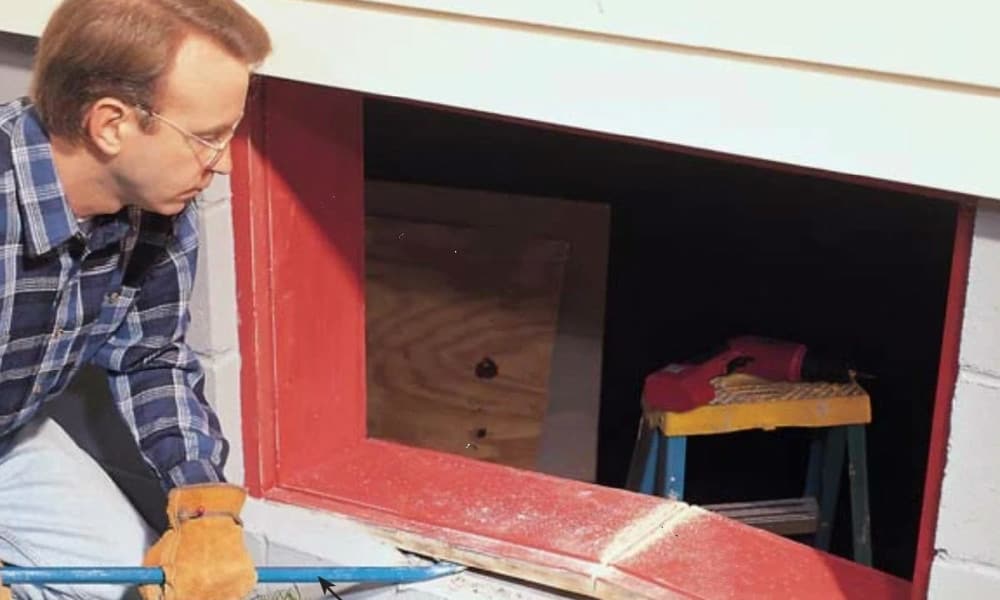
Step 4: Remove the old frame
Provided you’re going to break the old window, wear safety gloves. Use a circular saw to make the first cut into the old frame as it will make it easier for you to pry out the frame later on. Afterward, vacuum the entire area with a shop vac to safely remove all the shards.
-
Sale!

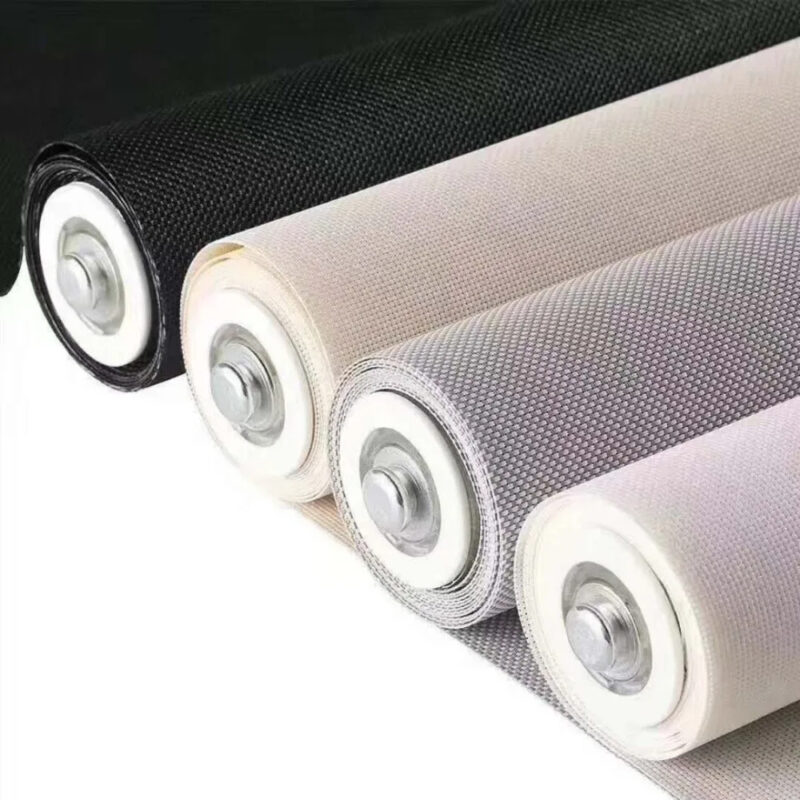
Fire Retardant Sunscreen Window Blinds
Original price was: $45.99.$34.99Current price is: $34.99.Select options This product has multiple variants. The options may be chosen on the product page -
Sale!
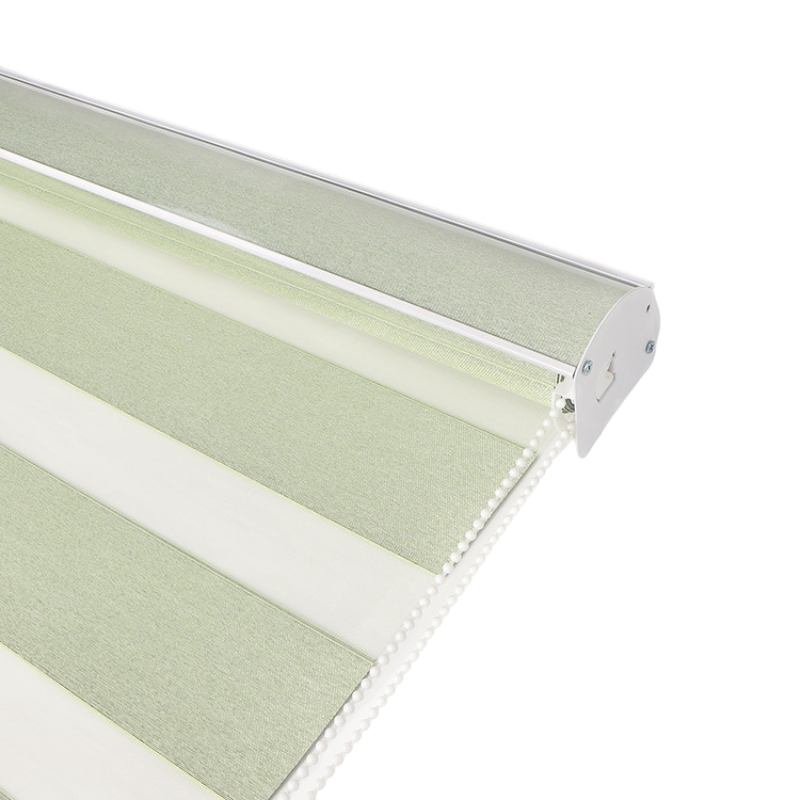
Light Filtering Zebra Window Blinds
Original price was: $37.99.$28.99Current price is: $28.99.Select options This product has multiple variants. The options may be chosen on the product page -
Sale!
Portable Blackout Stick On Window Blinds
Original price was: $21.99.$15.99Current price is: $15.99.
Step 5: Rip out the old frame’s jamb
The material of construction of the frame will determine how easy or otherwise this process is going to be. In most cases, you’d only need a simple pry bar to rip out the old jamb. However, if the jamb is secured in place with mortar or concrete, you might have to chisel some of them away.
Step 6: Remove caulking
Since you’re going to need the entire frame as clean and clear as possible, you cannot let the old caulking stay in place. Also, the new frame will require you to add new caulking, which won’t be possible as long as the old caulking stays in place.
Place an old newspaper or any cloth beneath the frame to collect the falling caulking. Then, use a utility knife to chisel away and remove caulking.
Step 7: Install cedar shims
Cedar shims are required for the even placement of the new window’s panel in the space. Install them at the bottom of the frame, starting from the corners. They should be about ½’’ in width and must be placed at 3’’ intervals from each other. The shims should be long enough to remove once the first coat of mortar has set in.
Step 8: Mix mortar
Measure 4 parts sand and 1 part cement and mix them dry. Use a shovel to create a crater in the middle of the sand-cement mixture. Add a full bucket of water on top of the crater. You can also add appropriate amount of mortar additive or lime afterward to strengthen the mortar.
-
Sale!
Line Heart Decor Tassel Window Curtains
Original price was: $12.99.$9.99Current price is: $9.99.Select options This product has multiple variants. The options may be chosen on the product page -
Sale!
European Simple Partition Screen Window Curtains
Original price was: $15.99.$11.99Current price is: $11.99.Select options This product has multiple variants. The options may be chosen on the product page -
Sale!
Blackout Simple Solid Thicker Window Curtains
Original price was: $48.99.$36.99Current price is: $36.99.Select options This product has multiple variants. The options may be chosen on the product page


Once you have prepared the mortar, use a trowel to add a small amount of it to the bottom of the frame. The layer shouldn’t be thick as its only purpose is to help the shims form a base.
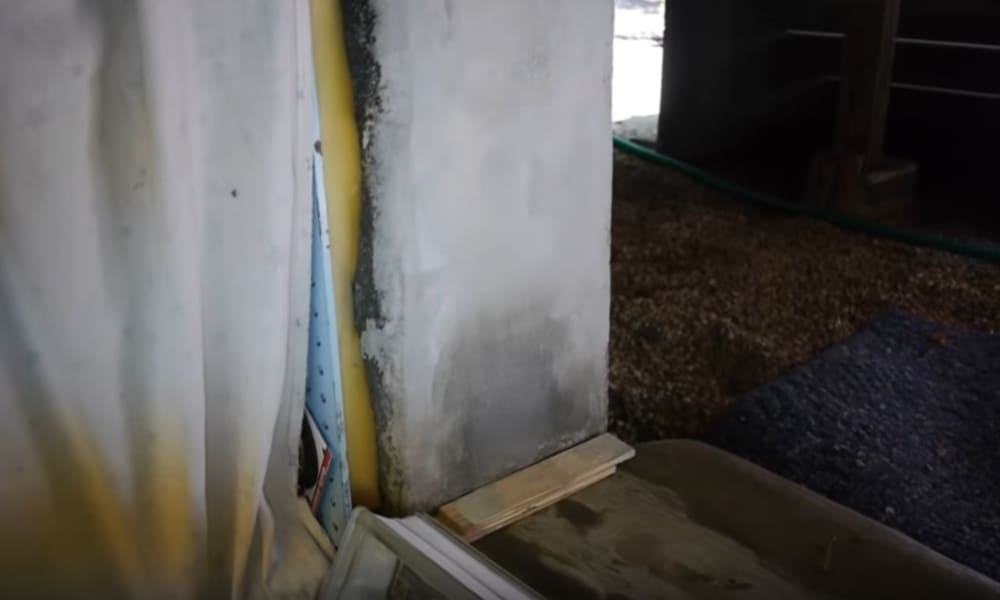
Step 9: Place the panel over the shims
As you might have gauged during its transportation, the panel is heavy. Get a helping hand if you are having trouble lifting it on your own. Some of the shims might move while you’re setting the panel. Reset them while you’re tilting or sliding the panel in place.
After placing the panel in place, you might notice a few gaps at the bottom. Pack them with mortar using a trowel.
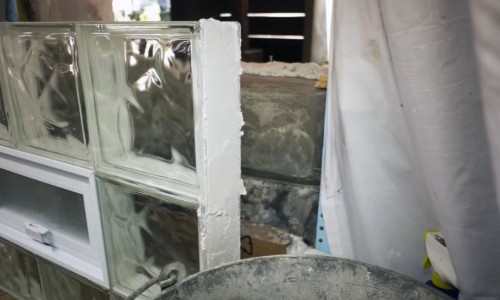
Step 10: Mortar the sides
After the mortar at the bottom has become hard to touch, start applying the mortar to the sides. Once it has set in as well, start removing all the shims one by one. Give the mortar at least three hours to dry before using a striking tool to smoothen it out.
Step 11: Caulk the top of the window
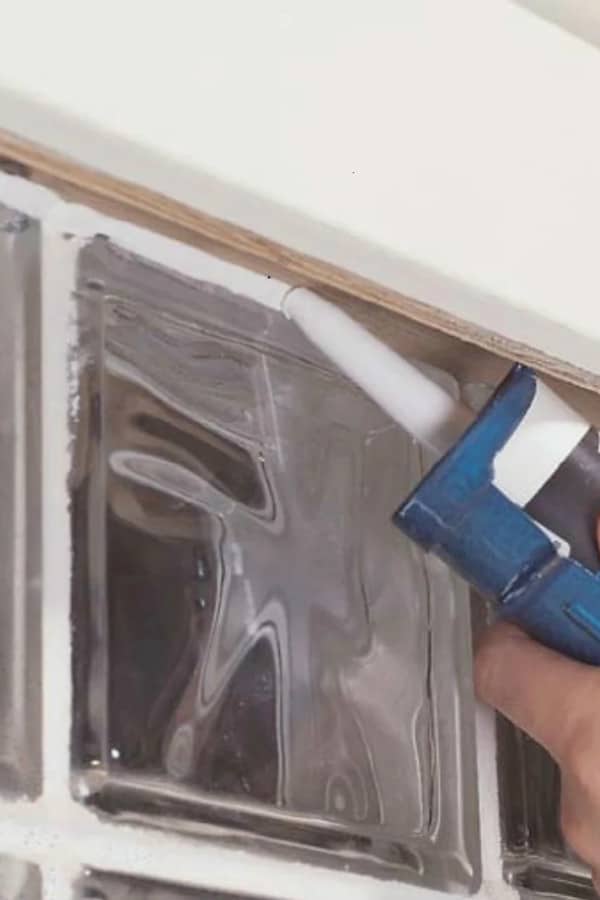
Caulking the top of the window will place downward pressure on the entire panel, thereby helping it set firmly in place. Use 100% silicone caulking to fill the entire gap at the top. To apply the caulk, remove the cover on the inlet of the caulk gun, place the caulk tube inside, and then screw the cover back.
Slightly squeeze the gun’s handle to attach its plunger cap against the rear of the tube. Then, use a utility knife to cut the tip of the tube at a 45-degree angle. Press the tip you’ve just cut against one corner of the window, and start applying the caulk in a continuous bead.
-
Sale!
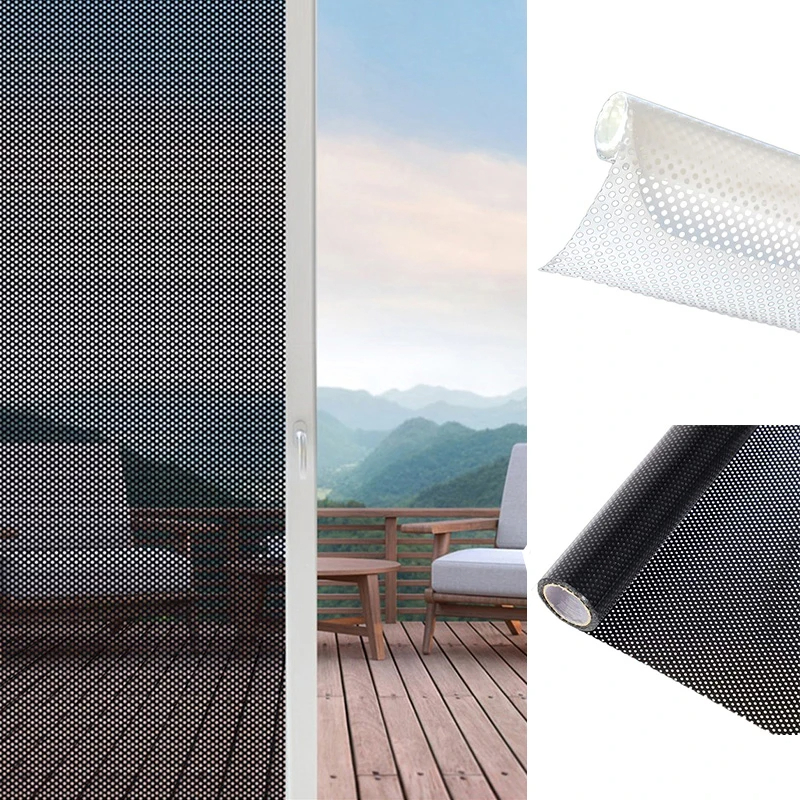
Self-adhesive Mesh Window Film Privacy for Home Office Decorat
Original price was: $5.99.$4.99Current price is: $4.99.Select options This product has multiple variants. The options may be chosen on the product page -
Sale!
Removable Electrostatic Retro Flower Window Film Privacy For Home
Original price was: $9.99.$7.99Current price is: $7.99.Select options This product has multiple variants. The options may be chosen on the product page -
Sale!
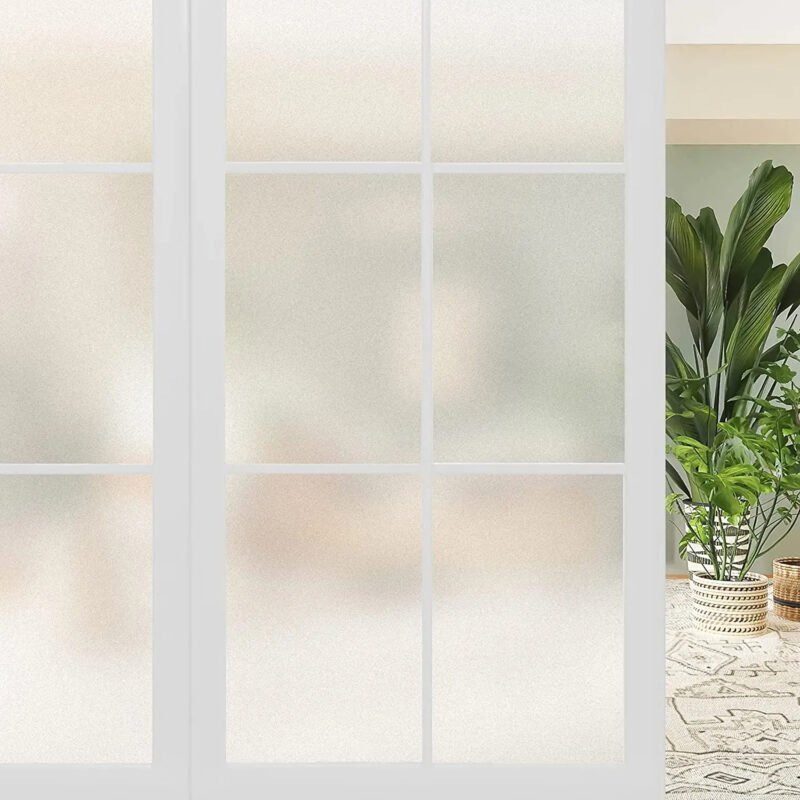
Pure Matte UV Blocking Window Film Privacy for Home
Original price was: $37.99.$28.99Current price is: $28.99.

Conclusion
Are you unhappy with the (lack of) privacy your bathroom window provides? Not sure why your home’s energy bills are going up all the time? If your answer to either of these questions is in the affirmative, then you can certainly do with a glass block window.
Sure, the entire process of removing the old window and replacing it with a new one requires a lot of time and effort. But the benefits that a glass block window provides in terms of energy savings, enhanced indoor appeal, and more privacy make it a worth-having option.
Please feel free to get in touch if you have any questions.