How to Shim a Door? (Step-By-Step Tutorial)
Is your door gapping or sagging around the edges? Shimming is the secret to doors that fit perfectly in the frame. The technique involves inserting small wedged pieces of wood between the jambs and rough frame for the door to be level and plumb.
To achieve the desired results, you will need to be strategic with the placement of the wooden wedges. The process sounds a bit technical but it actually isn’t—below we show you how to shim a door in a few easy steps.
Tools for shimming a door
Below are the tools you will need to complete this project:
- Shims
- Nails and screws
- Nail gun
- Level
Step-by-Step Guide on how to shim a door
Follow these instructions to shim a door correctly.
Step 1. Remove the trim
The trim is the casing that surrounds the door. By removing the trim, you can access the rough opening and install shims as necessary. Trim is typically sealed in place with nails and paint.
- Use a utility knife to break the paint seal between the casing and wall all around the door. Be careful not to break the pieces of trim—you can reuse them if they are still in good condition.
- Insert the flat end of a pry bar in the space left after breaking the paint seal. To protect the wall, place a small block of wood against the wall and use it as a pivot for the pry bar.
- Starting from one end of the door, gently pry the trim and work your way down until the entire casing is out.
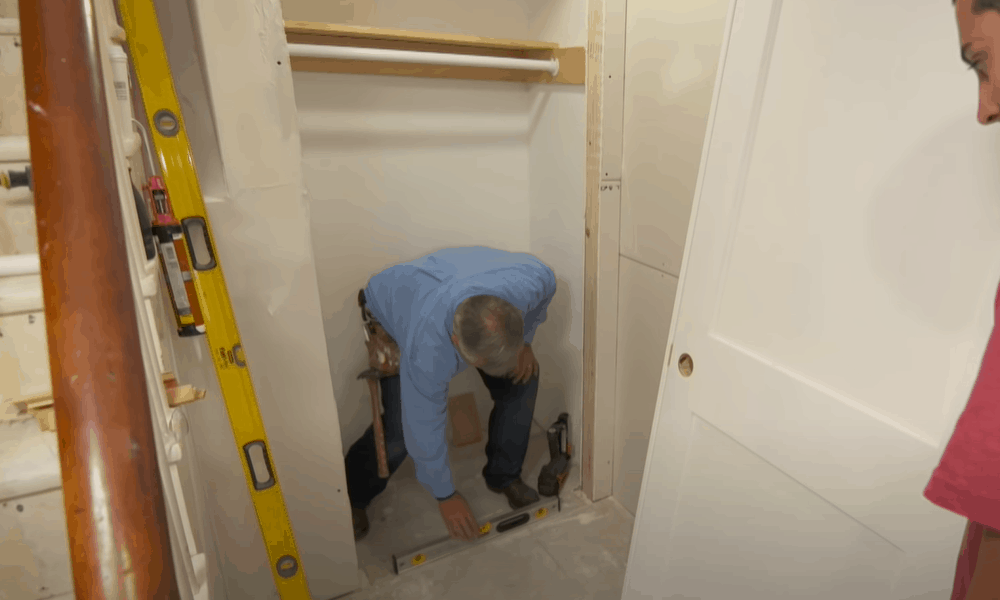
Step 2. Check that side jambs are plumb
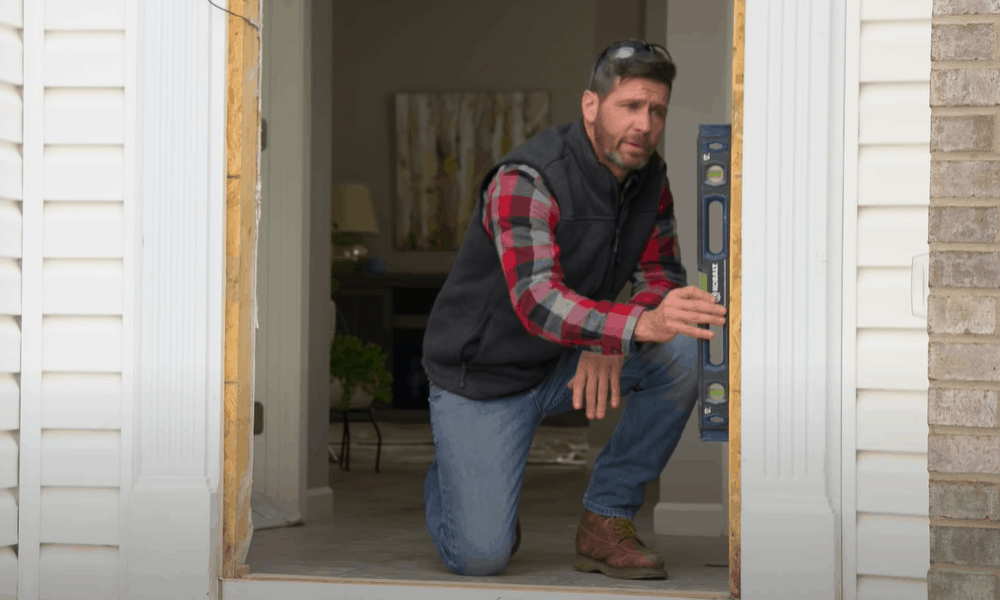
- Before installing shims, use a bubble level to check the vertical positioning of the jambs on each side of the door. This will give you an idea of how best to place the wooden wedges to make the jambs plumb.
- For a door that needs shimming, the bubble on the level will not be centered. After shimming, the jambs should be plumb and the bubble on the center of the carpenter’s level centered.
Step 3. Place the wooden wedges to plumb the jamb
-
Sale!

Swing Stop Bottom Adjustable Roller Flooring Barn Door Hardware
Original price was: $44.99.$33.99Current price is: $33.99. -
Sale!

Low Noise Floor Guide Adjustable Length Barn Door Hardware
Original price was: $15.99.$11.99Current price is: $11.99.Select options This product has multiple variants. The options may be chosen on the product page -
Sale!

Antique Big Rollers Steel Sliding Barn Door Hardware
Original price was: $187.99.$140.99Current price is: $140.99.


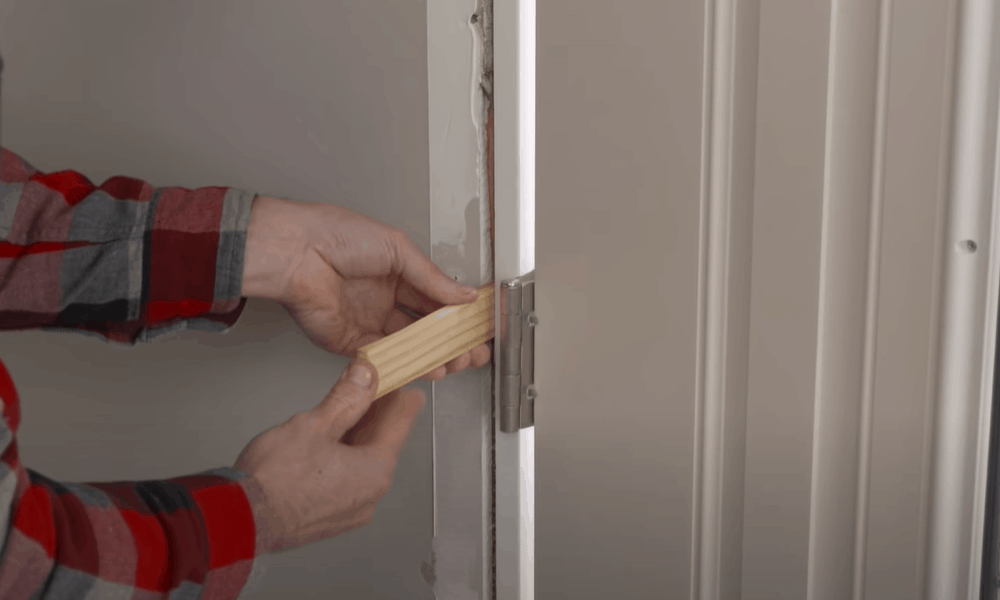
Shims have a thicker end and a tapered narrower tip, which makes sliding them into tight spaces easy.
- To plumb the jamb, insert a shim between the jamb on the latch side of the door and rough opening from both sides of the door. The narrow side of the two wedges should slide on top of each other.
- Repeat this process at a different point on the door but along the same jamb. So, if the first time you had inserted shims at the upper end between the side jamb and rough opening, insert others in the middle and/or toward the lower end.
- Use a level to check the vertical positioning of the jamb once again. If the bubble is centered, the jamb is plumb. If not, continue to adjust the shims until the vertical positioning of the jamb is even.
- Repeat this process with the hinge side jamb so that both jambs are plumb.
Pro tip: For best results, always start by installing shims in the largest gap. This could easily resolve most fitting problems.
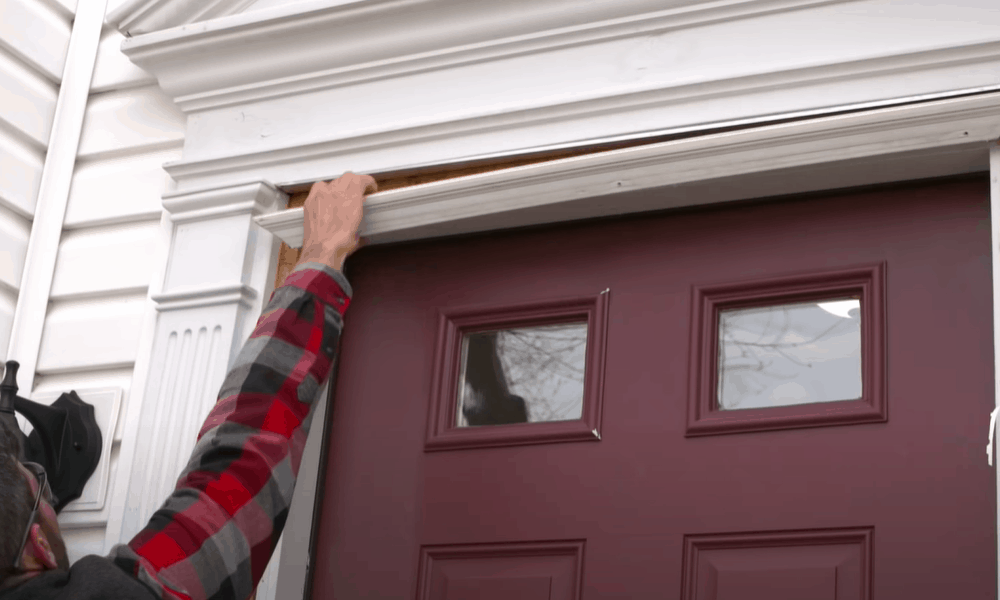
Step 4. Place wooden shims to make the header level
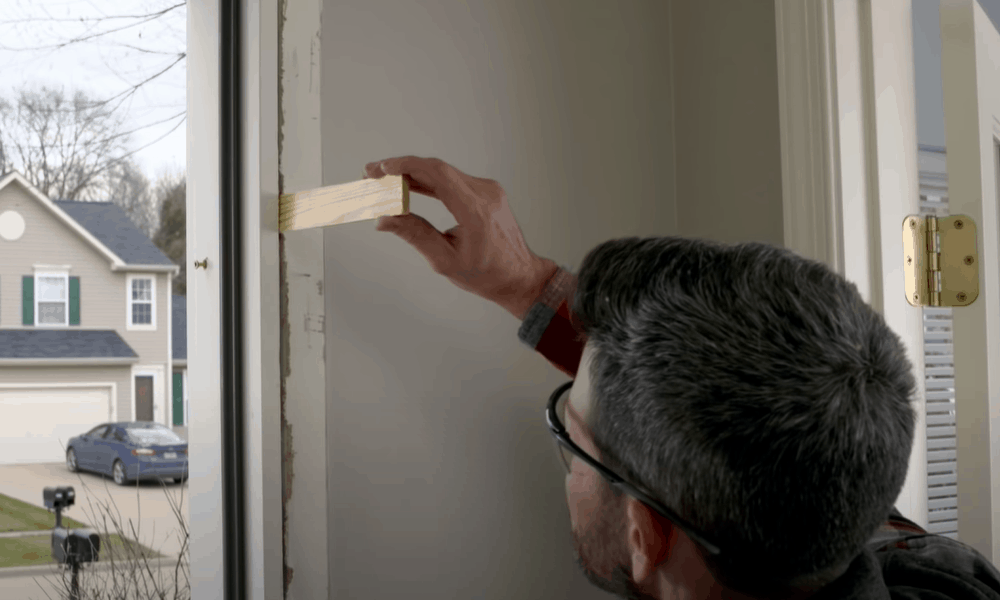
- If you are satisfied with the vertical position of the side jambs, move on to the header. Using the carpenter’s level, check the horizontal positioning of the door’s header. If the bubble is not positioned in the middle, you will need to shim the header.
- Insert the wooden wedges between the header and rough opening on both sides of the door. The narrower tips of the wedges should overlap.
- Keep checking the levelness of the header. Add shims in a different spot on the header until you achieve the desired levelness.
Step 5. Secure the shims in place
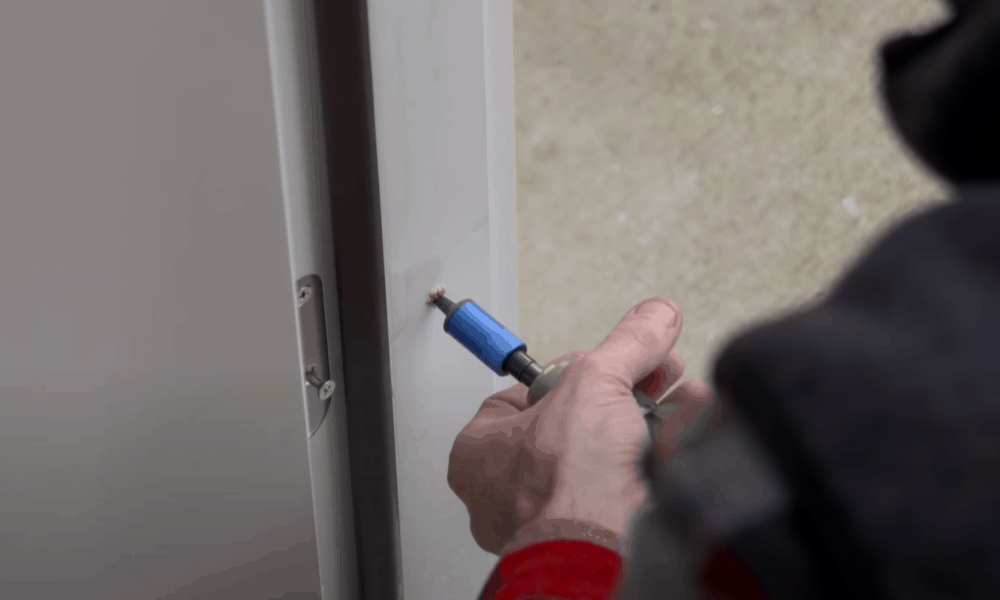
- Once you are satisfied with the placement of the shims in the side jambs and header, the next step is to secure them in place.
- Use a hammer to drive one 2 ½ inches finish nail through the jamb, past the shims, and into the rough opening frame. Nail the shims in the header in the same way.
- Use a utility knife to trim off any protruding shims to keep them flush with the door jamb.
Pro tip: Be careful not to drive in the nails too tightly as this might affect the plumb and level of the door, therefore, defeating the purpose of the project.
Step 6. Assess the condition of the door after shimming
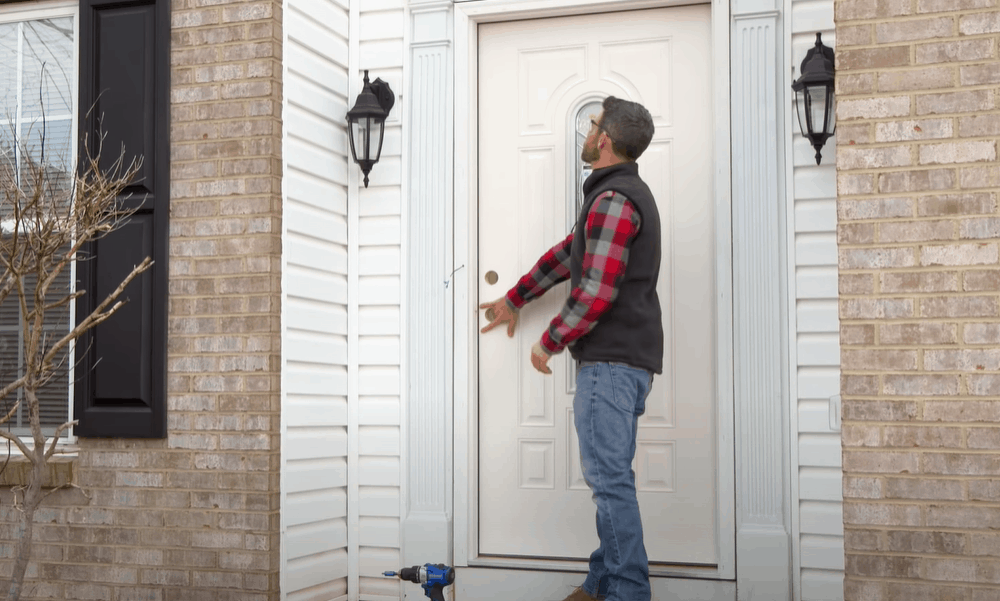
- Inspect the entire door to ensure that it fits snugly in the opening.
- Using a carpenter’s level check that the jamb sides are plumb and the header is level.
- Open and close the door to check that it works properly. If the vertical and horizontal positioning of the side jambs and header is in check, the door should work properly.
Step 7. Reinstall the trim

- Once you have determined that the door is plumb and level, the next step is to replace the trim. Use a hammer or nail gun to drive in the right size nails to attach the pieces of trim to the wall.
- Avoid placing the nails toward the outer edges of the trim as this might cause splintering. Instead, place them closer to the middle.
How to shim a pre-hung door
The above instructions show you how to shim a door without removing it from its frame. If you are installing a new pre-hung door, the process is a bit different but the goal is the same—to make the door plumb and level.
Follow these easy steps to shim a pre-hung door:
Step 1. Check the floor for level
-
Sale!
Window Cabinet Drawer Handles Self-adhesive Door Knobs
Original price was: $12.99.$9.99Current price is: $9.99.Select options This product has multiple variants. The options may be chosen on the product page -
Sale!
Upscale Sliding Door Knob With Double-sided Tape for Kitchen Door Wardrobe
Original price was: $12.99.$9.99Current price is: $9.99.Select options This product has multiple variants. The options may be chosen on the product page -
Sale!
Round Stainless Steel Door Knobs for Drawer Cabinet Kitchen Cupboard
Original price was: $12.99.$9.99Current price is: $9.99.Select options This product has multiple variants. The options may be chosen on the product page


- A floor that is not level will throw off the door’s plumb and level measurements. To check, place a carpenter’s level horizontally on the floor of the door opening.
- If the floor is out of level, you will need to shorten one of the pre-hung door jambs. First, measure the height of the framed door opening on both sides.
- Next, place the door on sawhorses. Have someone help you lift the door.
- Use a pencil to mark the measurements you took earlier on the door jamb. Draw a straight line around all four faces of the jamb to guide you when cutting the wood.
- Before you begin cutting, unhinge the door to separate it from the jambs. Use a handsaw to shorten the jamb leg, using the measurement line as your guide.
Step 2. Install the jamb and do the initial shimming

- Slide the jamb into the framed door opening. With pre-hung doors, there’s usually a ¼ inch space between the rough opening and jamb on each side.
- Starting with the hinge side, insert shims in the space between the rough opening frame and the jamb. Place a carpenters level along the jamb to check for plumb. Add as many shims as necessary until the jamb is plumb.
- Once it is plumb, secures the jamb to the rough opening. Drive in 2 ½ inch nails through the jamb, past the shims, and into the frame.
Step 3. Hang the door and do additional shimming
- Hang the door slab on its hinges. Before nailing in the jamb on the latch side, check that the door sits square with the jambs.
- To make it plumb, slide shims between the jamb and the rough opening on the latch side. Start by inserting a shim behind the strike plate then slide two more, one each above and below the plate.
- If the door is plumb and level, check that it opens and closes properly before securing the jamb in place.
- Using a utility knife, trim the protruding ends of the shims to be flush with the jambs.
There you go! That’s all there is to shimming a door.
Extended Tips
Here are extra recommendations to make this project a success:
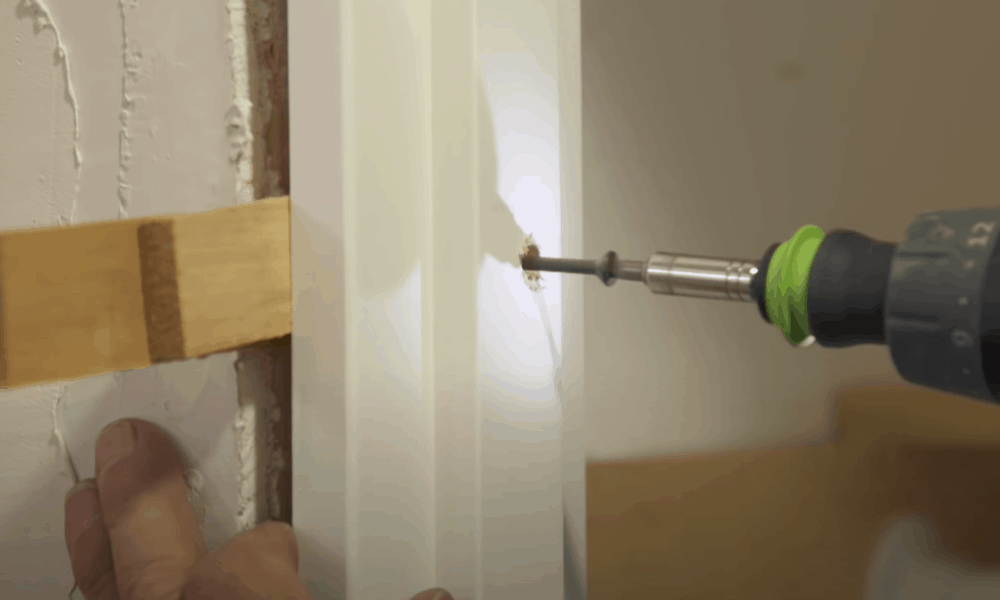
- Consider replacing smaller screws on lose hinges
If your door is sagging or gapping, lose hinges are often the culprit. While shimming might help, you may also want to tighten the screws or replace them altogether with longer ones.
On each hinge, take out one of the short default screws and in its place, drive in a longer one. Longer screws or nails pull the door jamb inward, which can help close gaps on both sides of the door and at the top.
- Be moderate with weather stripping to seal gaps
Not all gaps on a door are ominous. So, before taking measures such as sealing or shimming, be sure that the door gaps you see actually need repairing.
Keep in mind that most of the time, gaps at the bottom of an interior entryway help to keep the door plumb. As such, sealing might be unnecessary as long as the door closes and opens properly.
-
Sale!
Semicircular Cartoon Welcome Entrance Door Mat
Original price was: $12.99.$9.99Current price is: $9.99.Select options This product has multiple variants. The options may be chosen on the product page -
Sale!
Anti-skid Water Absorption Bathroom Door Mat
Original price was: $12.99.$9.99Current price is: $9.99.Select options This product has multiple variants. The options may be chosen on the product page -
Sale!
Classic Friends Welcome Rubber Carpet Door Mat
Original price was: $12.99.$9.99Current price is: $9.99.Select options This product has multiple variants. The options may be chosen on the product page


If shimming does not correct gapping issues in an exterior door, consider replacing worn-out weather stripping.
A weekend project that requires just a little help to complete
As you’ve seen, shimming a door is a bit demanding but it is a task you can complete without hiring a professional—a little patience and the right technique is all you need. While you can do most of the work on your own, it helps to have a helping hand to avoid injuries when unhinging or lifting the door.
Do you have any questions or comments on shimming a door? Please leave them below—we’d love to hear from you!