How to Replace a Door Handle? (Step-By-Step Tutorial)
Are you looking to spruce up your door with a new handle? Is the old knob worn out or difficult to operate? With basic tools and simple instructions, you should be able to replace a door handle in just a few minutes.
The process is pretty much the same for most handle sets. But, for specialty sets, it is a good idea to check with the manufacturer for specific installation instructions.
Tools for Door Handle Replacement
These are the tools and materials you will need to install the new handle:
- Phillips-head screwdriver
- Flathead screwdriver
Materials
- New handle set
Step-By-Step Guide on How To Replace A Door Handle
Follow these simple steps to install a new door handle. The process is more or less the same whether you are replacing an exterior knob or an interior one. The only difference is the direction the latch bolt faces. Don’t worry we’ll give you all the details below.
Step 1. Unscrew the knob
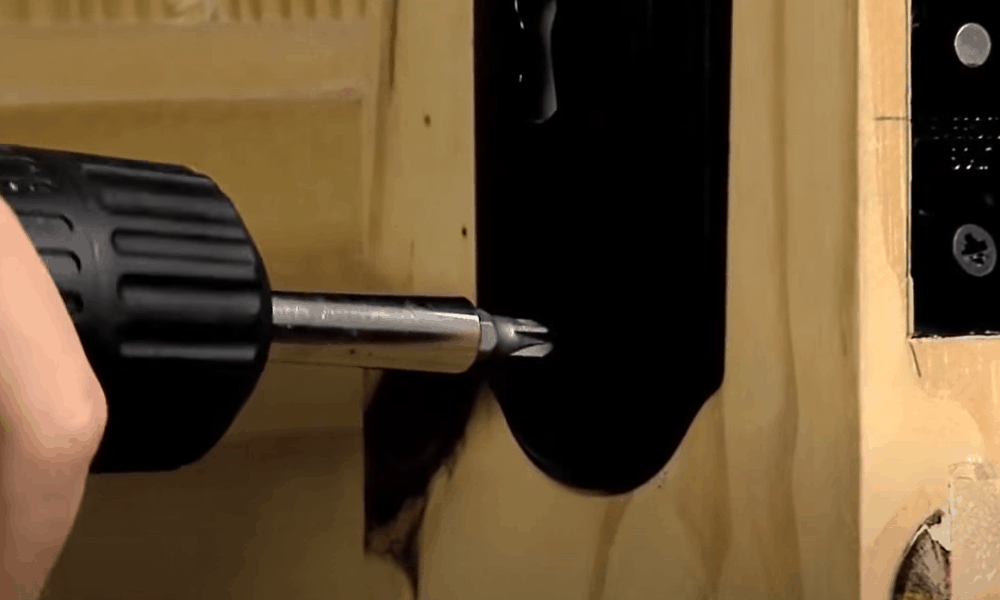
The location of the screws will determine how you remove the handle from the door. Some handles come with two visible screws while others have one screw on the neck of the knob and hidden screws underneath the faceplate.
- For a handle with visible screws, use a Philips-head screwdriver to turn the screws on the faceplate counterclockwise. This will loosen the knob assembly.
- For a handle with invisible screws, look for a setscrew on the neck of the knob either on the top or at the bottom. Use a Philips-head screwdriver to remove the setscrew and loosen the knob.
- Some knobs will come with a detent instead of a setscrew. A detent is a square or circular hole on the neck of the knob. For a square one, insert a flathead screwdriver and for a circular one push a metal pin to disengage the knob.
- For knobs with hidden screws, you will have to take an extra step to access these screws. Pry out the faceplate by turning it counterclockwise. Alternatively, if you can locate a square hole along the edges of the faceplate, insert a flathead screwdriver and pry out the plate to reveal the screws. Use the Philips-head screwdriver to loosen the screws and remove the doorknob assembly.
Step 2. Disassemble the latch
-
Sale!

Swing Stop Bottom Adjustable Roller Flooring Barn Door Hardware
Original price was: $44.99.$33.99Current price is: $33.99. -
Sale!

Low Noise Floor Guide Adjustable Length Barn Door Hardware
Original price was: $15.99.$11.99Current price is: $11.99.Select options This product has multiple variants. The options may be chosen on the product page -
Sale!

Antique Big Rollers Steel Sliding Barn Door Hardware
Original price was: $187.99.$140.99Current price is: $140.99.


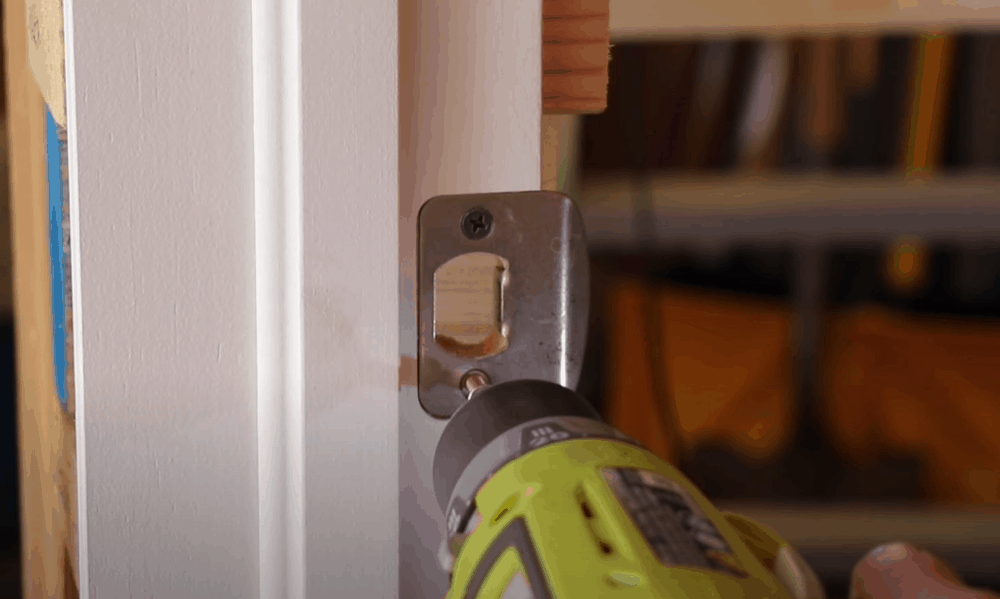
- The latch is attached to the edge of the door slab by two screws, one at the top and the other at the bottom. Use the Philips-head screwdriver to turn both screws counterclockwise to loosen the latch.
- Next, pull the latch out from its position so that you are left with a space where the latch and doorknob assembly once were.
Pro Tip: If your latch doesn’t have screws, use a putty knife or a flathead screwdriver to pry it out.
Step 3. Take out the strike plate
- When replacing a door handle, we recommend that you take out all the old hardware and install new pieces. In this case, you should also remove the strike plate and replace it with an entirely new one.
- The strike plate is located on the doorjamb and accommodates the latch bolt when the door is closed. Use the Philips-head screwdriver to loosen the screws and remove the strike plate.
How To Install The New Door Handle
Step 4. Insert the latch
- Gently insert the new latch assembly through the hole on the edge of the door. For an interior door, the beveled side of the latch bolt should face towards the outside of the room. For an exterior door, face the beveled side of the bolt toward the inside of the house to lock the door properly.
- Screw the latch plate in place using the two screws that came with the new kit.
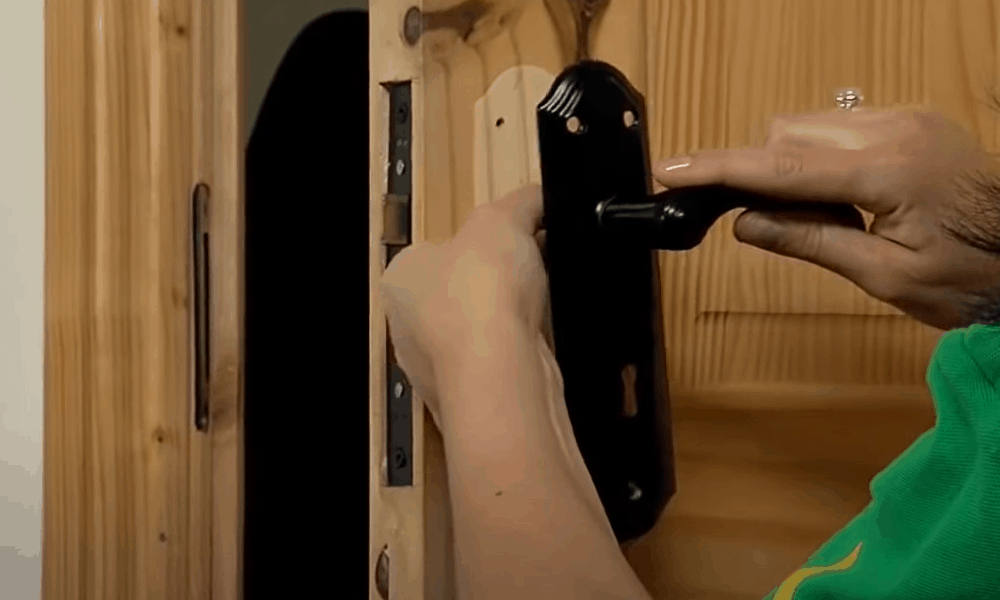
Step 5. Install the faceplate
- If your knob assembly comes with a faceplate, attach this first before installing the knobs. Place the interior faceplate flush against the door and secure it in place with the available screws.
- Hide the screws with the exterior cover plate by screwing the plate in place or turning it clockwise.
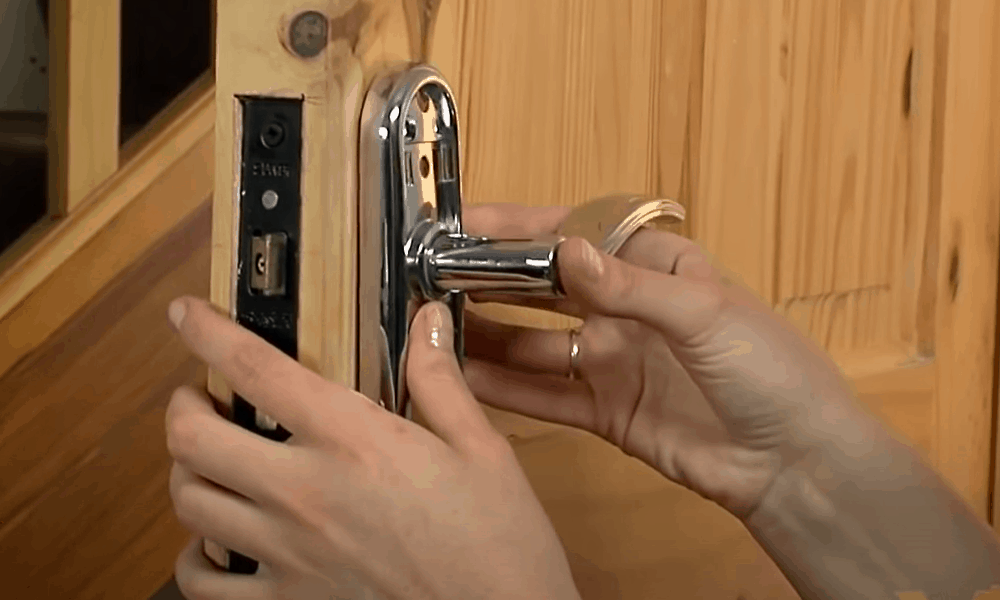
Step 6. Insert the knobs

Start with the exterior knob. Generally, these come with one or three protruding spindles.
- Insert the spindle perpendicularly through the hole in the latch. The spindle will poke out through the other side of the door.
- Align the hole on the interior knob with the exterior knob’s spindle. Push the interior knob in so that it is flush with the door.
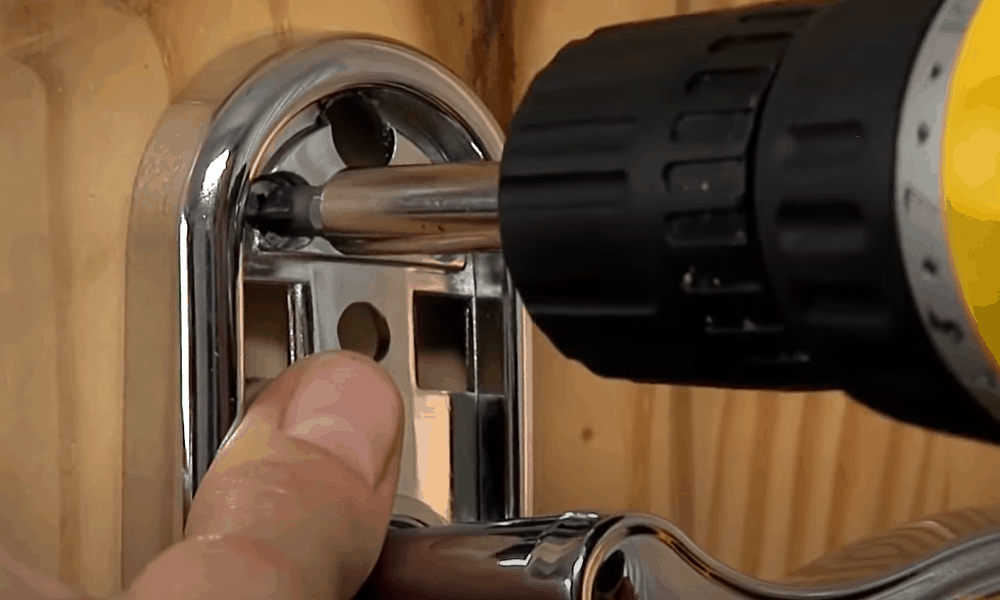
- Secure the knobs in place. Using the Philips-head screwdriver, drive screws through the interior doorknob to secure it in place. Secure the exterior knob with any setscrews that came with the kit.
- Check that both knobs are firmly flush with the door and are snugly attached. They shouldn’t be too tight or too loose to keep you from closing and opening the door.
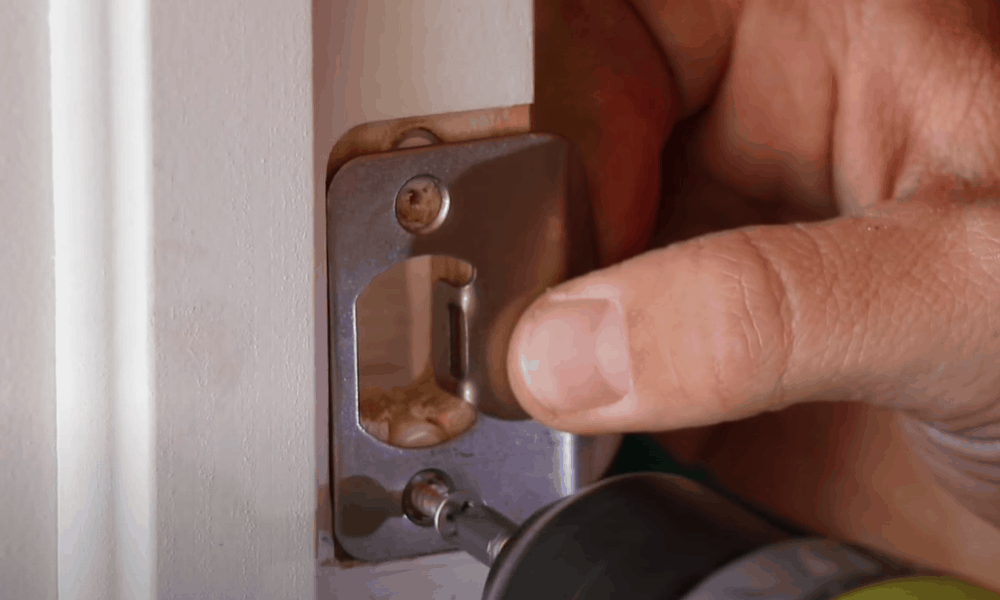
Step 7. Fix the strike plate
-
Sale!
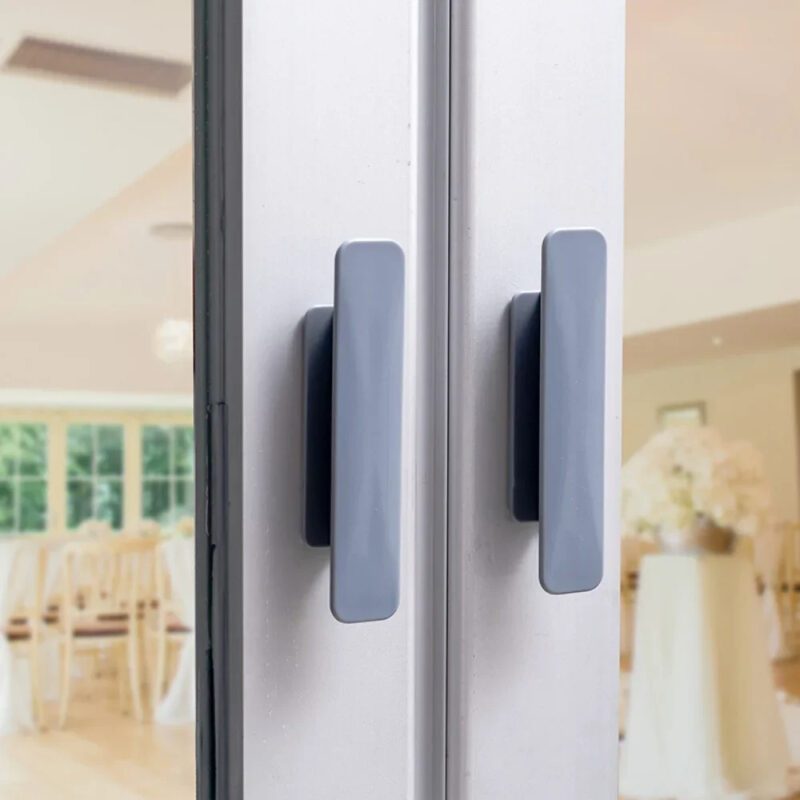
2PCS Window Cabinet Drawer Handles Self-adhesive Door Knob
Original price was: $12.99.$9.99Current price is: $9.99.Select options This product has multiple variants. The options may be chosen on the product page -
Sale!
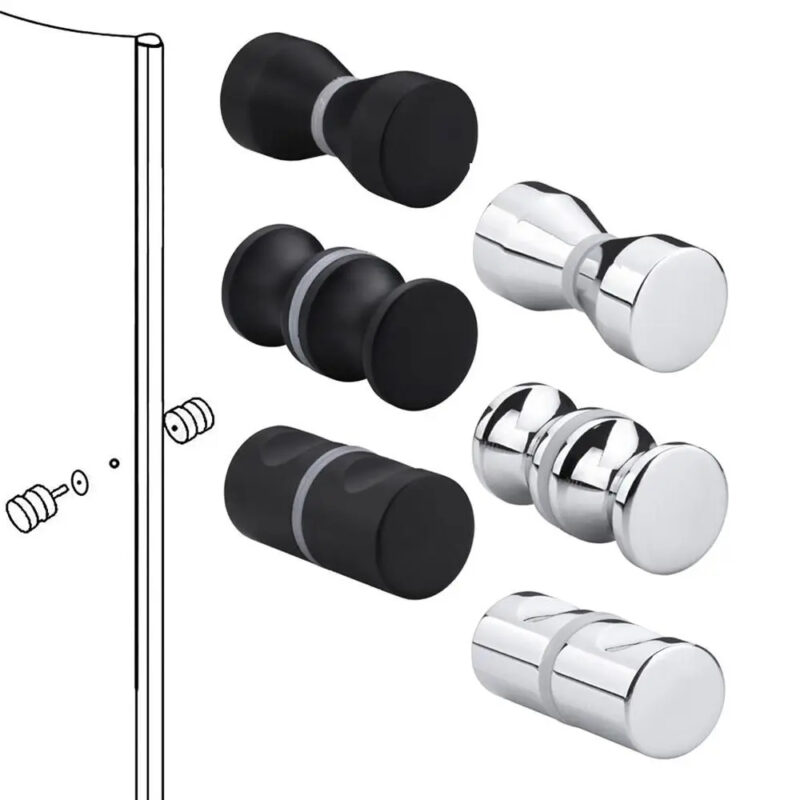
304 Stainless Aluminum alloy single hole door knob
Original price was: $13.99.$10.99Current price is: $10.99.Select options This product has multiple variants. The options may be chosen on the product page -
Sale!
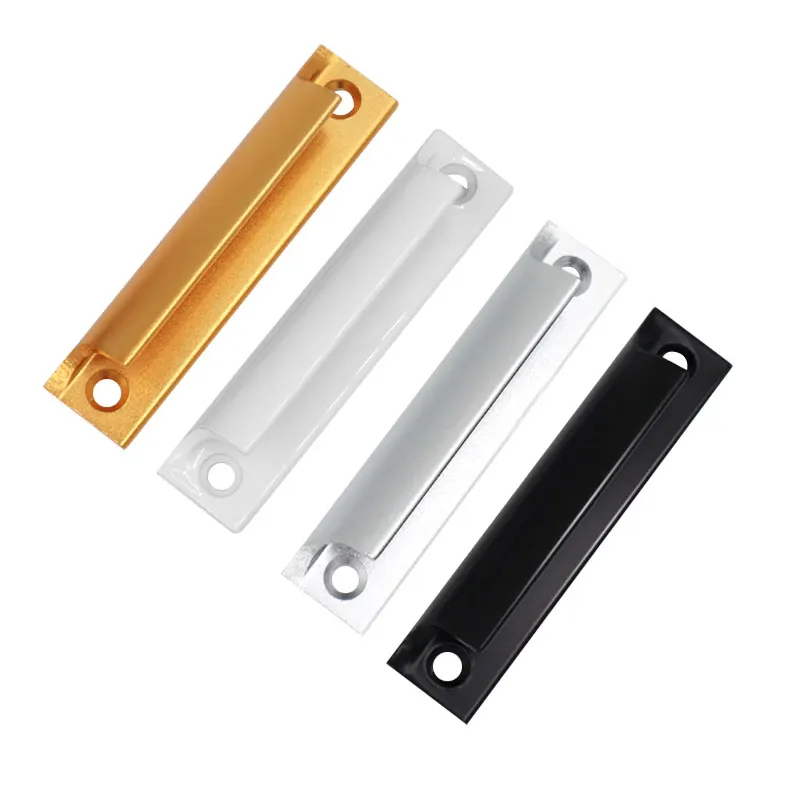
Aluminum Alloy Door Knob For Cabinet Doors Balcony Doors
Original price was: $12.99.$9.99Current price is: $9.99.Select options This product has multiple variants. The options may be chosen on the product page
Align the strike plate with the screws and mortise on the door jamb. Then, secure the plate with screws. Close and open the door to check that the handle turns properly and the latch bolt fits into the strike plate.
Pro Tip: If the screws feel loose, consider drilling new screw holes just close to the old ones to secure the striker plate.
That’s it! You can now enjoy your brand new door handle.
Extended Tips
Below are extra recommendations to make this project a success.
- Check your door’s backset
Before setting out to buy a new handle set, check the dimensions of your door’s backset. The backset is the distance from the center of the hole through which you insert the handle to the edge of the door. Use a tape measure to confirm the exact dimensions of your door’s backset and use these measurements to buy the right fit handle set.
- Keep your décor needs in mind
When choosing handle sets, consider the design of your existing fixtures. If your hinges are polished silver and you want a matte black handle, would you be willing to take out the door and replace the hinges to match the lock assembly? This is an important consideration to make.
Spruce up your space for cheap with new door handles
If you are trying to make visual improvements to your house, replacing door handles is an inexpensive way to do it. The best part is you do not have to call in a professional to install the handles for you. Just grab the handle set of your choice from your favorite home improvement store, gather a few tools, and get to work.
-
Sale!
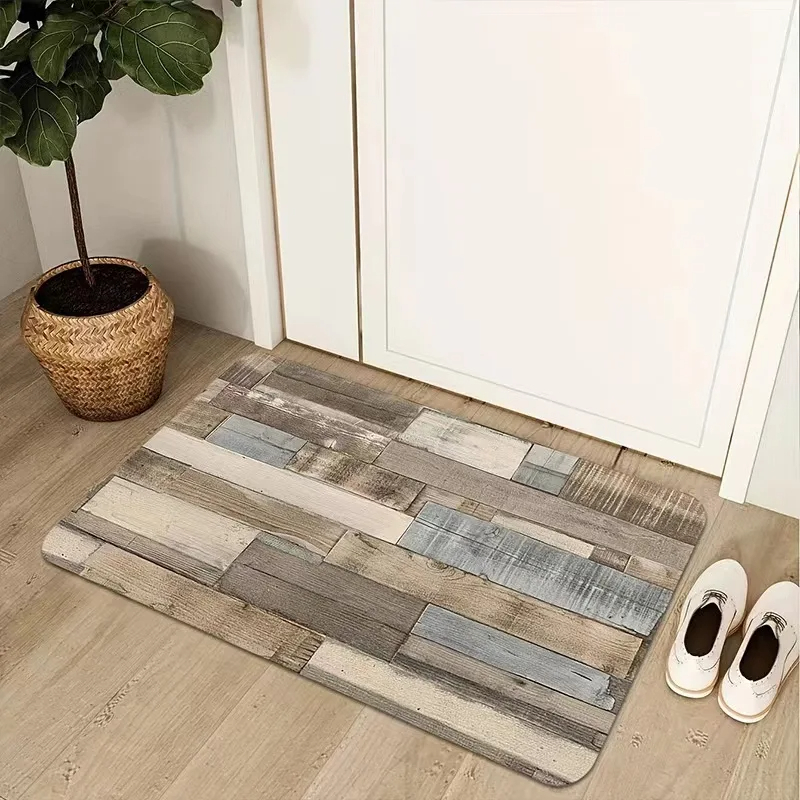
Vintage Style Anti Slip Water Absorption Door Mat
Original price was: $12.99.$9.99Current price is: $9.99. -
Sale!
Super Absorbent Kitchen Diatom Mud Door Mat
Original price was: $42.99.$32.99Current price is: $32.99. -
Sale!
Modern European Style Non Slip Entrance Door Mat
Original price was: $12.99.$9.99Current price is: $9.99.
Have you tried sprucing up your space with new doorknobs or handles? Let us know in the comments below!