9 Easy Steps to Recharge a Window Air Conditioner
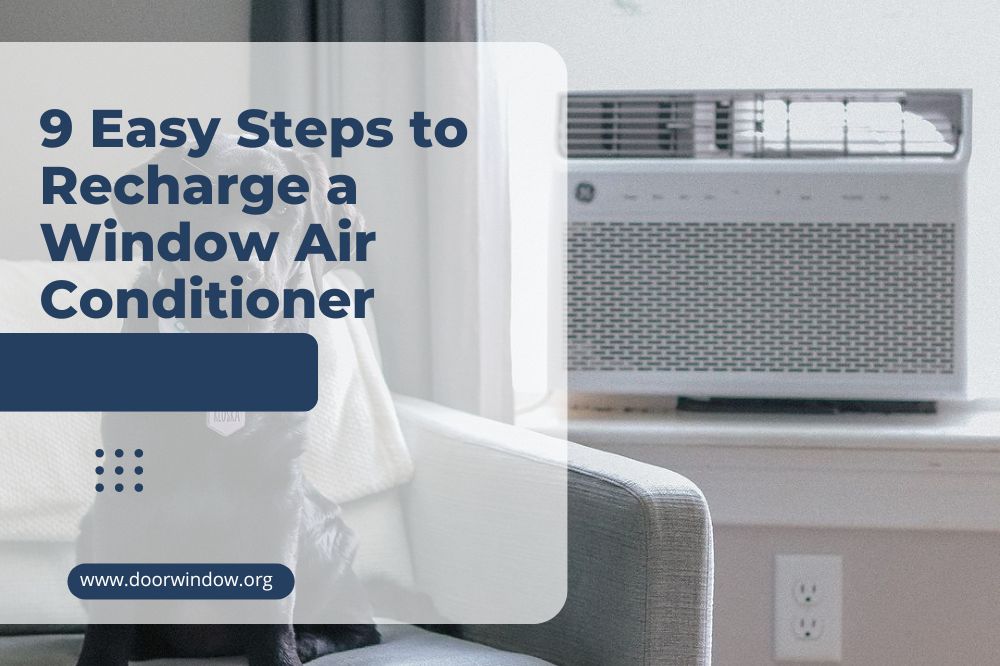
Is your window air conditioner spitting out less-than-cold air? Don’t feel its breeze is as cold as it once was? Then it’s time for you to roll up your sleeves and learn how to recharge a window air conditioner. Here’s why we are saying that.
Air conditioners that suddenly stop emitting cool air do so because they have developed a leak in their closed-loop system. This leak has allowed the refrigerant – the one substance that cools down warm air – to escape. Unless you refill it, your air conditioner won’t return to its best performance.
How to Recharge a Window Air Conditioner
Before we tell you the basics of recharging your window air conditioner, make sure that your state/county allows you to tinker with the inner parts of an air conditioner. Most states don’t.
That’s why we highly recommend that you dive into your local statute books and come up with a rule that allows you to attempt a project like this. Only once you’re sure that you won’t be breaking any law by refilling your air conditioner should you proceed.
1. Get the necessary supplies
You’d need the following items to refill your window AC unit:
- Gloves
- Protective eyeglasses
- Screwdriver
- Leak detector
- Refrigerant
- Freon kit
2. Unplug the unit
-
Sale!

Universal Hook Up Nailfree Window Blinds
Original price was: $53.99.$40.99Current price is: $40.99.Select options This product has multiple variants. The options may be chosen on the product page -
Sale!
Cellular Honeycomb Fabric Window Blinds
Original price was: $166.99.$124.99Current price is: $124.99.Select options This product has multiple variants. The options may be chosen on the product page -
Sale!
Creative Drape Modern Tulle Window Blinds
Original price was: $12.99.$9.99Current price is: $9.99.Select options This product has multiple variants. The options may be chosen on the product page

Unlike their central air conditioner counterparts, window AC units only require you to unplug them from the wall socket they are plugged into to go dead. Simply unplugging them is all that is required to take them apart and inspect their inner workings.
3. Wear personal protective equipment
Make sure you have worn the gloves as well as the protective eyeglasses before you proceed. Freon, the refrigerant that you’ll be refilling, is toxic. It is also cryogenic and can cause frostbite if you allow it to come into contact with raw skin. So please take all the necessary precautions that you can.
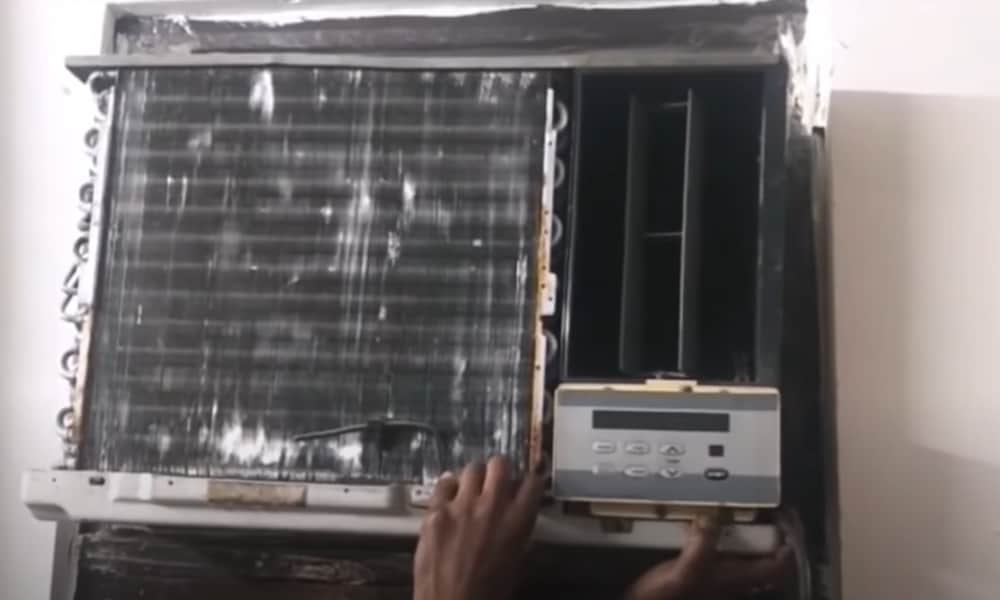
4. Open the Window AC unit
The majority of old window air conditioners only require you to slide their front ends out of place before they lay bare whatever is inside them. Others, especially the newer ones, will need you to put them apart with the help of a screwdriver. You can determine what the proper method is for your unit by going through its owner’s manual.
5. Check for leaks
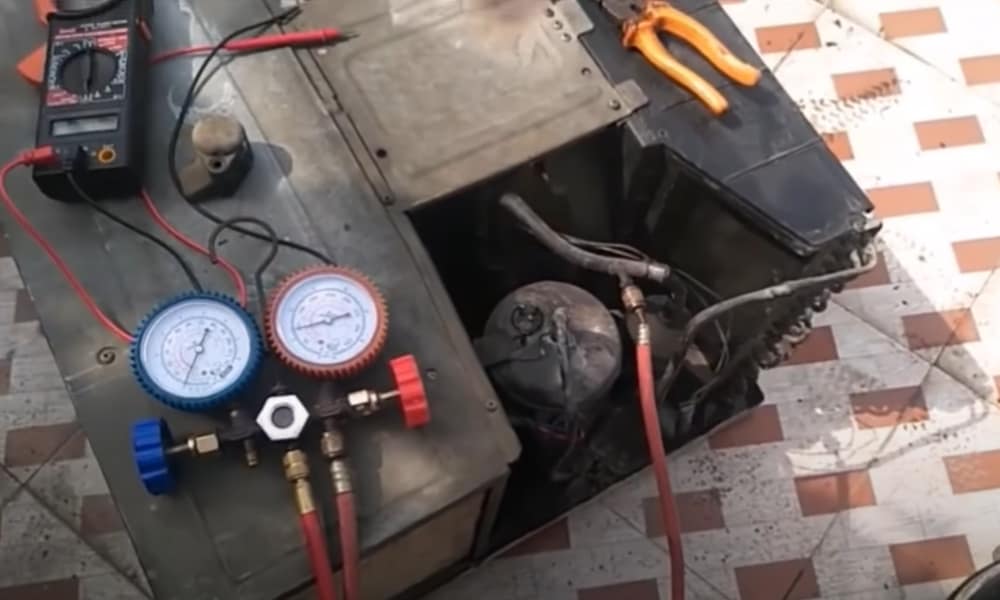
Here are a few methods using which you can check for leaks
- Using soap: Prepare a mixture of soap and water. Lubricate all of the refrigerant transmission gear (valves, hoses, pipe etc.,) with it and then turn on the system. If you monitor bubble formation, you have found out the leak.
- Use leak detector: Switch on the unit and cover its outdoor from direct draft. Turn on the leak detector and pass its probe near the ac’s outdoor unit. If there’s a leak, the leak detector, depending on its type, will give audio or visual (or both) signals.
- Using nitrogen: This method should only be performed by experts. It requires closing any valves that connect to upstream or downstream apparatuses, pressurizing the unit with nitrogen, monitoring its pressure at the start and then measuring the pressure after a few minutes. If there’s a notable decrease in pressure, that means there’s a leak.
- Using fluorescent dye: This method can be performed by newbies. It requires filling the system with a small amount of fluorescent dye and then turning it on. The dye then circulates with the refrigerant and accumulates at all leak sites. You can use a leak detection flashlight or an ultraviolet lamp to pinpoint the position of leak (it will be glowing).
6. Fix the leak
Provided your unit has a very slow leak, you don’t need to fix it as merely ‘boosting’ the system will be enough to compensate for refrigerant leakage. However, if the leak is fast, you may have to solder the area, from which the refrigerant is leaking, together again.
7. Connect the valves to the compressor
Go through your unit’s manual to locate its compressor and the two lines that are coming out of it. Once you have done that, attach the compressor line to the service valve from your kit. There should still be one, free line coming off the compressor. Attach it to the tap valve. Both these valves will be included in your Freon kit.
8. Connect the valves to the Freon kit
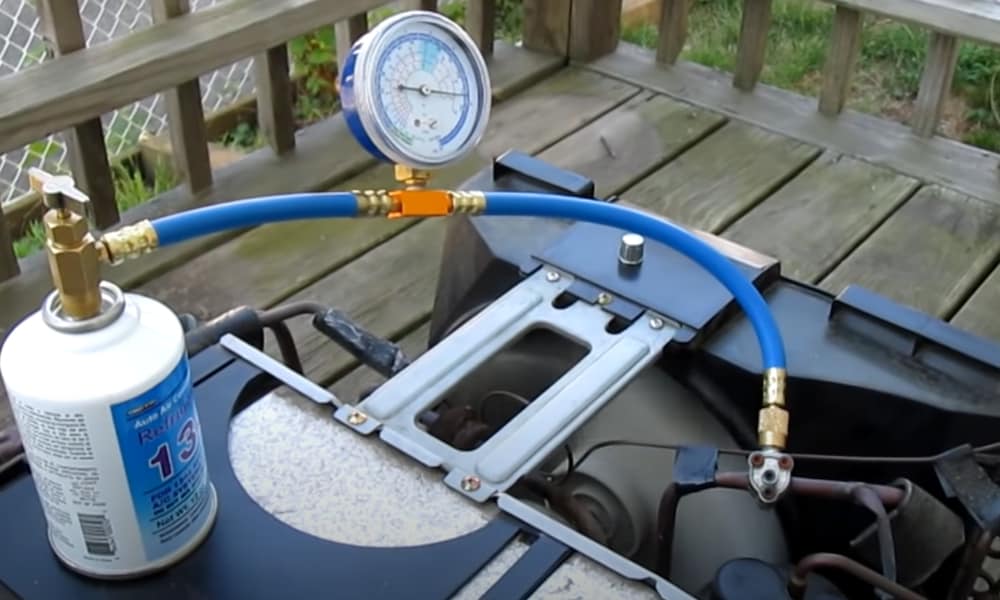
Almost all Freon kits come with a detailed diagram showing you how to connect the two valves (service and tap) to the Freon’s container. You should be able to use this diagram to correctly position the refrigerant tank/Freon tank between the two valves.
Final Step: Recharge your window air conditioner
Make sure that everything is connected snugly and that there’s no chance for any leakage. Then, turn on your window AC unit and ramp it up to its highest power setting. With the service and tap valves now connecting the Freon tank to the air conditioner, what will happen is that the refrigerant will start flowing from the tank and into the unit.
Consult your unit’s manual to determine the amount of Freon your unit requires. Once the gauge on the Freon tank indicates that the limit has been reached, power down the unit. Unplug the air conditioner, remove the service and tap valves and turn on your air conditioner.
Conclusion
To summarize what we have said by now, it is illegal in most parts of the country for an unlicensed person to recharge their window air conditioner. However, even if you’re allowed by law to legally power up your unit, consult a professional if at any point you have hit a snag.
Aside from that, it’s equally crucial that you only recharge that amount of refrigerant that is required. EPA warns that while overcharged systems have greater potential for leakage, undercharged ones have higher running costs and are less efficient.