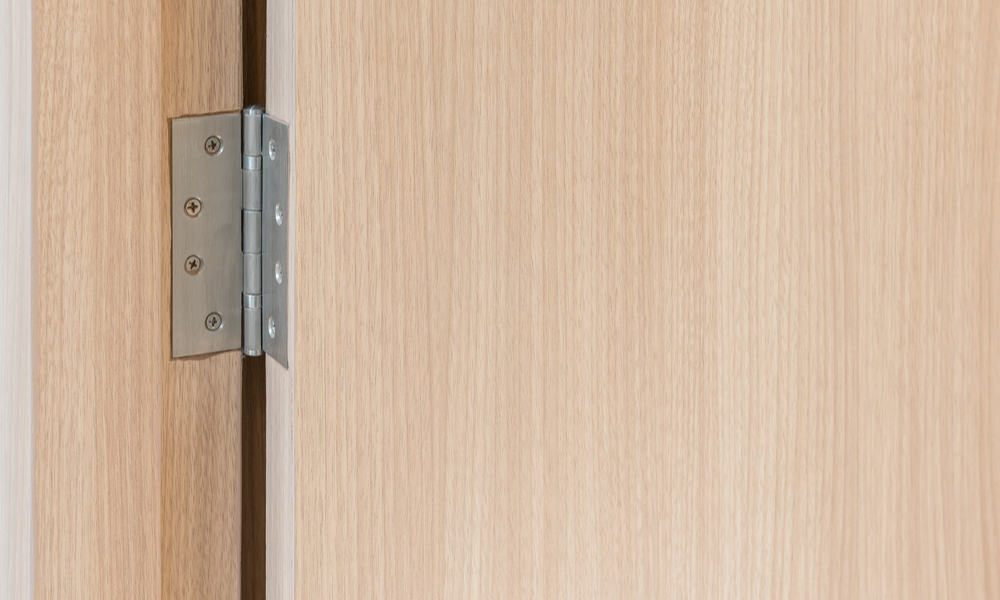
How to Install Door Hinges? (Step-By-Step Tutorial)
If you want to replace or fix a sagging door, you need to know how to install door hinges. Several new doors come without a frame because they are not ready for installation. Also, due to their different mode of installation, some doors are designed to swing inwards or outwards.
External door hinges offer most security for the household aside from weather problems. Also, it provides privacy for the various rooms inside the home for the family members. If you intend to try out DIY skills on door installation, you should know how to install hinges.
So, to avoid going back and forth as well as extra expenses, below are a few steps on how to install door hinges.
Required Door Hinge Installation Kit
- Hammer
- 1/2-inch Chisel
- Utility Knife
- Cordless Screw gun
- Pencil
- One-Inch Screws
Step by Step Guide on How to Install Door Hinges
Step 1: Place the Hinges on the Door and Trace Out
It’s vital to trace the hinges on the door frame accurately, especially if you’re installing a new door. External door hinges offer most security for the household aside from weather problems, which you’ll place at the top and the bottom of the door. It would be best if you fixed the top hinge seven inches from the door top and the bottom, 11-inches from the downside.
In the case of a third hinge, (there can be three thing positions on doors that are weighty), measure out the middle. You should install it at the center of the top and bottom strap. This hinge will be a bit off the natural center. After this, you can now fix in the hooks to the jamb and door.
Always ensure to make the depth of the jam hinge has the same thickness as the hinge. Look again to ensure that the traces are the same as those on the jamb and door. This time, make an incision with the utility knife on the outline so that cutting the mortise will be easy.
Step 2: Cut Out the Mortice
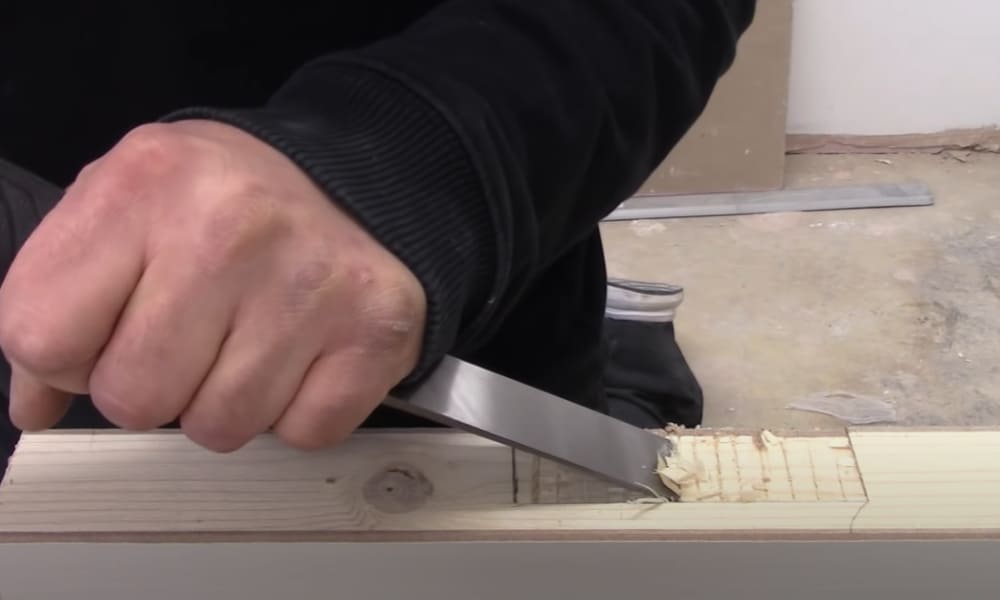
Carpenters will be familiar with this phrase, which means cutting out space on the jamb in the shape of the hinge. This gap provides more rigidity and beauty for the hinge on the frame. Now, this is where your chisel and hammer come in; for cutting the mortise.
-
Sale!

Swing Stop Bottom Adjustable Roller Flooring Barn Door Hardware
Original price was: $44.99.$33.99Current price is: $33.99. -
Sale!

Low Noise Floor Guide Adjustable Length Barn Door Hardware
Original price was: $15.99.$11.99Current price is: $11.99.Select options This product has multiple variants. The options may be chosen on the product page -
Sale!

Antique Big Rollers Steel Sliding Barn Door Hardware
Original price was: $187.99.$140.99Current price is: $140.99.


Position the chisel on the exact location and tap gently from a slant angle to take out chips of wood. Ensure that your mortise is not too deep as it can damage the hinge’s strength and durability. Try and chisel along the marked lines, which is why you need your tools to be sharp. That’s why installing door hinges without chisel is almost impossible.
Moreover, a blunt chisel may be frustrating and require more energy on the hammer. Use wood chipping as fillers in case you cut the mortice too deep.
Step 3: Spot the Position of the Screws
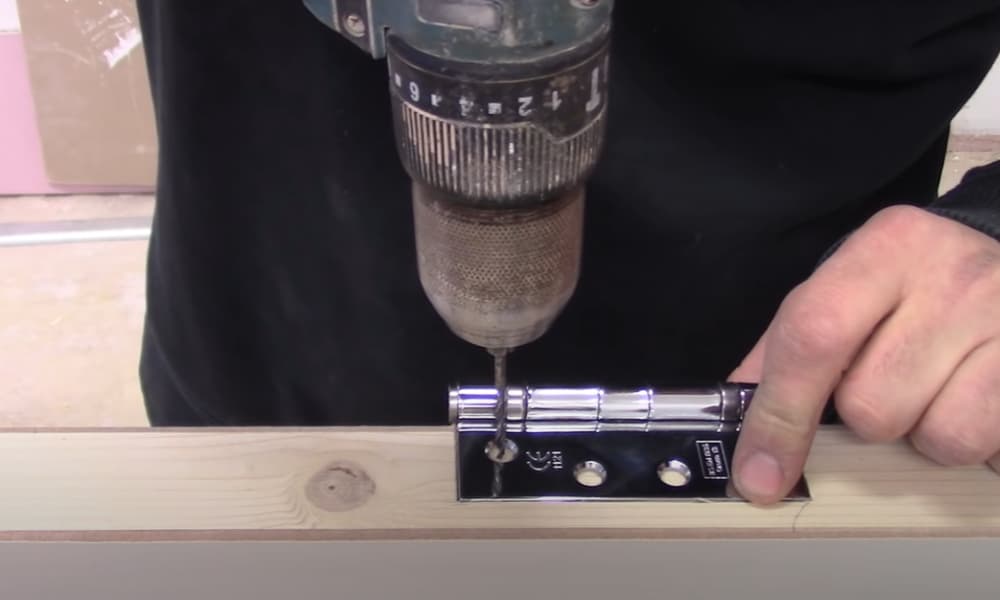
You can now install the hinge into the mortise you cut so that you can mark the spot for the screws. And then, use the same Pencil and spot the position of the hinges on the door before moving then aside.
Bore a screw hole on the marked positions you made on the jamb using a screwdriver or drill machine. Gently drive them in so that you don’t force the screws out of place, you can use a screw guide to ensure they enter straight into the jamb.
Step 4: Fix in the Hinges and Attach the Door to the Jamb

Connect the hinges to the accurate positions using a screwdriver or drill to fasten them one after the other to the jamb. Then, you should attach the door to the frame to hold it fast while supporting it with blocks. Place the hinges at the accurate locations on the door and jamb and slip the strap hooks into position.
-
Sale!
Free Punch Glass Door Sliding Door Knobs Suction Cup
Original price was: $12.99.$9.99Current price is: $9.99.Select options This product has multiple variants. The options may be chosen on the product page -
Sale!
Window Cabinet Drawer Handles Self-adhesive Door Knobs
Original price was: $12.99.$9.99Current price is: $9.99.Select options This product has multiple variants. The options may be chosen on the product page -
Sale!
Upscale Sliding Door Knob With Double-sided Tape for Kitchen Door Wardrobe
Original price was: $12.99.$9.99Current price is: $9.99.Select options This product has multiple variants. The options may be chosen on the product page


Take out the supporting blocks and check if the door works properly. If they do, then you have finished your work; if not, examine the installation for mistakes.
Helpful Hints for Installing Door Hinges on Jamb
1. Wear your Protective Gear
Try to wear your safety gear whenever you work with wood and screws as it protects you from injuries. Use 1/8-inch chisels or the tip of the utility knife to round hinges that have circular corners.
2. Required Number of Hinges
There’s no way you’ll learn how to install hinges on a door without knowing how many hinges to install. On a standard basis, you should fix two hinges on interior doors and three on exterior ones. Always try to position the third strap in the middle of the top and bottom hinges.
3. Get the Correct Door Hinge
It’s Important you know the exact type of hinges that will fit the door before going to buy them. Also, find out how to move hinges on a door as it helps you to know the exact direction the door will open. That means the left hinges should be on the door left-hand side so that it’s opening inwards with a right-hand doorknob.
Similarly, you may hang in the left-hand hinges on the right side if you wish to be pushing the door outside. In this setting, the knob on the door is also on the left-hand side.
Even though there are three hinge types, you will find several styles with a vast range from which to pick. Methods like butt, spring, pivot hinges, and others help the door function in different ways. You must pick out the one best suited for your door type. Hence, loose-pin hinges can serve in a situation where you may need to remove the door for cleaning or temporary expansion.
-
Sale!
Home Entrance Anti-Slip Coral Fleece Door Mat
Original price was: $12.99.$9.99Current price is: $9.99.Select options This product has multiple variants. The options may be chosen on the product page -
Sale!
Semicircular Cartoon Welcome Entrance Door Mat
Original price was: $12.99.$9.99Current price is: $9.99.Select options This product has multiple variants. The options may be chosen on the product page -
Sale!
Anti-skid Water Absorption Bathroom Door Mat
Original price was: $12.99.$9.99Current price is: $9.99.Select options This product has multiple variants. The options may be chosen on the product page


4. Get Accurate Dimensions
It’s very important that you ensure to have the correct dimensions of all the places involved, especially if it’s a DIY installation. This step will help you hang the door without any difficulties or failures; it is also necessary to prevent damage and extra cost.
For a new door installation, the upper hinge sits at seven inches below the top door and the one beneath, at 10-11 inches from the bottom.
Wrap Up
Installation of doors might not be a frequent task around the home, but it still doesn’t hurt to know how to install door hinges. You could save a lot of money by running a DIY installation on all your door. Hence, you should carefully read this guide to acquaint yourself with the rudiments of installing exterior slab doors. The steps are clear and precise, yet, a summary will equally be apt.
- Try the door hinge you get is suits the door and jamb
- Ensure you get all the measurement accurately
- Always wear your PPES when working on wood
- Do not apply excessive force when using the door hinge mortise tool
- You can always drop your comment or question for us in the comment section.