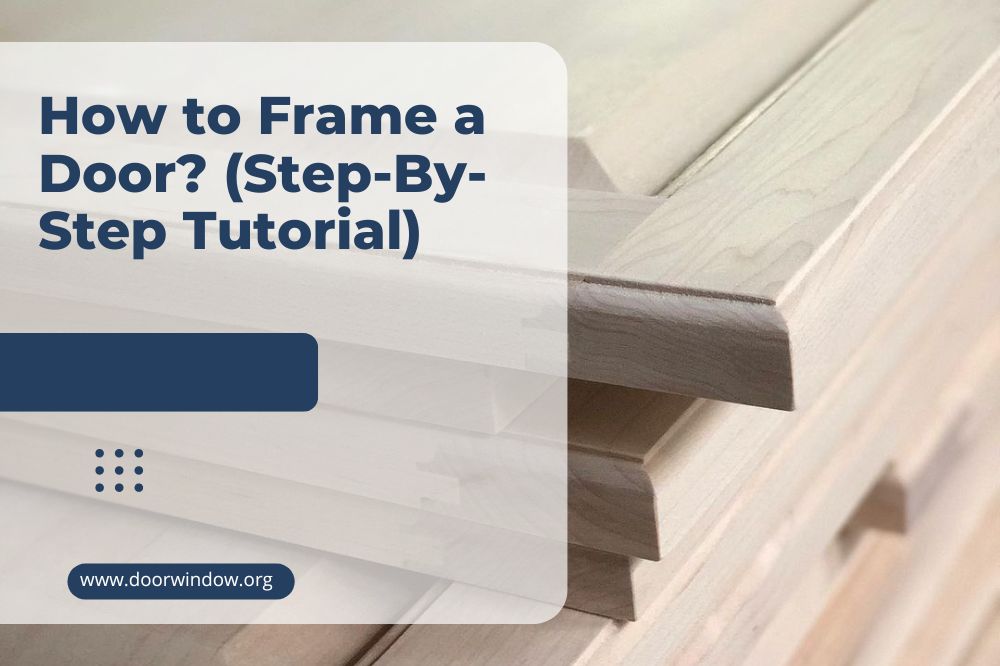
How to Frame a Door? (Step-By-Step Tutorial)
Before you can install a new door, you need a door frame. But how on earth do you go about making one?
Don’t worry – it’s not as difficult as you might imagine! We’re going to take you through the process one step at a time. And when we’ve finished, you’ll be ready to start your next project.
Let’s begin by taking a look at the tools you’ll need for the job.
Tools for framing a door
- Pieces of 2×4 lumber (choose something that will look good with the door)
- Level
- Measuring tape
- Nails
- Hammer or nail gun
- Circular saw or saw
- 0.5-inch thick plywood
How to frame a door
Step 1: Decide on your approach

It’s worth noting that there are ready-made door frames out there. If your door and walls are a standard size, they’re a good option. And if you’re worried you won’t have the time to build a doorframe from scratch, they’re well worth considering.
But if you’re prepared to take the DIY approach, you can save yourself some money. And if your walls are very thick, or your door’s a non-standard size, you may not have a choice. Either way, you’ll get a great sense of satisfaction from tackling this project yourself.
The second decision you need to make, whether you’re buying or building your doorframe, is the timber. Interior door frames don’t have to take a huge amount of weight, so you don’t need to worry about that. But you will want something that’s going to look good in your home.
If you’re going to be leaving your door with a natural finish, choose timber that will match. But if you’re going to paint it, you can let price be your guide. Pine will do the job perfectly well and won’t cost a fortune.
Step 2: Get your basic measurements
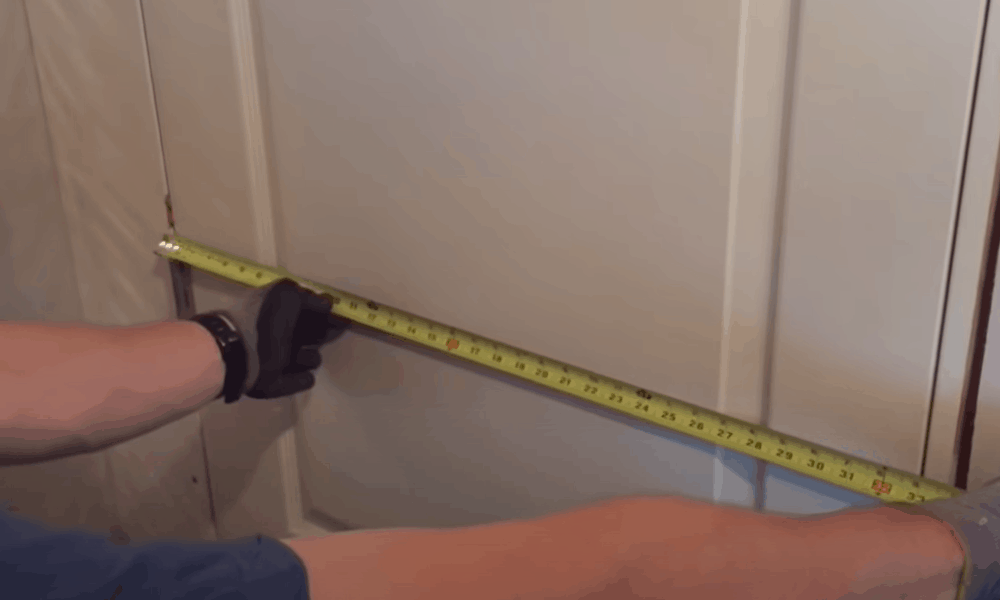
Your door frame obviously needs to be the right size for your door – so that’s where you start. Take your measuring tape and measure the height and width of the door.
Your door frame needs to be two inches wider than your door, and 1.5 inches taller. This will allow room for the door jambs and the hinges and shims needed to hang the door.
Pro tip: This is also a good time to check that your door is the size you need it to be! If it’s leading to a kitchen or utility room, it needs to be large enough for a washing machine to fit through. Ideally, it should be 36 inches wide.
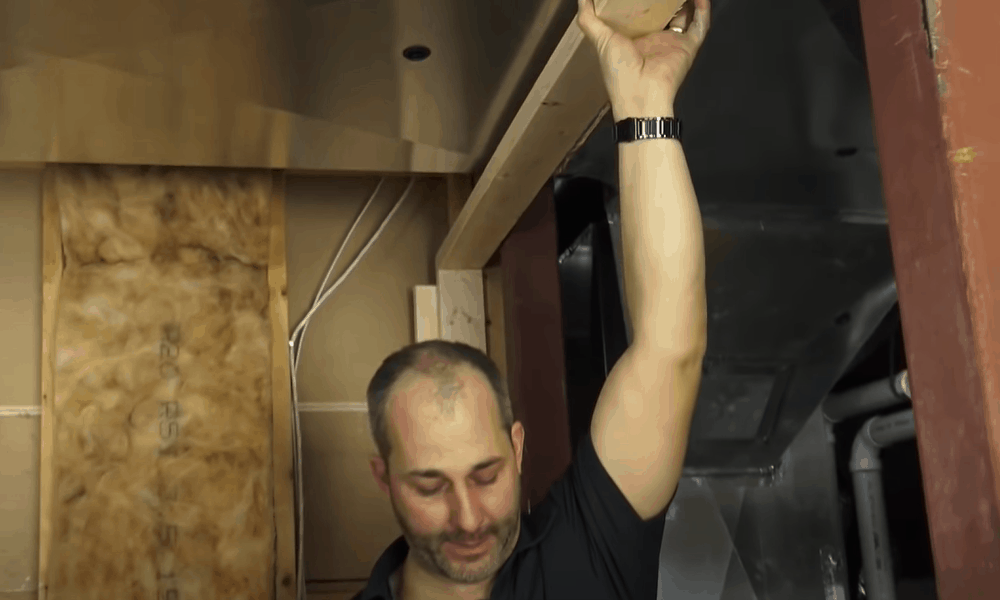
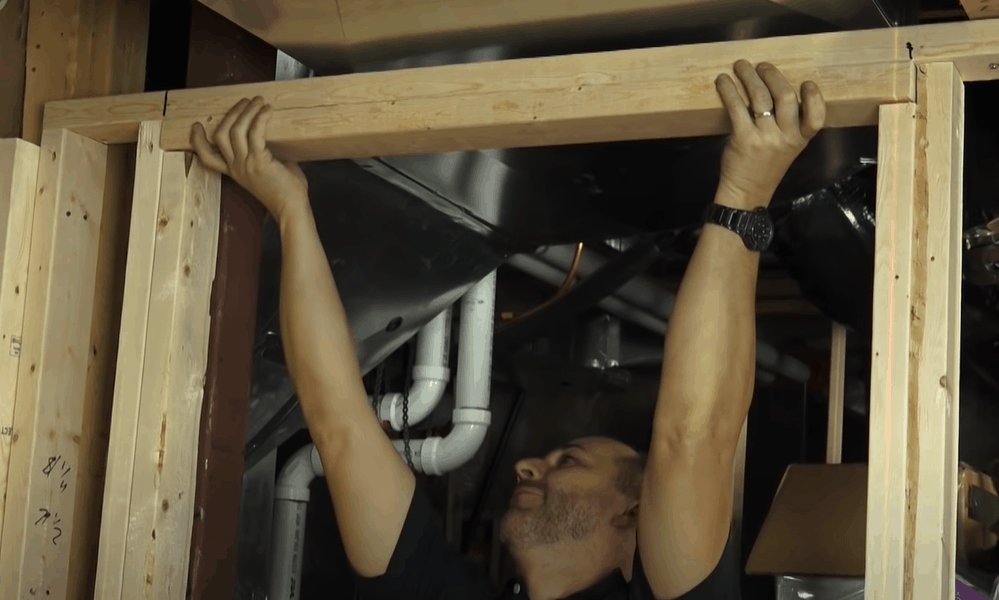
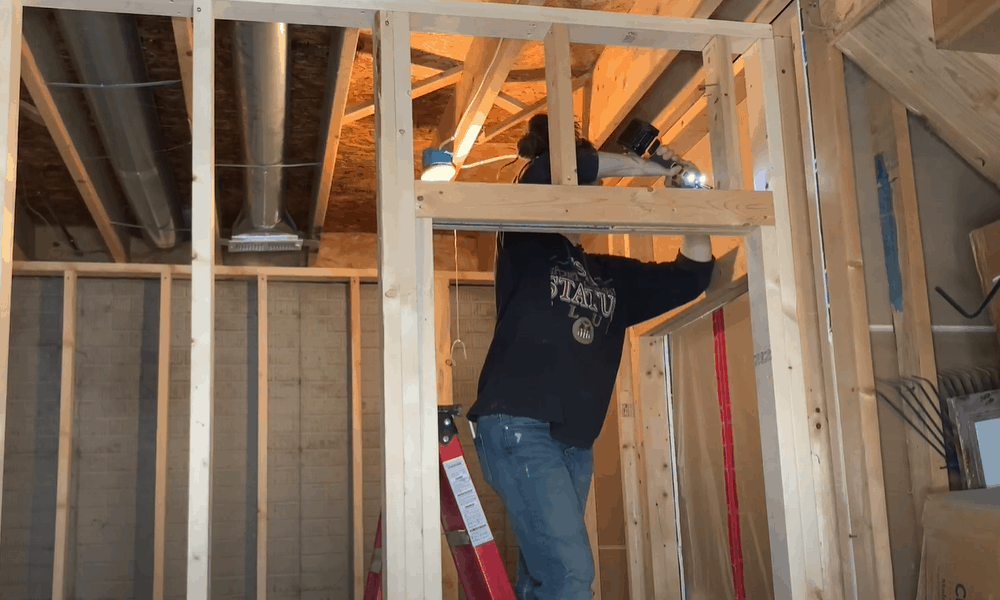
Step 3: Cut and install your top plate
Now that you know the dimensions for your doorframe, you’re ready to start cutting the wood.
The first piece to cut is the top plate. This is the board that goes across the top of the studs. (The studs are the pieces of wood that stand vertically along the sides of the frame and support the wall.) You want the top plate to be the same width as the rough door opening.
Use your circular saw to cut it to size. Next, nail it into your ceiling joists.
-
Sale!

Swing Stop Bottom Adjustable Roller Flooring Barn Door Hardware
Original price was: $44.99.$33.99Current price is: $33.99. -
Sale!

Low Noise Floor Guide Adjustable Length Barn Door Hardware
Original price was: $15.99.$11.99Current price is: $11.99.Select options This product has multiple variants. The options may be chosen on the product page -
Sale!

Antique Big Rollers Steel Sliding Barn Door Hardware
Original price was: $187.99.$140.99Current price is: $140.99.


Pro tip: 12D nails are a good choice for going into the ceiling joists.
Step 4: Cut and install the soleplate
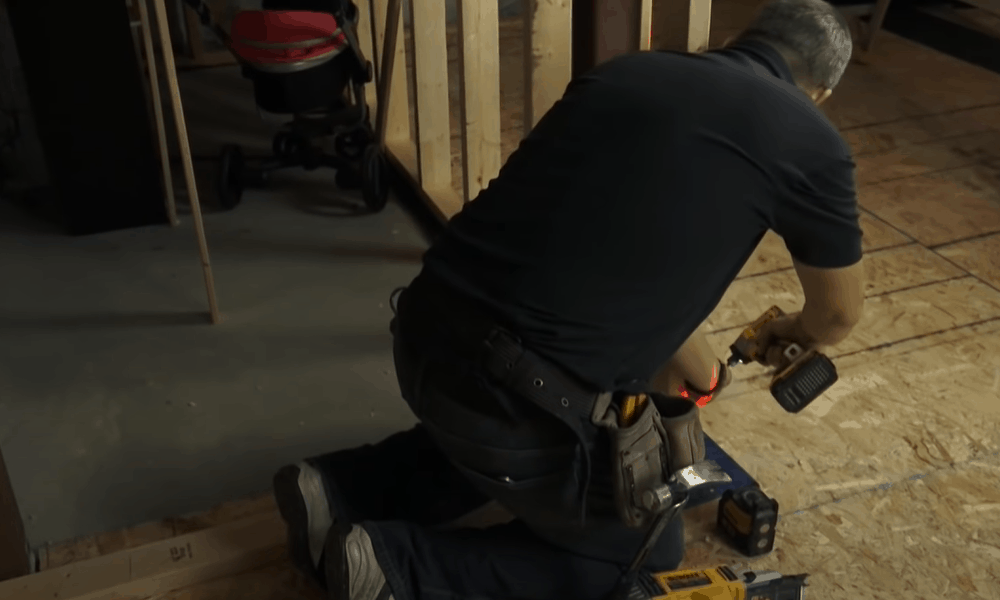
The next piece to cut is the soleplate. This is the piece of wood that goes along the bottom of the doorway. Like the top plate, it needs to be the same width as the rough door opening.
Put it into position and secure it with a couple of nails at each end. Don’t put nails across the whole width. Later, you’ll remove the middle part of the soleplate when you hang the door.
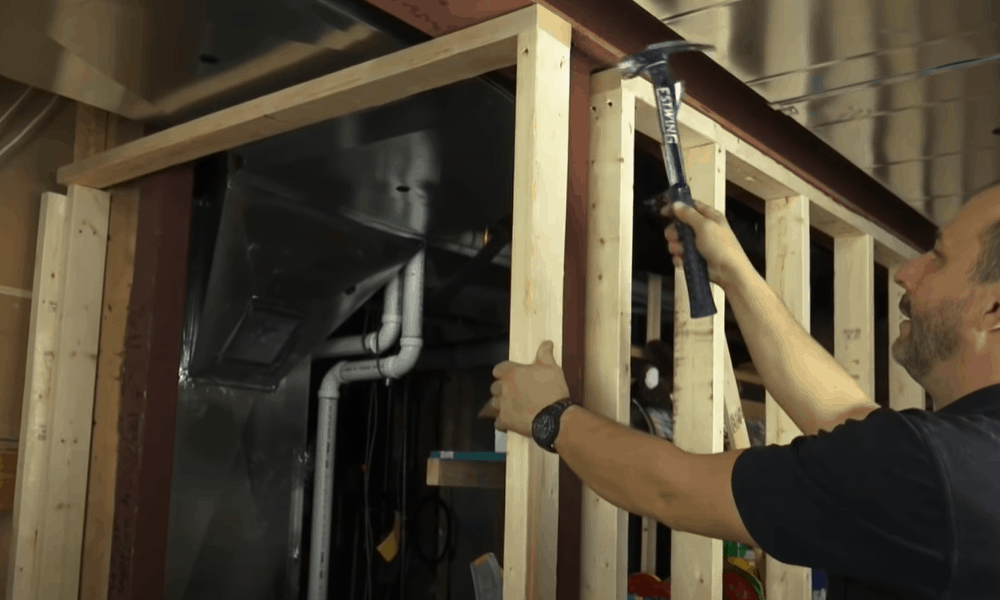
Step 5: Cut and install the king studs
The king studs are the pieces of wood that stand upright against the sides of the rough opening. Measure the height between the top plate and sole plate at both ends. Now cut two pieces of wood to those measurements.
You now need to measure the height between the top and sole plates for the second set of king studs. These will be positioned at the width of the door plus five inches.
Mark this on the top and sole plates with a pencil, then measure the distance between them. Cut two pieces of wood to these measurements.
Secure the first two king studs along the sides of the rough opening using 12D nails. Hammer them in at an angle to make what’s known as a “toenail”.
Now install the other two king studs between them, positioning them at the width of the door plus five inches.
Pro tip: Don’t assume the distance between the top and sole plates will be the same all along with the door opening. Measure where each of the king studs will go, in case the floor or ceiling isn’t level.
Step 6: Cut and install the jack studs
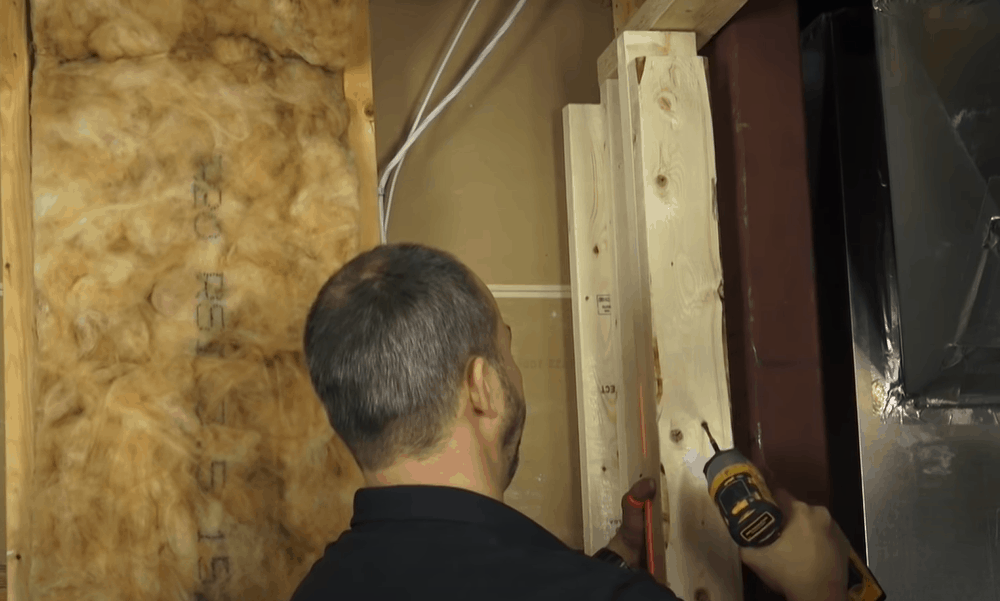
The pieces of wood that sit alongside the king studs are known as jack studs. They’re shorter, because they will support the door header.
Cut two pieces of timber 1.5 inches taller than your door. These are your jack studs. Nail them to the innermost pair of king studs.
Step 7: Cut and install the header
-
Sale!
2PCS Window Cabinet Drawer Handles Self-adhesive Door Knob
Original price was: $12.99.$9.99Current price is: $9.99.Select options This product has multiple variants. The options may be chosen on the product page -
Sale!
304 Stainless Aluminum alloy single hole door knob
Original price was: $13.99.$10.99Current price is: $10.99.Select options This product has multiple variants. The options may be chosen on the product page -
Sale!
Aluminum Alloy Door Knob For Cabinet Doors Balcony Doors
Original price was: $12.99.$9.99Current price is: $9.99.Select options This product has multiple variants. The options may be chosen on the product page
The header goes on top of the jack studs. Cut two pieces of timber. They need to be the same length as the distance between the jack studs, plus the width of the jack studs. That will mean they will sit snugly on top of the jack studs, between the king studs.
Turn the wood on its side so that the narrowest face is on top. Sandwich the two pieces together, with a piece of 0.5-inch thick ply in the middle. This will give you the correct wall thickness of 3.5 inches.
Now use your hammer or nail gun to secure the header to the top of the jack studs.
Step 8: Cut and install the cripple studs
You’ll now have a gap between the header and the top plate. Depending on the height of your door, this could be fairly large.
To keep everything secure, you need to add one or two cripple studs. These will sit upright between the header and the top plate. Whether you need one or two will depend on the width of your door. If it’s very wide, using two will give more stability.
Use your measuring tape to measure the distance between the header and the top plate. This is the length you need to cut your cripple stud or studs.
Now secure the studs in place using a toenail, as before. The studs need to be nailed into both the header at the bottom, and the top plate at the top.
Step 9: Cut away the middle part of the soleplate
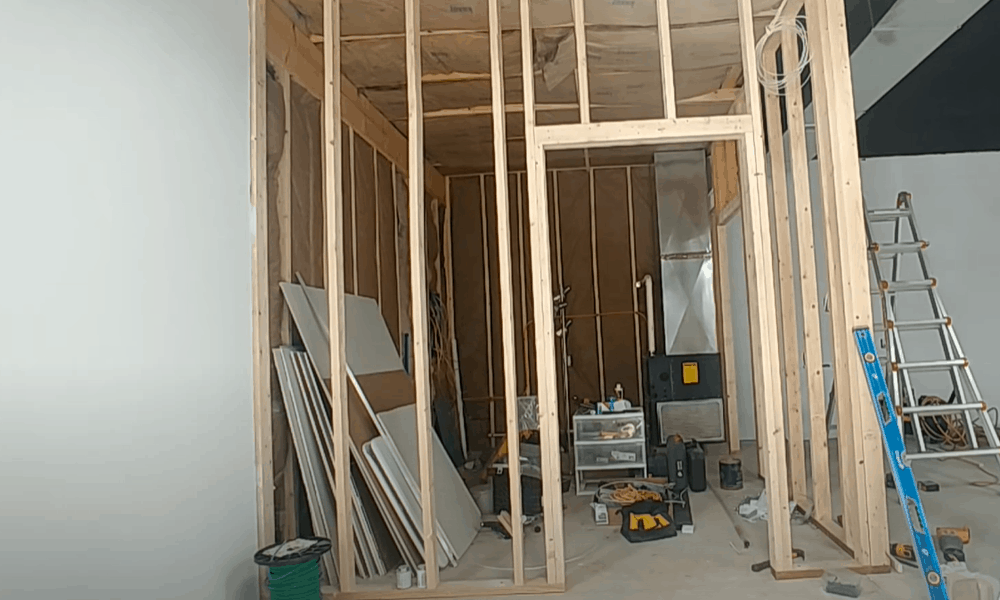
You now need to remove the part of the soleplate that sits between the two jack studs. Take your saw and carefully cut through the wood next to each jack stud. Your frame is complete, and you’re ready to hang your new door!
You might wonder whether it would be simpler to avoid cutting the soleplate by attaching it in two pieces. It’s done this way to help keep the bottom of the frame nice and square.
Extra tips
If you’re having to attach a frame to a concrete block wall, nails aren’t the best choice. Use Tapcon screws instead. They’ll come with their own drill bit. Use this to pre-drill holes of the correct size into the wall. The screws will then go in easily.
This guide assumes you’re starting from scratch with no doorframe in place. But if you’re changing a door for one of a different height, you may not have to redo everything.
If your new door is lower, simply cut a new header bar and position it at the correct height. (Remember, that’s 1.5 inches higher than the new door.) Add a cripple stud for stability.
And if the difference is small, it could be even easier. You may be able to get away with attaching another piece of wood to the bottom of the existing header. Just make sure it’s the right thickness so that the new bottom of the header sits at the correct height.
-
Sale!
Vintage Style Anti Slip Water Absorption Door Mat
Original price was: $12.99.$9.99Current price is: $9.99. -
Sale!
Super Absorbent Kitchen Diatom Mud Door Mat
Original price was: $42.99.$32.99Current price is: $32.99. -
Sale!
Modern European Style Non Slip Entrance Door Mat
Original price was: $12.99.$9.99Current price is: $9.99.
If your new door is higher than the old one, however, you’ll have more work to do. You’ll need to knock out the screws or nails holding the jack studs in position. Do the same with the header. Then take out both the jack studs and header.
Cut new jack studs to the correct length and attach them to the king studs with nails or screws. Replace the header on top of them. Nail it into the new jack studs, and back into the top plate. The frame is now ready for the new door.
Time to make that new door frame!
We hope you’ve enjoyed our guide to how to frame a door. Assemble everything you need at the beginning and take your time, and it’s not a difficult job. As with all DIY, measuring twice and cutting once will help your project go smoothly.
If you’re starting from scratch with a new build, you’ll have a bit more work to do. But you’ll get a great sense of satisfaction when your new door is in place. And if you need to modify an existing doorframe, our extra tips will help.
If you’re planning to tackle this project, we hope you feel inspired! And if you’ve already framed your door, please comment and tell us how it went.