How To Clean Window Air Conditioner Mold? (A Step-by Step Guide)
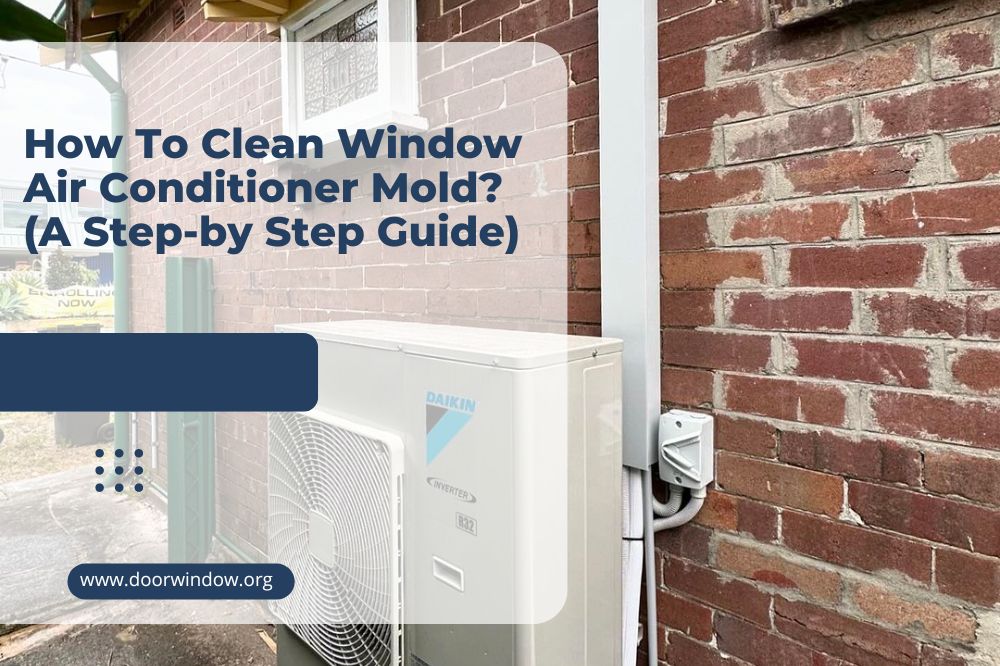
For those who get hot summers, having a window air conditioner in your home is a welcome addition. However, keeping it clean at all times is a must. Over time, it will develop mold and bacteria, so you’ll need to know how to keep it in tip-top shape.
If you have no idea how to clean window air conditioner mold, you’ve come to the right place. Here, we’ll share a step-by-step guide on how to get rid of it. We’ll also give you notes on what tools to use and extra tips for a successful cleaning process. Let’s take a look!
Tools
To thoroughly remove mold from your window air conditioner, you’ll need a few common household items. Gather everything in place before cleaning to avoid going back and forth for these.
Here are the tools you’ll need to remove the mold from your unit.
- Protective Eyewear
- Face Mask
- Latex/Non-porous Gloves
- Mold Remover
- Warm Water
- Mild Detergent
- Cleaning Cloth
- Screwdriver
- Soft-bristle Brush or Fin Comb
- A Spray Bottle with (At Least 3%) Hydrogen Peroxide
The Step-by-Step Guide
For removing mold from your window air conditioner, you’ll need to clean it thoroughly at least once a year. We also suggest you clean it before installing the air conditioner for the season, or after removing it. The latter is a smart option since you can conveniently dismantle the unit.
Pro Tip: Before cleaning your air conditioner, always switch the unit off and unplug it. If you can’t unplug it, switch off the circuit breaker to the air conditioner instead.
Step1. Remove and Disassemble the Air Conditioner
After putting on your safety gear, switch off your AC and unplug it from its power source. Remove the unit and relocate it to a spacious area for cleaning. We suggest opting for an outdoor space or your garage floor.
Once settled, you can start disassembling the unit by removing its front body grille. On most window air conditioners, you can easily remove it by pulling forward and then slightly pushing down. If it’s screwed, that’s when you’ll put your screwdriver to use.
Pro Tip: It’s good to take pictures throughout your disassembling process. Doing so will give you a reference point should you struggle with reassembly. Also, keeping track of your air conditioner’s screws will make the whole process smoother and quicker.
Step2. Focus on the Filter
After removing and disassembling the AC, it’s time to remove the filter, which you can find on the unit’s front grille. Most of the time, these filters are reusable and can be cleaned using soap and water. However, other filters are disposable, so you need to replace them eventually.
To clean the filter, use a handheld vacuum or shake the filter outdoors to remove debris. After getting rid of these, wash it with soap and warm water, then spray the filter with your mold remover. Let it soak in water for about 15 minutes.
Don’t forget to clean both sides of the filter with your scrub brush before rinsing the filter with clean water. Once done, dry it thoroughly before reinstalling it.
-
Sale!

Smart Roller Blackout Window Blinds
Original price was: $33.99.$25.99Current price is: $25.99.Select options This product has multiple variants. The options may be chosen on the product page -
Sale!
Universal Hook Up Nailfree Window Blinds
Original price was: $53.99.$40.99Current price is: $40.99.Select options This product has multiple variants. The options may be chosen on the product page -
Sale!
Cellular Honeycomb Fabric Window Blinds
Original price was: $166.99.$124.99Current price is: $124.99.Select options This product has multiple variants. The options may be chosen on the product page
Step3. Clean the Coil & Fins
When it comes to the air conditioner’s coils and fins, you can clean them annually or whenever necessary.
Since we’re talking about window air conditioners, these have two sets of fins and coils. You can find the condenser coils behind the unit, and the evaporator ones in front. You can access these by removing the air conditioner’s case.
Remove all the necessary screws before pulling out the unit’s face/control panel. From there, pull the case straight up. Next, use compressed air or a vacuum to remove surface debris. You can also use a soft brush to remove these from its fins.
For more thorough cleaning, cover every electrical component with plastic. Then, use hydrogen peroxide to spray the fins and coils. Let it sit for around 10 minutes before spraying it lightly with water.
Pro Tip: It’s best to know the difference between fins and coils to avoid making mistakes when cleaning the unit.
Coils are usually quarter-inch pipes with refrigerants, whereas fins are sharp metal slivers surrounding the coils. Both these elements help optimize airflow and keep off debris on the coils.
Remember, fins easily bend and affect their performance. So it’s best to avoid touching these with your hands.
Step4. Cover Removal and Dust Vacuuming
Now, return to the air conditioner and unscrew its metal cover. It’s the part behind the front grill. From there, carefully lift it directly upwards.
This time, vacuum and clean as much debris inside the unit as possible. You can use a sponge/cloth to wipe visible mold.
You can also cover the electrical components with plastic to prevent moisture from entering. Then, spray the interior with hydrogen peroxide, and don’t forget to clean the fan blade and drain pan. These two are spots where mold usually grows.
After letting it sit for around 10 minutes, spray the interior with water. You can do this lightly with a water hose. We suggest you hold the air conditioner at an angle to let water and debris drain out.
Step5. Getting Rid of the Mold
You can start using your mold cleaner again and spray a liberal amount on the unit. Scrub the moldy areas and check if you missed any spots on the grilles. Like earlier, let the solution sit for 10 minutes before rinsing the areas with water.
Step6. Cleaning the Exterior
When letting your unit dry, you can focus on cleaning its exterior using a damp cloth. If there is stuck-on debris, you can use a soft-bristled brush and a mild detergent to remove these. This will not only work effectively on the case’s exterior but will work on the side curtains as well.
Step7. Get it Dry then Install the Freshly-cleaned Unit
Let the air conditioner, grille, filter, and cover dry completely before reassembling the unit. When everything’s dry, put everything together, then install your air conditioner to the desired window.
If you didn’t take pictures while disassembling the AC, don’t worry about it. You can check out this video of how to install your AC to the window. Once done, plug it in and check if everything is working how it should.
Extended Tips
1. Maintenance: Preventing Mold in Your Window Air Conditioner
You can put more effort into preventing mold from entering your unit than just bringing out your gloves and scrubber every summer. Here’s what you can do:
- Remove dust from your air conditioner to deprive the mold of its food source
- Use your vacuum to remove dust/debris from the front of your air conditioner
- Another way to prevent mold is to use fan mode occasionally. Doing so will dry any exposed sections of the unit that could end up damp with condensation. You should also clean/change your filter based on your unit’s user manual
- The most effective way to prevent mold on your window air conditioner is to check it monthly. Even when you use it regularly, it’s best to inspect the unit to guarantee mold isn’t showing up
- Lastly, protect it with a durable cover when storing it away during winter
2. Storage
Speaking of winter or fall, it’s best to remove your unit from the window and store it where it’s safe. Doing this is best for your air conditioner and utilities because leaving it out during the cold can cause drafts. It can even lead to more energy consumption, which isn’t something you’d want.
To make sure that your unit is stored properly, here are some quick tips to follow:
- Check the unit for any damage
- Clean the unit and replace/clean the filter if needed
- Find a good spot to keep the air conditioner during winter. We suggest clean and dry areas like your basement, attic, or utility room
- When storing the unit, make sure to set it in an upright position
- If you still have the original box of the unit, it’s best to keep the air conditioner inside
- When you can’t remove the unit for whatever reason, cover it with a durable air conditioner cover
3. Cleaning Your Unit without Removing from the Window
The best way to clean your AC is to remove it from your window. However, doing so isn’t always possible. Luckily, there are a few ways to clean your unit while it’s still installed:
- Clean its front evaporator coils by removing its front grille and filter. You can use compressed air to blow off dust/debris from its fins. If you don’t have one, use a soft bristle brush to remove these. Just make sure you’re gentle and won’t bend its fins.
- If you can access the air conditioner from outside, you can clean its condenser coil too. Spray the area with water using a spray bottle or a hose with a nozzle. If using the latter, ensure you’re spraying the area carefully.
- If you’re using water to clean, ensure there’s no power going to the AC and water is drained outside.
Conclusion
Most of us use air conditioners, and we end up dealing with mold at some point. Luckily, you can clean these yourself with the help of tools like mold removers, detergent, and hydrogen peroxide.
So if your window AC has mold, what are you waiting for? Follow the steps we provided and you’re sure to have a clean, mold-free, and well-functioning air conditioner that’s sure to last.
Remember:
- Gather all the necessary tools before cleaning the unit
- Carefully remove and disassemble the AC, and take photos of the disassembling process as a guide when re-assembling it.
- Don’t forget to clean the filter, coil, and fins.
- Thoroughly but carefully vacuum the interior of the unit to avoid unwanted damage.
- Use a liberal amount of mold cleaner and thoroughly scrub the moldy areas.
- Don’t forget to clean the exterior/case and dry everything needed before installing the unit.
Drop your questions in the comments if you still have concerns about cleaning your AC. We’ll gladly provide more suggestions to help you get the job done.